AGNES / PERDITA

A place for discussing battery-electric locomotives, whether they're diesel, steam or even electric outline
Narrow Minded

Post by Narrow Minded » Sat Aug 21, 2010 8:49 pm

Now both cars are permanently connected together by the wiring for lighting and traction, so life’s become a little more challenging.
How many wires do you have running between the two cars Brian?
I have a small stock of appropriate sized male / female connectors salvaged from old computers that might be suitable should you wish to make the connection less permanent:D

MDLR

Post by MDLR » Sat Aug 21, 2010 10:21 pm

Right - 1 X car lighting, 1 x headlamp, 1 X tail lamp, 1 X traction........ 4 pairs! It's all wired and working, and to change to plugs would cause a major headache, as well as introducing a possible failure point, so I'll stick with what I've got, thank you!

MDLR

Post by MDLR » Sat Aug 21, 2010 10:23 pm

2nd Spasm…………..

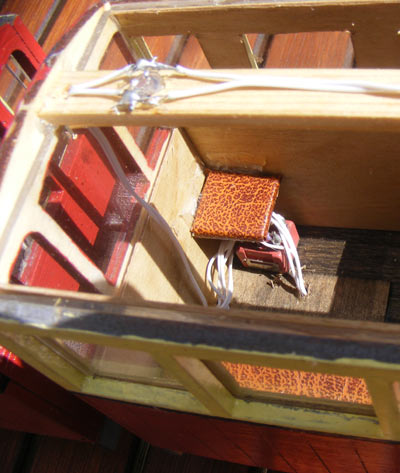
………… and then when I tried to re-solder the wire, the damn switch disintegrated! At this point, I decided that a mare’s nest of wires was preferable to much more swearing and cussin’, so I lengthened all the wires, soldered the switch up OUTSIDE the body and tucked as much of the wiring as I could under the seat. The traction end looks MUCH neater………….

I then had FOUR goes at making the strip of wood the internal lighting is fixed to – the wood WOULD split when I tried to drill the holes for the LEDs, but eventually it was done, fixed in position and the wiring completed. Huge sighs of relief all round! They may get taken out to Ian Shields’s line tomorrow – pictures then!

MDLR

Post by MDLR » Sun Aug 22, 2010 12:58 pm

Image
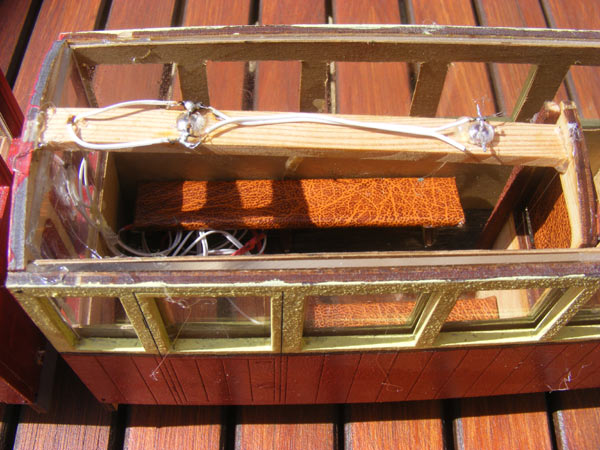
The absolute mare's nest of wiring in the "L" Car...........

Image
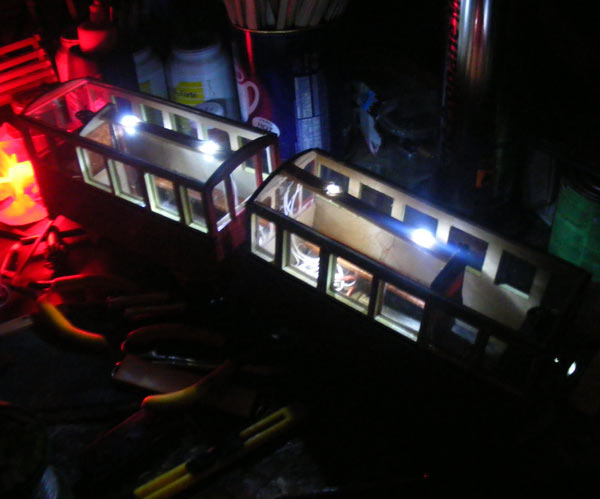
................ contrasts with the nice neat installation in the "T" Car!

Image
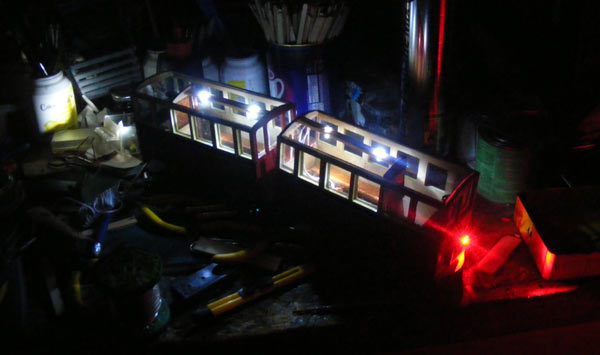
Still, at least the lights work.................

Image
......... very well!

22nd August

They DIDN'T get taken to Ian Shields's……………… I put them on the track this morning for a test run – the words “rice pudding” and “Couldn't pull the skin off a” immediately sprang to mind! One wheelset tended to “unmesh” rather too easily and the other one wasn't capable of moving the whole set, so it'll be back to 3 volts PDQ! This won't be difficult – all the relevant connections are under the car!
Last edited by MDLR on Tue Nov 30, 2010 8:40 pm, edited 1 time in total.

MDLR

Post by MDLR » Mon Aug 30, 2010 1:12 pm

26th August

Got the new battery box fitted and wired in – the wheels now go round rather better! One motor needed a little more “tuning” but this was soon sorted with a dose of glue and a small wedge-shaped piece of wood under one end of it. Trouble is, this particular axle seems to have a little “end float” (in other words, it moves rather more than it should) with the result that it can drop out of mesh. I’m not too sure how to cure this, other than by removing and re-fixing the solebar……….

27th August

Painted all the underside in acrylic black tonight – an absolute SWINE of a job, given that everything else is already painted. How I WISH I could have spray painted it!

29th August

Fitted the roofs today – at least I started to…………….. they’re made up from strips of wood, stained alternately pine and mahogany as is The MDLR Way. I’d got some in stock which just happened to be twice the length of one railbus roof, so it was a simple enough matter to cut these down to size, tape ‘em together and fix to the body using hot glue. At least, you’d think it would be…………. I got one on upside down (with the tape inside) so tried to remove it, using a very sharp knife. Result: one trip to A&E with a neat, deep 1½” incision in my right arm – fortunately stitches were not required, but it’s a salutary reminder of the dangerous tools we use.

30th August

Back to the workshop to finish off the roofs – fixed in place, covered in tissue and left to dry.

MDLR

Post by MDLR » Mon Aug 30, 2010 8:39 pm

30th August

2nd (and final) spasm…………

The final three jobs were to paint the roof, cut out and fit the “YOULGRAVE” destination board – third (or was it fourth) time lucky? and drill the holes and fit the door handles. By this time, it was too dark to take pictures or give them a run – a joy for tomorrow!

MDLR

Post by MDLR » Wed Sep 08, 2010 9:44 pm

7th September

There was something not right with the interior lighting, and one of the motors STILL wasn’t meshing right, so it was CAREFULLY off with the roofs, find the two soldered joints that were touching each other, insulate them with hot glue gun glue (wonderful stuff!), re-fit the motor that wasn’t meshing correctly and load up for…………….

8th September

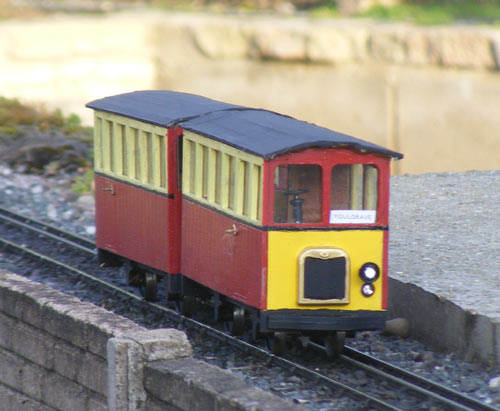
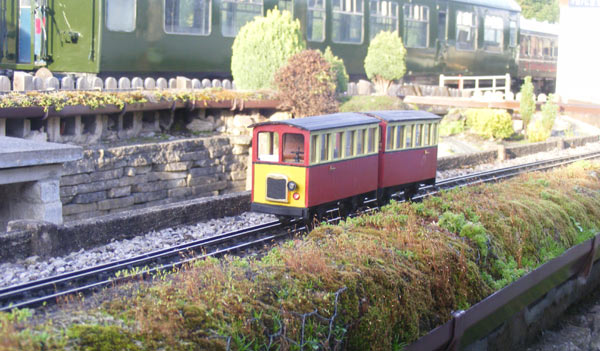
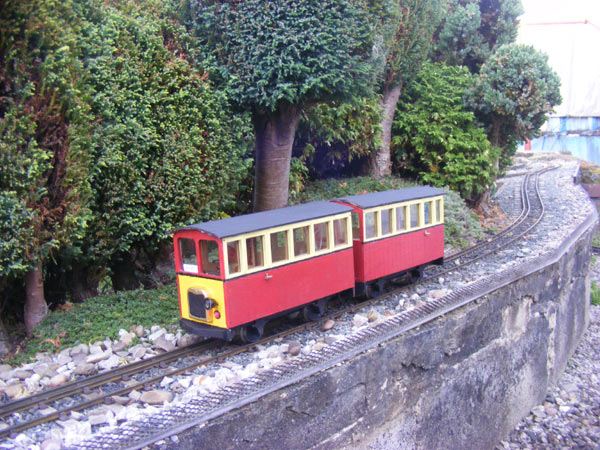
…………… the first test run at Butterley! The pair performed quite well, but ran out of battery – I suspect that Agnes, Perdita and endurance aren’t going to go together! Nevertheless, it’s nice to see the project come to an end, and they’ll be going out to an Open Day at the weekend!


Image

Image

Image

<object width="480" height="385"><param name="movie" value="http://www.youtube.com/v/_CrZEmCDirM?fs ... ram><param name="allowFullScreen" value="true"></param><param name="allowscriptaccess" value="always"></param><embed src="http://www.youtube.com/v/_CrZEmCDirM?fs=1&hl=en_GB" type="application/x-shockwave-flash" allowscriptaccess="always" allowfullscreen="true" width="480" height="385"></embed></object>
Last edited by MDLR on Tue Nov 30, 2010 8:42 pm, edited 1 time in total.

User avatar
90733
Driver
Driver
Posts: 1955
Joined: Wed Dec 16, 2009 6:17 pm
Location: West Yorkshire
Contact:

Post by 90733 » Thu Sep 09, 2010 6:39 am

Cool :D Very nice
Thanks
Jack

Pendo Pilot

Post by Pendo Pilot » Thu Sep 09, 2010 11:26 am

Looking superb, a lovely little DMU indeed.Hope you sort out the run time (Perhaps higher rated batteries?) Colour scheme suits it well.

MDLR

Post by MDLR » Thu Sep 09, 2010 9:04 pm

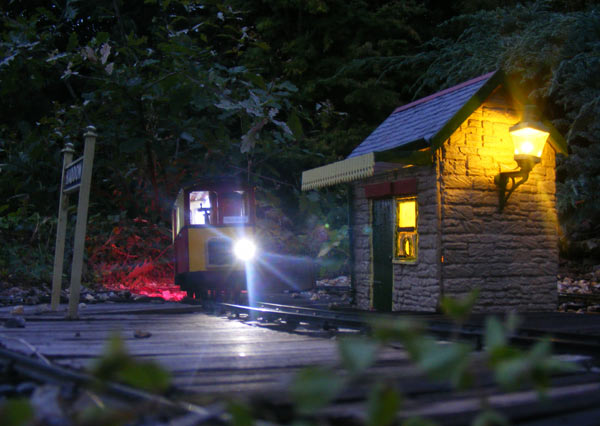
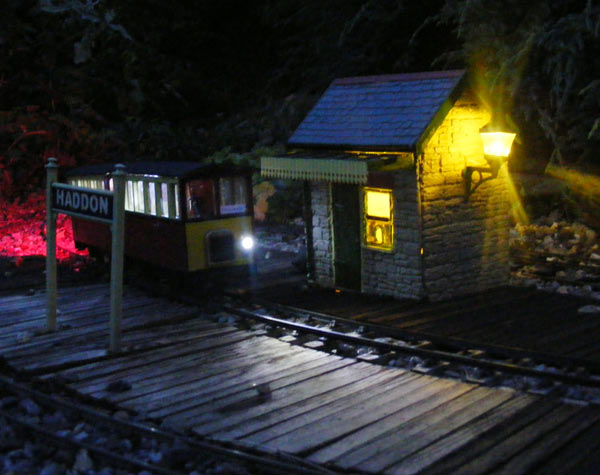
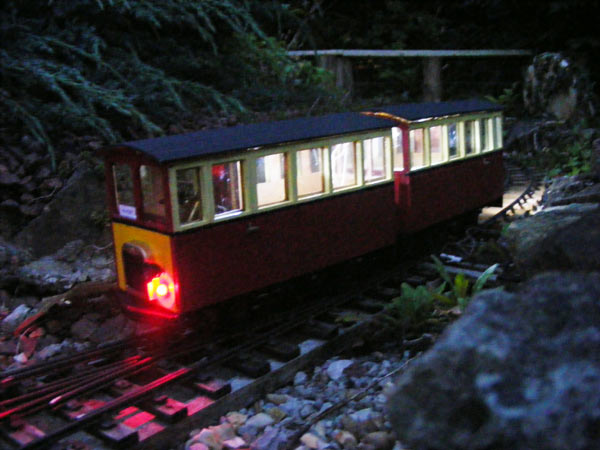
Some evening running - not very good - cheapo batteries don't do it!

Image

Agnes & Perdita arrive at Haddon.............................

Image

................ pause...........................

Image

............. then set off for Alport Junction.

MDLR

Post by MDLR » Fri Dec 24, 2010 5:19 pm

Image
Just when you thought we were done........

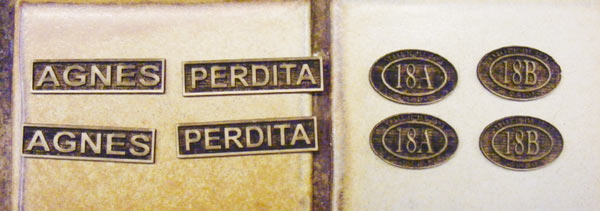
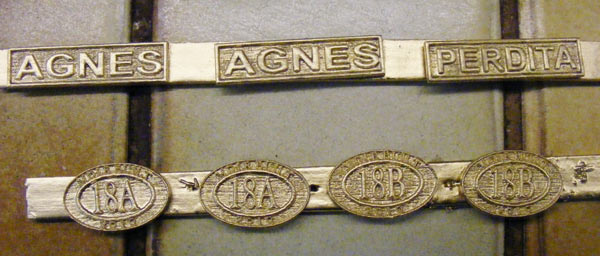
Zach Bond kindly agreed to laser some name and number plates. These arrived yesterday and here they are in their raw state.
Image

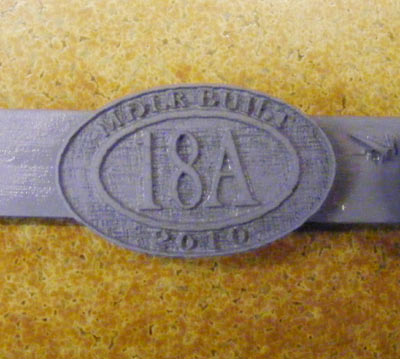
Once they were sprayed in primer, you could see the very fine detail he's able to achieve............. perhaps a little TOO fine!
Image

The next stage was to spray with Plasticote brass..........
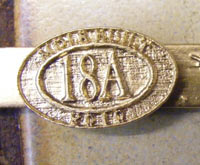
Image

............ which still allows the detail to show............
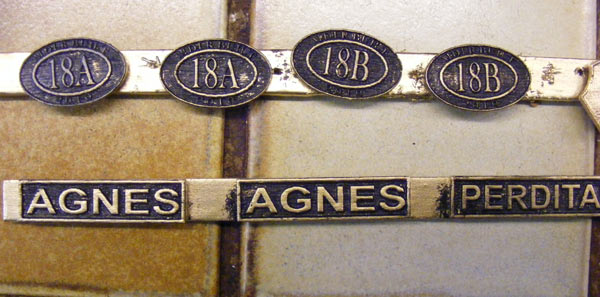
Image

............. then finish off with black acrylic, wiped off to reveal the raised brass detail.
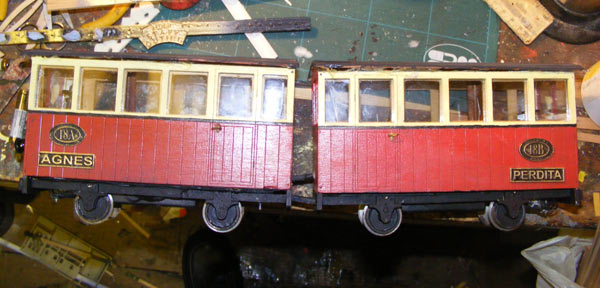
Image

They look nice and bold on the side..........
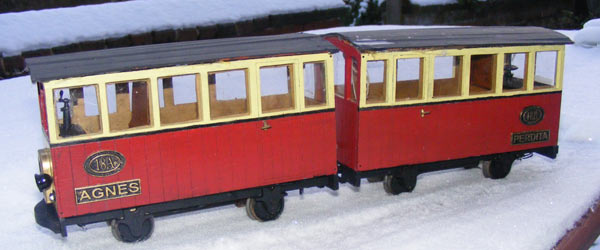
Image

............. and show up well outside, but of course, the left-hand car is always AGNES.........
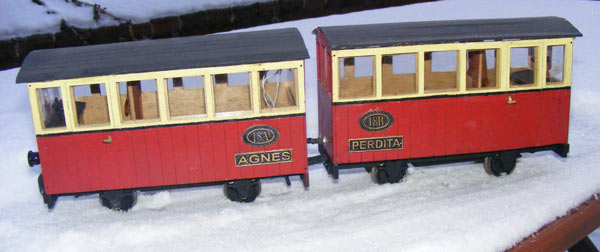
Image

............. and the right-hand car's always PERDITA - whichever side you look at!

"They think it's all over ............. It is now!!!"
bessytractor
Trainee Driver
Trainee Driver
Posts: 677
Joined: Wed Nov 14, 2007 2:34 pm

Post by bessytractor » Fri Dec 24, 2010 6:45 pm

cracking :D

Post Reply

Who is online

Users browsing this forum: No registered users and 14 guests