Mamod Painting - Etch Priming particulars
-
dougrail

- Driver

- Posts: 1532
- Joined: Mon Mar 14, 2011 5:11 pm
- Location: Salopia; on the edge of Arcadia
Will do that Spule.  I've done 2 x etch primer coats sofar, they've set really well. I intend to go straight to paint colour/top coat [about 3 coats], after sanding the primer top lightly. That a good idea or should I add a layer of 'normal' primer first? I'm getting dead sick of the bad paint jobs....Swordbreaker's tendr is now in run 3, and Second Chance's tanks are on the 5th try...


Doug, what have been the issues with past paint jobs? Maybe we can get you some preventative tips to save future grief.dougrail:74069 wrote:Will do that Spule.
Garrett
"Some say that Mamods have problems. Whatever. I view them as opportunities for improvement."
"Some say that Mamods have problems. Whatever. I view them as opportunities for improvement."
-
dougrail
- Driver
- Posts: 1532
- Joined: Mon Mar 14, 2011 5:11 pm
- Location: Salopia; on the edge of Arcadia
Oi vey, where do I begin...
WILKO GREY ENAMEL PRIMER + CARPLAN SATIN BLACK 1) - Paint marbled. Like, crazy paving.
WILKO GREY ENAMEL PRIMER + CARPLAN 3) - Paint was screwed. Came out way too thin. Too much of one ingredient and not enough paint. The solvent ruined the primer.
WILKO GREY ENAMEL PRIMER + CARPLAN 4) - Paint ran. It was smooth, good finish and no blisters or marble on the main straights. But on a couple of edges it became spongey ridges. I let it dry, fine sanded it, painted over it, and little pits were seen. Thus job ruined.
Can't remember what happened to job 2...
Swordbreaker's Tender...
Try 1)Wilko Grey Enamel + Halfords Car Paint. Perfect finish, but a)little bits had got in between coats [paint outside] and b) a bloody bird sat on it!!!
Try 2)Primer was fine. Painting it, it began to ripple. Let it dry, sanded it, but the fact the primer had coated but not stuck [SB's tender is brass] meant it started to peel back like broken latex skin...so I just peeled it off to reveal the clean brass underneath it. Hence why I have gone for the etch primer.
OK, the first two sound like lacquer vs. enamel reaction. One cannot mix the two, they will react, especially with an enamel basecoat. The miss-mixed paint showed you this as well, the solvent in the lacquer attacks the enamel.
Google search shows CarPlan paints are lacquer, so there was the issue. Not sure on the halfords.
On the tender, bits could be airbonre, but some paints have pigment flake, you can filter the paint, either use paint filters from a car paint supplier or for acrylics, sneak a pair of SWMBO's stockings when she isn't looking....
Birds....that is what .22 rifles are for. 8)
The last coating, sounds like enamel vs. lacquer again, along with not having a good etch base.
Hope this helps, it comes from nearly 30 years of good and bad paint jobs.
Also, save some money and get an airbrush, I find it nearly impossible to get a good finish out of a rattle can.
Garrett
"Some say that Mamods have problems. Whatever. I view them as opportunities for improvement."
"Some say that Mamods have problems. Whatever. I view them as opportunities for improvement."
Interesting on the covers, but as I have said, the crazing can come that way.dougrail:74075 wrote:Halfords isn't lacquer. The reason? I used the enamel primer on Swordbreaker's 'armour'. Enamel primer + Halfords Royal Blue = lush.
But the CarPlan...yea. Wait, that can't be right....the cylinder covers and cab back I have were enamel primer + carplan paint...and they come out good. :shock:
http://techtalk.parts-express.com/showt ... -paint-job
I miss-read your post for #2 on the tender, lifting vs. wrinkle. Yes, etch should help you there, sorry!
Garrett
"Some say that Mamods have problems. Whatever. I view them as opportunities for improvement."
"Some say that Mamods have problems. Whatever. I view them as opportunities for improvement."

Like you, I leave etch primer at least a day before applying the top coat. Even longer for the topcoats.Sir haydn:74058 wrote:It needs 24 hours drying time to work properly.
A good rule of thumb is that a coat of paint isn't dry if you can still smell the solvents.
It's been as cold as charity around here lately and some models I painted recently with a rapid spray enamel took a week before the paint was hard enough to safely apply the decals.
Graeme
-
dougrail
- Driver
- Posts: 1532
- Joined: Mon Mar 14, 2011 5:11 pm
- Location: Salopia; on the edge of Arcadia
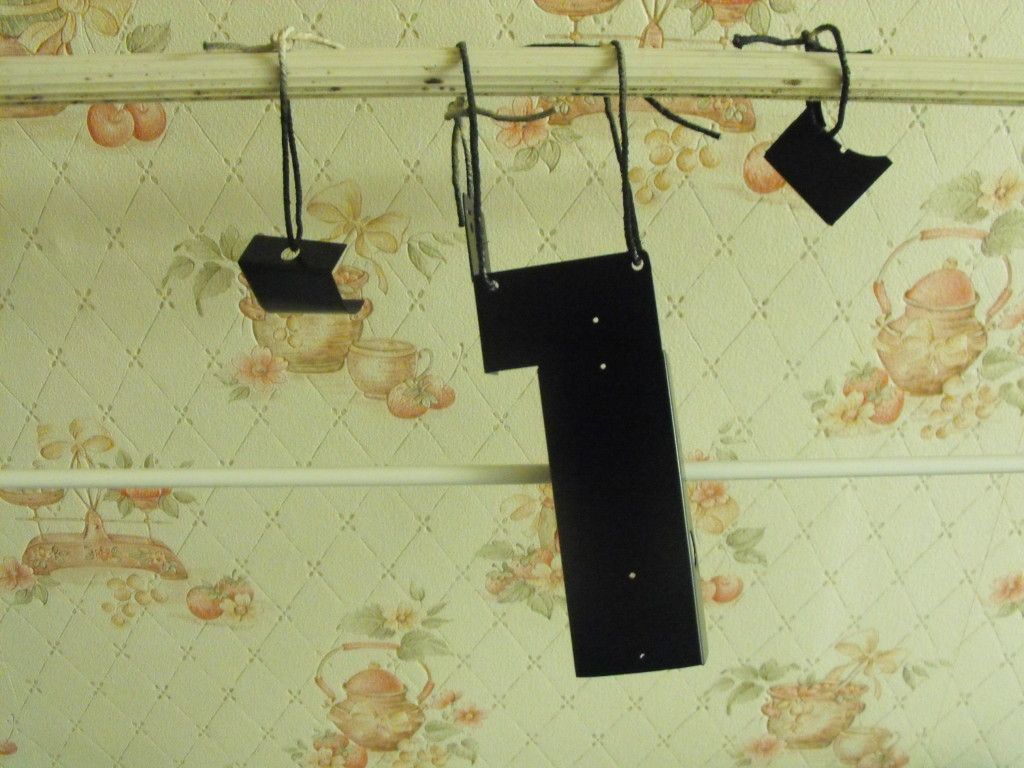
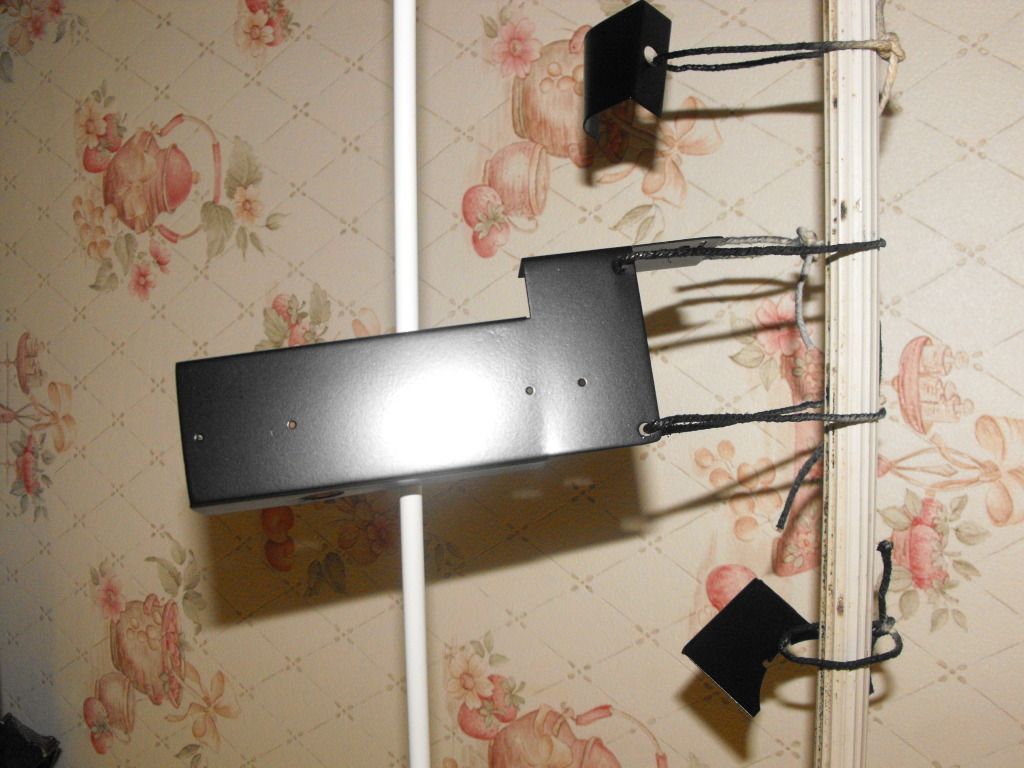
I'm going to upload a couple pics for your thoughts...
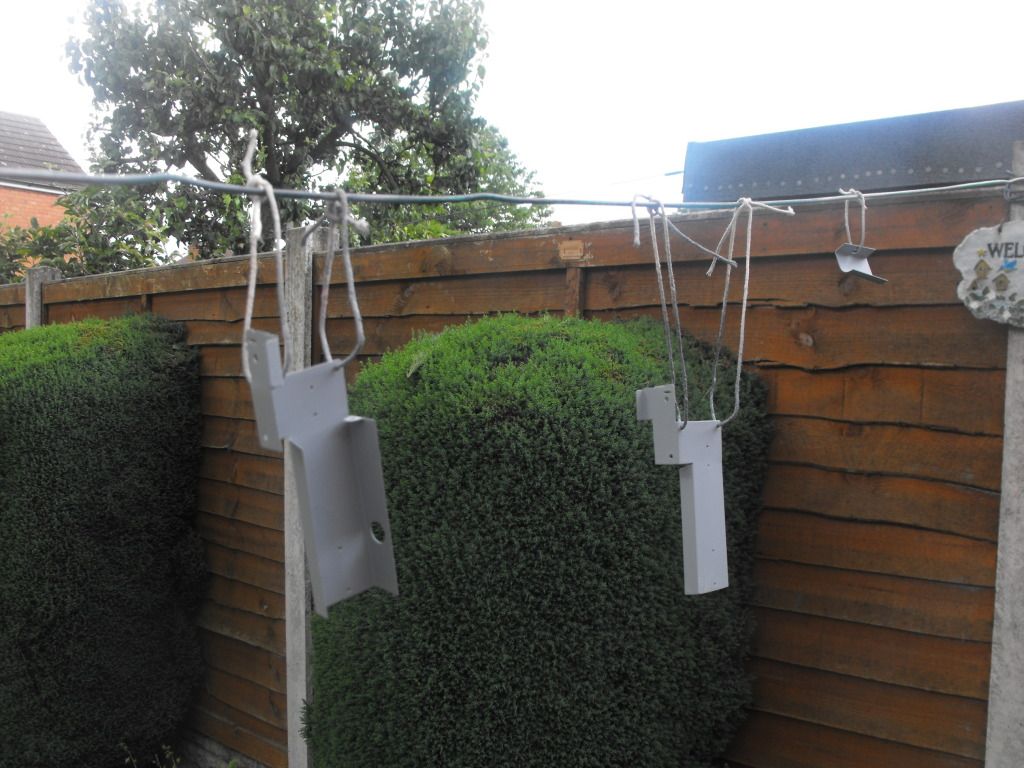
Wilko Enamel Primer going on...felt a bit rough when dry even after fine sanding. The etch primer though is smooth as ice.
~
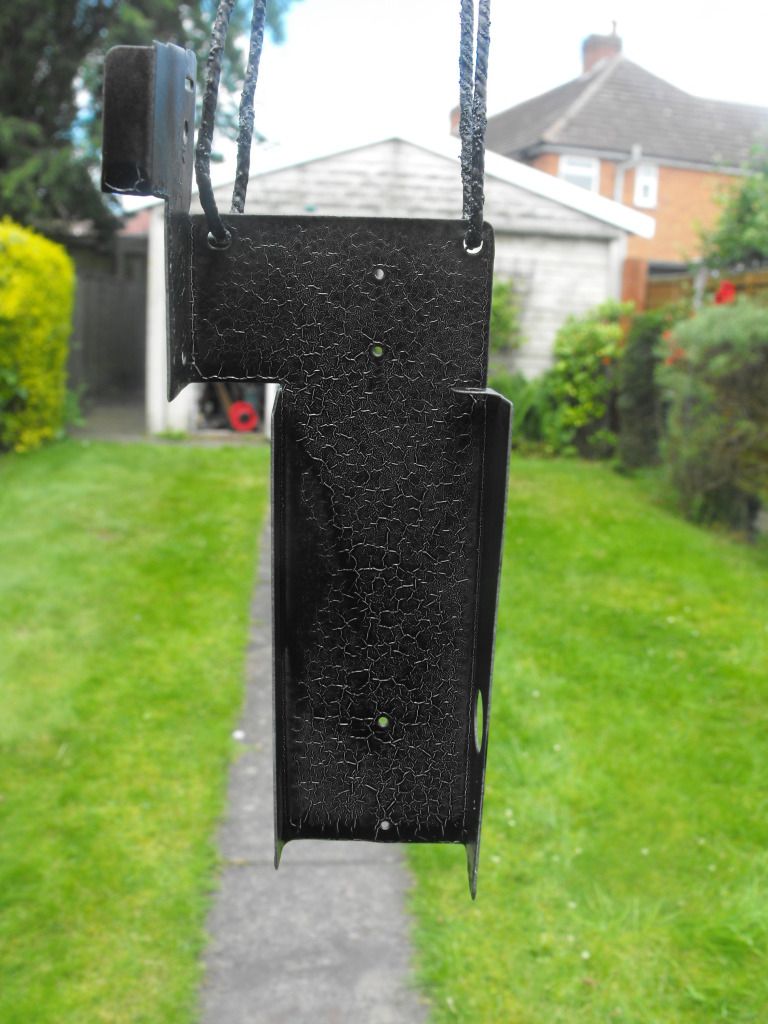
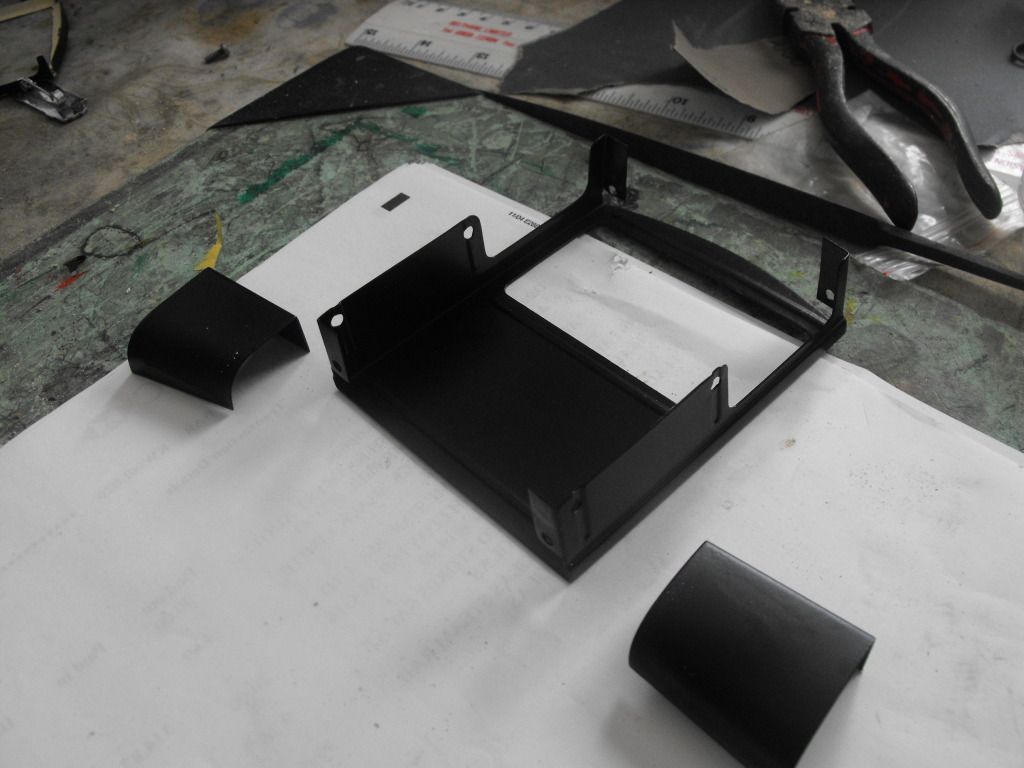
Less than five minutes after applying the first coat on a run...
~
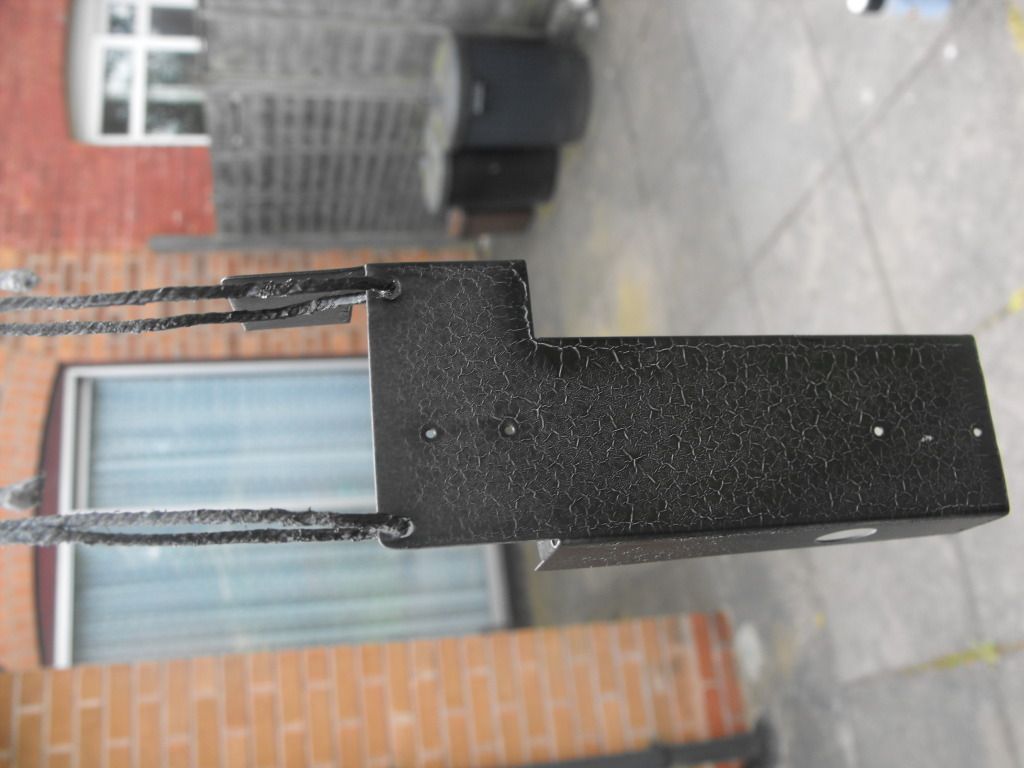
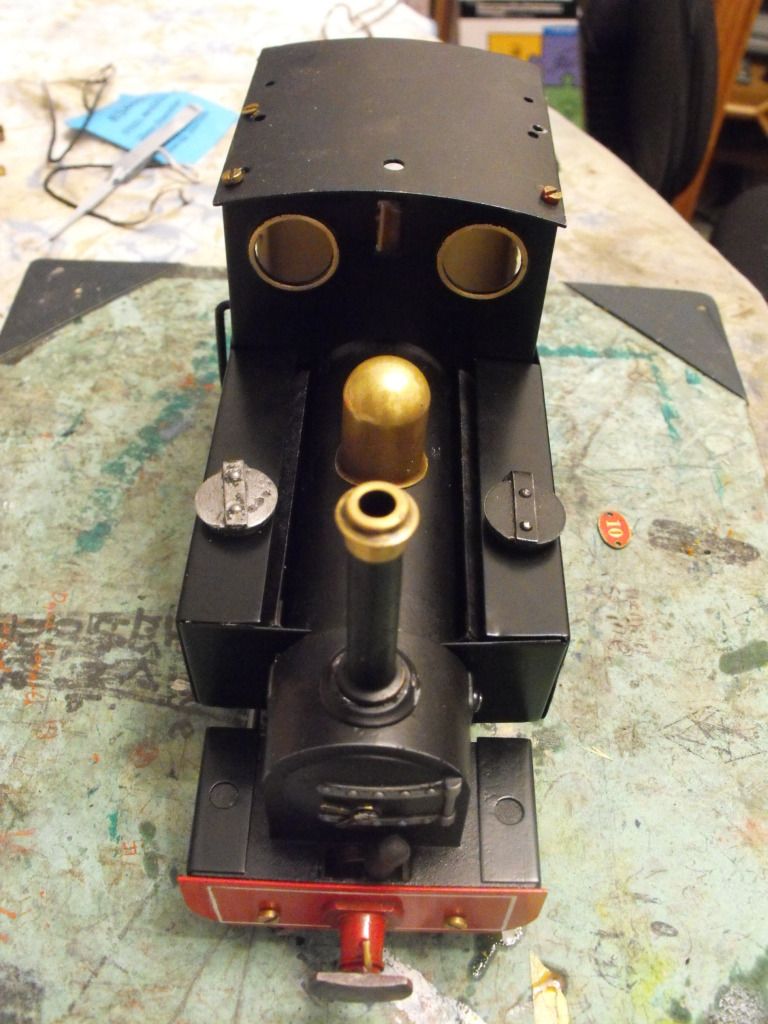
This cab came out near perfect. However needed to sand a side down and it pitted so have had to strip this back - etch primed it and the above tanks yesterday as mentioned.
~
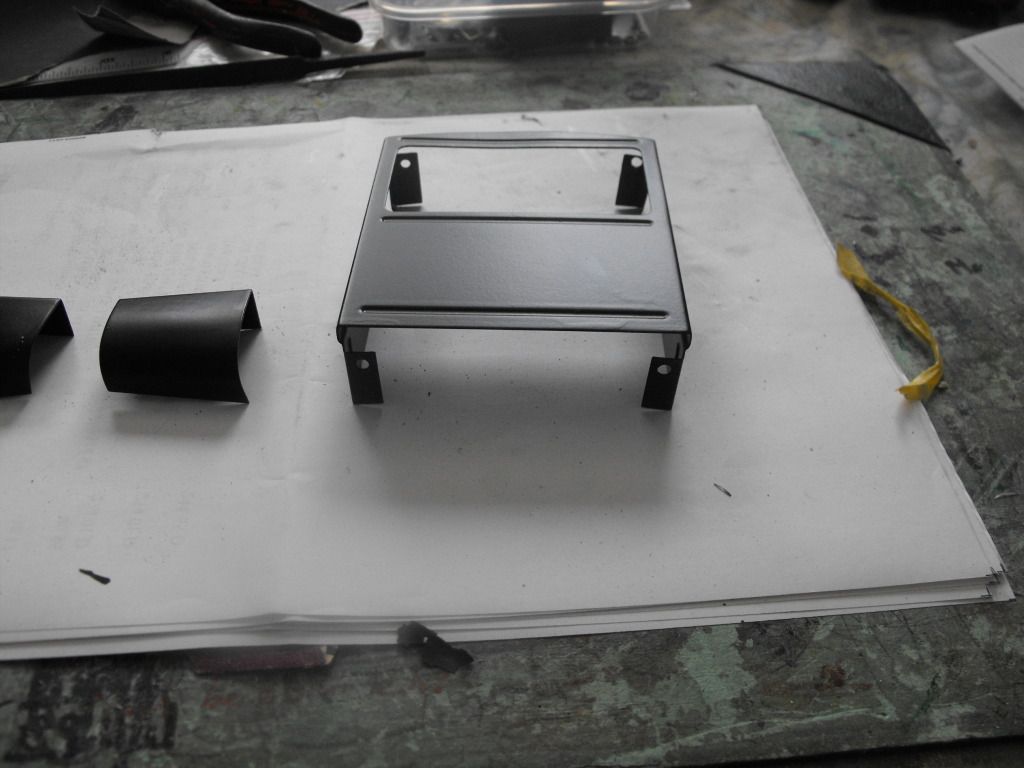
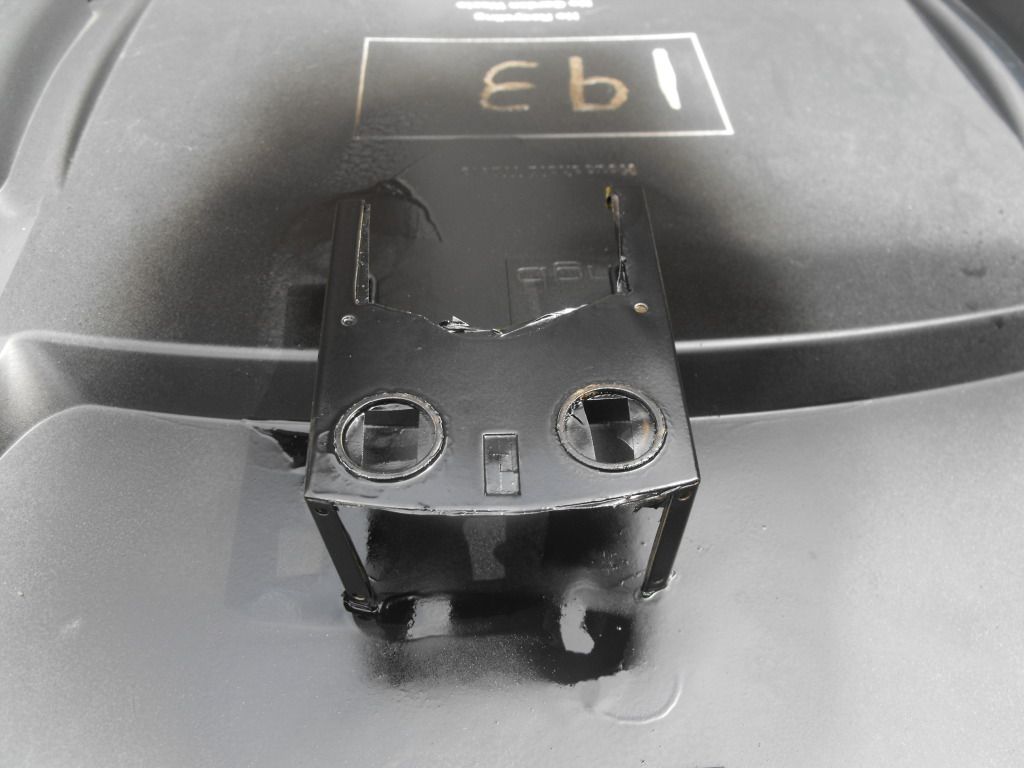
Perfect cab back ansd cyls..
~
Enamel paint and carplan paint yet these went right. I've changed my system now to the etch primer and Halfords car paint but you can see why I'm boggled.
Wilko Enamel Primer going on...felt a bit rough when dry even after fine sanding. The etch primer though is smooth as ice.
~
Less than five minutes after applying the first coat on a run...
~
This cab came out near perfect. However needed to sand a side down and it pitted so have had to strip this back - etch primed it and the above tanks yesterday as mentioned.
~
Perfect cab back ansd cyls..
~
Enamel paint and carplan paint yet these went right. I've changed my system now to the etch primer and Halfords car paint but you can see why I'm boggled.
That's usually what you see when the solvent system of the top coat can attack the primer.dougrail:74082 wrote:I'm going to upload a couple pics for your thoughts...
It can be caused by either incompatible paint types eg. cellulose laquer applied over enamel, or by the top coat being thinned too much.
FWIW, I only use etch primer, with a rapid dry enamel for the top coat and a polyurethane clear coat.
The brand of etch primer I use is an industrial one (as is the spray enamel top coat) and the primer comes in white, grey, or black.
Graeme
-
dougrail
- Driver
- Posts: 1532
- Joined: Mon Mar 14, 2011 5:11 pm
- Location: Salopia; on the edge of Arcadia
That photo I recall being where I had got a duff can of paint...it was so thin and runny even after shaking for like 3-4minutes that I had to get a refund off the seller. That's what caused that.
I changed cans and it improved somewhat- the flat surfaces were coming better but even after a couple of light coats, it ran to the edges to create little lines of buildup which when touched were soft, spongeylike.
I changed cans and it improved somewhat- the flat surfaces were coming better but even after a couple of light coats, it ran to the edges to create little lines of buildup which when touched were soft, spongeylike.

Why have you used wilko primer ontop of the etch?
This would mean you have used, a cellulose based etching primer,
An oil based acrylic primer,
And then a water based acrylic top coat ( if halfords top coat has been used )
This is why a reaction as occured, wilkos primer is crap. The formula is never consistent and everyone who has used it gets some kind of reaction, even when wilkos top coat is used on it!
If you had have top coated straight onto the etch primer you would have had a pretty decent paint finish.
-
dougrail
- Driver
- Posts: 1532
- Joined: Mon Mar 14, 2011 5:11 pm
- Location: Salopia; on the edge of Arcadia
I've not used the Wilko primer ontop of the etch coat. I know I asked about using the enamel primer on top before painting, but as I'd not got an answer - and as you've now advised me as to why not, it won't happen.Sir haydn:74089 wrote:Why have you used wilko primer ontop of the etch?
This would mean you have used, a cellulose based etching primer,
An oil based acrylic primer,
And then a water based acrylic top coat ( if halfords top coat has been used )
This is why a reaction as occured, wilkos primer is crap. The formula is never consistent and everyone who has used it gets some kind of reaction, even when wilkos top coat is used on it!
If you had have top coated straight onto the etch primer you would have had a pretty decent paint finish.
At the moment those side tanks, cab and the tender unit are sat warm in my kitchen covered in two layers of the U-Pol Acid etch primer and nothing else.
The photos have come from previous attempts. In previous attempts I used the Wilko's primer then topcoated with Carplan, which as explained, won't mix.
On the current attempt I am using only the etch primer folowed by Halfords car topcoat - and keeping the enamel primer for future coach kits.
Ripples on both, thin spot on the cover in the bottom photo, and puddling at the bottom mounting tangs of the cab back.dougrail:74095 wrote:What, on the 'good' bits?? [cyl covers y cab back] :shock: :oops:Spule 4:74094 wrote:While you had wrinkle on the tanks sides, you can even see some other adhesion problems on all the other parts.
I think you are on the right track right now.
But now that we have the enamel/lacquer issue sorted, you should be fine.
Unfortunately, I have had several ruined paint jobs (and some ruined models
Garrett
"Some say that Mamods have problems. Whatever. I view them as opportunities for improvement."
"Some say that Mamods have problems. Whatever. I view them as opportunities for improvement."
-
dougrail
- Driver
- Posts: 1532
- Joined: Mon Mar 14, 2011 5:11 pm
- Location: Salopia; on the edge of Arcadia
Have finally had a week or so of warm summer sunshine in which I could produce the best results.
First off, Swordbreaker & Tender:
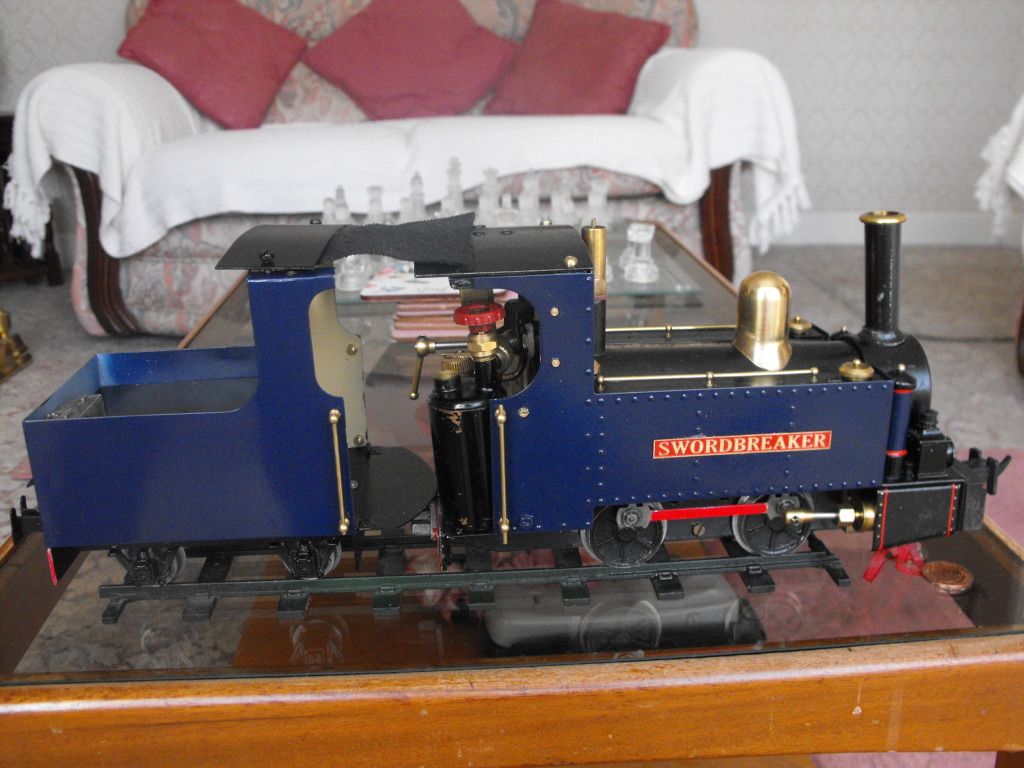
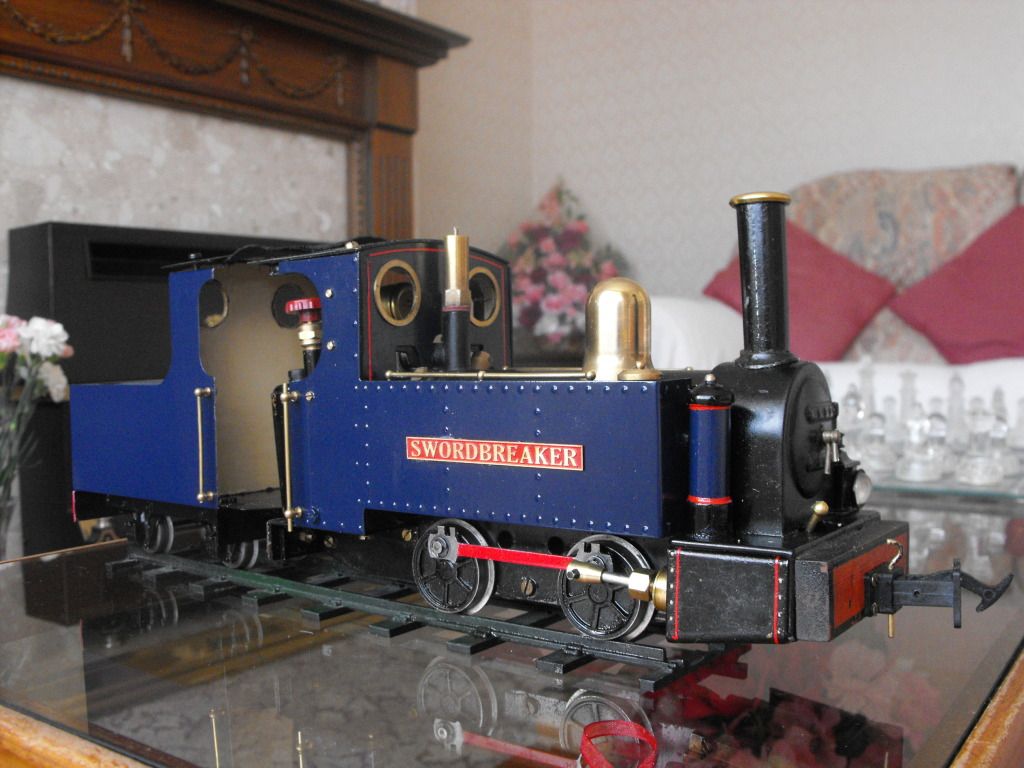
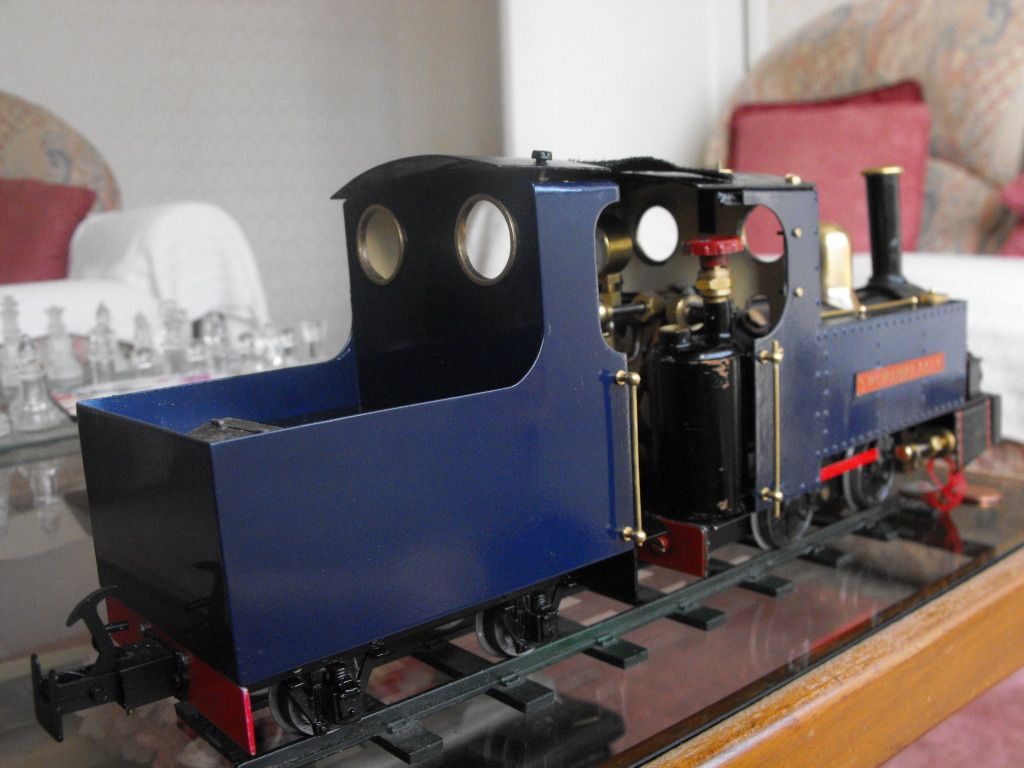
Secondly, the other engine which I was spraypainting at the time of this enquiry. Both SB and this had the same treatment. Once the "good bits" [which weren't!] of the black engine were restripped and prepared, I used two coatings of U-POL Acid Etch #8 Primer, let it dry for 24+hrs, in the sun and in the warm of the kitchen. I then gradually built up the colour using upto 5 layers of Halfords car paint.
Much, much better results! Smooth finish, pristine drying...what a world of difference the AEP8 makes.

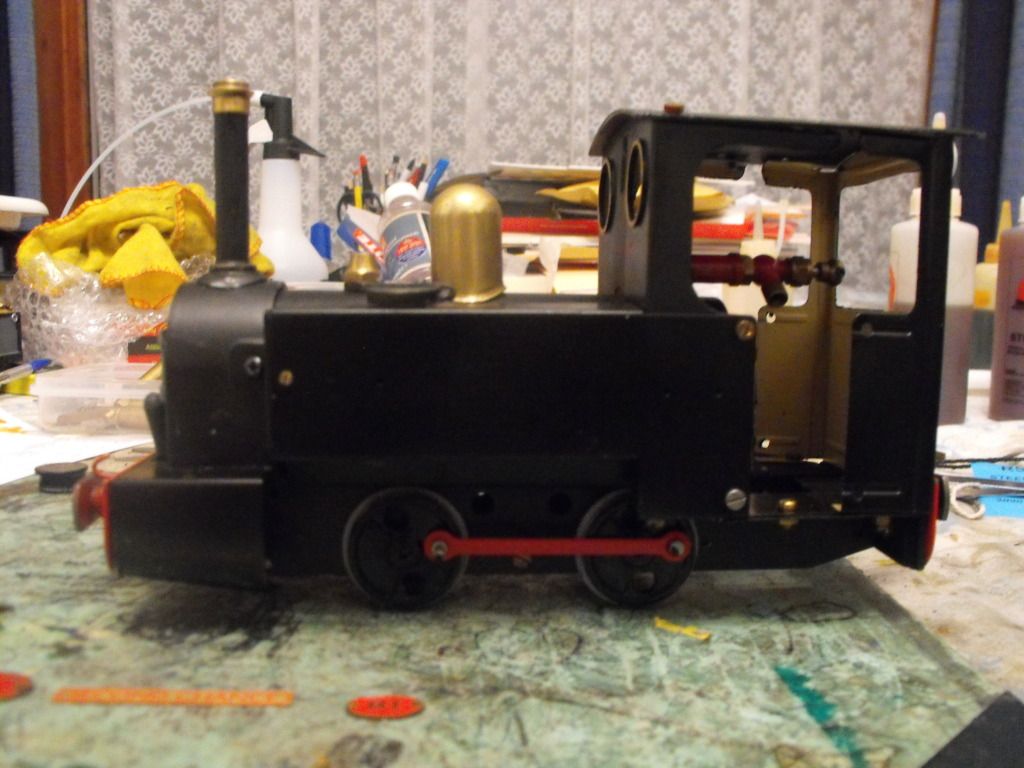
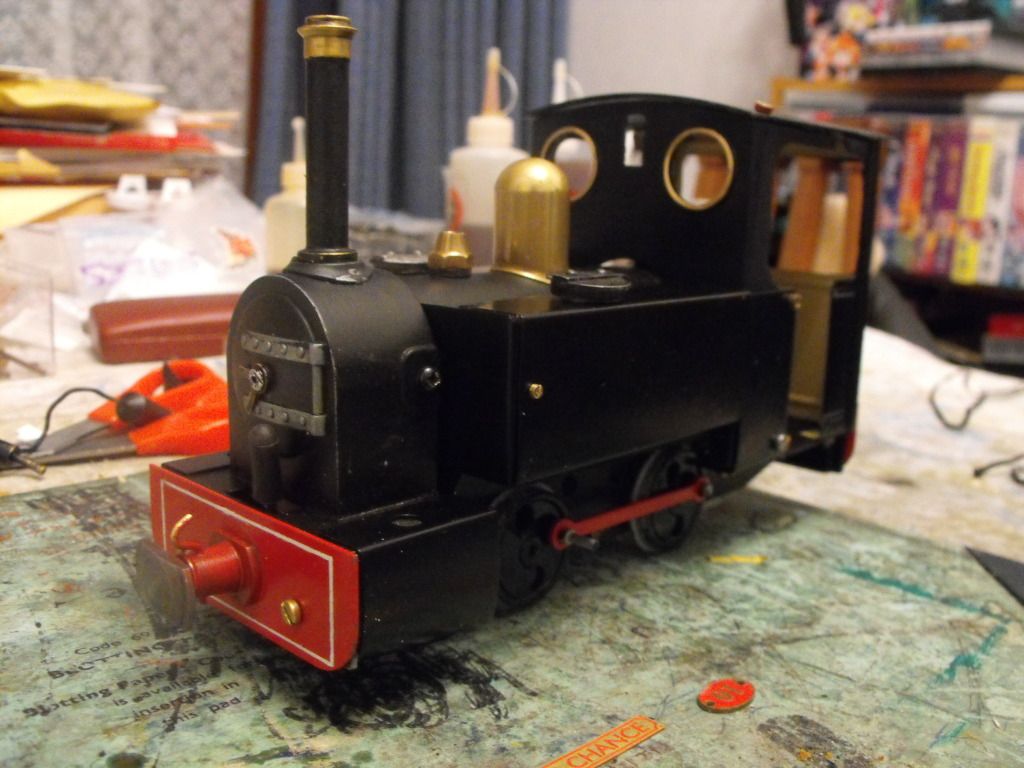
As you can see, the research has been muchly worth it - thanks for all your help on this tricky issue gents.
First off, Swordbreaker & Tender:
Secondly, the other engine which I was spraypainting at the time of this enquiry. Both SB and this had the same treatment. Once the "good bits" [which weren't!] of the black engine were restripped and prepared, I used two coatings of U-POL Acid Etch #8 Primer, let it dry for 24+hrs, in the sun and in the warm of the kitchen. I then gradually built up the colour using upto 5 layers of Halfords car paint.
Much, much better results! Smooth finish, pristine drying...what a world of difference the AEP8 makes.
As you can see, the research has been muchly worth it - thanks for all your help on this tricky issue gents.
Who is online
Users browsing this forum: No registered users and 1 guest