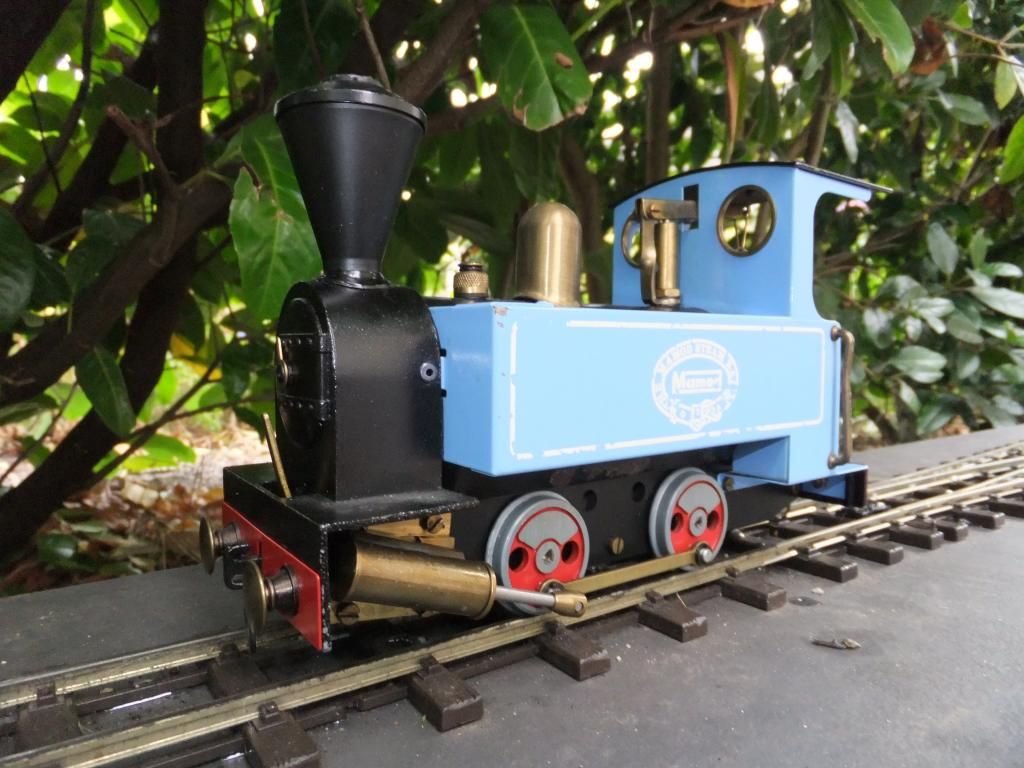
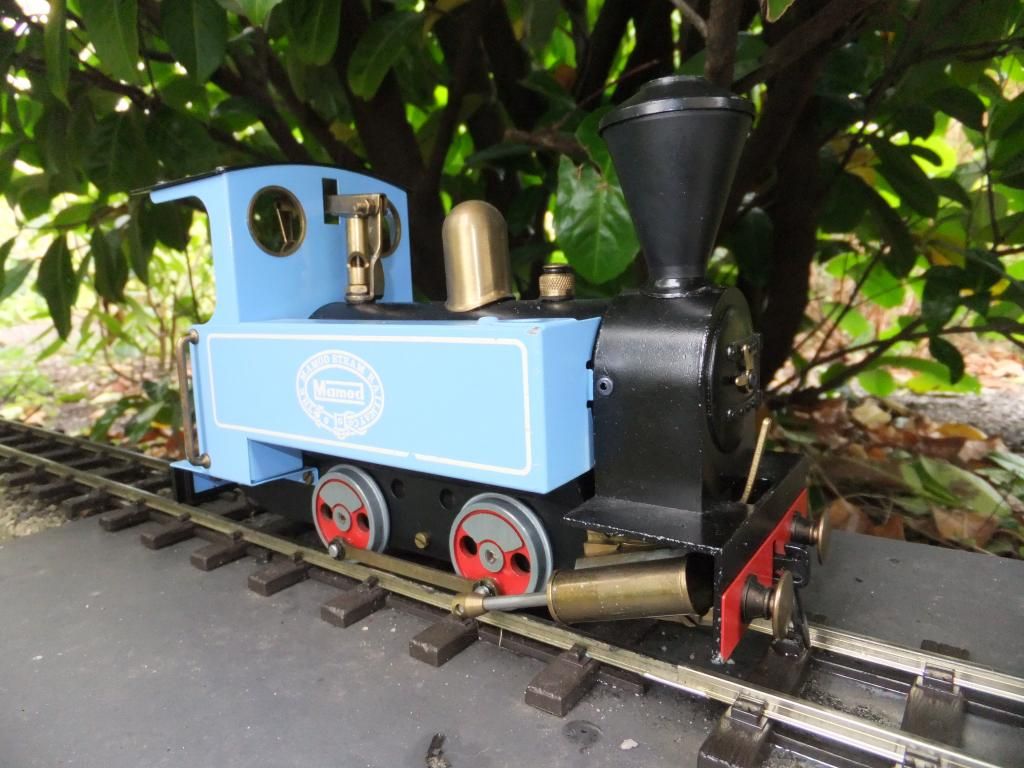
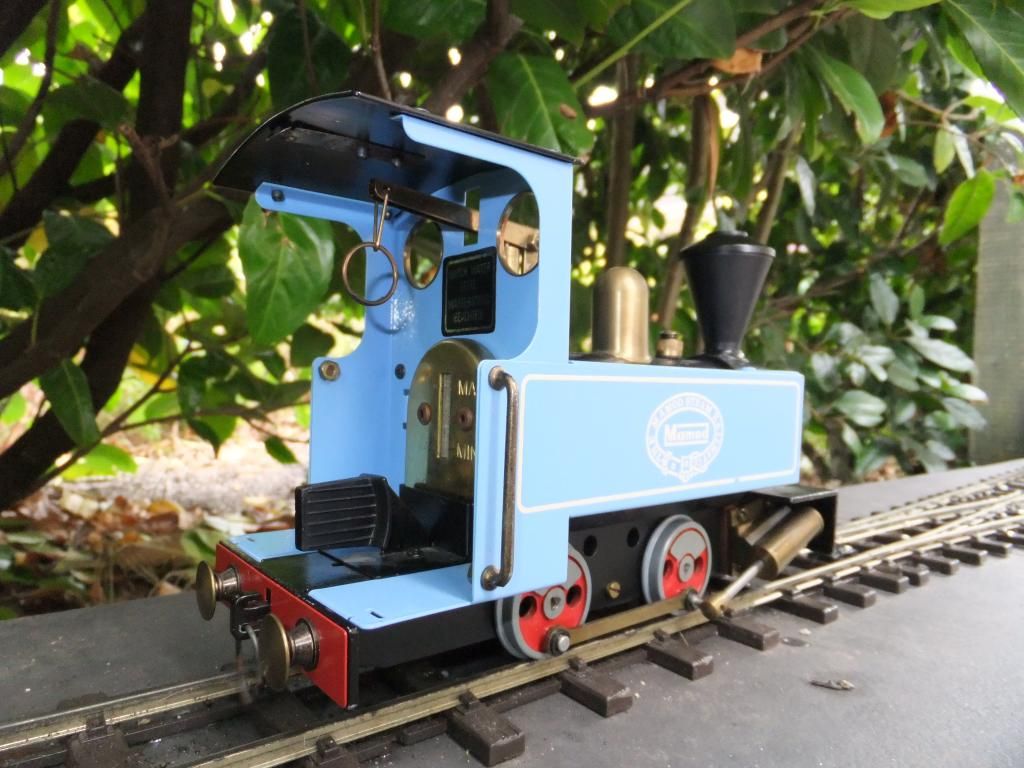
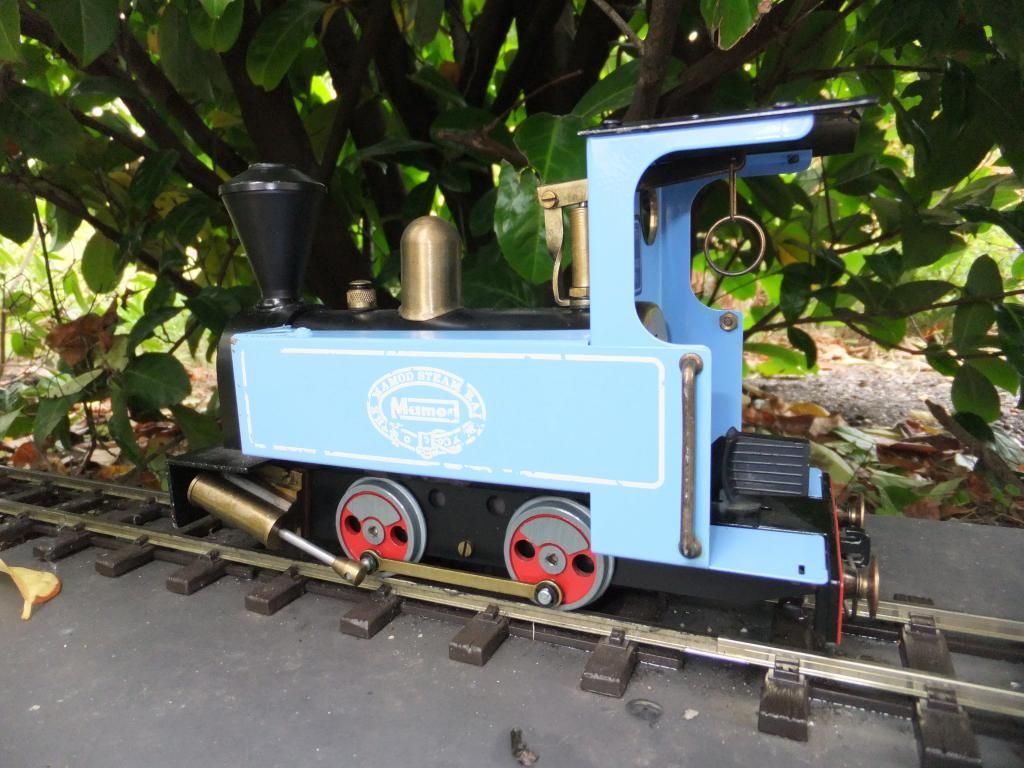
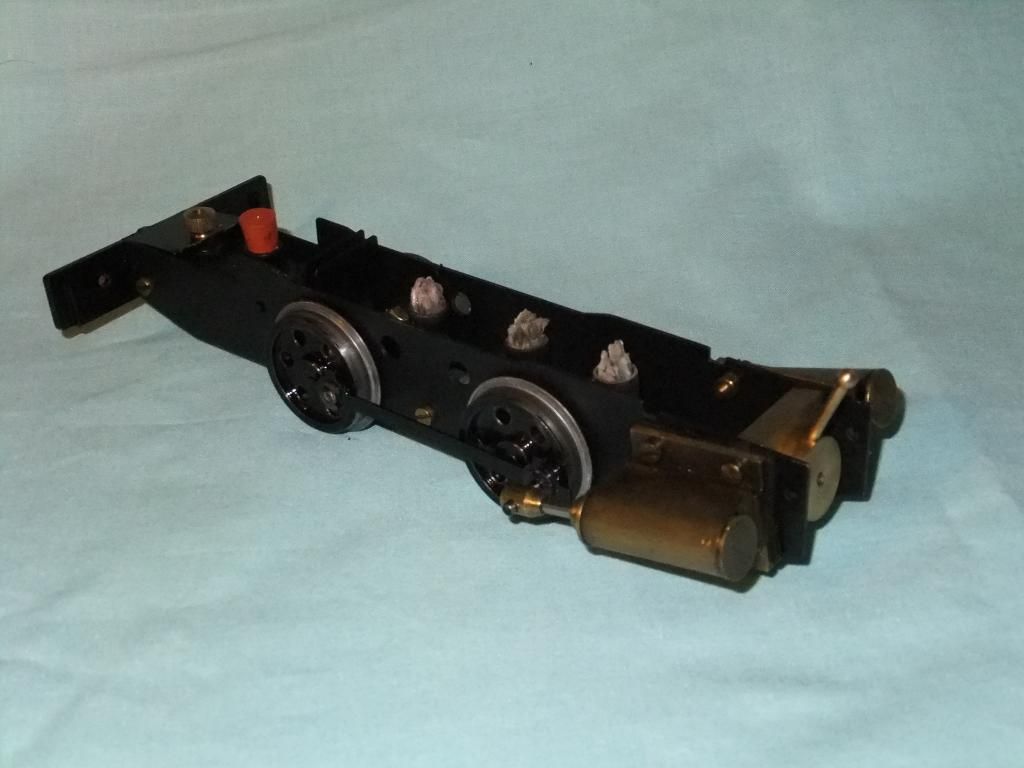
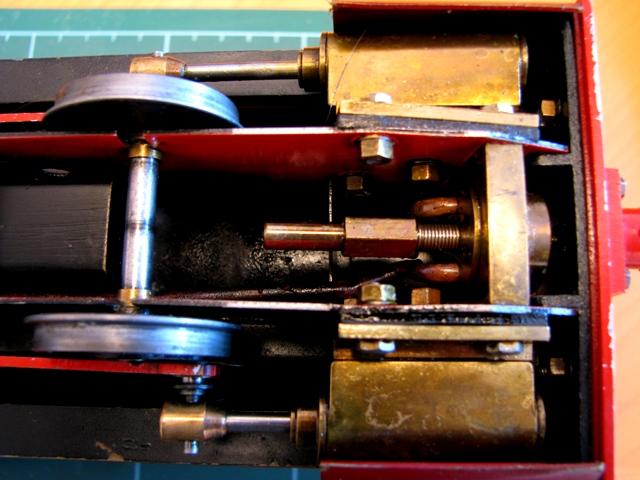
Thanks for the compliments guys. Chris I shall answer your questions as best I can below.
Chris Cairns:88284 wrote:
1. You say you have silver soldered the boiler inserts and a question about that has been asked on the other Forum. I was initially led to believe that soft soldered joints could not then be silver soldered, but I've since been advised that as long as you remove the soft solder and clean off any remains of the flux the joint can then be silver soldered. So what solder do you use and how do you do them (as the front recessed boiler end is also soft soldered and I've had one leak on an MSS boiler possibly from the heat of soldering some 6BA nuts on the inside for a better method of retaining the boiler than those silly posidrive screws).
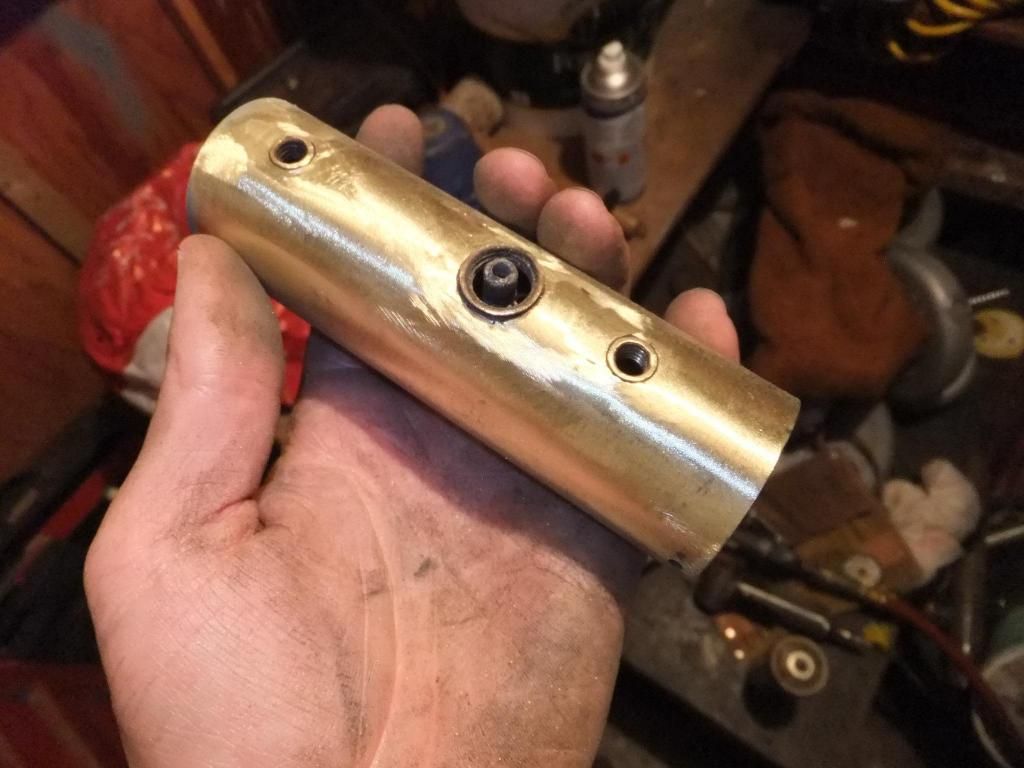
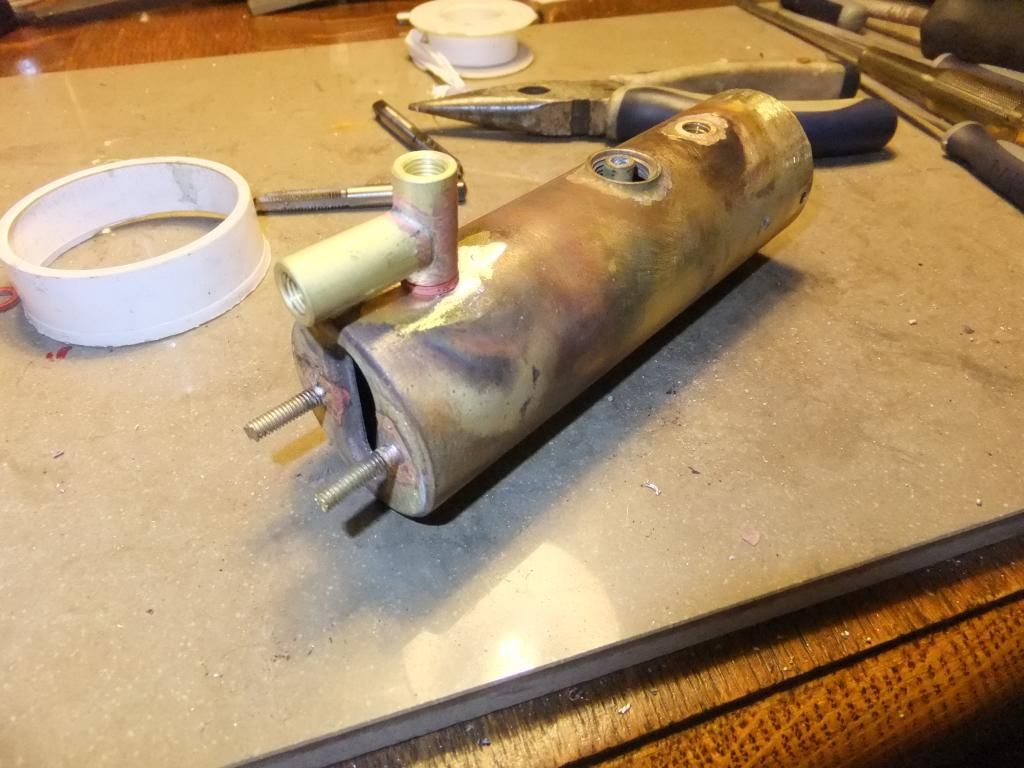
Right, as for the soft soldering of the joints I fail to have seen much if any at all on this model. From what I can gather this boiler may have been boiled dry a few times in its life and consequently the solder was rattling around inside. In order to clean it all off I use my Dremel with a small s/steel attachment and whizz around the inserts to make sure they are as clean as possible. The silver solder then just flows beautifully once all fluxed up. I tend to wrap the boiler in fibreglass heatproof matting as much as possible to retain the heat in the work. It is very easy to overheat the brass and ruin the boiler, I learned this the hard way
once. As for the solder I use 842 brazing rods or
easy flow which tends to work well with these. I believe these are 42% brazing alloy and a mix of cadmium.
For the end cap sometimes I am lucky and I can get the cap off completely. By heating and poking a wooden dowel through the sight glass hole and gently going around the whole perimeter of the soft solder. Then it is just the clean up and re solder back with silver solder. If not I just heat the work enough to bash the boiler on the sight glass end to remove as much excess as possible and then flow some silver solder in. To be honest I never have a problem with this type of solder mixing incorrectly. It seems to work perfectly. I have only done this once on one boiler but it works on a standard safety valve only.
Chris Cairns:88284 wrote:2.IP Engineering cylinders, or their 'O' ring piston upgrade kits had gland nuts. Your cylinders are the same as fitted to my Samson Locomotive Works 'super Mamod' Ginny.
For more photos of 'Ginny' see here -
http://gardenrails.myfreeforum.org/about475.html
Thanks for the info on the cylinders they aren't cylinder upgrade kits they are the full deal. To be honest they look very similar to my dream steam cylinders on my other model. Maybe slightly different gland nuts. Thanks for the link and image by the way.

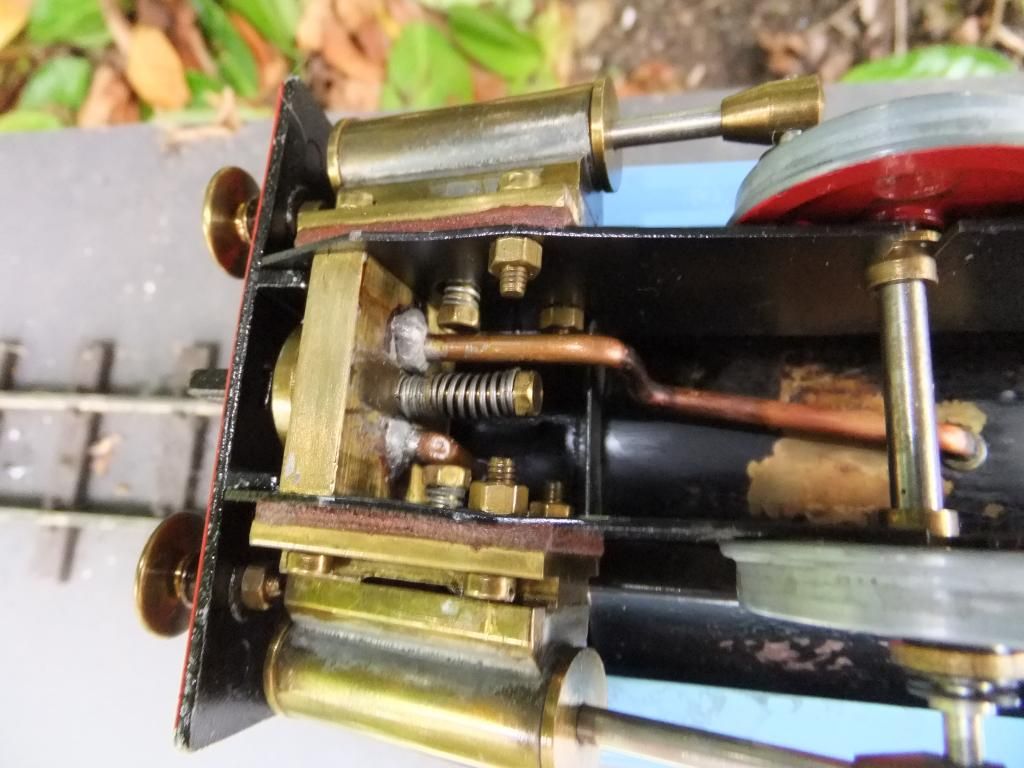
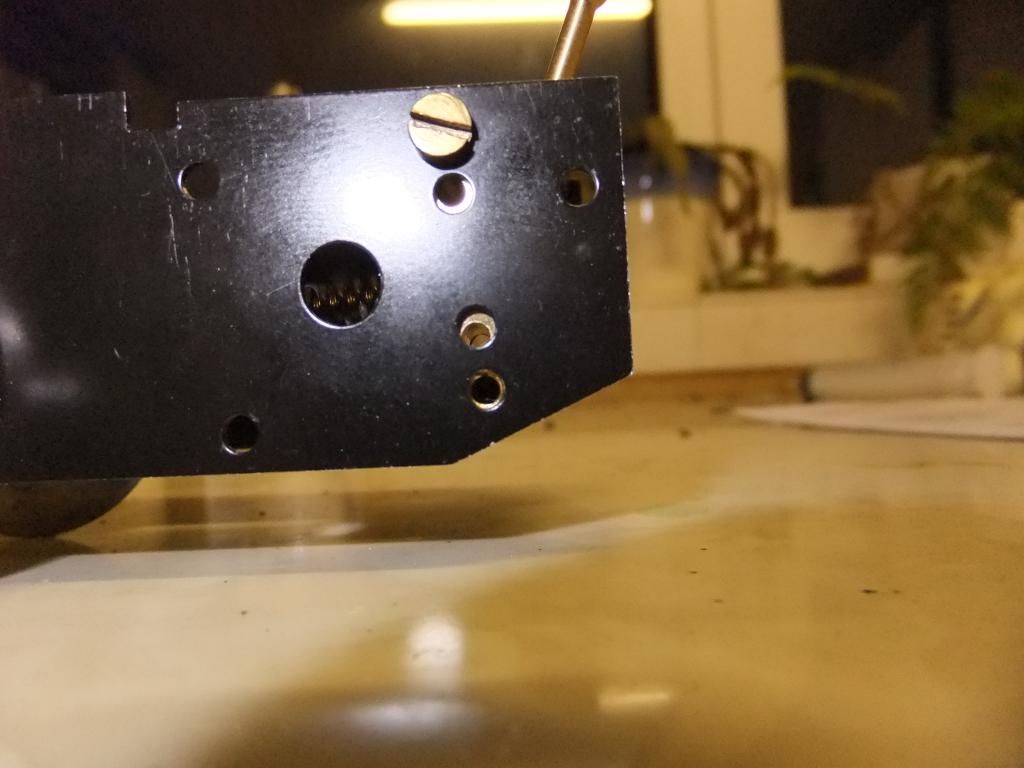
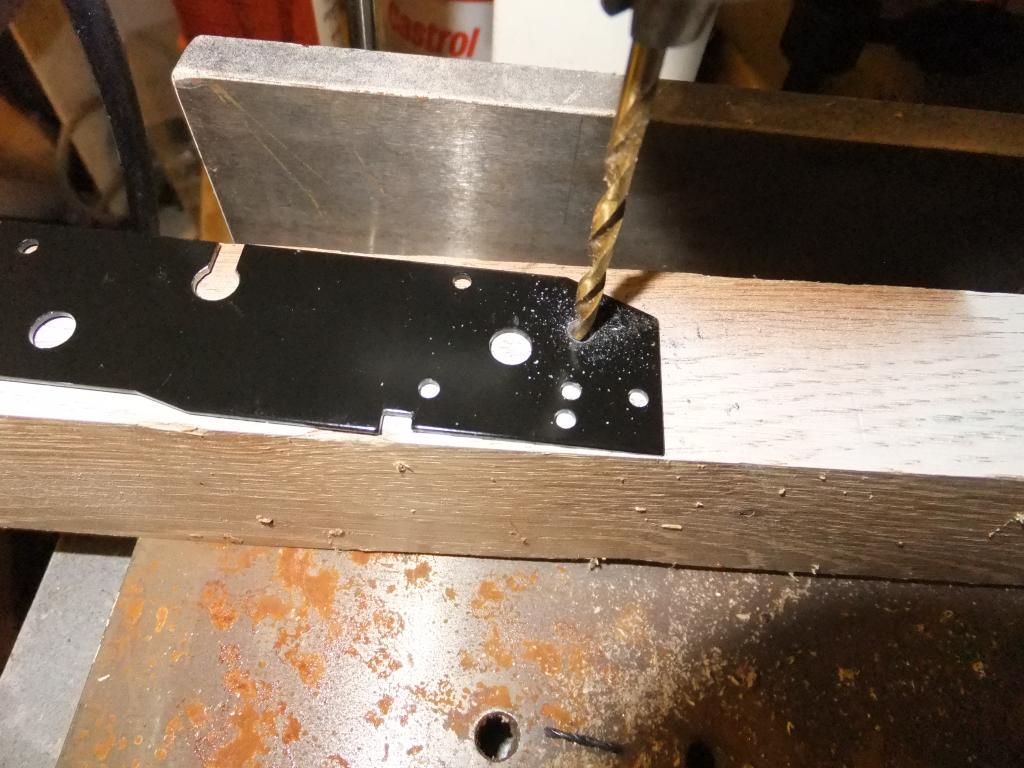
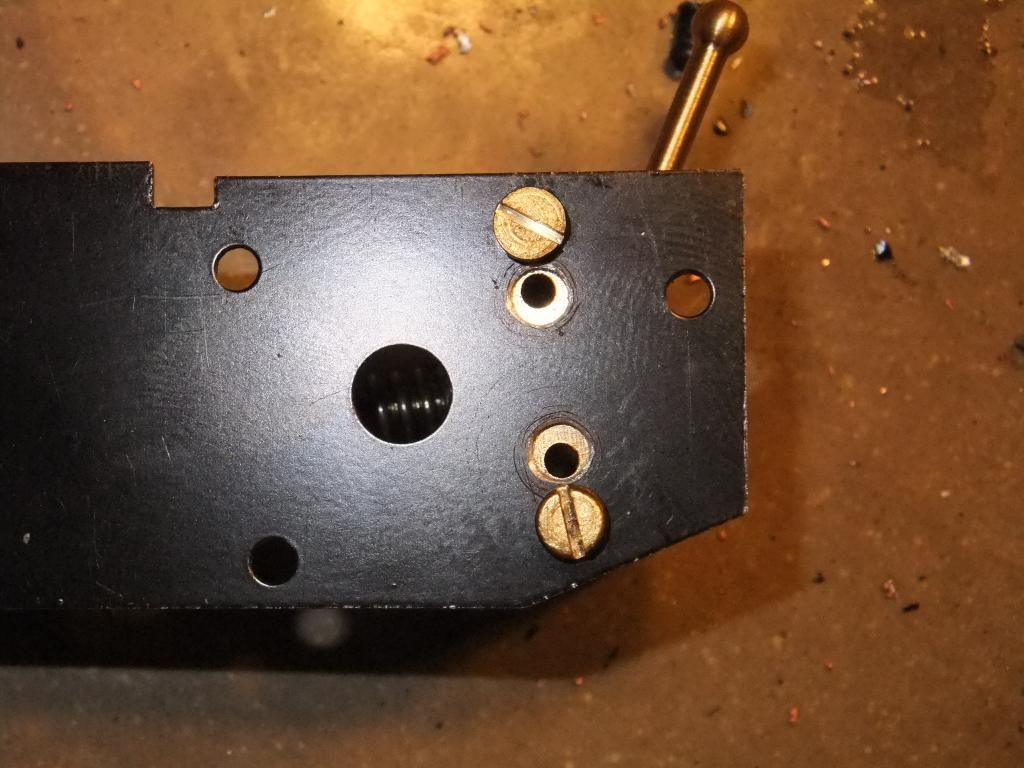
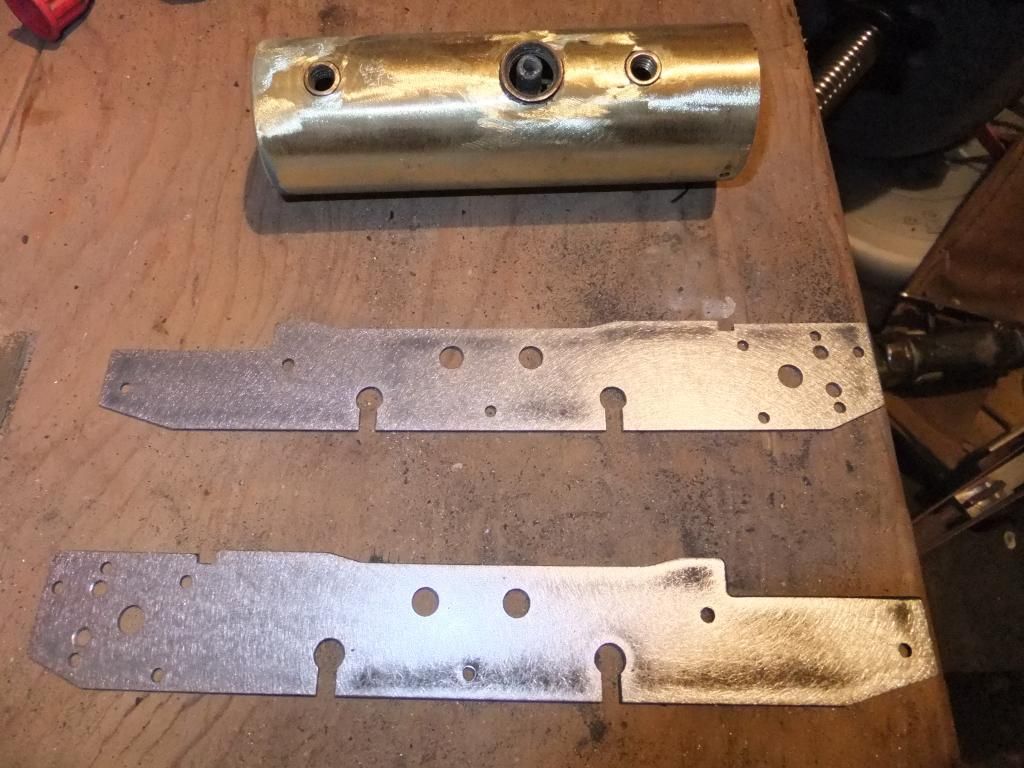
Chris Cairns:88284 wrote:3. I see you have solved the problem with the misaligned RWM reverser/regulator valve. When I refurbish a Mamod/MSS I drill out those holes to 1/8"/3mm as recommended in the 16mmngm Mamod e-book, and I also check the gaskets as well which usually need some filing to open out the slots and line up with the various holes. Some owners fit those reverser/regulator valves to the chassis using gasket compound, but I prefer to use oil resistant gasket paper.
Nice to see RWM are doing the cab mounted regulator again, although he needs to update his website to reflect that fact to potential buyers as they are still greeted with the "Awaiting new stock" message at present. The other ones I've seen fitted have a gasket behind the nut that secures the regulator body into the boiler 'T' piece.
Well I haven't sorted my RWM reverser valve yet, it was left kicking around so I used it. The original one as you have seen was soldered to the steam pipes so I haven't undone all that yet to pop this valve in.
I was unaware of the 3mm hole recommendation, I just drilled them out because they were mis aligned and yes the gasket was also to match. I normally do this on my upgraded models for a little extra out of them.
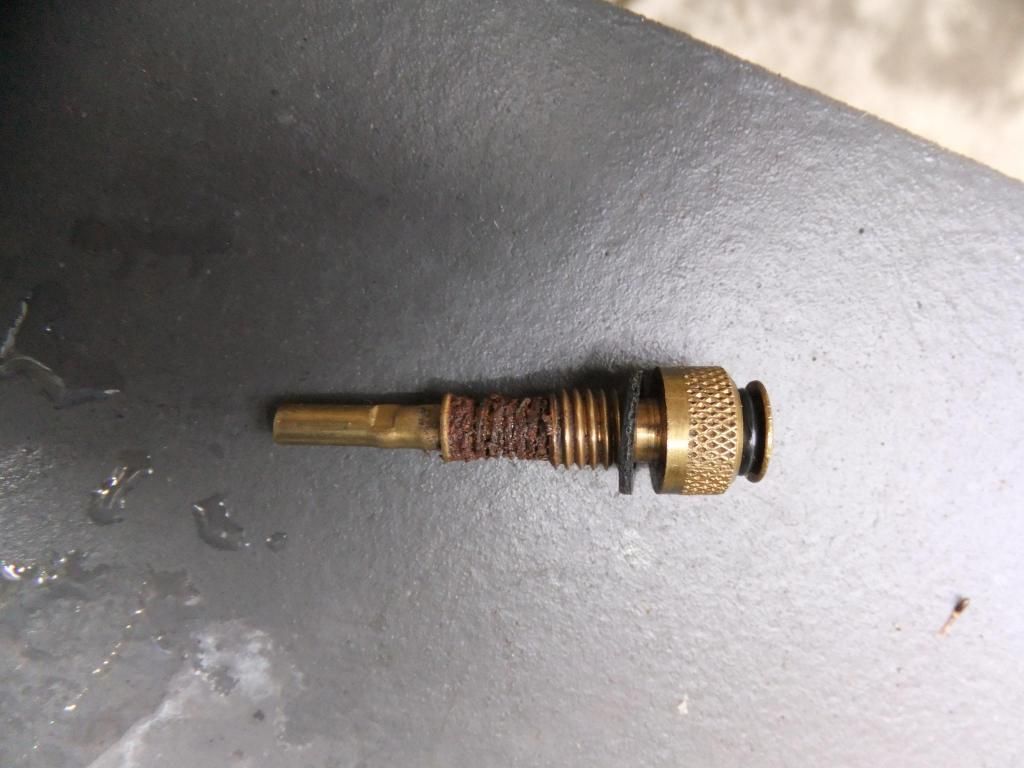
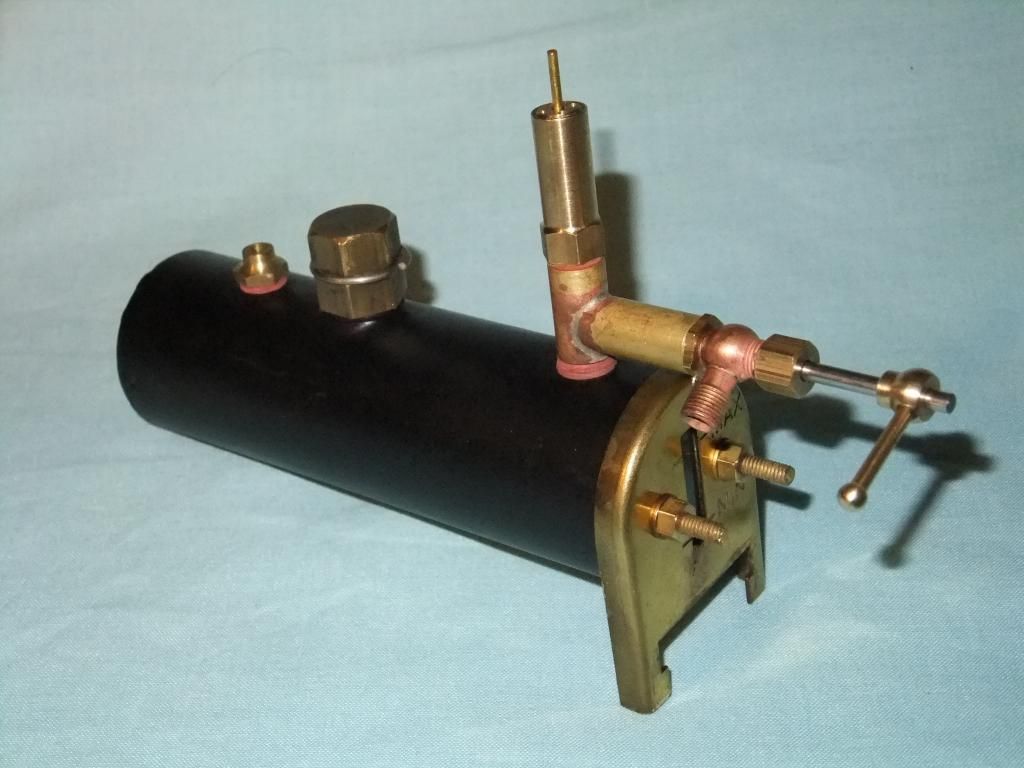
The RWM cab mounted regulator is still not in stock. This one was one that Roy made for me to trial and come back to him. The only problem with it is ( if you can call it a problem) that the safety valve thread size is 40tpi. I did want to have the flexibility of fitting a whistle in there and have put it to Roy. As for a gasket I used PTFE tape between the reg body and the T piece.
As for fitting the reverser between the frames I prefer to use a smidge of gasket sealer. Just a wipe with a finger, hardly any at all. I mean, they seal ok without any gasket compound I find. Especially after painting when the paint is still a little soft so it moulds to the shape of the mating surfaces of the parts.
Tbh it really is down to personal preference. I cannot see anything wrong using either method if done correctly.
Chris Cairns:88284 wrote:As you are not using the SL2 bodywork I'm intrigued as to what you will be creating here. Looking forward to future updates.
Well as for the bodywork, you will have to wait and see. I have a rod in the fire at the moment and am getting ready to start making. I need to do this soon so I can route all the pipe work how I want to. And get the model going properly.