Ninge, the buffers are made using M2 stainless steel nuts/bolts so if you need help let me know.
Glad you like the progress so far Tom. I am looking forward to hosting steam-up's one day!
Cheers,
Tom
RWLR
RWLR - Robin Wood Light Railway
-
tom_tom_go

- Driver

- Posts: 4824
- Joined: Wed Feb 23, 2011 3:08 am
- Location: Kent, UK
- Contact:
-
tom_tom_go
- Driver
- Posts: 4824
- Joined: Wed Feb 23, 2011 3:08 am
- Location: Kent, UK
- Contact:
Despite my best efforts the raised surface is not level so I am wondering how to make the track level without constantly having to adjust ballast? I also don't like the idea of banging nails into the sleeprs as they will show.
I did have a play with putting screws under the sleepers, however, it's impossible to get a perfect level without making sure every screw is in the right place!
What does everyone else do please?
Cheers,
Tom
RWLR
I did have a play with putting screws under the sleepers, however, it's impossible to get a perfect level without making sure every screw is in the right place!
What does everyone else do please?
Cheers,
Tom
RWLR
-
Sir Clothem Cap

- Driver
- Posts: 1707
- Joined: Sun Sep 26, 2010 8:45 pm
- Location: Hampshire
- Contact:
-
tom_tom_go
- Driver
- Posts: 4824
- Joined: Wed Feb 23, 2011 3:08 am
- Location: Kent, UK
- Contact:
How do you overcome unevenness though on your lines?
I have gone along with a spirit level placed on the sleepers at various points and I have variations all over the place (this is without ballast so far).
Does it have to be perfect? I use R/C but I have to keep playing about with the regulator for smooth running
Cheers,
Tom
RWLR
I have gone along with a spirit level placed on the sleepers at various points and I have variations all over the place (this is without ballast so far).
Does it have to be perfect? I use R/C but I have to keep playing about with the regulator for smooth running
Cheers,
Tom
RWLR
-
anythingsdr
-
tom_tom_go
- Driver
- Posts: 4824
- Joined: Wed Feb 23, 2011 3:08 am
- Location: Kent, UK
- Contact:

-
Pendo Pilot


-
Marquis DeCarabas
-
Sir Clothem Cap
- Driver
- Posts: 1707
- Joined: Sun Sep 26, 2010 8:45 pm
- Location: Hampshire
- Contact:
-
tom_tom_go
- Driver
- Posts: 4824
- Joined: Wed Feb 23, 2011 3:08 am
- Location: Kent, UK
- Contact:
This is part one (steam up area) nearly finished:
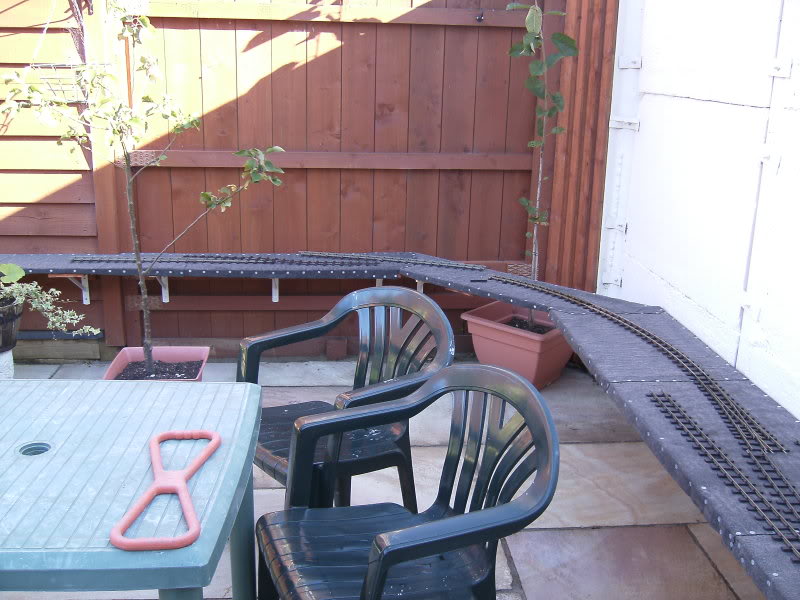
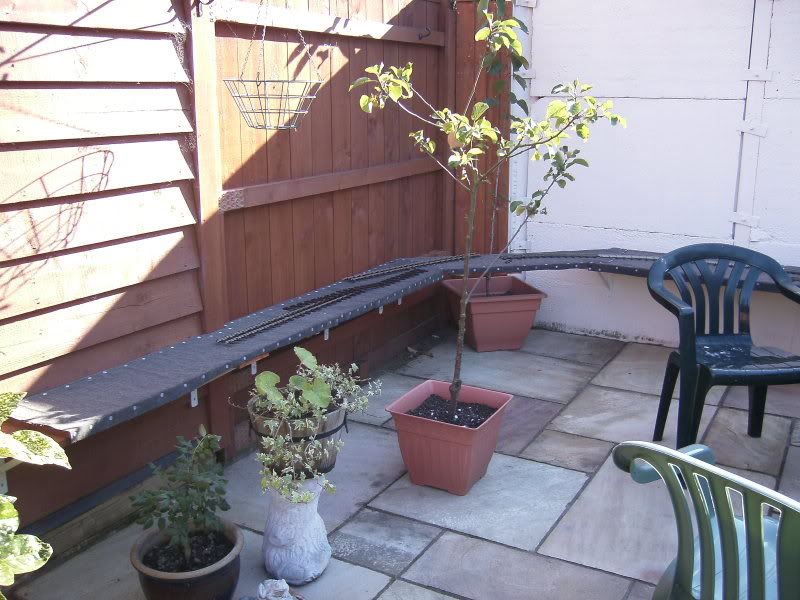

I have also started using Cliff Barker fishplates rather than the Peco offerings:
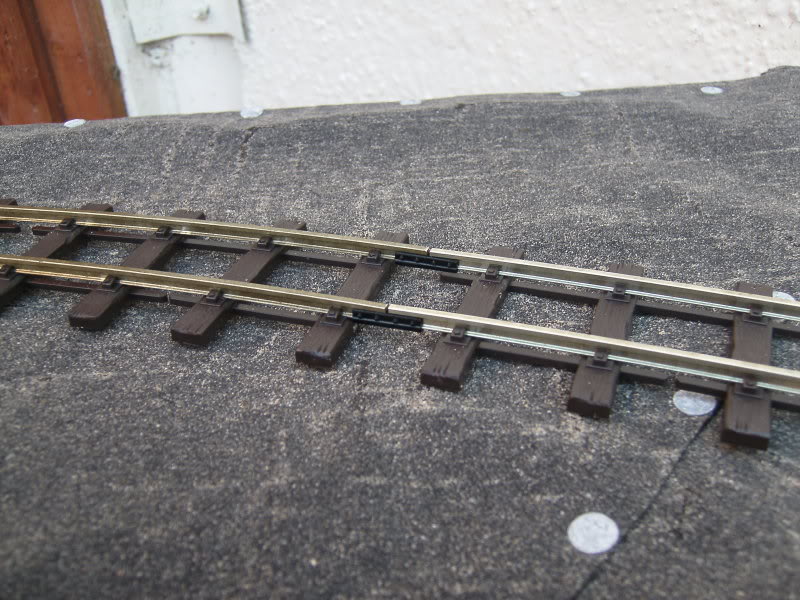
Once painted I think they will look the biz.
Unfortunately, my rail bender has decided to start producing kinked track so until that's sorted I can't do much else for the moment.
Cheers,
Tom
RWLR
I have also started using Cliff Barker fishplates rather than the Peco offerings:
Once painted I think they will look the biz.
Unfortunately, my rail bender has decided to start producing kinked track so until that's sorted I can't do much else for the moment.
Cheers,
Tom
RWLR
-
tom_tom_go
- Driver
- Posts: 4824
- Joined: Wed Feb 23, 2011 3:08 am
- Location: Kent, UK
- Contact:
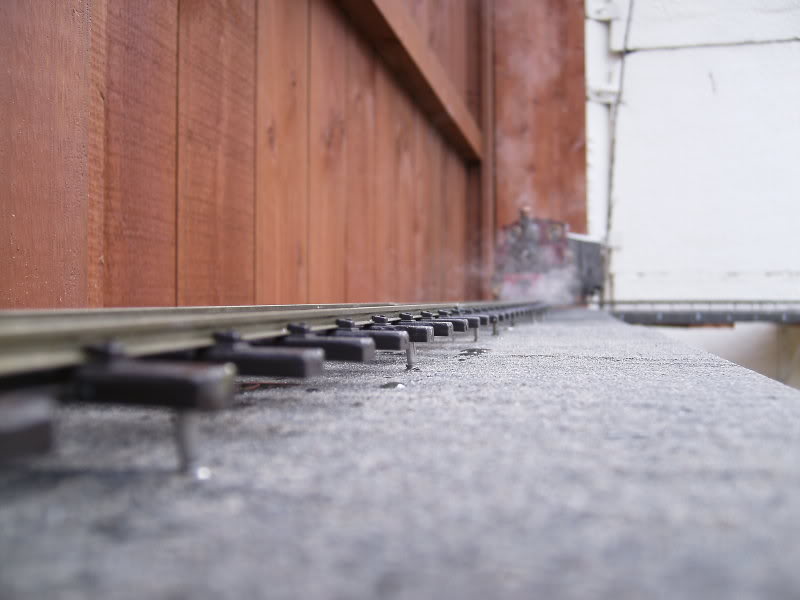
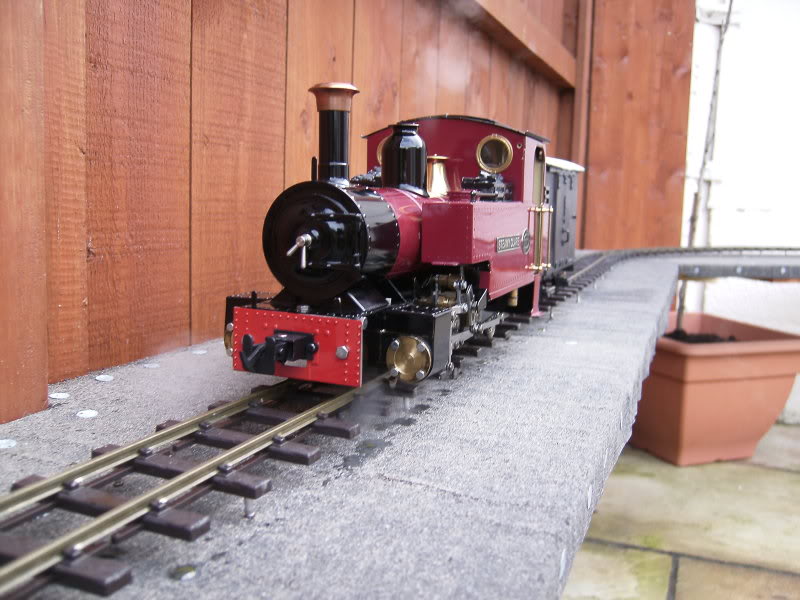
I perfected my 'screws under the sleeper' method of laying track (yes I know I make work for myself) 
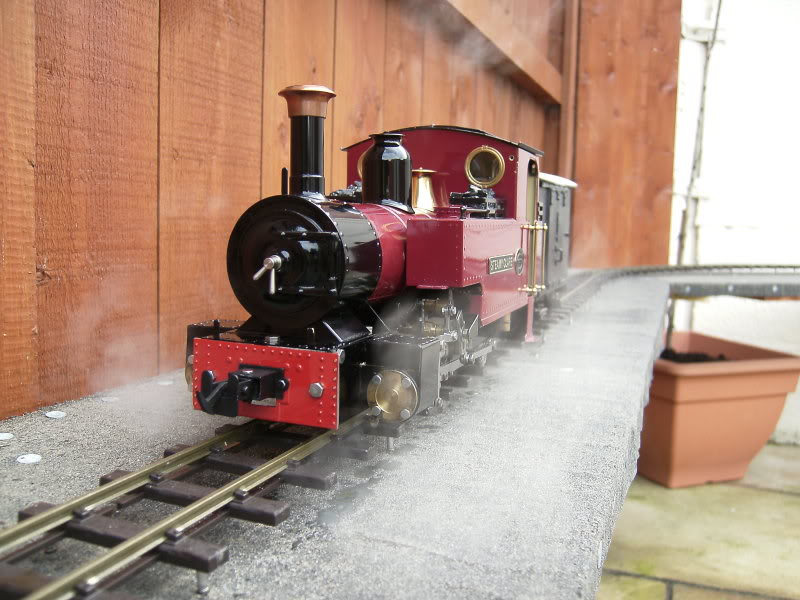
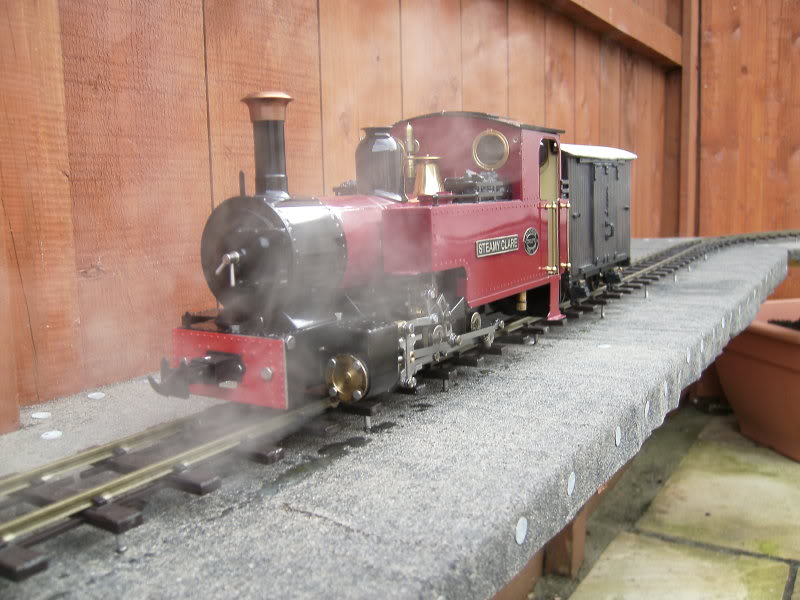
It does give great results though for level running and also means you cannot see any nails/screws through the sleepers:

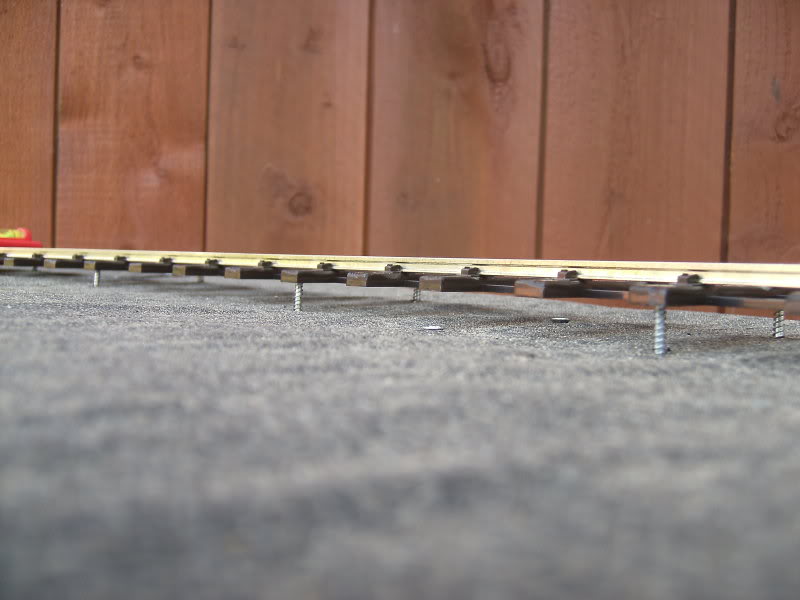
Screws are positioned every forth sleeper and because the track is webbed there is no sag when trains run over the parts with no supports. I will ballast these in later anyway.
Another benefit of using screws means I can adjust the track when required and because the track is raised it will create an embankment either side of the sleepers once the ballast is in place - just like the real thing
I completely agree with the enjoyment of hearing the loco's work which is why all my rolling stock is heavily weighted and chuff pipes a must!
Is it just me but those of us that work full time and have busy family lives find that their railways take years to build like mine is at the moment?
Cheers,
Tom
RWLR
It does give great results though for level running and also means you cannot see any nails/screws through the sleepers:
Screws are positioned every forth sleeper and because the track is webbed there is no sag when trains run over the parts with no supports. I will ballast these in later anyway.
Another benefit of using screws means I can adjust the track when required and because the track is raised it will create an embankment either side of the sleepers once the ballast is in place - just like the real thing
I completely agree with the enjoyment of hearing the loco's work which is why all my rolling stock is heavily weighted and chuff pipes a must!
Is it just me but those of us that work full time and have busy family lives find that their railways take years to build like mine is at the moment?
Cheers,
Tom
RWLR
-
Pendo Pilot
One of the plus points of working mad shifts helped me do mine. Getting home at 11am after a full day or not starting till 7 at night for example. It's all good.tom_tom_go:59541 wrote:I Is it just me but those of us that work full time and have busy family lives find that their railways take years to build like mine is at the moment?

-
tom_tom_go
- Driver
- Posts: 4824
- Joined: Wed Feb 23, 2011 3:08 am
- Location: Kent, UK
- Contact:
-
tom_tom_go
- Driver
- Posts: 4824
- Joined: Wed Feb 23, 2011 3:08 am
- Location: Kent, UK
- Contact:

-
DolwyddelanLightRail
Who is online
Users browsing this forum: No registered users and 23 guests