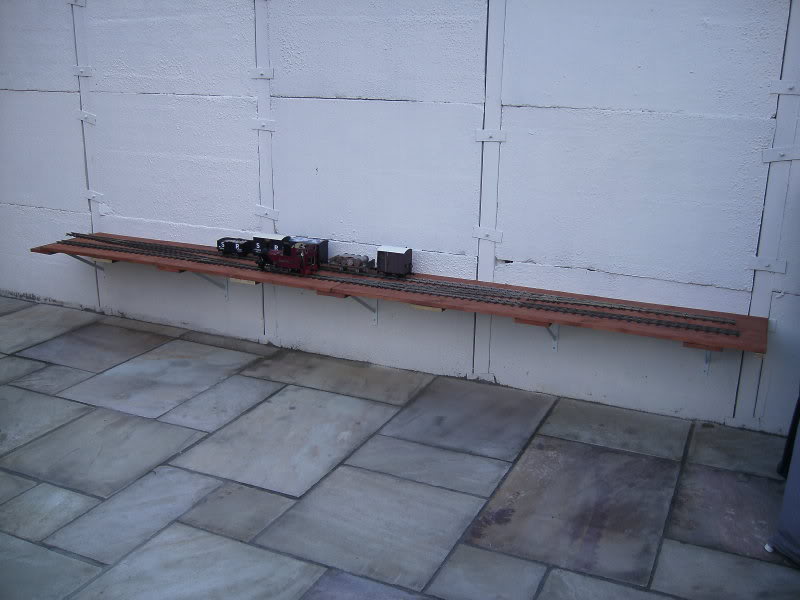
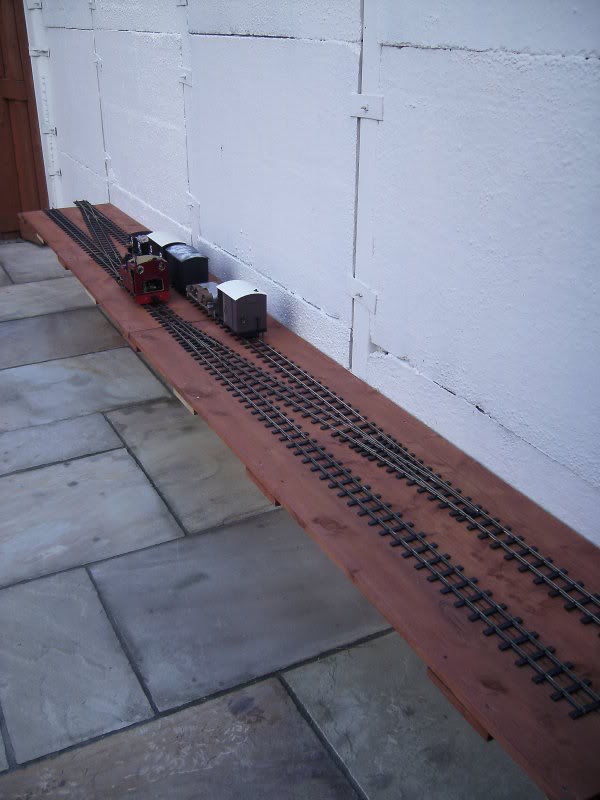
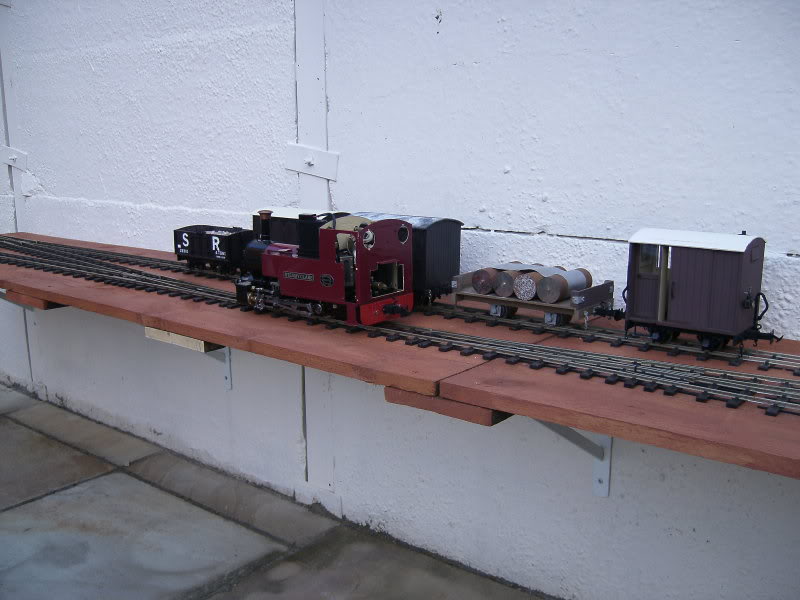
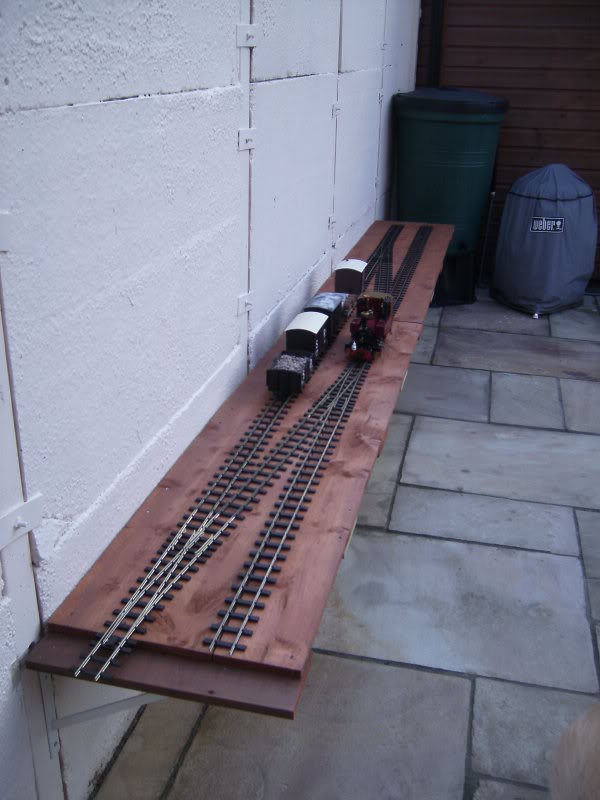
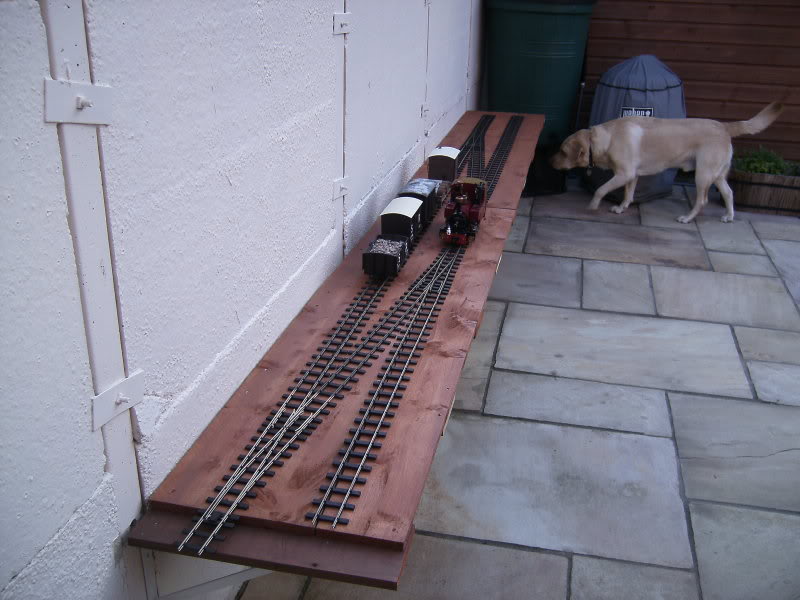
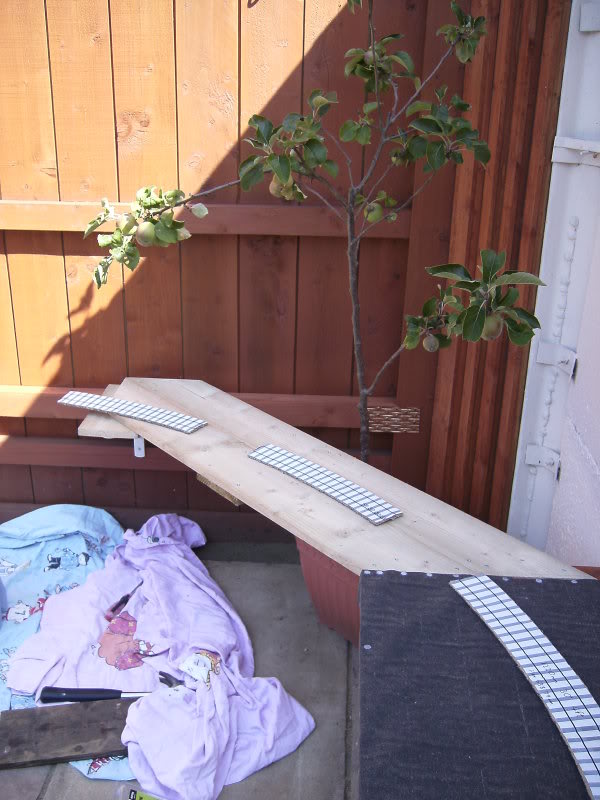
Finally started building my line now that the better weather is here to stay.
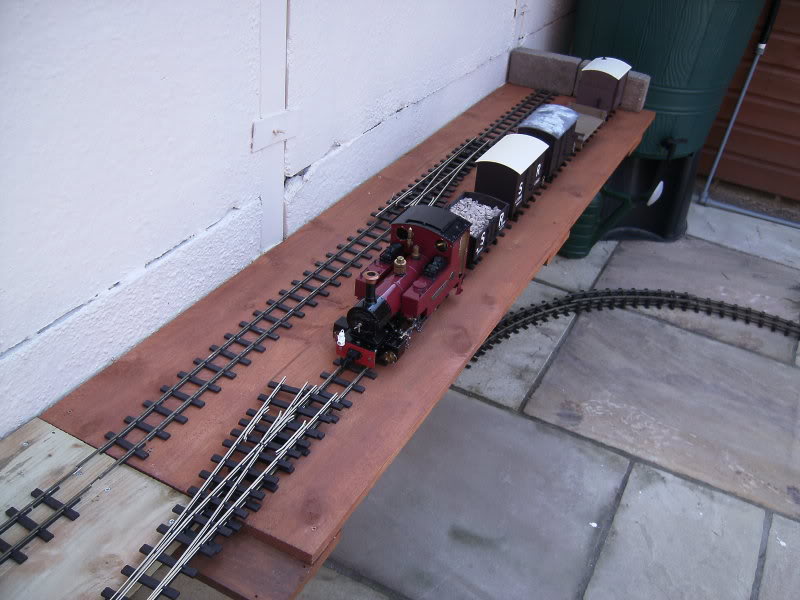
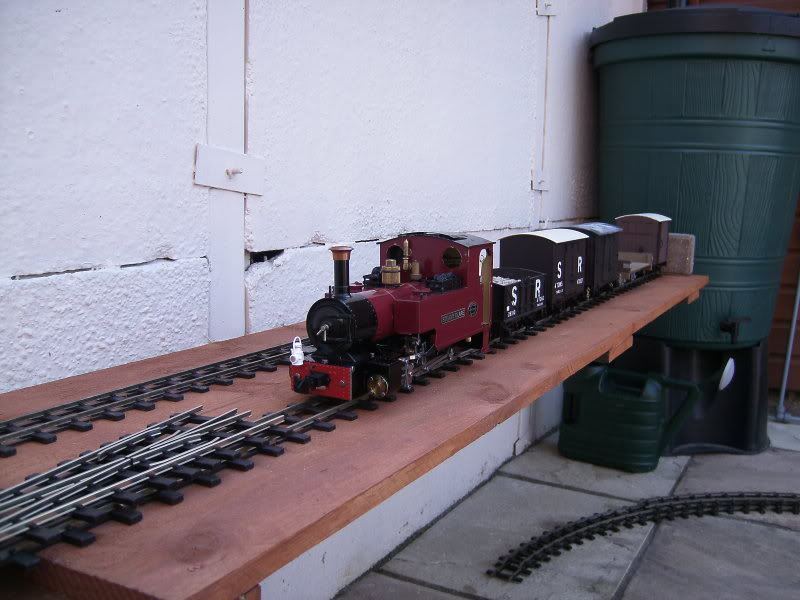
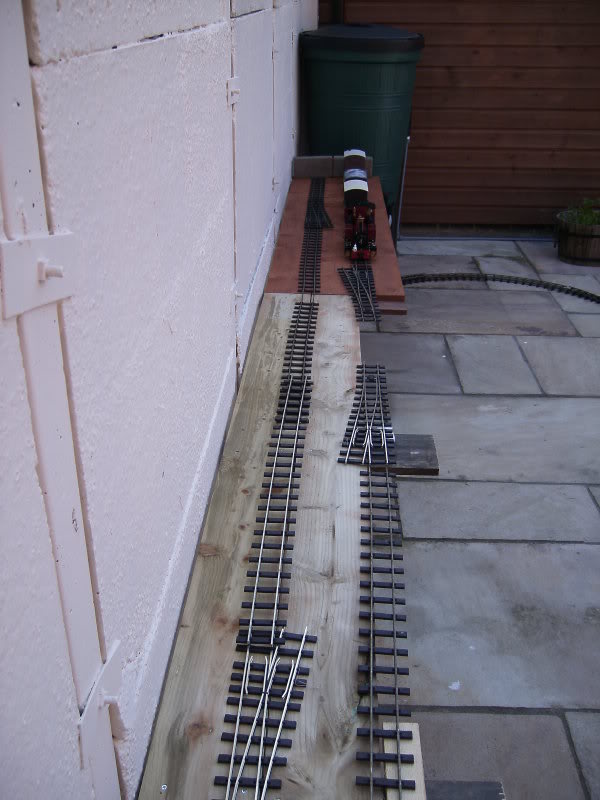
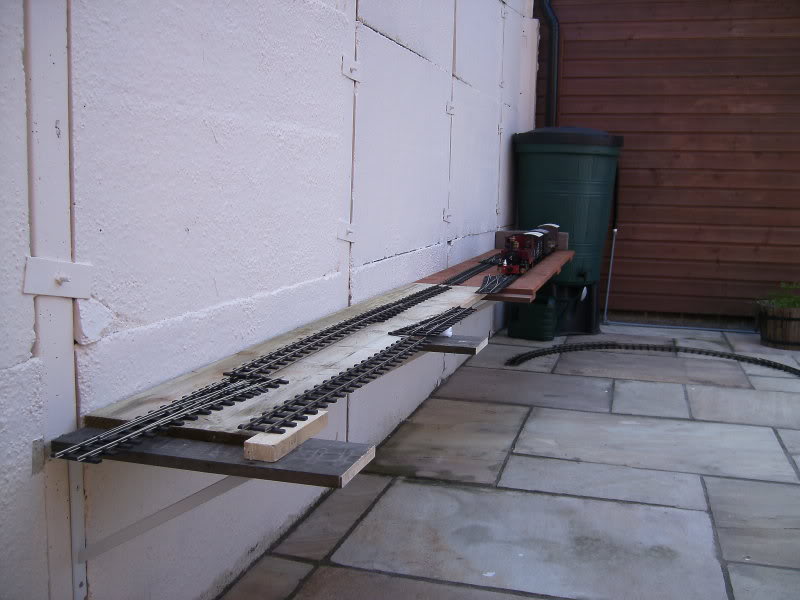
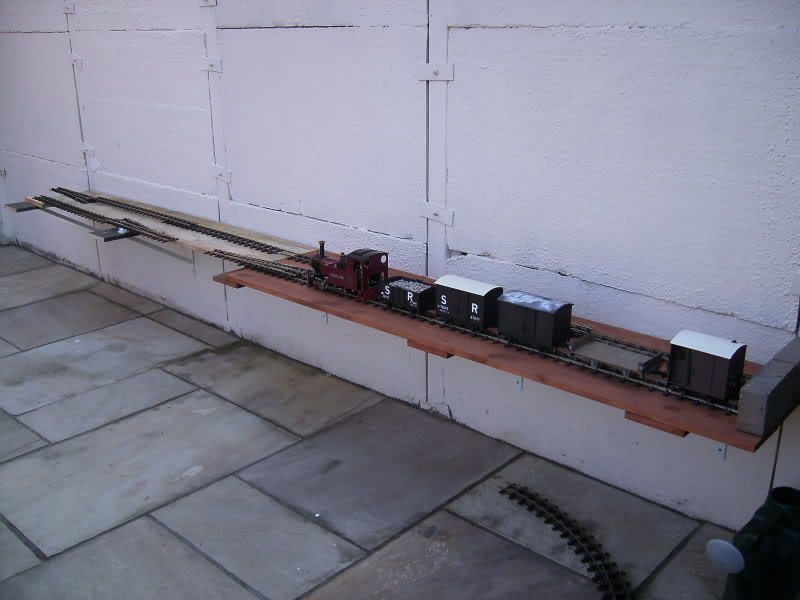
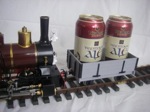
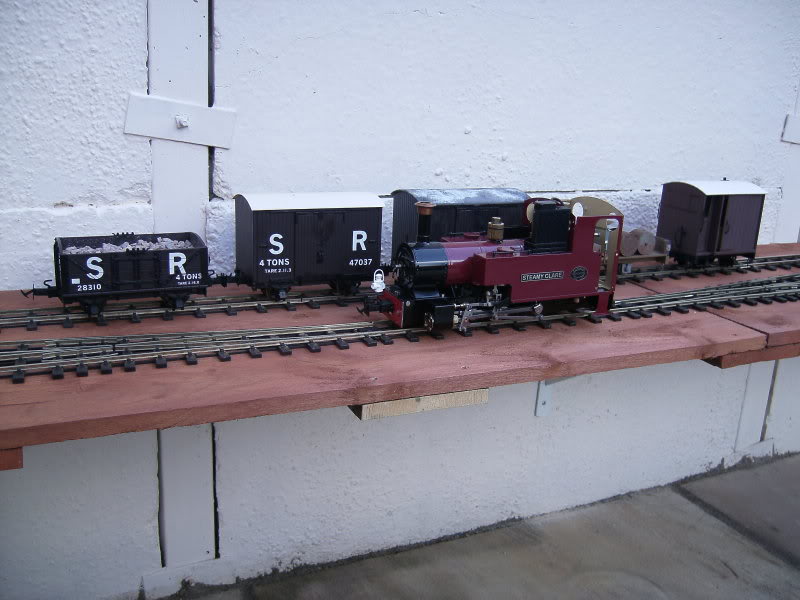
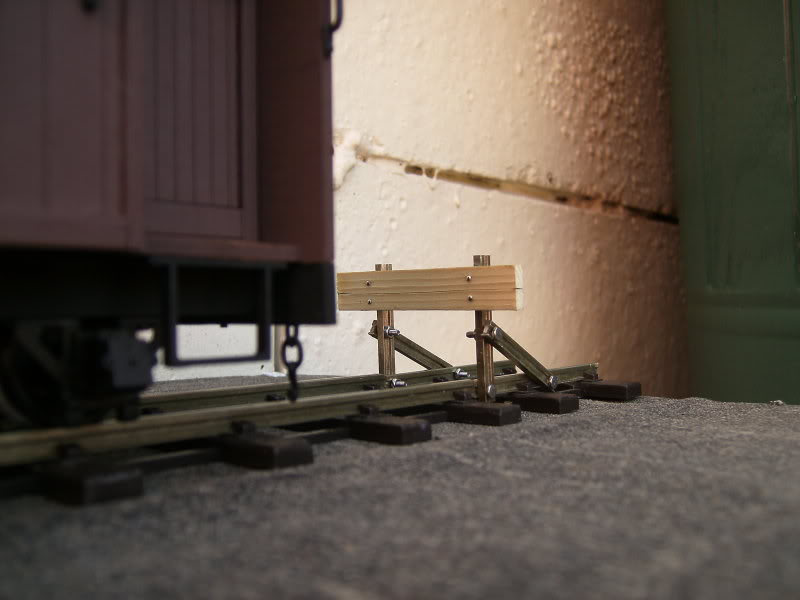
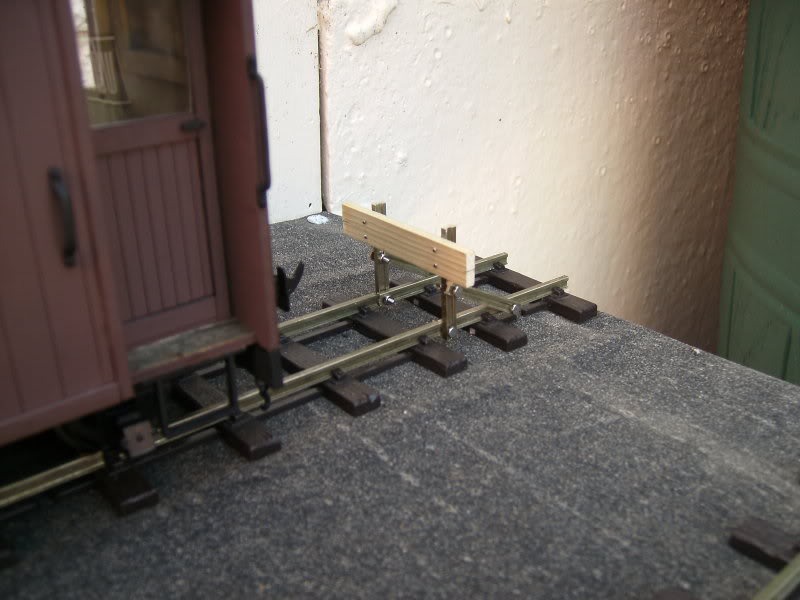
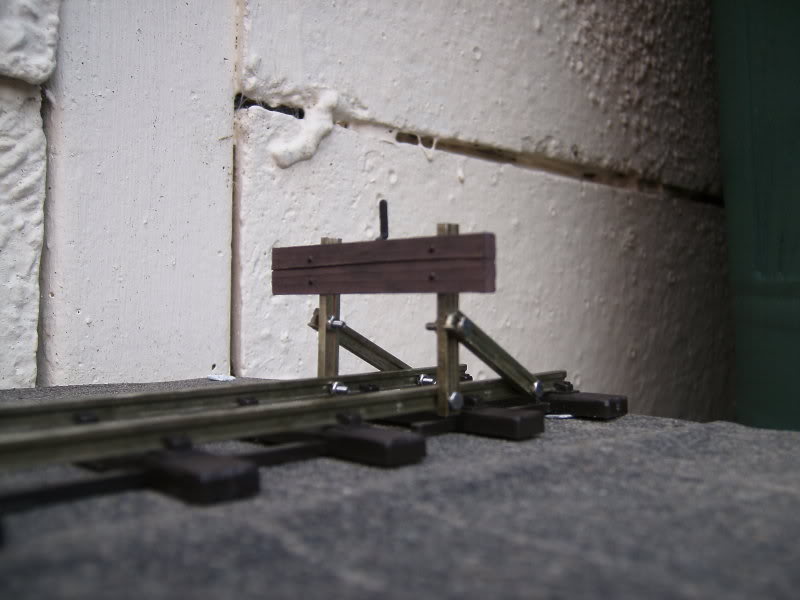
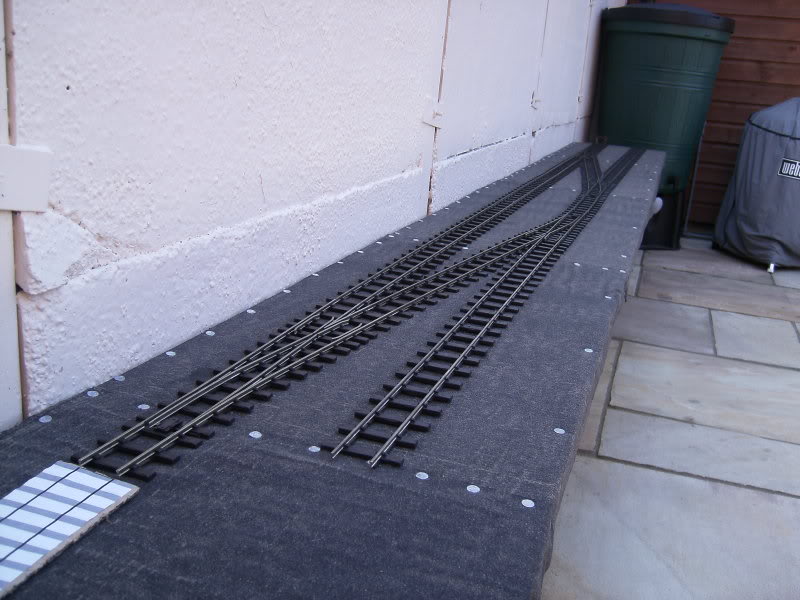
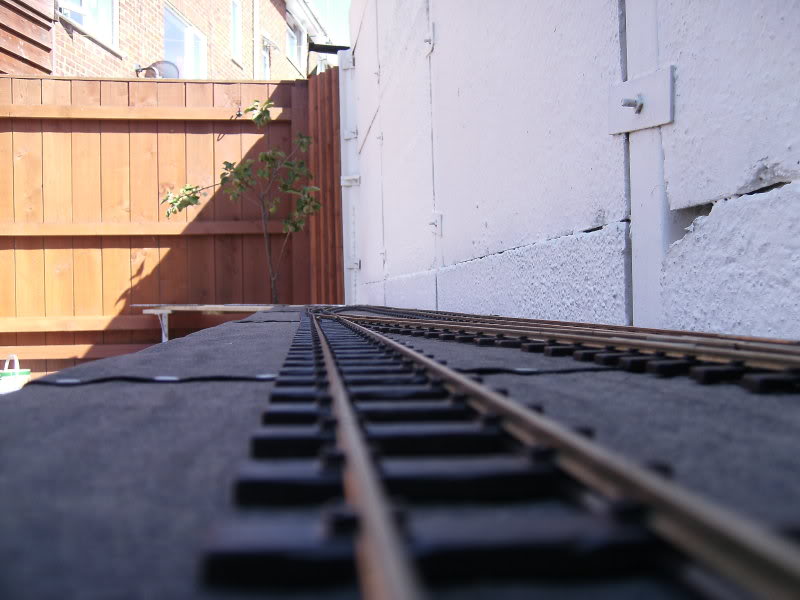
The first stage you see here is the steam-up area and allows rolling stock to be added as well. I will be boxing this all in adding gravel and lineside features as I go.
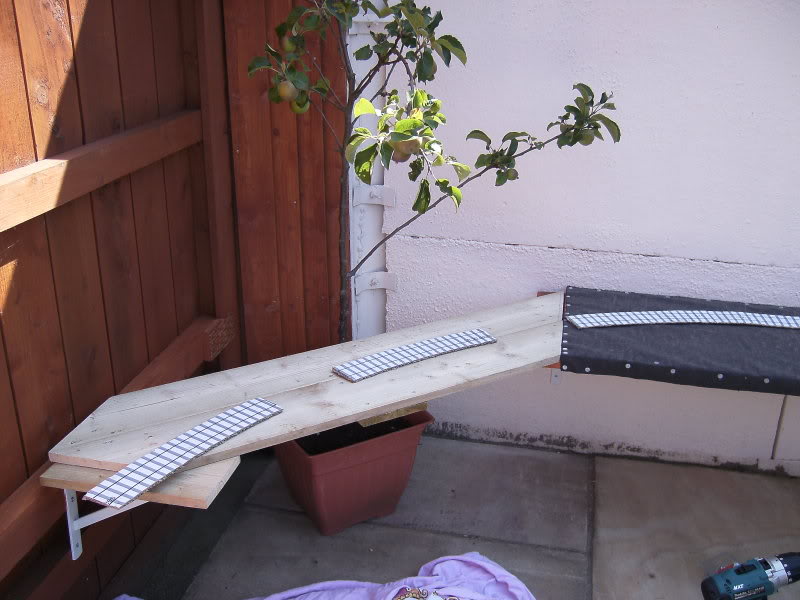
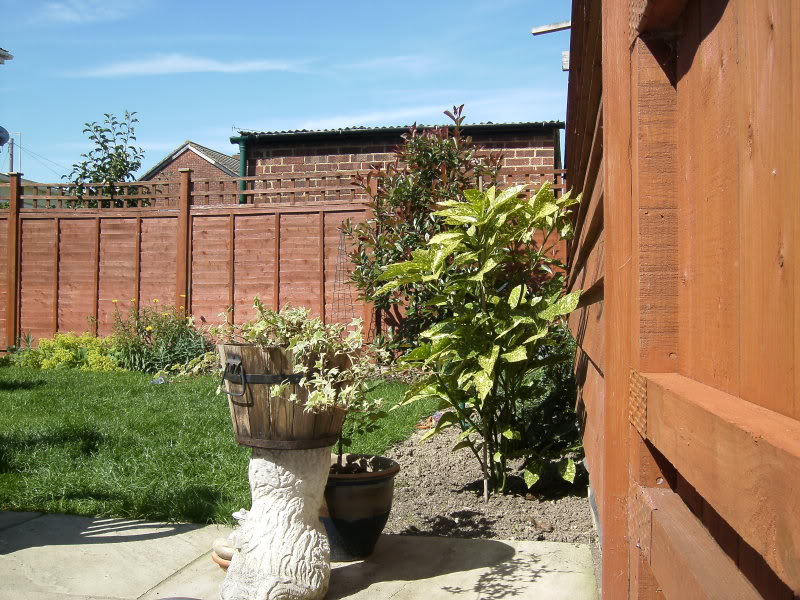
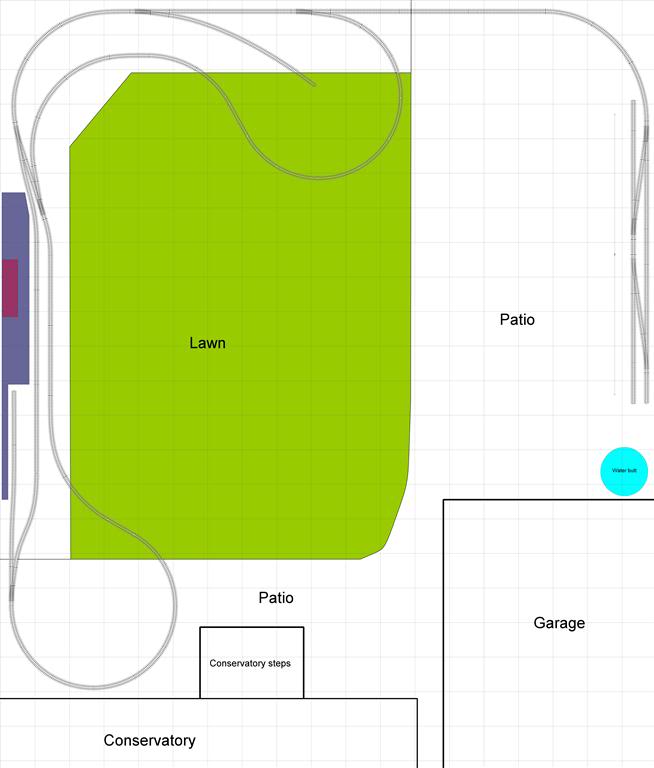
The track will eventually go off into the garden in a dog bone shape with trains being able to return to the steam-up area when they need to take on water/fuel, etc.
Here is the plan I am working towards:
Cheers,
Tom
RWLR