Hi all.
Ok, so I said I would have a break this winter after scratch building my WHR Pickering brake and buffet car but then I found this -
http://www.festipedia.org.uk/wiki/Carriage_Mystery
The only four known photos.
Well after a little more research it was time to get out my pencil and paper and draw out the possible coach no. 3 at 16mm to the foot based on estimated measurements.
It was obviously, to me, a bogie quarryman's coach possibly to replace the original NWNG 4 wheelers numbered 3, 4, and 5. It had 7 doors along each side but the arrangement of windows meant it must have been open with no partititions. How the seats were arranged is not known.
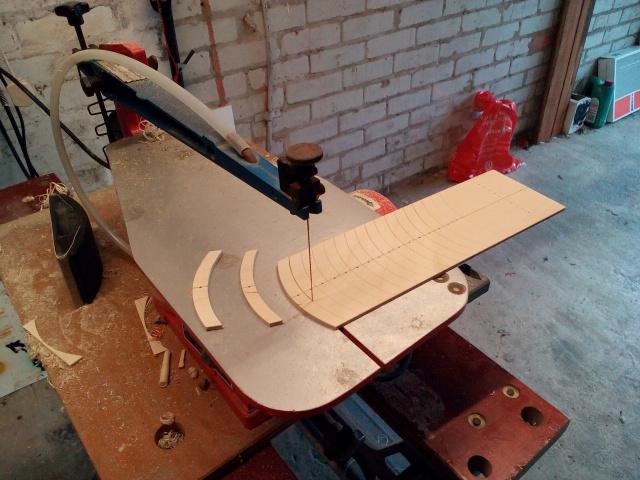
The first job was to cut the two sides from 0.8mm ply with window recesses cut with a sharp knife and scribe the 3in planking. They were then turned over and 3mm internal framing added leaving the windows 2mm larger than the ply to give a recess for the glazing to be added later. 3mm balsa panelling was then added between the framing.
Progress so far-

Although I scribed the external planking as with the buffet coach I wanted to make the doors separate from the body so after I had cut out the windows, I actually cut out all 14 doors, planed and sanded the edges to decrease the size slightly and then put them back in place held with masking tape. They are now permenantly back in place, glued to the internal framing and panelling.
I will keep you posted on future progress.
David T.