Si:91373 wrote:
QUESTIONS.......
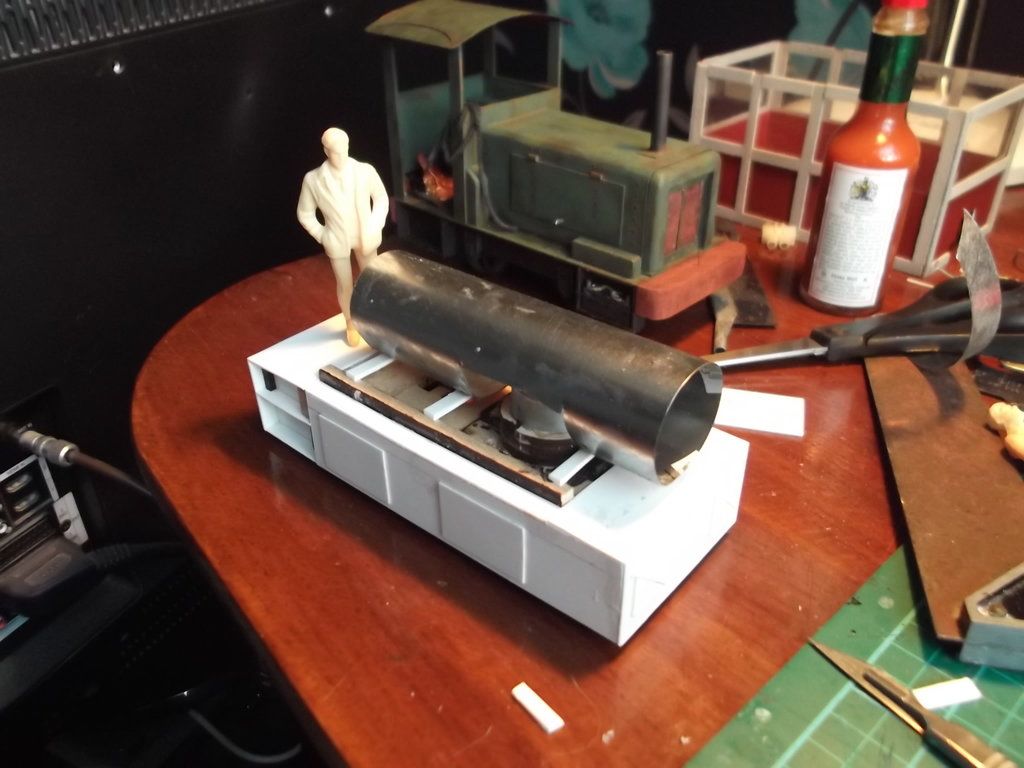
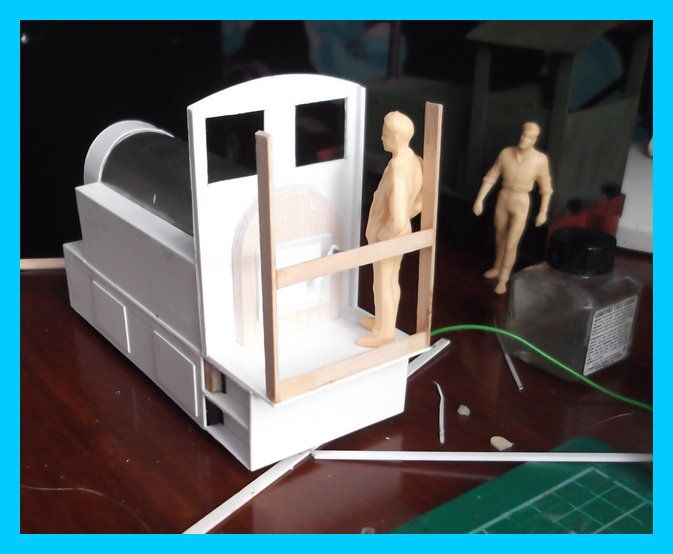
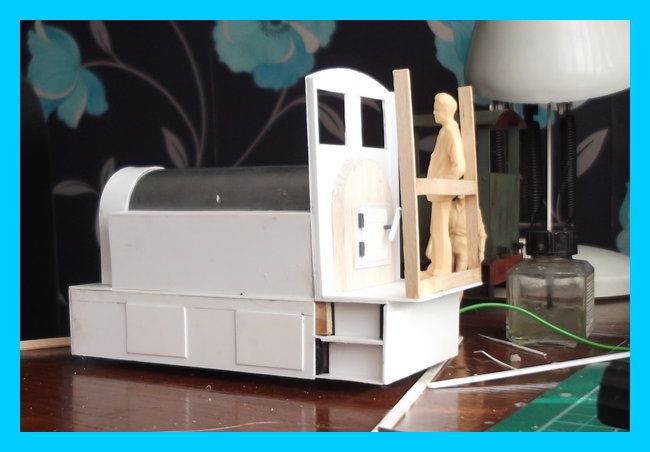
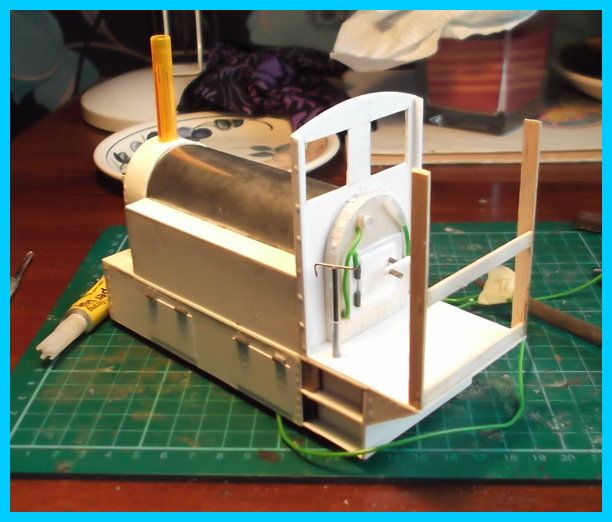
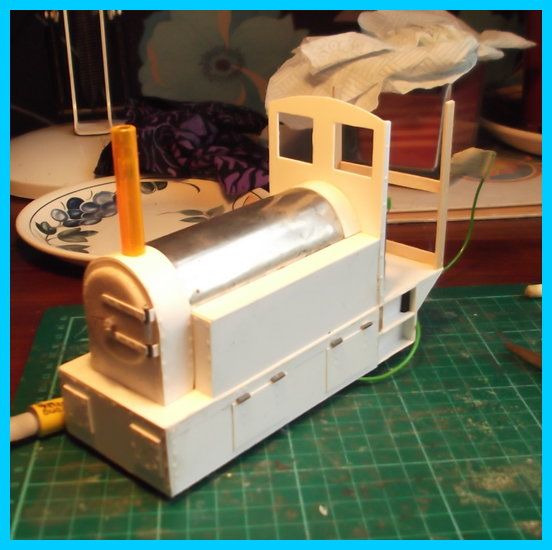
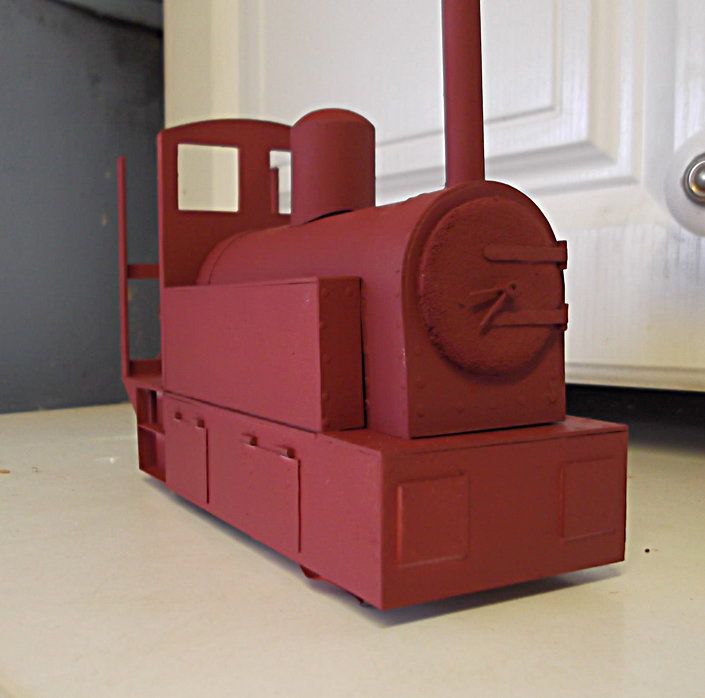
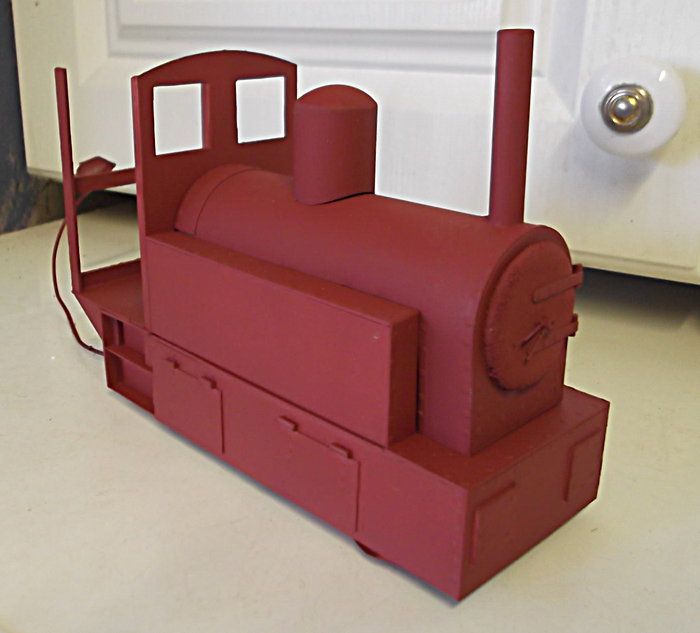
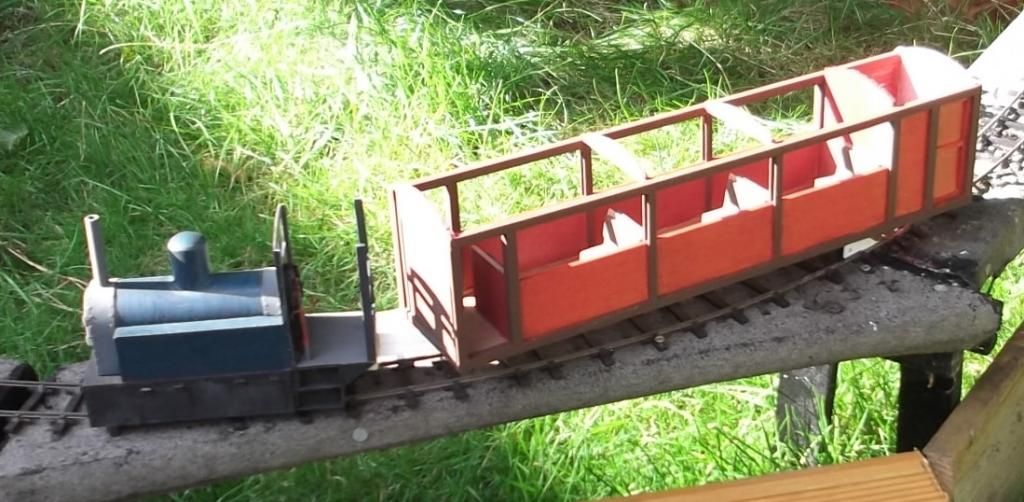
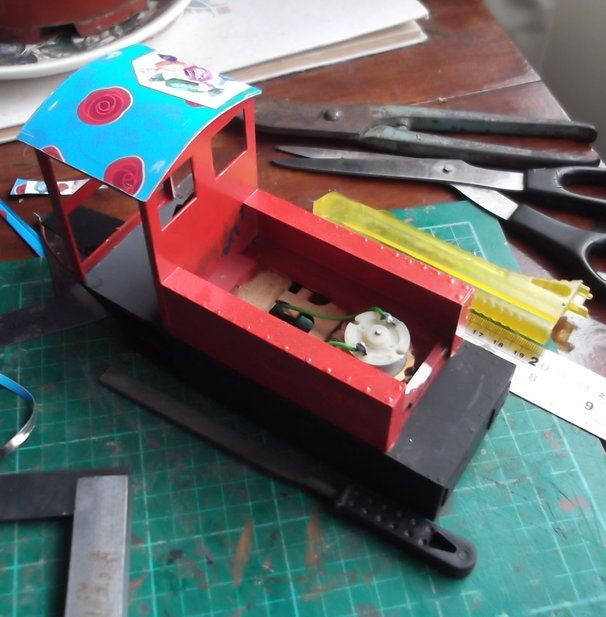
..you will notice that the cab windows are square...this is due to my total inability to cut circular windows...how would you do it? Also, do you think that the cab is too short?
It's coming along nicely.
Just noticed the questions.....
Round windows aren't a lot harder in polystyrene sheet than square ones and the process is much the same.
I use a pair of compasses to mark out the circle, then cut around roughly just inside the pencil line. The compasses that come in a school geometry set work fine for setting out the circle.
Then finish to the marked size using the curved side of a half round needle file, or an oval one. Don't try to do it with a round needle file, as the radius is too small and the edge of the opening will end up wavy.
Olfa sell circle cutters, which are basically compasses with a knife blade instead of a pencil. I've seen them in art shops, but never used one and I'm fairly sure they wouldn't be able to cut anything much thicker than 10 thou polystyrene sheet.
I prefer to open up the hole with a piercing saw, but a knife works just as well, just needs a bit more effort in thicker sheet.
If you want a raised rim on the window, glue a disc on the spectacle plate first and then open up the circular hole inside that disc, which makes it easier to keep the rim a constant width.
You'll get the hang of it with a bit of practice.

Some steam locos. have square windows instead of round ones in any case....
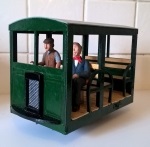
The cab looks OK for a small diesel, but possibly a little short for a steamer, as the fireman usually needs space to swing a shovel. That said, some industrial steamers had very small cabs and the one man crew had to use a special short handled shovel.
Graeme