Creating g-scale figures

A place for discussing garden railway scenery, such as buildings, trees, etc....
Post Reply
User avatar
clive_t
Cleaner
Cleaner
Posts: 15
Joined: Mon Sep 29, 2008 9:39 am
Location: Portsmouth, England
Contact:

Creating g-scale figures

Post by clive_t » Wed Oct 01, 2008 12:16 am

Hello again all

I tried posting this yesterday in the 'General' forum but I believe it was accidentally deleted during moving. Hey ho!

As I mentioned in my intro post, in recent months I have been perfecting a method for making my own figures. No particular reason, other than like many I hanker after something that is unique, and if I have been able to make it myself then so much the better!

From looking at the various US-based forums, there are many who follow the teachings of Mr Chris Walas in this respect. Chris is an extremely talented sculptor and railway modeller, but try as I might I have never been able to get to grips with that armature, sculpey, baking in the oven etc malarky. Particularly when it comes to modelling faces - mine always looked like they were some hideous genetic experiment gone horribly wrong...

Instead, I hit on another approach, based on the excellent Preiser figures. The idea I had was to dismember a Preiser figure, and rebuild the figure with the various parts reunited in a different pose, held together with a 'skeleton' from copper wire and any gaps filled in with an epoxy putty.

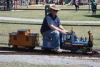
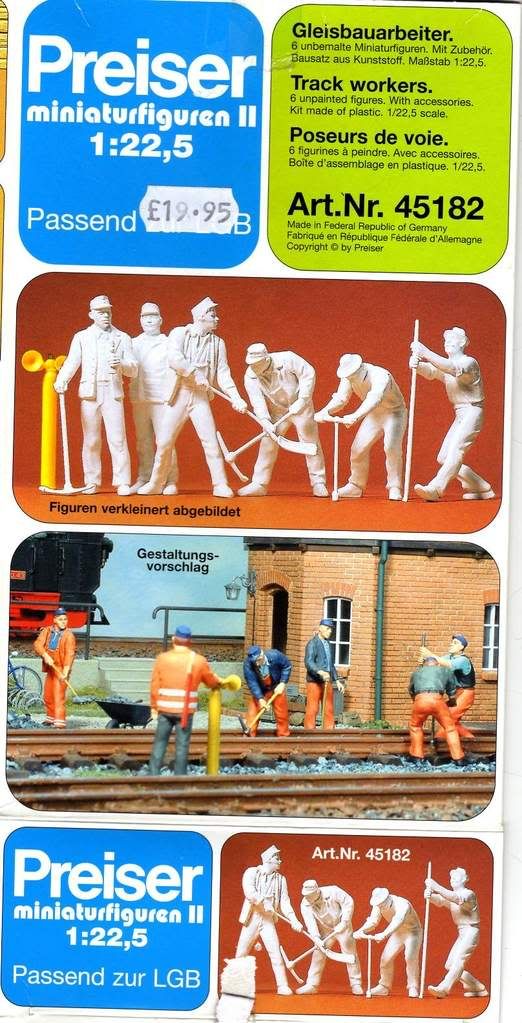
For me, the best Preiser figures to use as raw materials are those contained in the 'track worker' set. A set of six bodies, with various arms, heads etc which are easily cut up and rearranged to suit the desired end result:

Image

You could of course use the pre-painted figures as well, but bear in mind the extra money you'll invariably pay will essentially be wasted as you will almost certainly find yourself repainting the finished article anyway.

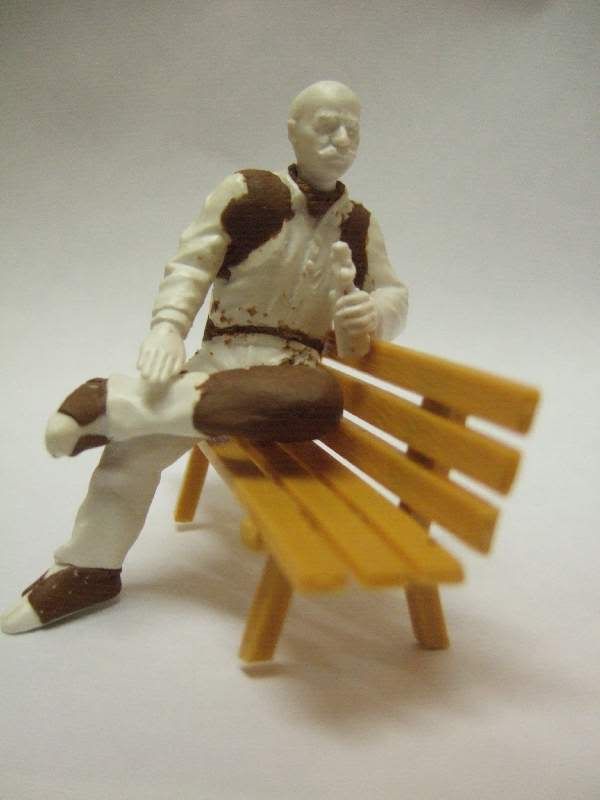
Anyway, my first foray into this murky world was to produce a figure sitting casually on a bench, enjoying a beer. Fortunately one of the limbs in the box is actually holding a beer bottle, so straight away I was half-way there! Once the figure was cut and rearranged and filled, I was left with this:

Image

The brown filler is Milliput, a two-part epoxy putty available from most good model shops in a variety of colours/consistences. I deliberately went for brown as it showed up nicely against the white plastic of the figure. The filler goes hard after about 12 hours, but the longer you leave it the better. It can be sanded, carved, drilled etc. I sprayed my figure with grey primer first, which immediately showed up all the lumps and bumps etc which needed smoothing down. I would recommend a Dremmel or similar, with a small abrasive 'cone' for that purpose.

Once done, I then set about detailing the figure, in this case by adding a waistcoat hanging open at the front. This was done with another 2-part modelling putty, called Kneadatite Duro, or "Green Stuff" (GS from here onwards!) GS remains slightly flexible even after being allowed to set, and is more difficult to sand. But its ability to stretch to a thin sheet lends itself most readily to adding layers of clothing and other fine details, such as berets, scarves, shirt collars etc.

Image

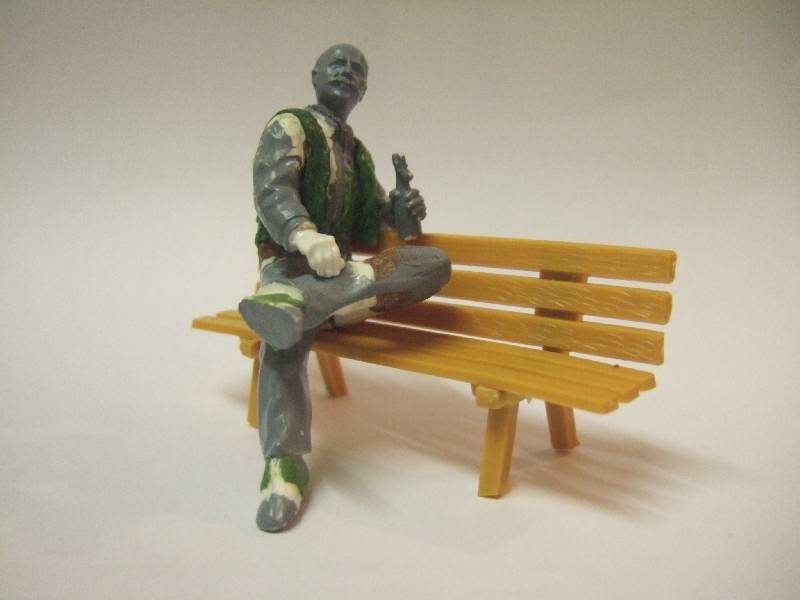
Once that was allowed to set I resprayed with grey primer once more to give the figure a good keying surface for the final painting - I tend to prefer acrylics for this, in particular the Games Workshop range which covers a figure well, and comes in a staggeringly wide spectrum of colours and shades.

Here then is the finished article - I named him 'Cyril' for no other reason than the name seemed to suit him!

Image

To date I've done quite a few different figures for different poses and situations, all using the same technique, but with varying degrees of hacking -

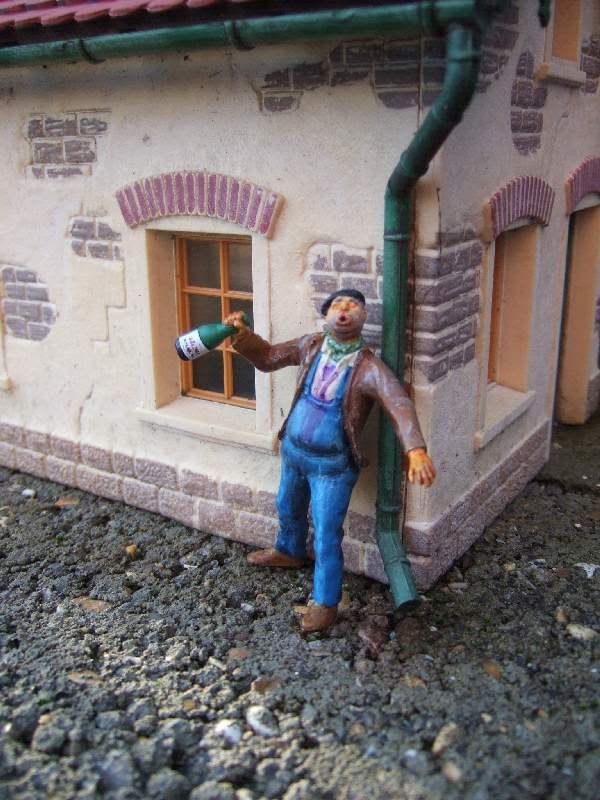
A French wine-taster (!):
Image

Here's a slide-show showing the various stages he went through:
Image

Then of course, we have...
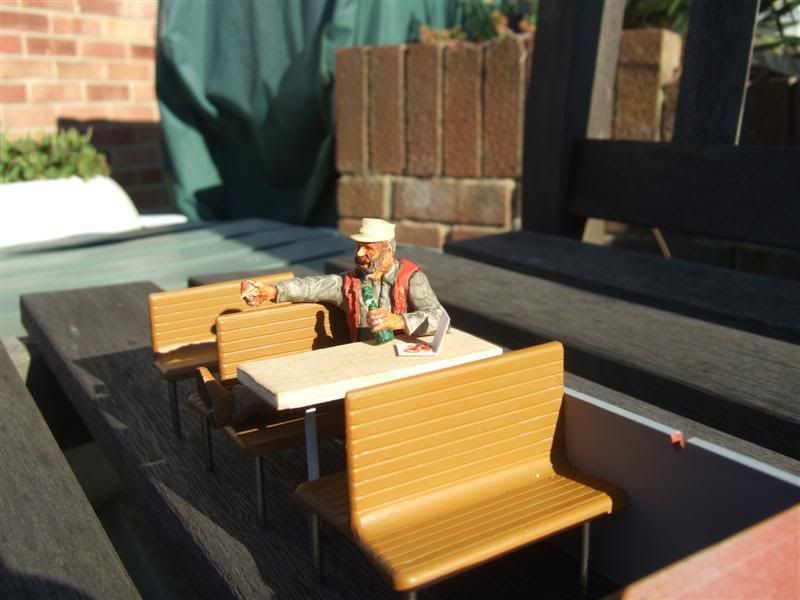
A MoW crew member (on his lunch break obviously!):
Image

A French tram driver (my own interpretation of one anyway):
Image

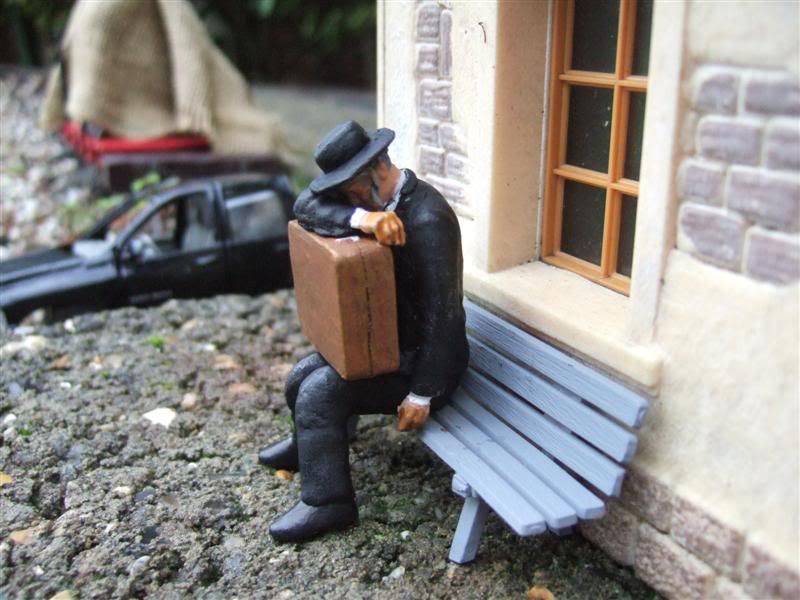
A passenger sitting casually reading his paper:
Image

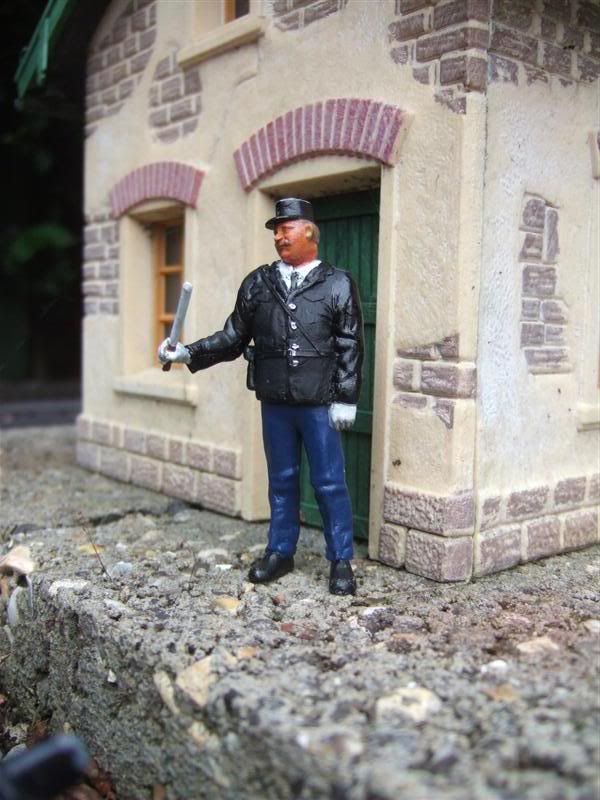
A gendarme (this was a commission build at the behest of a mate of mine who lives in Chelles, east of Paris):
Image

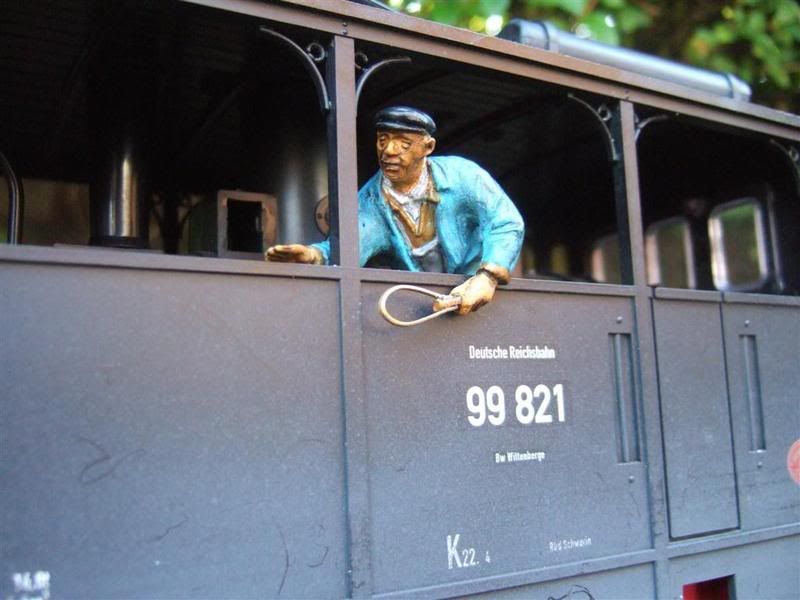
A loco driver (holding a single line token in readiness):
Image

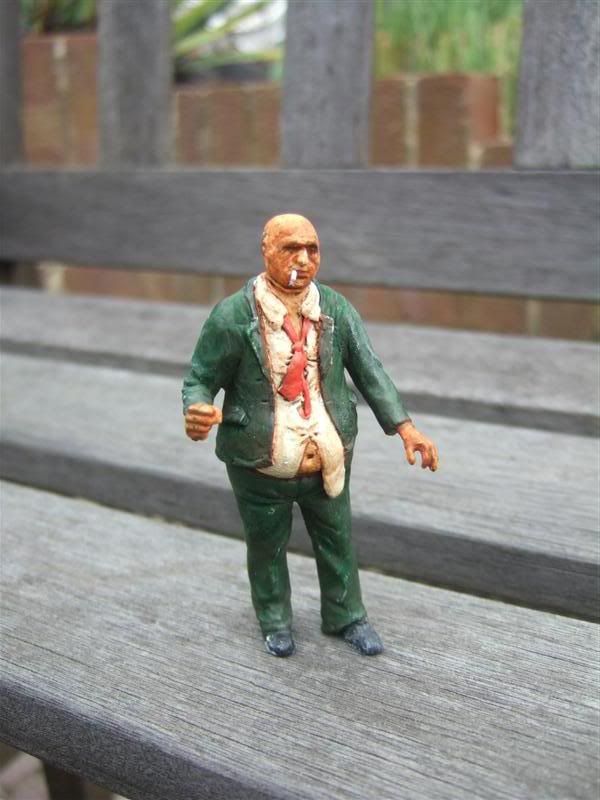
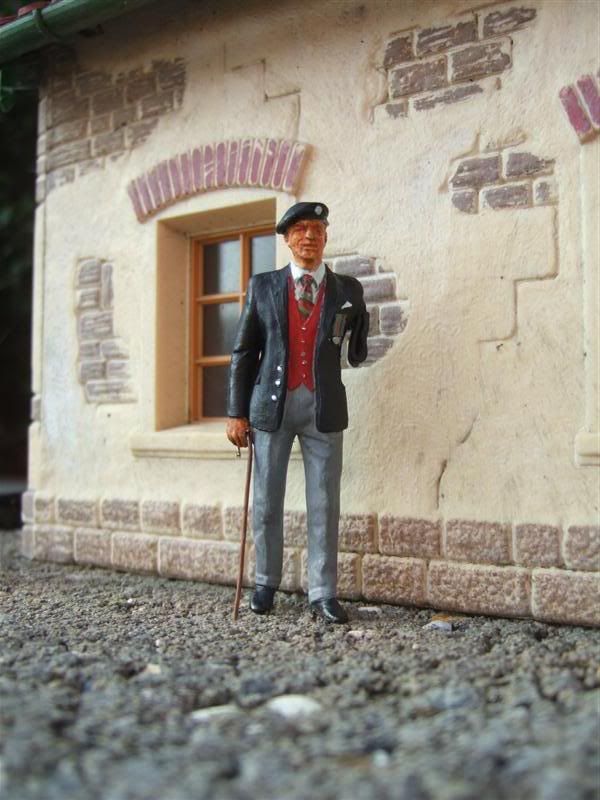
And finally (for now!) a war veteran:
Image

Has anyone else out there done something similar? If so I'd like to see some pics - if not, why not have a go?
Cheers

Clive

mhlr
Retired Director
Retired Director
Posts: 4336
Joined: Sun Oct 21, 2007 8:16 pm
Location: Shropshire, England

Post by mhlr » Wed Oct 01, 2008 12:58 am

Fantatastic Clive, very nicely done! Im sure that it will come very handy for the G Scalers amoungst us, because its difficult to get them for the right purpose you want them for.

All my figures are Modeltown, I bought a job lot off ebay, and then spent a day painting them up. I use acrylic, and flesh coloured paint from that Games workshop (dwarf flesh ?!!), and then sprayed them in clear varnish. Still have to stand the test of time outside, because I have not had them out yet due to no buildings etc as yet...
Image

User avatar
ACLR
Retired Director
Retired Director
Posts: 1592
Joined: Wed Oct 17, 2007 6:22 am
Location: Brisbane
Contact:

Post by ACLR » Wed Oct 01, 2008 8:06 am

great Job Clive
I like your figures one more thing on my must do list :|

User avatar
clive_t
Cleaner
Cleaner
Posts: 15
Joined: Mon Sep 29, 2008 9:39 am
Location: Portsmouth, England
Contact:

Post by clive_t » Wed Oct 01, 2008 8:35 am

At the moment I'm working on a driver for my Stainz 'crane tank' loco. Hopefully when finished he will be leaning out of the side of the cab.

I'll append a pic to this thread once he's done.
Cheers

Clive

User avatar
Chris Cairns
Driver
Driver
Posts: 2366
Joined: Mon Oct 29, 2007 7:25 pm
Location: Glasgow, Scotland

Post by Chris Cairns » Wed Oct 01, 2008 10:32 am

Some very nice figures there Clive.

So far I've just stuck with the ready painted driver figures from Modeltown, plus lots of Playmobil passengers.

pauly
Driver
Driver
Posts: 1970
Joined: Tue Aug 12, 2008 9:18 pm

Post by pauly » Wed Oct 01, 2008 7:23 pm

I prefer to make my own from scratch
A steam propelled life-style.

User avatar
clive_t
Cleaner
Cleaner
Posts: 15
Joined: Mon Sep 29, 2008 9:39 am
Location: Portsmouth, England
Contact:

Post by clive_t » Thu Oct 02, 2008 10:20 am

As promised, here's a shot of my latest figure, a driver for the crane tank loco:

Image

And for your added amusement, here's a slide-show of the progress pics for this figure:

Image
Cheers

Clive

User avatar
Chris Cairns
Driver
Driver
Posts: 2366
Joined: Mon Oct 29, 2007 7:25 pm
Location: Glasgow, Scotland

Post by Chris Cairns » Thu Oct 02, 2008 12:04 pm

Very impressive.

Liked the slide show, and the crane tank loco is great as well.

User avatar
MTA
Moderator
Moderator
Posts: 1227
Joined: Fri Jan 04, 2008 7:09 pm
Location: West Sussex
Contact:

Post by MTA » Thu Oct 02, 2008 12:46 pm

Those figures are brilliant Clive.

The first figure I thought was alarmingly life-like!
Image

User avatar
clive_t
Cleaner
Cleaner
Posts: 15
Joined: Mon Sep 29, 2008 9:39 am
Location: Portsmouth, England
Contact:

Post by clive_t » Mon Nov 10, 2008 10:10 am

A quick update on the figure front:

Another 'commission' build, for a suitable 'Corsican' driver figure for my Paris-based mate:

Image

This figure was a bit different to those that have gone before, as I took it upon myself to model the bare legs from scratch, using lengths of copper wire as armatures - as the slide-show will hopefully show:

Image
Cheers

Clive

User avatar
clive_t
Cleaner
Cleaner
Posts: 15
Joined: Mon Sep 29, 2008 9:39 am
Location: Portsmouth, England
Contact:

Post by clive_t » Mon Nov 10, 2008 10:12 am

...Then last weekend, I completed this 'weary traveller' figure. I had been invited to demo the making of a figure at the G-Scale Society's Solent Group exhibition. However because I spent so much time 'yapping' with visitors, I only got as far as a seated torso with no arms or head - neither did I have any real idea about where to go beyond that. Well, here's where it did end up:

Image

And the slide-show, for your further entertainment:

Image

The first picture in the slide-show shows how far I got in the exhibition!
Cheers

Clive

Post Reply

Who is online

Users browsing this forum: No registered users and 0 guests