Page 1 of 2
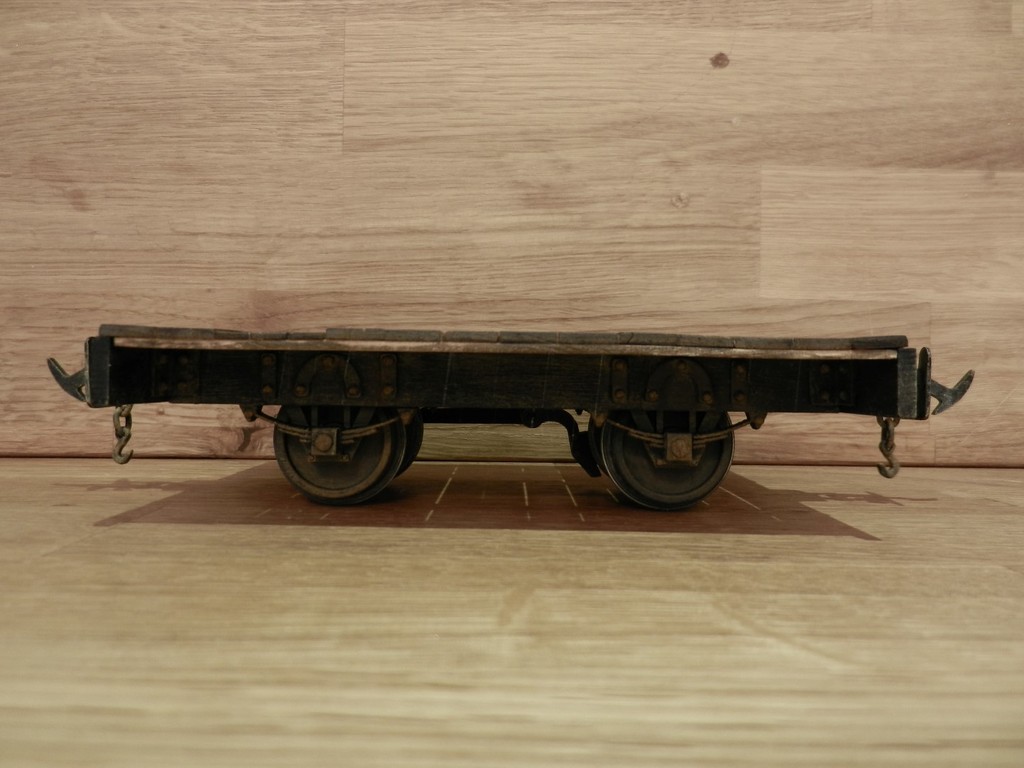
Another flat wagon for the RWLR
Posted: Sat May 18, 2013 2:36 pm
by tom_tom_go
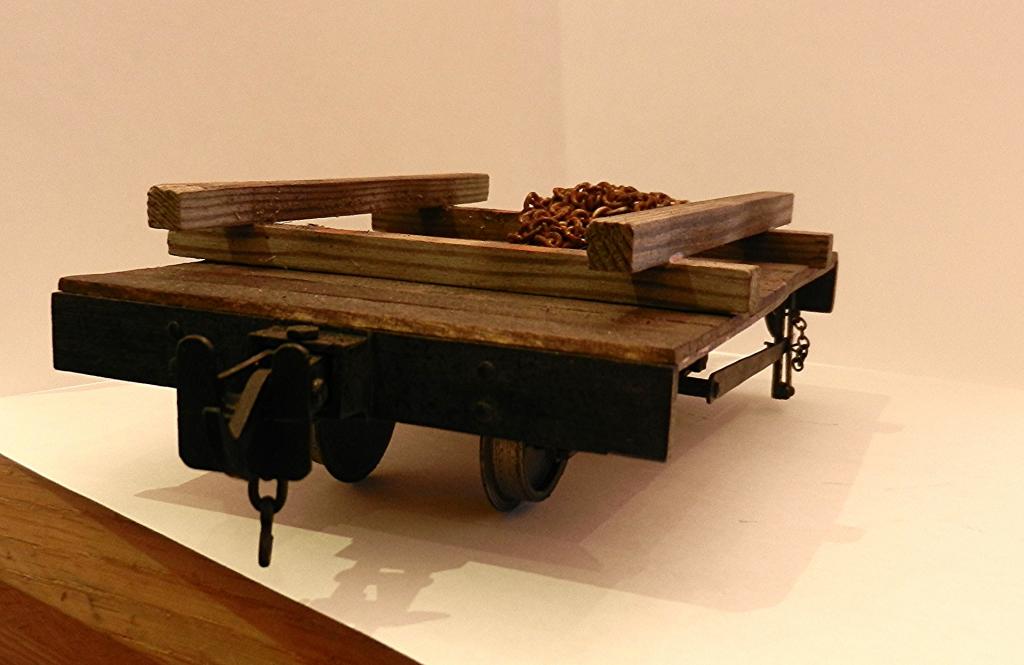
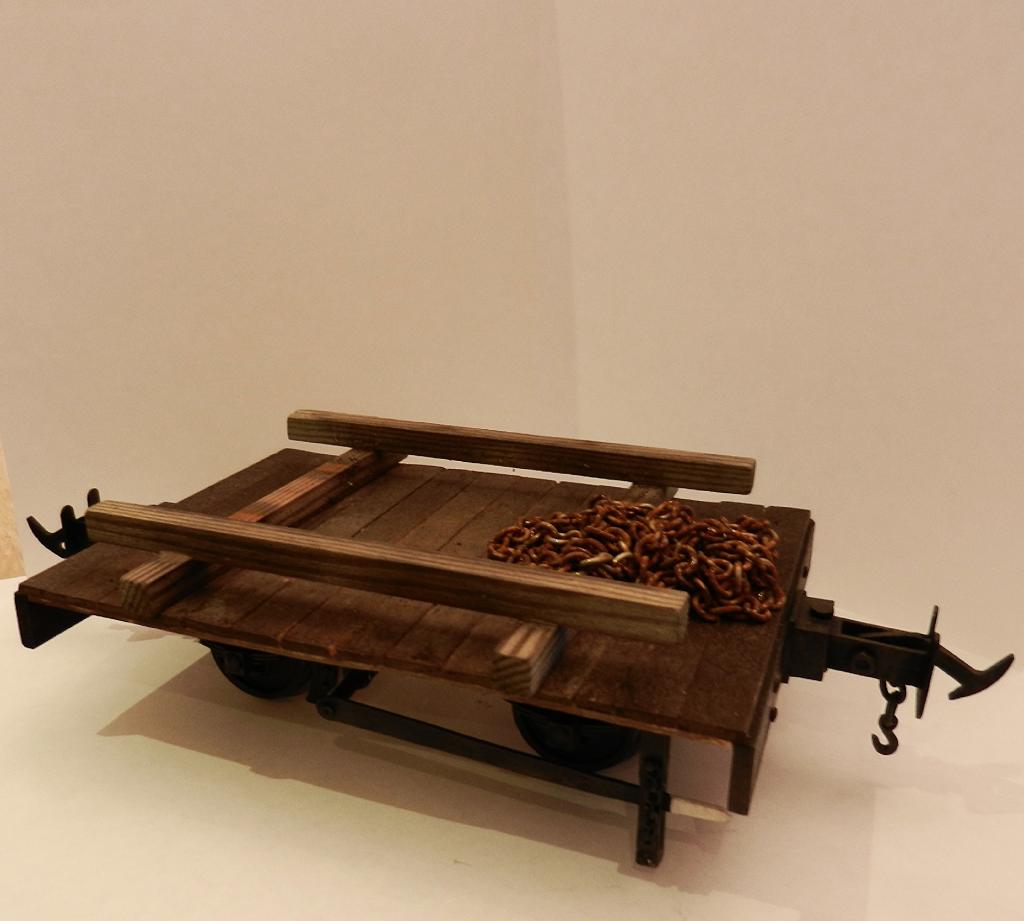
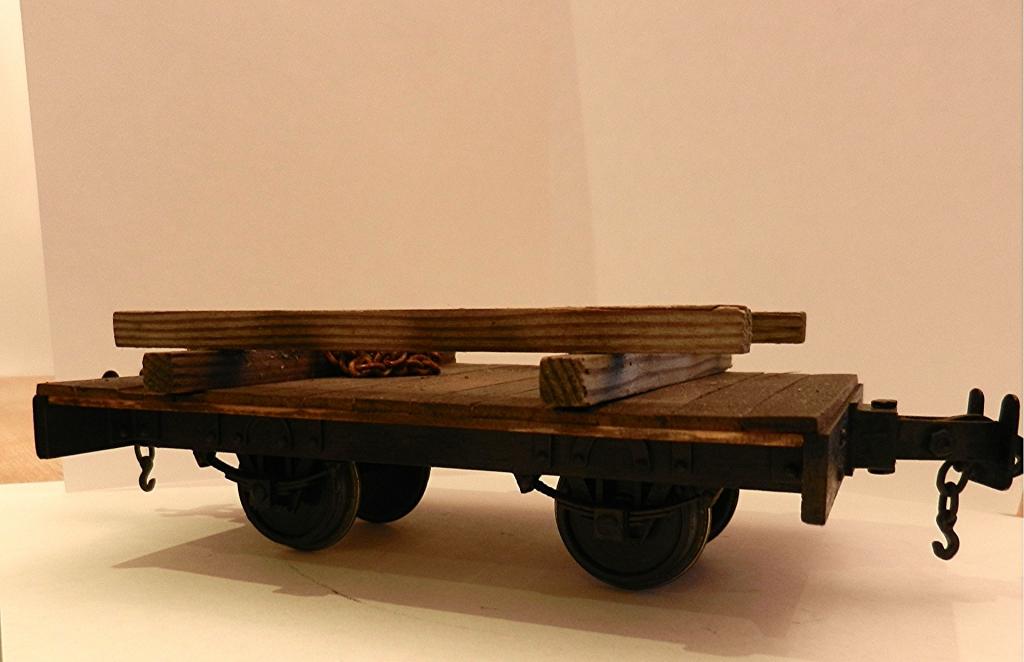
Been playing about with this scratch build for a while, however, I wanted to weather the wood so it looked like untreated timber that has been in the elements for years:
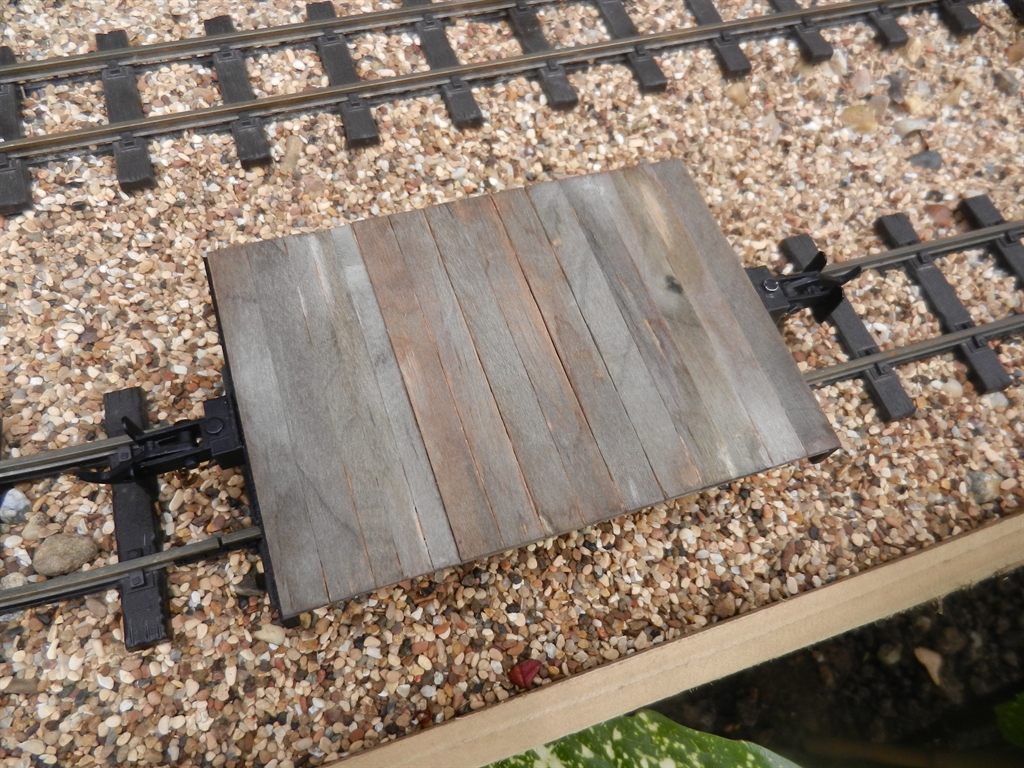
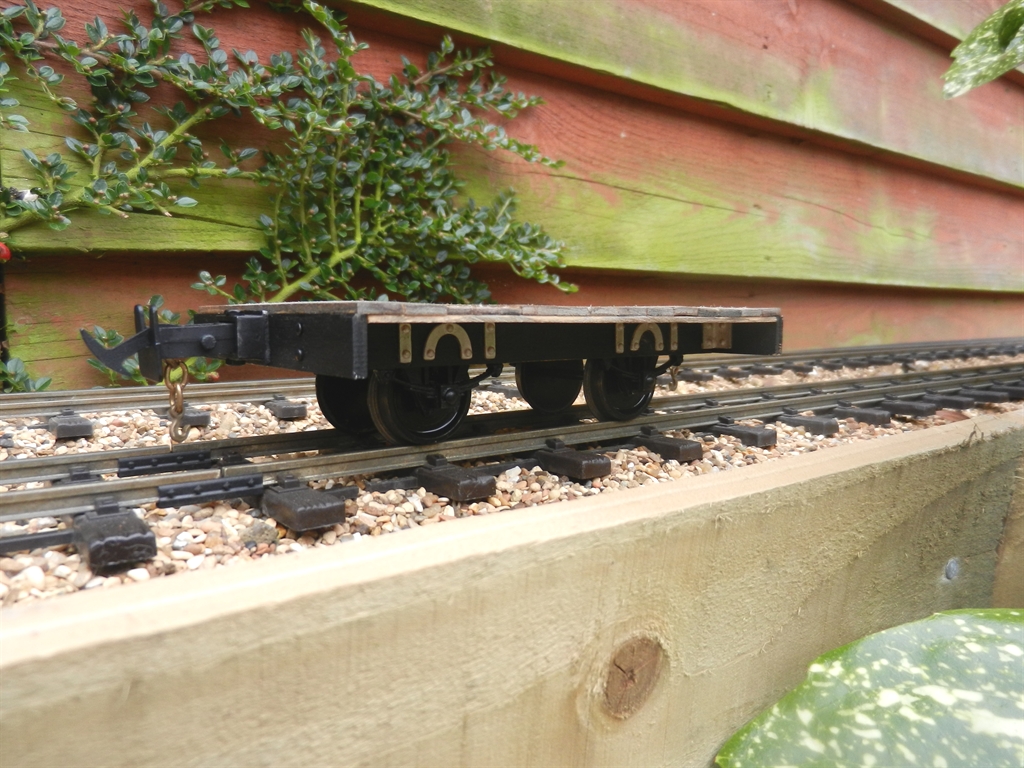
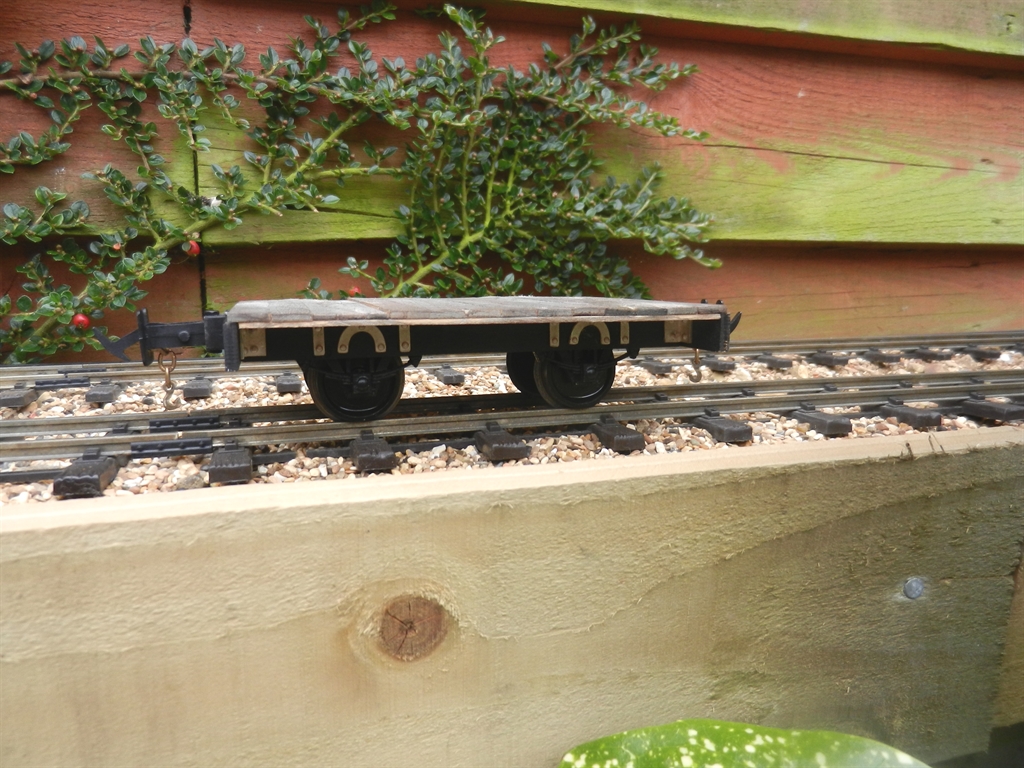
No Indian ink or expensive washes used here. Instead, I filled up a small cup of vinegar and then left some wire wool in it over night. Then, in the morning I diluted the solution with water using the same quantity as I had used with the vinegar and then just painted it on.
Cheers,
Tom
Posted: Sat May 18, 2013 5:23 pm
by Dr. Bond of the DVLR
Did the vinegar go slightly green? I've tried various things for making weathering solutions and it didn't work terribly well for me. Most successful one so far is my Jar of rust. Salt water and wire wool....
Posted: Sat May 18, 2013 5:28 pm
by Big Al
I like that a nice effect on the timber.
Posted: Sat May 18, 2013 5:47 pm
by tom_tom_go
Mr. Bond of the DVLR:83598 wrote:Did the vinegar go slightly green? I've tried various things for making weathering solutions and it didn't work terribly well for me. Most successful one so far is my Jar of rust. Salt water and wire wool....
I have had the solution going for a few days now and it has not gone green. The wire wool will disintegrate within 24hrs so best to remove it before this happens as I had to sieve the solution it a few times to remove the bits.
Posted: Sat May 18, 2013 5:54 pm
by Dr. Bond of the DVLR
Wonder what on earth went wrong for mine then! What colour did your vinegar go then?
Posted: Sat May 18, 2013 7:34 pm
by tom_tom_go
I used white vinegar. Did you use brown malt vinegar?
Posted: Sat May 18, 2013 7:39 pm
by Dr. Bond of the DVLR
no, I used white as well!
Posted: Sun May 19, 2013 8:11 am
by tom_tom_go
My solution stayed clear although you can leave the wire wool in for a darker browner colour.
Posted: Sun May 19, 2013 1:17 pm
by tom_tom_go
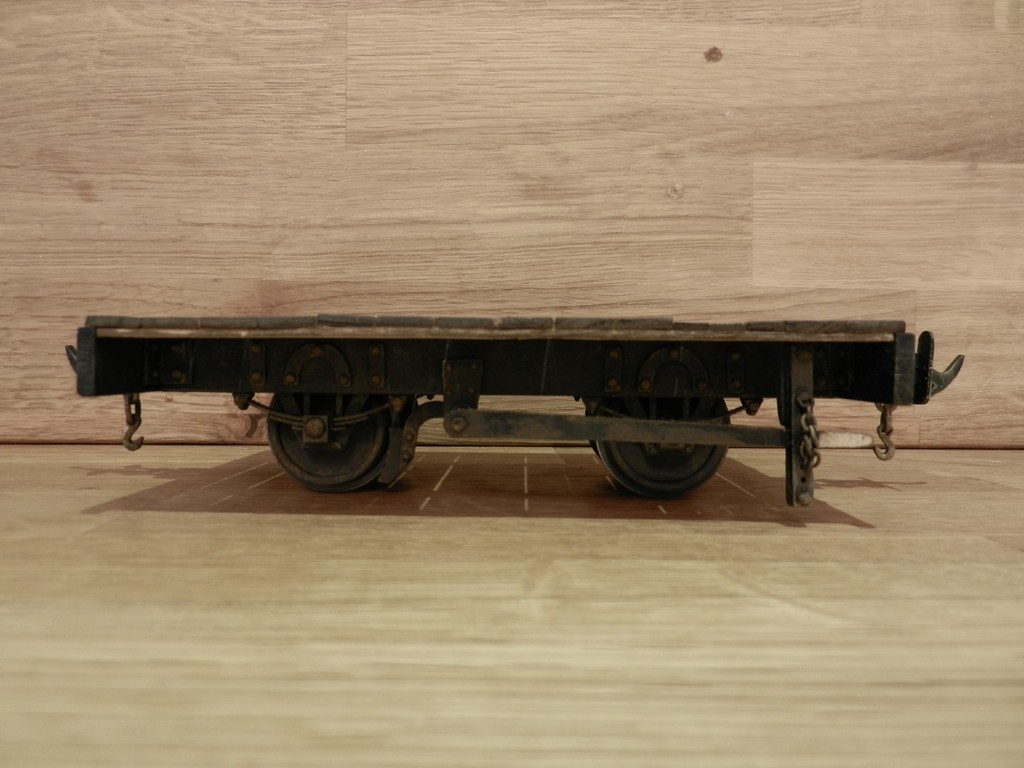
Does anyone have a photo of any prototype of where the split pin chain goes on the wagon itself please?

I need to trim the chain, however, not sure where to attach it to on the wagon.
Cheers!
Tom
Posted: Sun May 19, 2013 4:09 pm
by MDLR
I'd suggest somewhere near to (if not on) the top screw on the rack, where you pin the brake down.
Posted: Sun May 19, 2013 7:00 pm
by Dannypenguin
Where did you get the brake gear bits/bits on the chassis above the axleboxes/cosmetic brackets connecting bufferbeam to chassis?
Thanks in advance.
Posted: Sun May 19, 2013 10:18 pm
by Chris Cairns
As Brian has said in the standard gauge world the chain would be secured at the top of the brake handle quadrant. Just make sure the chain is long enough so you can put the pin into the bottom hole on the quadrant.
Chris Cairns.
Posted: Sun May 19, 2013 10:27 pm
by METHSSNIFFER
I would shape the brake shoe with a file a bit
Posted: Mon May 20, 2013 12:38 pm
by tom_tom_go
Dannypenguin:83656 wrote:Where did you get the brake gear bits/bits on the chassis above the axleboxes/cosmetic brackets connecting bufferbeam to chassis?
Thanks in advance.
Hi Danny,
IP Engineering make all the cosmetic bits and the axleboxes are from an IP laser cut kit which I have added rivet detail.
I prefer metal axle boxes, however, I thought I might as well build something out of it as I had the bits

Thanks for the pointers on the chain. I have done this now so will paint it all up and post a picture another time.
Cheers,
Tom
Posted: Mon May 20, 2013 4:35 pm
by Dannypenguin
tom_tom_go:83690 wrote:
Hi Danny,
IP Engineering make all the cosmetic bits and the axleboxes are from an IP laser cut kit which I have added rivet detail.
Thanks
Its looking great!
Posted: Sun Nov 23, 2014 7:42 pm
by tom_tom_go
Posted: Sun Nov 23, 2014 8:24 pm
by bazzer42
I like that Mr TT.
Posted: Sun Nov 23, 2014 8:40 pm
by daveyrd11
Very nice job, like it
Posted: Mon Nov 24, 2014 6:26 pm
by Soar Valley Light
Absolutely superb. Thanks for the inspiration.

Posted: Sat Mar 14, 2015 5:40 pm
by tom_tom_go