

Now I really should have put this lot up blow by blow over the last several weeks but it’s almost embarrassing how long it has taken! So here it is as one big post. Hope that doesn’t contravene the group’s ideals.
I still haven’t got any track laid for the Mk1 Frederickstown Tramway but decided to do a scratch built wagon whist waiting for track delivery etc. My “fictional prototype “ is set in SW Australia where there were in fact no railways quite like this, but there were quite a few in NE Australia (Far North Queensland to be exact) Not all the 2 ft gauge tramways there hauled cane, there were some Shire owned lines which were common carriers. A nice gent called Jim Fainges has produced a lot of drawings for stock so I decided to build a version of one of these Douglas Shire Tramway 6 ton open wagons
http://www.zelmeroz.com/album_rail/qld/jf72/jf_d09.jpg
I scaled up the drawing to 16mm scale and set to work
This is my first 16mm scratchbuild and I was intrigued by the idea of using the real materials for a change, so the body is built from real planks. I was also inspired by a “lolly stick” project I saw here a few weeks ago. Lolly sticks however are not the right size for this 15’10” wagon. I bought some 6 x 2mm basswood for the floor planks but cut the side planks (9x2mm) myself.
My Triton workbench will not let me put the fence closer to the circular saw blade than about 6mm so I took a piece of 9mm pine plank and ran it through the saw so that 2mm were on the non fenced side of the blade. With a blade width of 3mm this meant an easy 5mm increment between cuts and an awful lot of sawdust! Never mind- the pine was recycled from an old crate! I also cut some 8x8mm strip since that is what seemed to be called for as the base.
A simple rectangle of 8x8 and then on with some planks. I worked from outside in so that I could adjust symmetrically if needed.
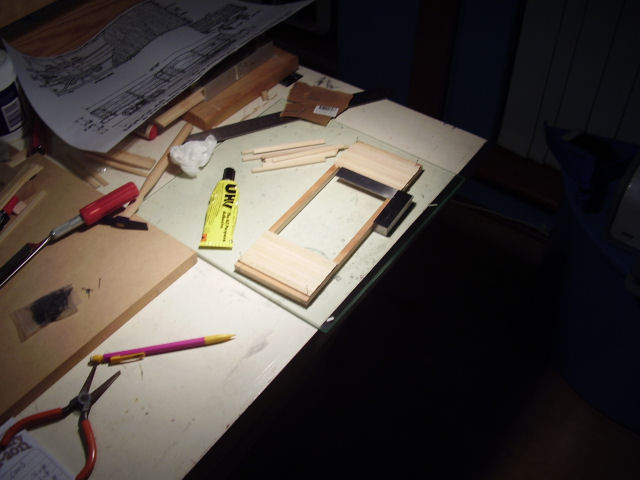
The next task was to build up the sides and ends, each 3planks high glued side to side and temporarily “tacked “ to lolly sticks.
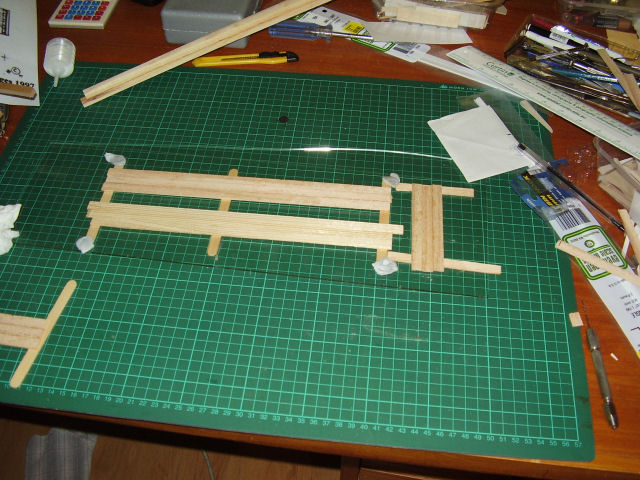
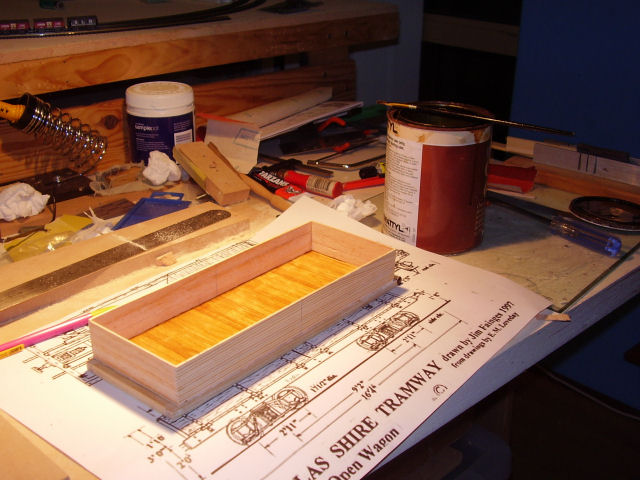
Sides and ends then cut to length and a half depth cut made a the junction of the 2 drop side doors. Sides and ends stuck to base and each other. Floor stained in “as new” condition
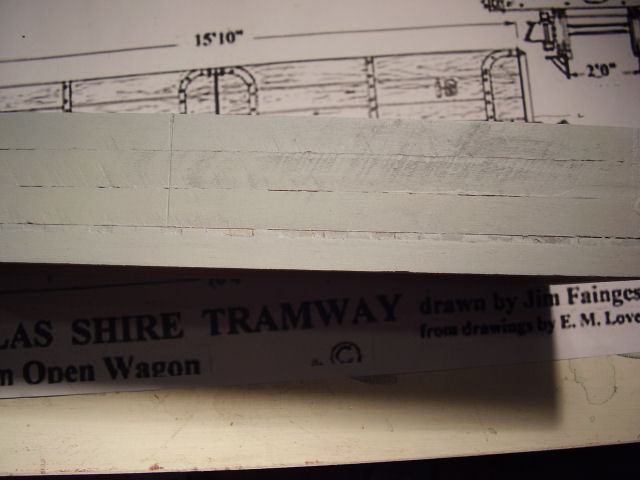
Time to mask off that nice stained floor and waft some spray primer over the planking. This rather accentuates the rough hewn effect. My saw is not 16mm scale!
Now time for the running gear. The original supplied to the Douglas Shire in 1900-1910 seems to have run on archbar bogies of 2’ 11’ wheel base. Didn’t fancy scratch building them quite yet and a look around didn’t come up with any kits. I do however hold a fully paid up “modelers license”:) ; so I decided to see what was available in 0 scale RTR.
I found a pair of “Course Scale” MTH Bettendorf’s online which seemed a steal at US$ 13. Unfortunately it was another $15 to get them sent to Aus!. Never mind - that was because they are nice and heavy weighing in at 4oz each! They are a little short scaling out at 2’2” and the axleboxes are a bit undersized but the wheel diameter is fine. Couplers were removed and 2 aluminium sheet “bolsters” fabricated to fix them to the underside.
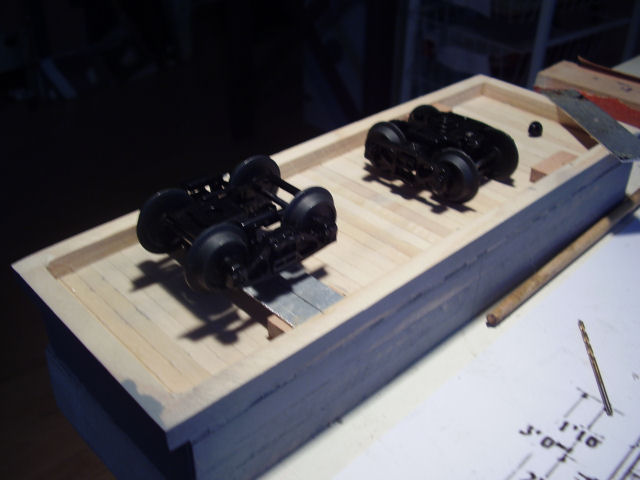
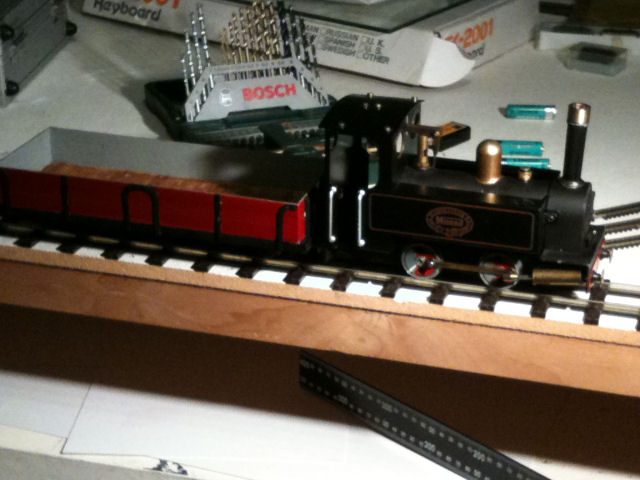
Some cheap red spray paint and some ironwork fabricated from plasticard ( so much for sticking to real materials!) a bit of flat black acrylic here and there ….Said ally bolsters were then fixed to the little wood blocks with mini selftappers . and its nearly finished, still needs couplers and lettering. Shown here next to the second hand Mamod SLK1 which is needing attention from the CME dept…
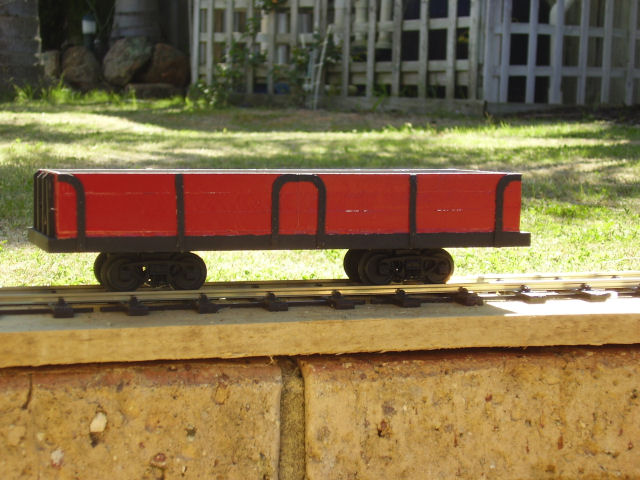
And outside basking in the sunshine on a temporary piece of track on a temporary piece of track bed. (Not sure if “daylight between the planks” is good or bad!)
Now I either need to build my Rapier kit that arrived whilst I was building this or fettle the Mamod (:) takes off C&W hat and reaches for CME’s bowler
Cheers
Rob


