A place for the discussion of garden railways and any garden style/scale portable and/or indoor layouts
-
tom_tom_go
- Driver

- Posts: 4824
- Joined: Wed Feb 23, 2011 3:08 am
- Location: Kent, UK
-
Contact:
Post
by tom_tom_go » Thu May 05, 2011 8:34 pm
Evening all,
Finally started building my line now that the better weather is here to stay.
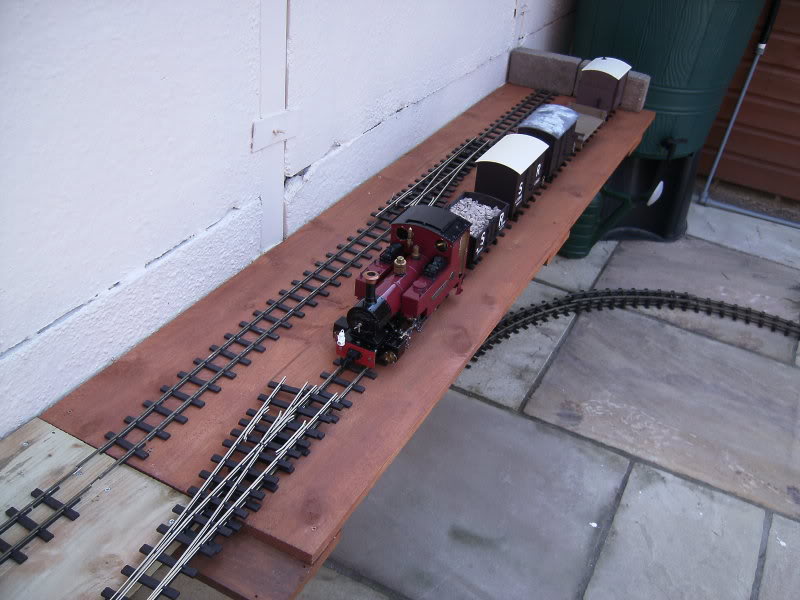
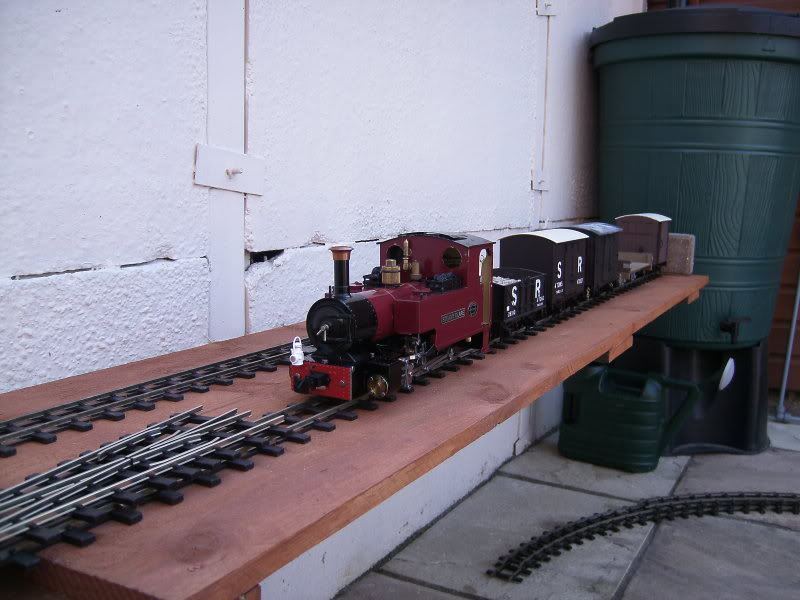
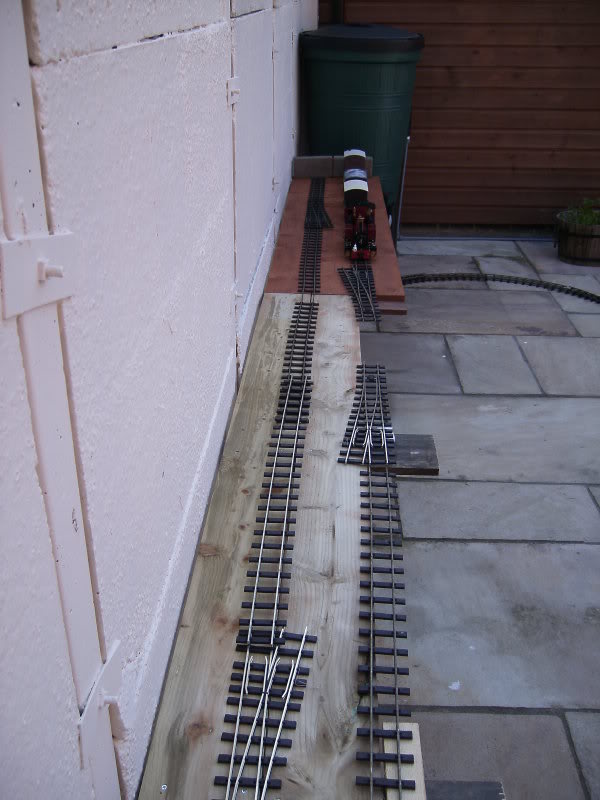
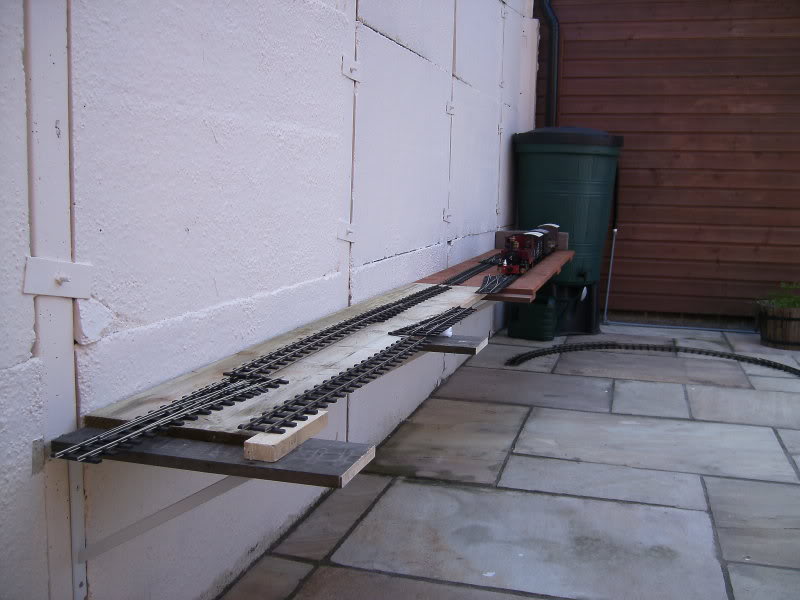
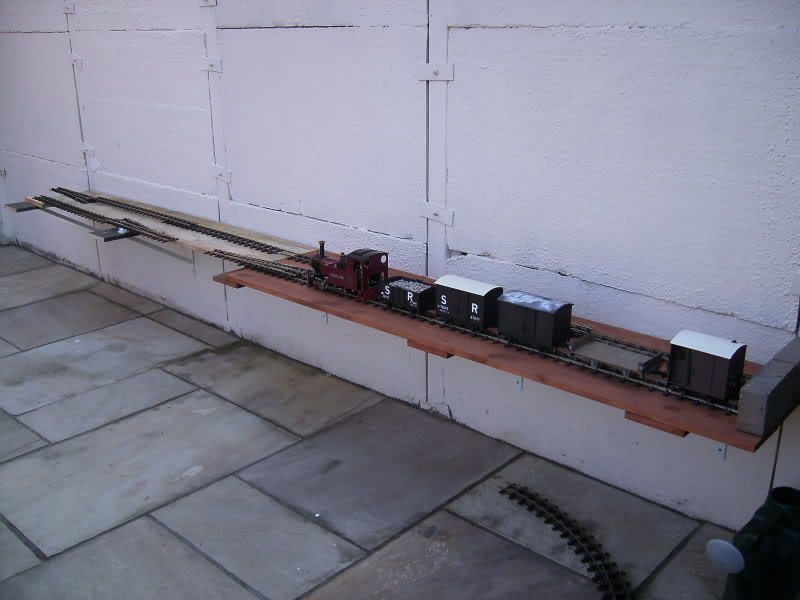
The first stage you see here is the steam-up area and allows rolling stock to be added as well. I will be boxing this all in adding gravel and lineside features as I go.
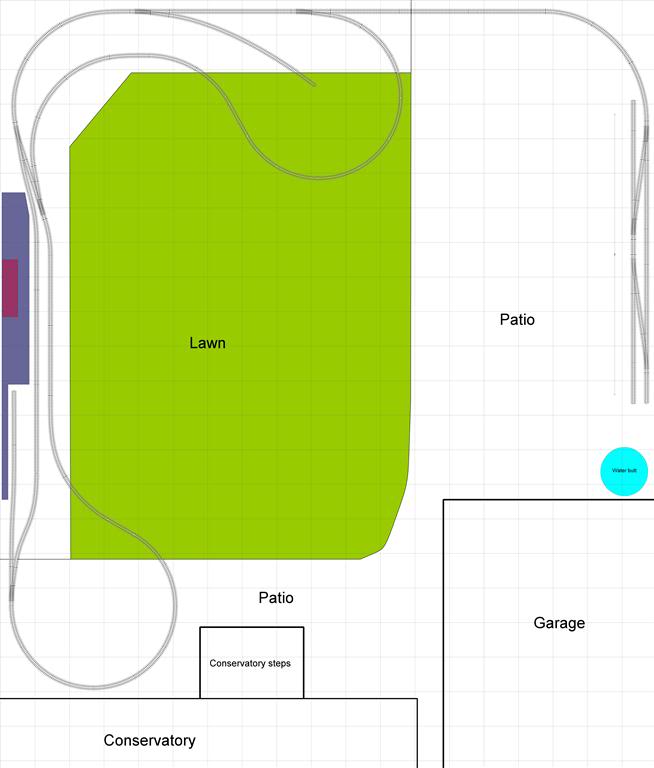
The track will eventually go off into the garden in a dog bone shape with trains being able to return to the steam-up area when they need to take on water/fuel, etc.
Here is the plan I am working towards:
Cheers,
Tom
RWLR
Last edited by
tom_tom_go on Wed Jul 29, 2015 9:14 pm, edited 4 times in total.
-
Narrow Minded
Post
by Narrow Minded » Thu May 05, 2011 8:49 pm
Wa-hay! another new build to follow!

Congratulations on cutting the first sod (or screwing the first bracket!), the plan looks like it's going to keep you busy for a while and should be a nice line when you're done, looking forward to progress reports!
-
Dr. Bond of the DVLR
- Retired Director

- Posts: 4533
- Joined: Tue Jun 09, 2009 9:43 pm
- Location: Suffolk
-
Contact:
Post
by Dr. Bond of the DVLR » Thu May 05, 2011 8:54 pm
Horah for the shelf railway! Yours looks rather more complex than the DVLR ever was or ever will be!
Excellent good luck!

The railway which people forgot
(to build)
-
tom_tom_go
- Driver
- Posts: 4824
- Joined: Wed Feb 23, 2011 3:08 am
- Location: Kent, UK
-
Contact:
Post
by tom_tom_go » Thu May 05, 2011 11:55 pm
Horah for the shelf railway!
Wickes heavy duty shelf brackets made this job nice and easy and they can take up to 200kg plus it's been kid tested by my partners daughter who has jumped up and down on the first section
Cheers,
Tom
-
Keith S
- Driver
- Posts: 1668
- Joined: Thu Feb 24, 2011 11:44 pm
- Location: Canada
Post
by Keith S » Fri May 06, 2011 1:28 am
Nice little collection of wagons there. I like the planned layout with the loop and spur track.
-
SLRmidge
Post
by SLRmidge » Fri May 06, 2011 9:35 am
Looks like a good plan...
-
bungle80a
Post
by bungle80a » Sat May 07, 2011 7:28 pm
Looks like a good start has been made there!!! Rather like your plan. What software have you used to produce that?
-
tom_tom_go
- Driver
- Posts: 4824
- Joined: Wed Feb 23, 2011 3:08 am
- Location: Kent, UK
-
Contact:
Post
by tom_tom_go » Sat May 07, 2011 8:36 pm
bungle80a:53202 wrote:Looks like a good start has been made there!!! Rather like your plan. What software have you used to produce that?
You can download a limited version of the software from
www.anyrail.com - the only limitation is that only 50 pieces of track can be used in your design.
I purchase the full version because it can design all sorts of scales and even help with CAD projects!
Cheers,
Tom
-
tom_tom_go
- Driver
- Posts: 4824
- Joined: Wed Feb 23, 2011 3:08 am
- Location: Kent, UK
-
Contact:
Post
by tom_tom_go » Sat May 07, 2011 8:37 pm
Keith S:53169 wrote:Nice little collection of wagons there. I like the planned layout with the loop and spur track.
Thanks for the kind words Keith. The wagons/loco rather like the railway are 'work in progress'
-
tom_tom_go
- Driver
- Posts: 4824
- Joined: Wed Feb 23, 2011 3:08 am
- Location: Kent, UK
-
Contact:
Post
by tom_tom_go » Wed Jun 08, 2011 6:51 pm
Not a huge update, however, at least now I can see the steam up area design working in reality as shown:
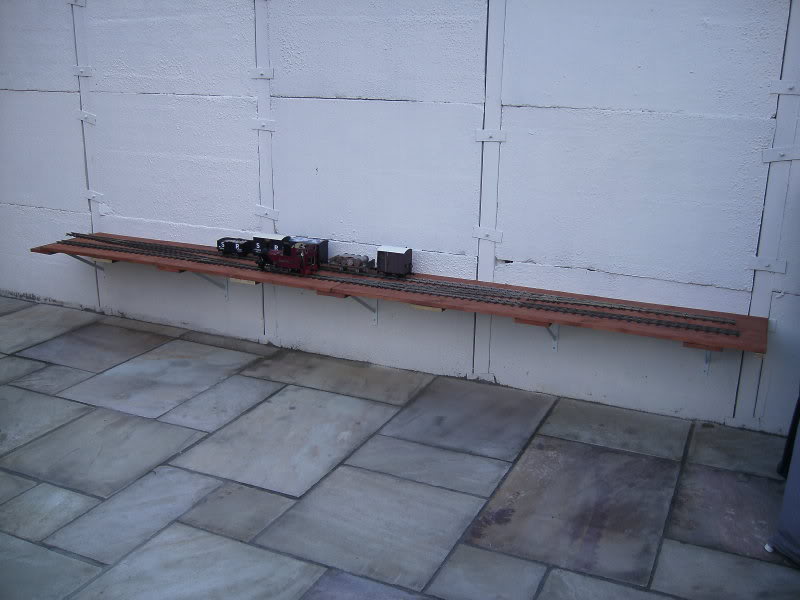
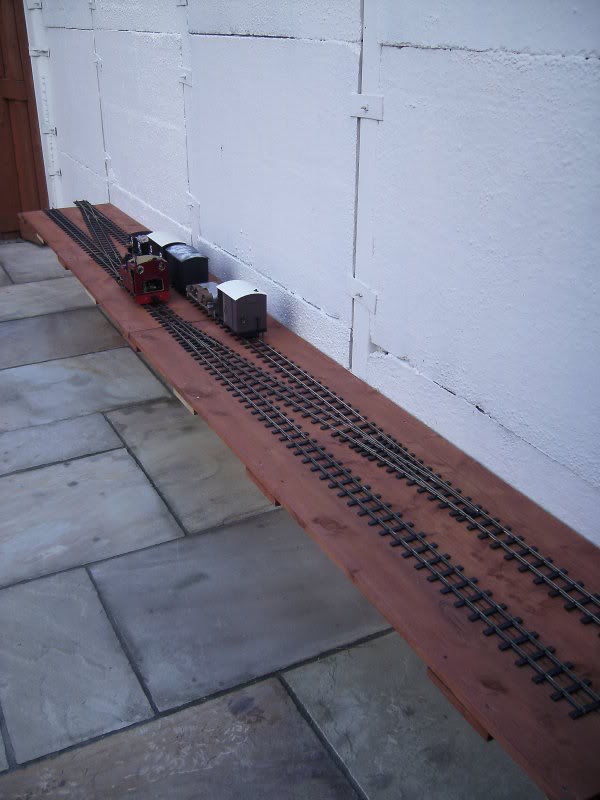
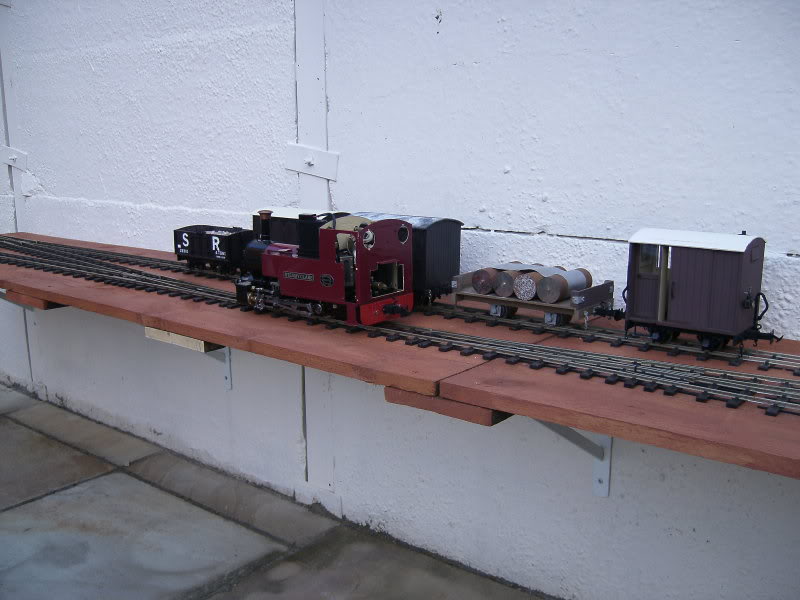
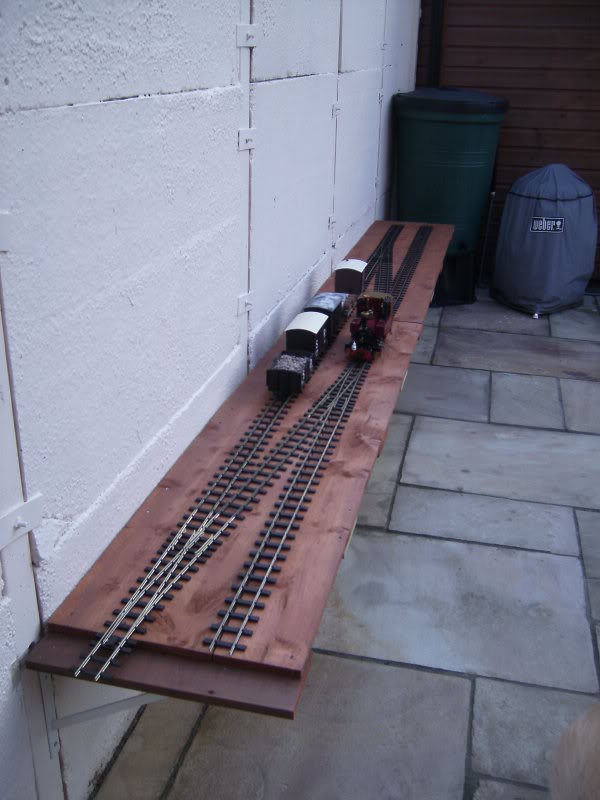
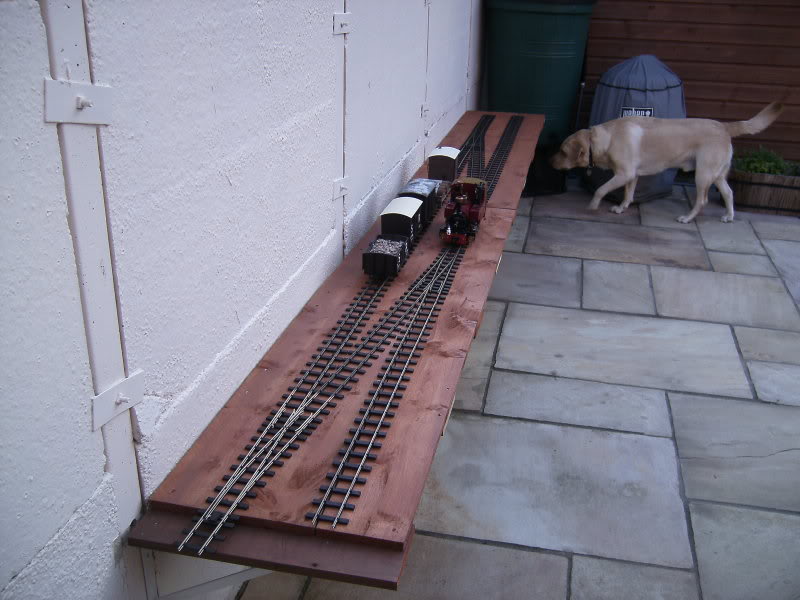
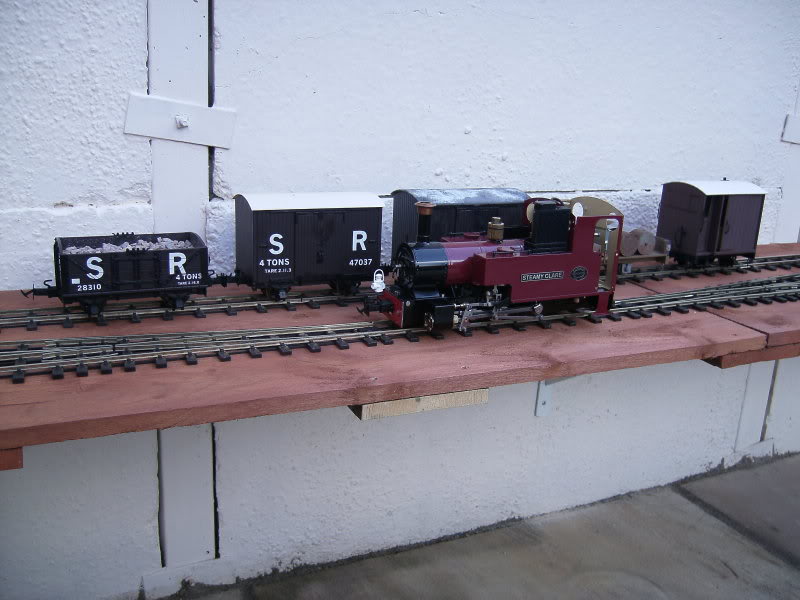
As you can see the train now can come into the steam up area from going round the dog bone layout, run around and then start again after fuel/watering - that's the idea anyway

I have also thought of making this area now into a station with the buildings just jutting out of the wall to allow space for the platform (i.e. they would not be there full width I would just model the front of them to create the illusioin they are full size maybe?).
Cheers,
Tom
-
Narrow Minded
Post
by Narrow Minded » Wed Jun 08, 2011 7:03 pm
I have also thought of making this area now into a station with the buildings just jutting out of the wall to allow space for the platform (i.e. they would not be there full width I would just model the front of them to create the illusioin they are full size maybe?).
Phew! - That's a
"Low Relief"! 
-
tom_tom_go
- Driver
- Posts: 4824
- Joined: Wed Feb 23, 2011 3:08 am
- Location: Kent, UK
-
Contact:
Post
by tom_tom_go » Sun Jun 26, 2011 3:58 pm
Phew! - That's a
"Low Relief"!
He he such wit
I have been wondering what to do about buffers and after not really finding anything suitable from the trade that uses 'real world' materials I had a go at making my own:
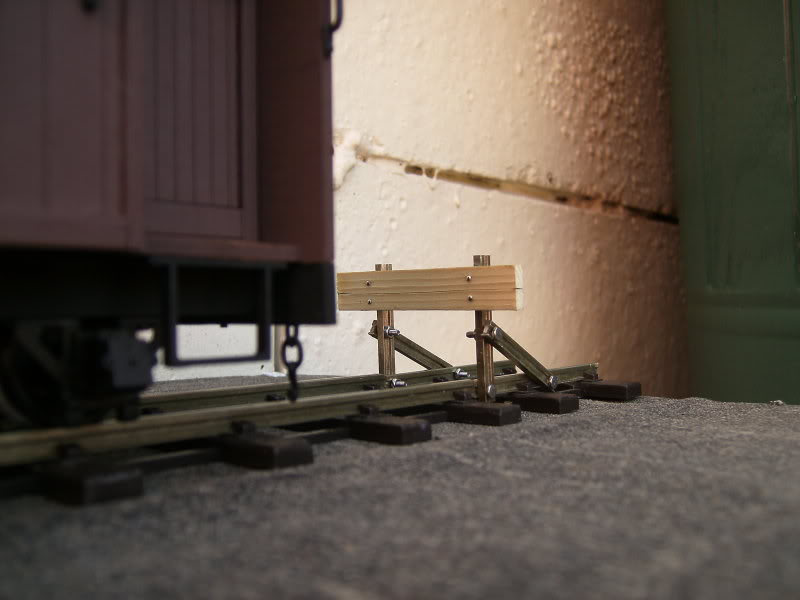
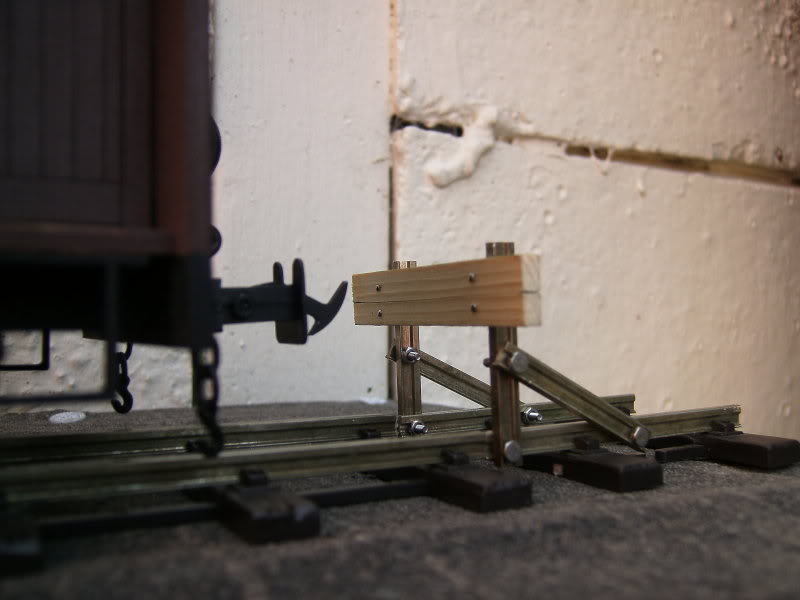
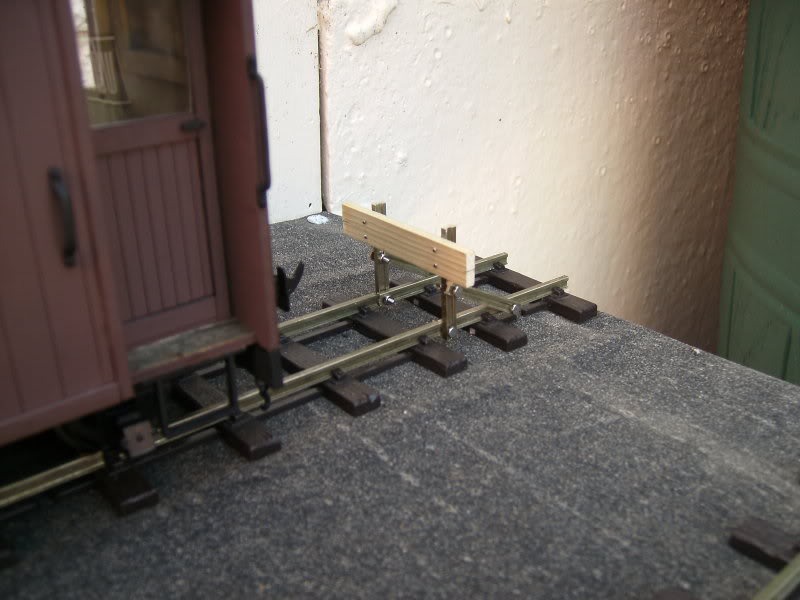
The wood needs painting and maybe a lamp bracket could be fixed to the buffer beam?
Cheers,
Tom
RWLR
-
Sir Clothem Cap
- Driver
- Posts: 1708
- Joined: Sun Sep 26, 2010 8:45 pm
- Location: Hampshire
-
Contact:
Post
by Sir Clothem Cap » Sun Jun 26, 2011 4:59 pm
off set the lamp bracket so that its not the first point of contact for the couplings to hit.
-
tom_tom_go
- Driver
- Posts: 4824
- Joined: Wed Feb 23, 2011 3:08 am
- Location: Kent, UK
-
Contact:
Post
by tom_tom_go » Mon Jun 27, 2011 8:22 am
I think was thinking of using the Brandbright lamp brackets as I have a fair few of these and sticking it behind the buffer beam although I could do some as you suggested to make them look different so thanks for that.
Will get it painted and finished so you can have a look see
Cheers,
Tom
RWLR
-
bessytractor
- Trainee Driver

- Posts: 677
- Joined: Wed Nov 14, 2007 2:34 pm
Post
by bessytractor » Mon Jun 27, 2011 11:54 pm
excellent start, well done
proudly flying in the face of convention
-
DolwyddelanLightRail
Post
by DolwyddelanLightRail » Tue Jun 28, 2011 11:52 am
Thats pretty good progress!
-
tom_tom_go
- Driver
- Posts: 4824
- Joined: Wed Feb 23, 2011 3:08 am
- Location: Kent, UK
-
Contact:
Post
by tom_tom_go » Tue Jun 28, 2011 4:35 pm
Here is the finished item (for now anyway)
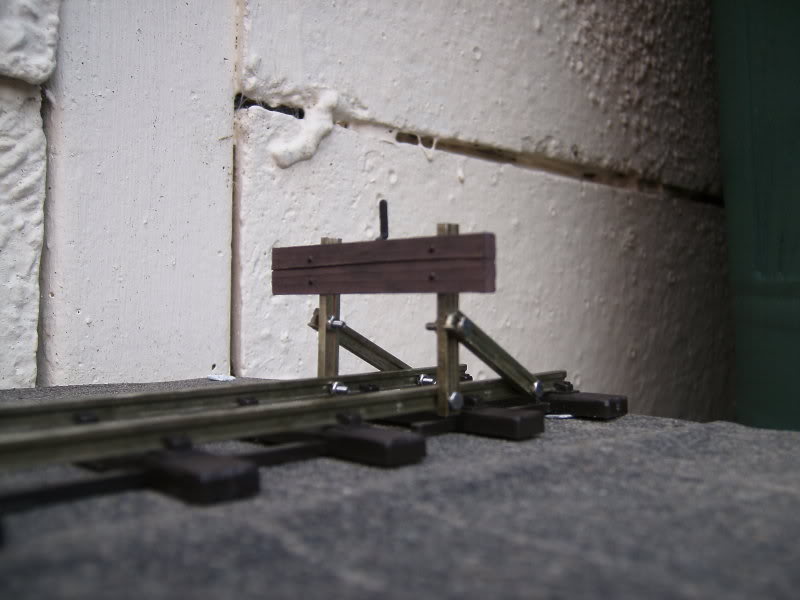
I am sure the seasons will in time give it some natural weathering on top of what I have done.
Cheers,
Tom
RWLR
-
tom_tom_go
- Driver
- Posts: 4824
- Joined: Wed Feb 23, 2011 3:08 am
- Location: Kent, UK
-
Contact:
Post
by tom_tom_go » Mon Jul 04, 2011 4:17 pm
Good progress has been made over the last month as I am finally now onto the curve which will lead off to the main line:
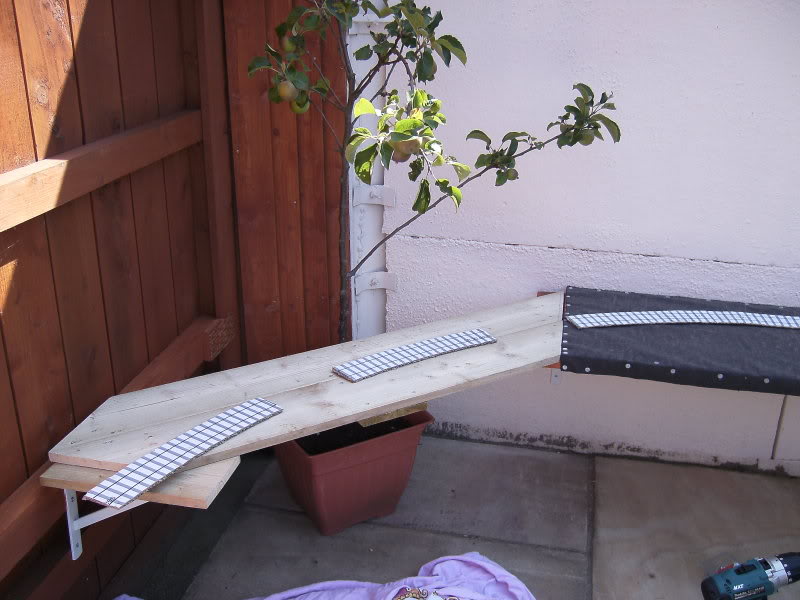
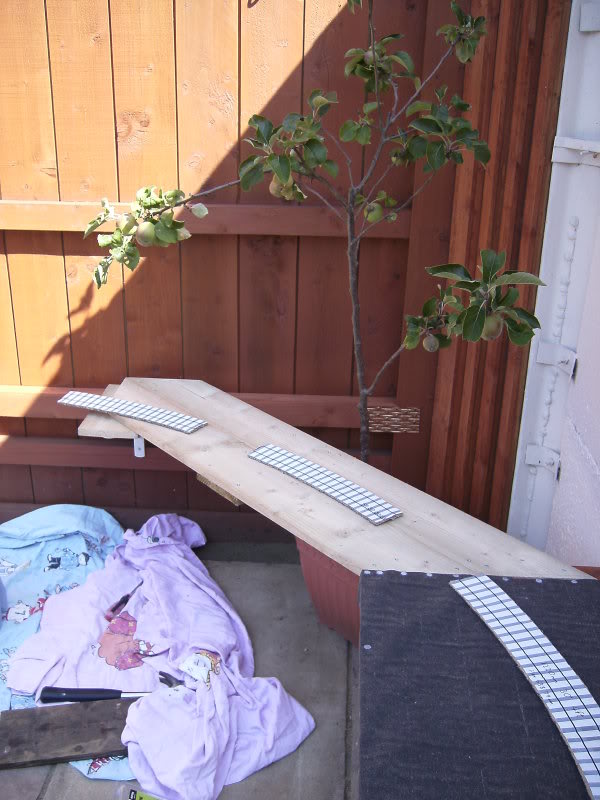
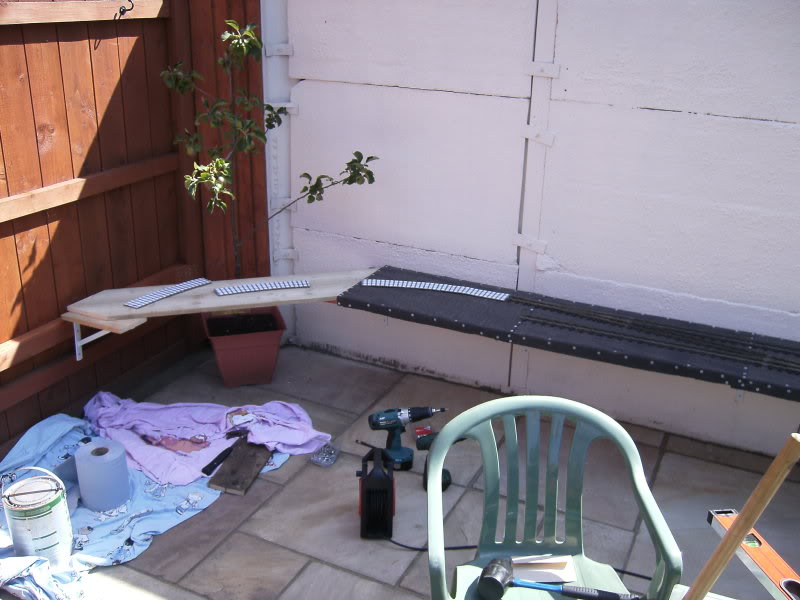
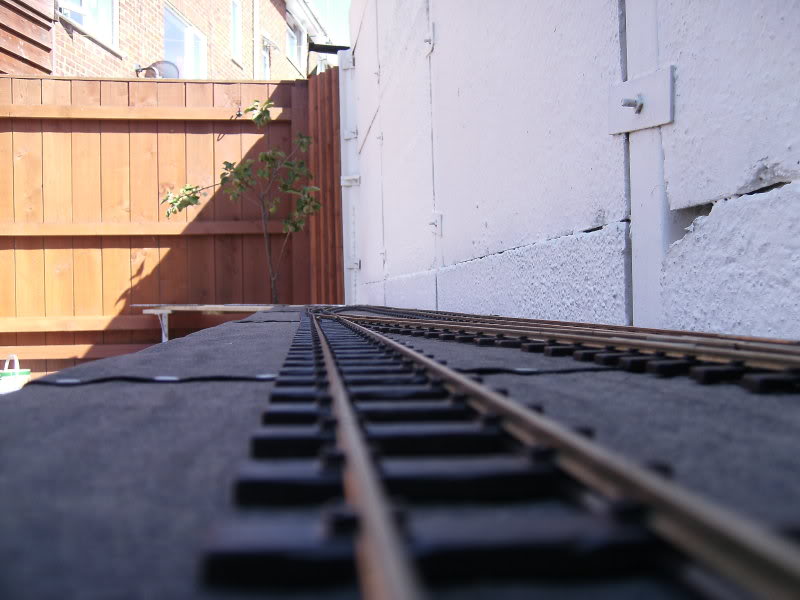
I had to add an extra batton along the fence to support the track shelf and where the apple tree is the fencing behind it needed doing again after a hash I made of it the first time!
The track templates I made show you the curve starting off at a 4ft radius and then working it's way round finally to 5ft.
Also, roofing felt has now been added to the steam up area which will eventually be ballasted and a slight lip added around the edge:
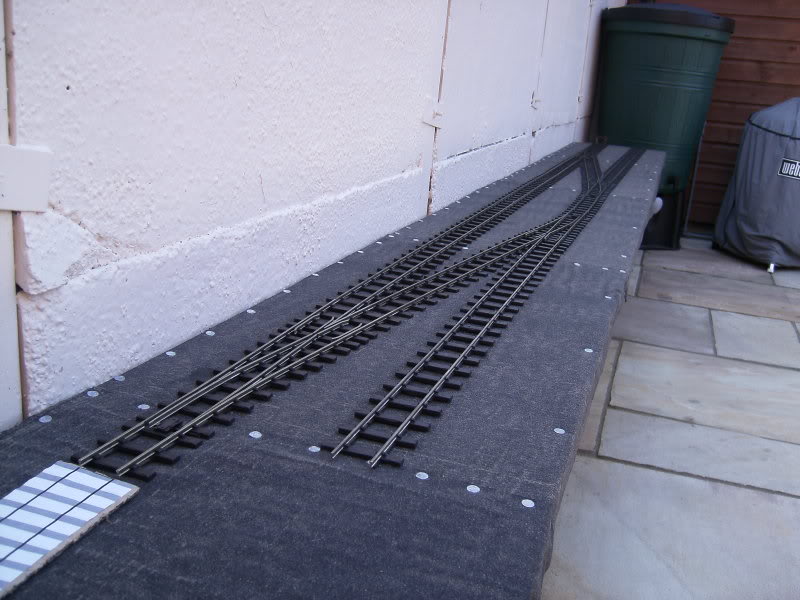
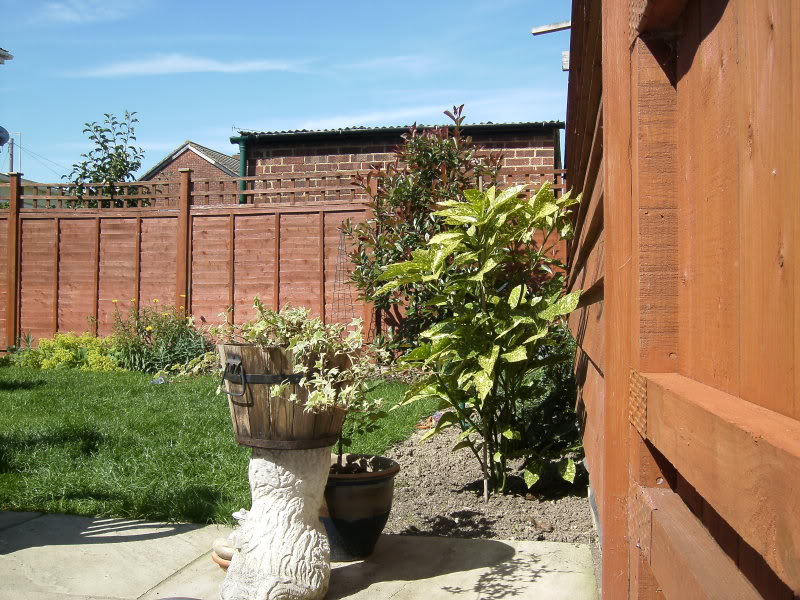
And finally here is where we are heading, ONWARDS!
-
Tom
Post
by Tom » Mon Jul 04, 2011 6:19 pm
It's coming on really well, and looks as if you've made a good start
I will definatley have to come over at some point when theres a bit more track to run on as your only 4 stops away on the train

-
ninge
Post
by ninge » Tue Jul 05, 2011 10:54 am
those buffers are great - gonna steal that idea if you don't mind
Who is online
Users browsing this forum: No registered users and 29 guests