Getting a train together, Diesel and Steam!

What is your latest project?
User avatar
Steven.T
Fireman
Fireman
Posts: 410
Joined: Sun Mar 13, 2011 5:56 pm
Location: Stockton

Getting a train together, Diesel and Steam!

Post by Steven.T » Sat Mar 19, 2011 3:43 pm

Hello,
After my brief introduction, I thought it would be best to start a thread showing my work on my stock etc.

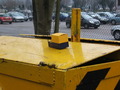
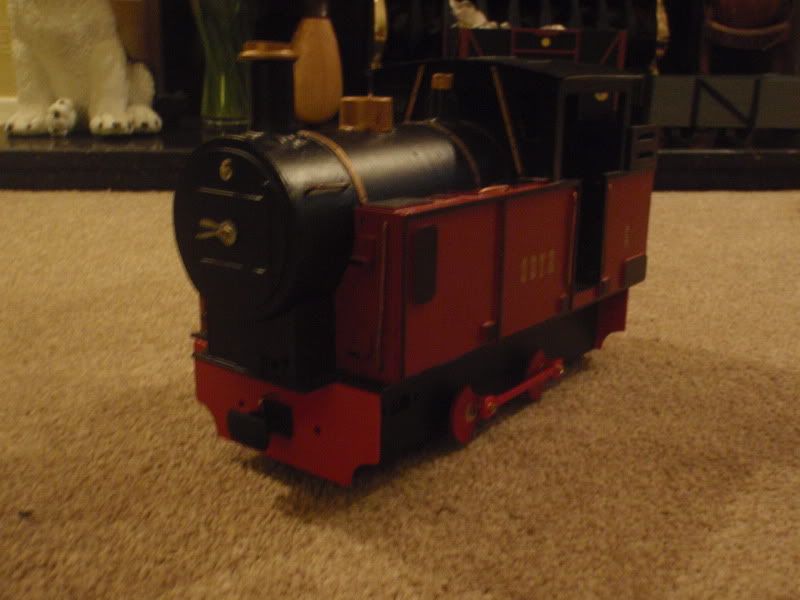
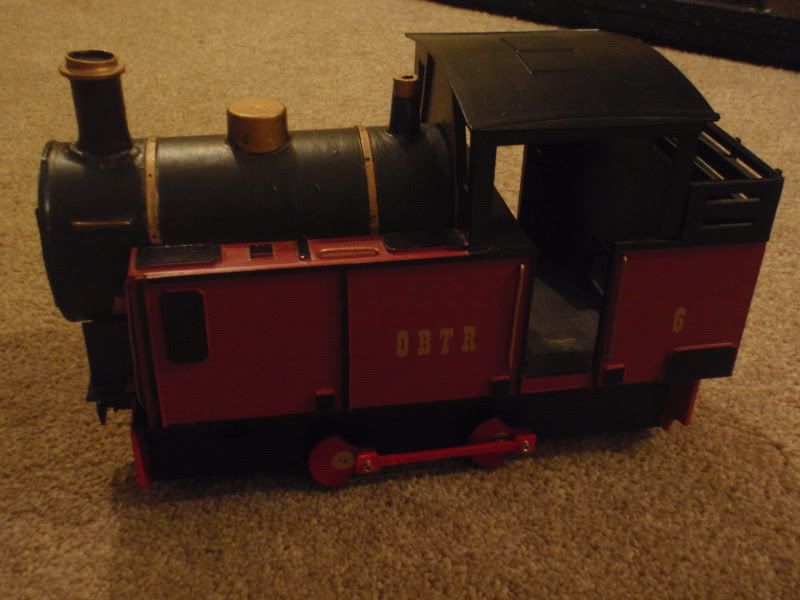
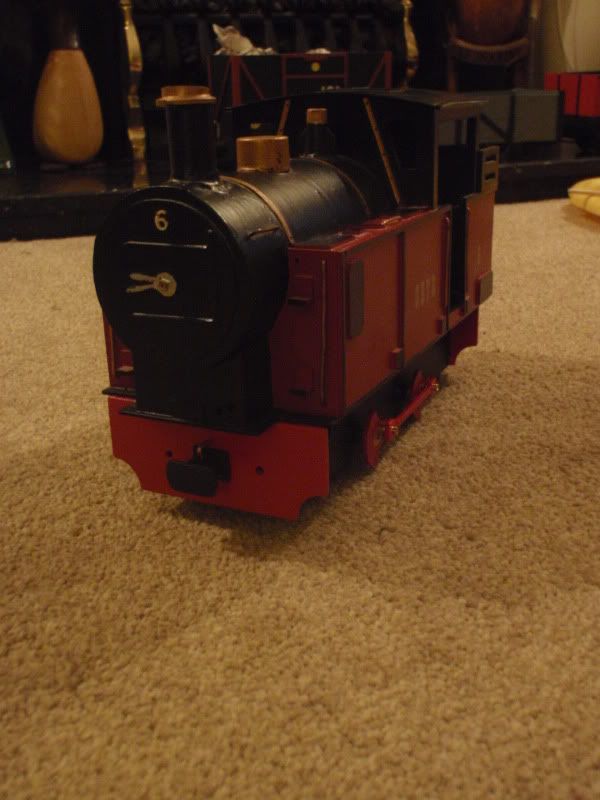
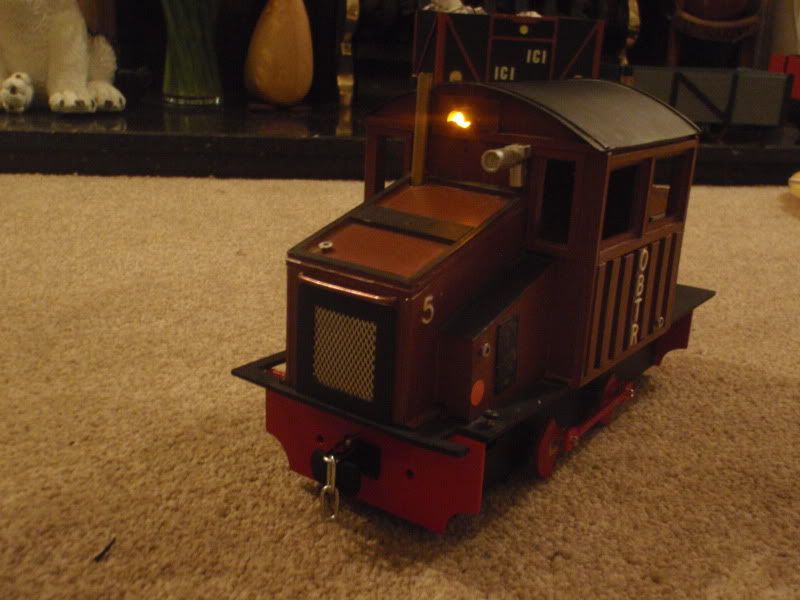
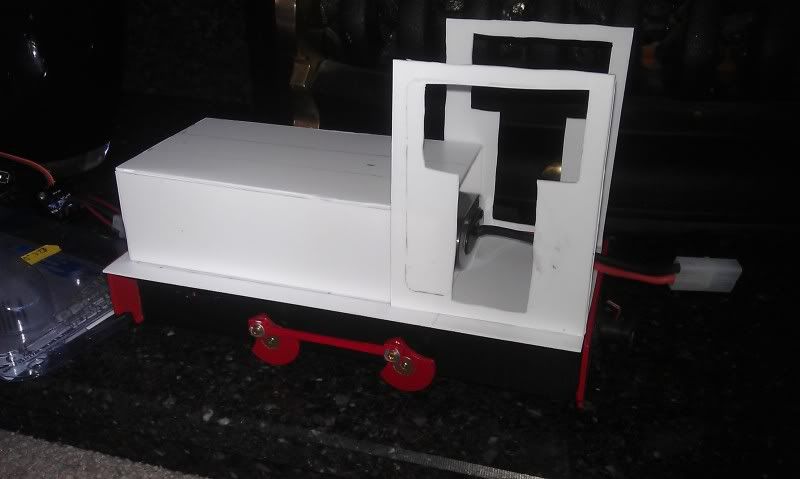
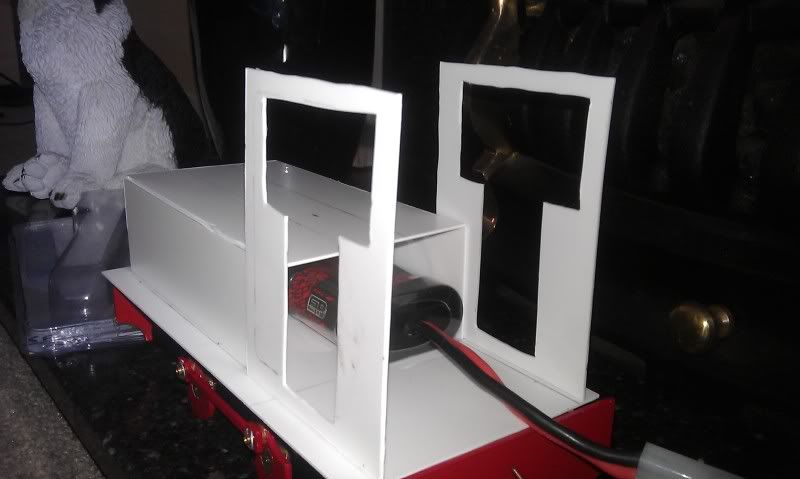
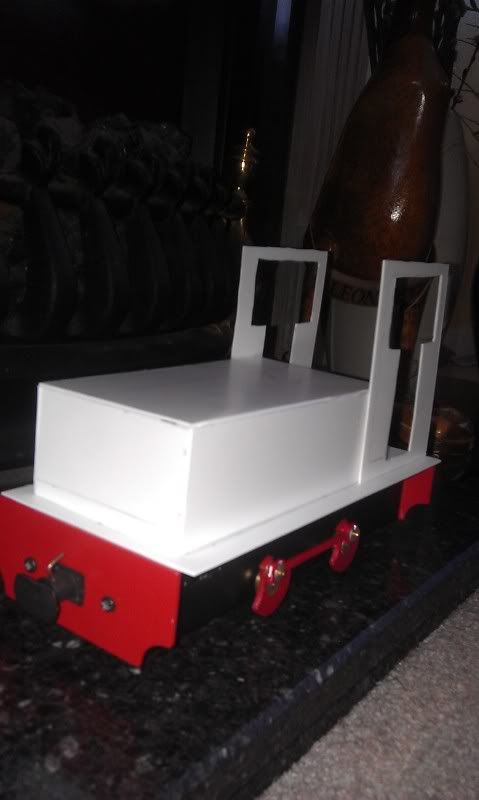
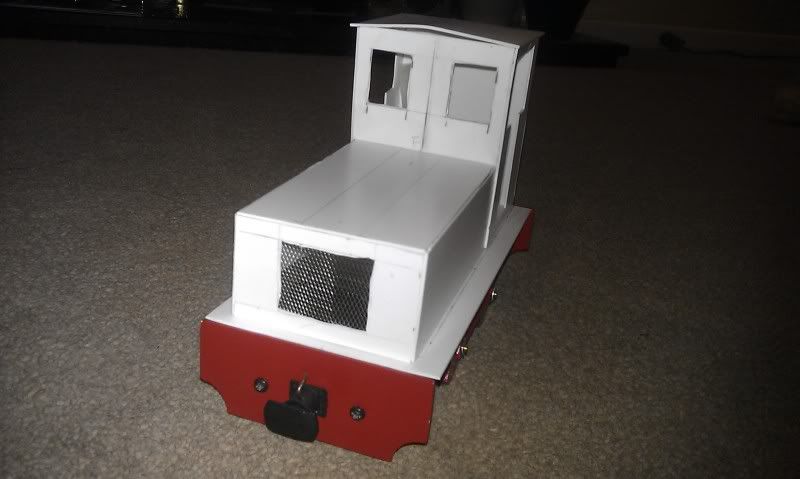
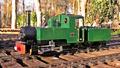
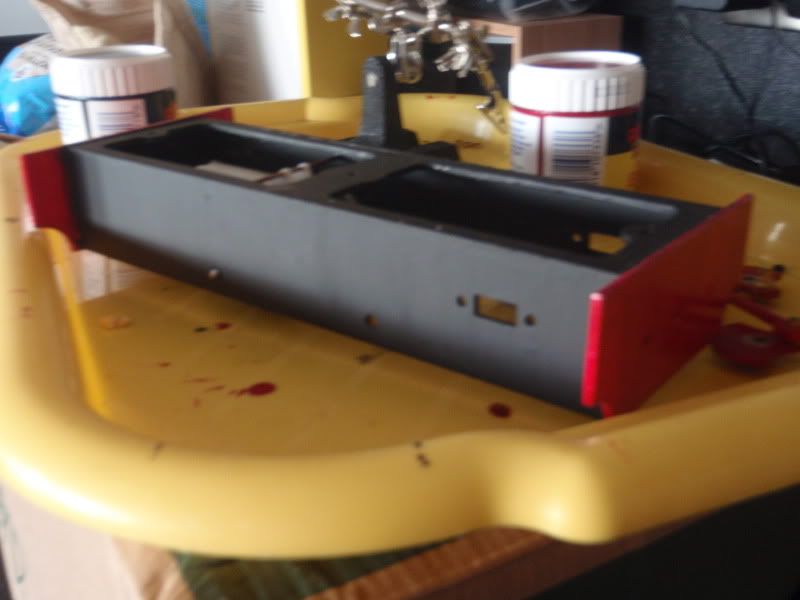
Firstly, I have started painting the I.P. Engineering chassis Kit, which has had a few coats by hand, it still needs rubbing down for the final spray coat, to give a nicer finish;

Image

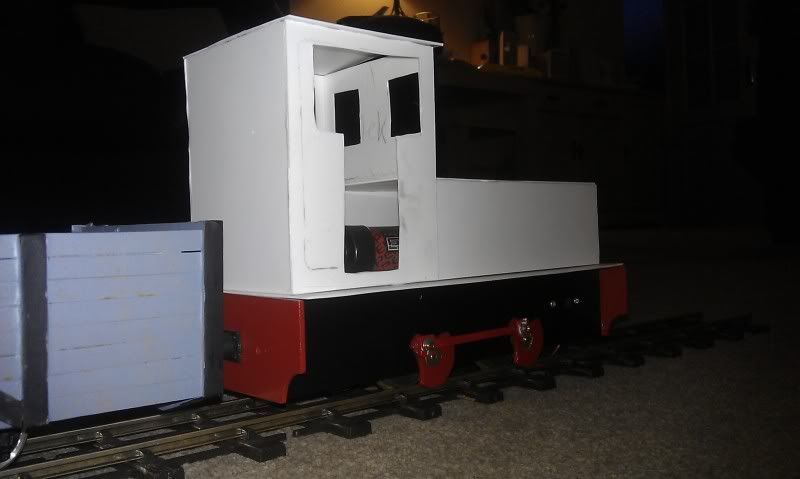
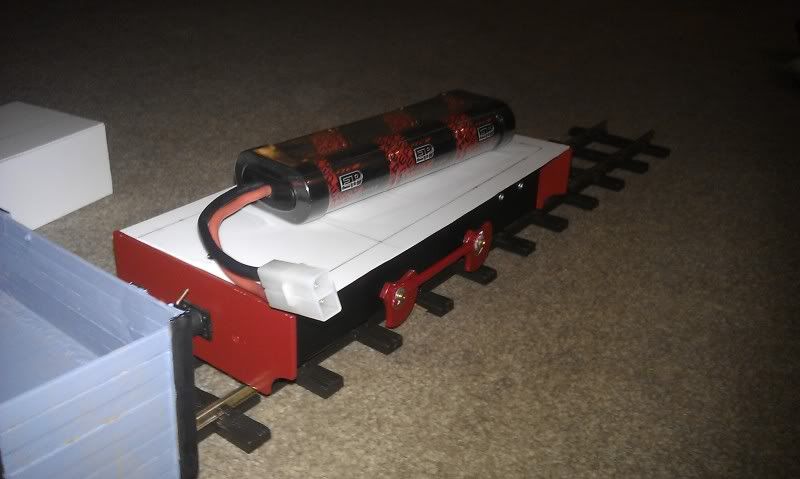
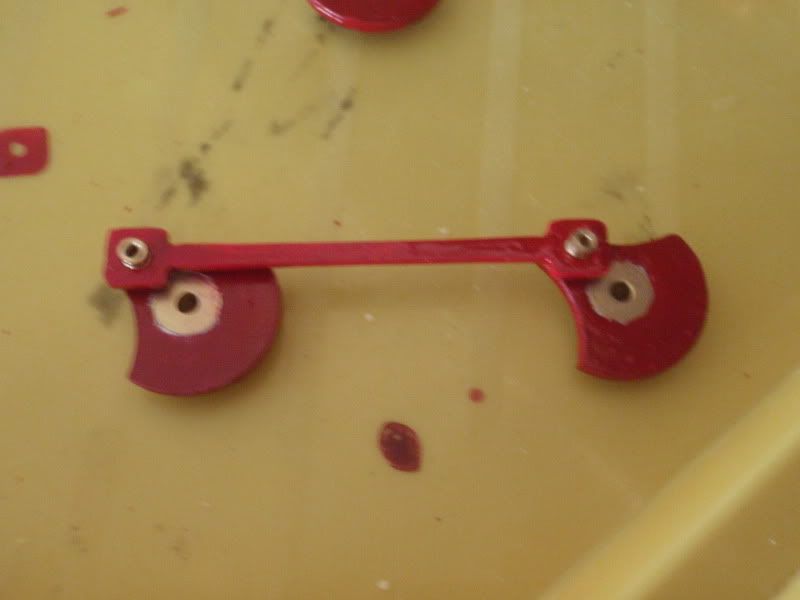
Also the cranks and fly's have been done in red, but I decided to keep the brass in the middle on show;
Image

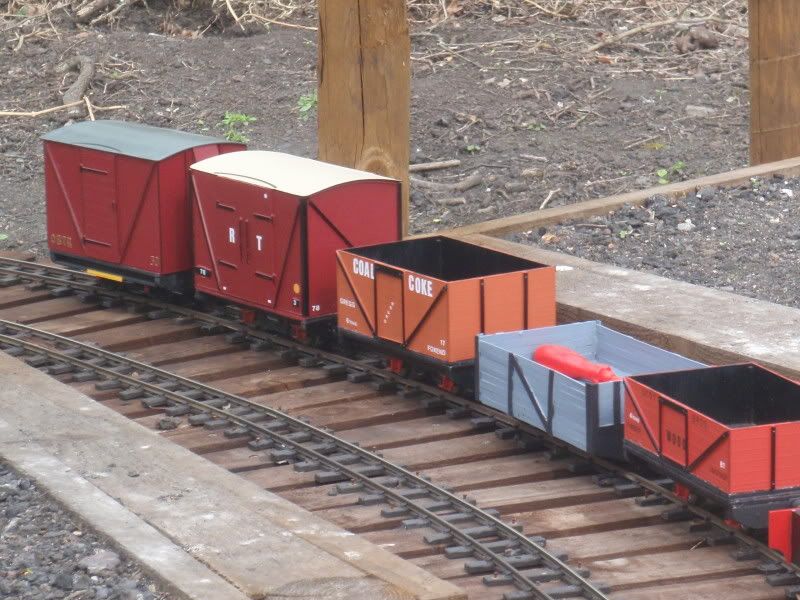
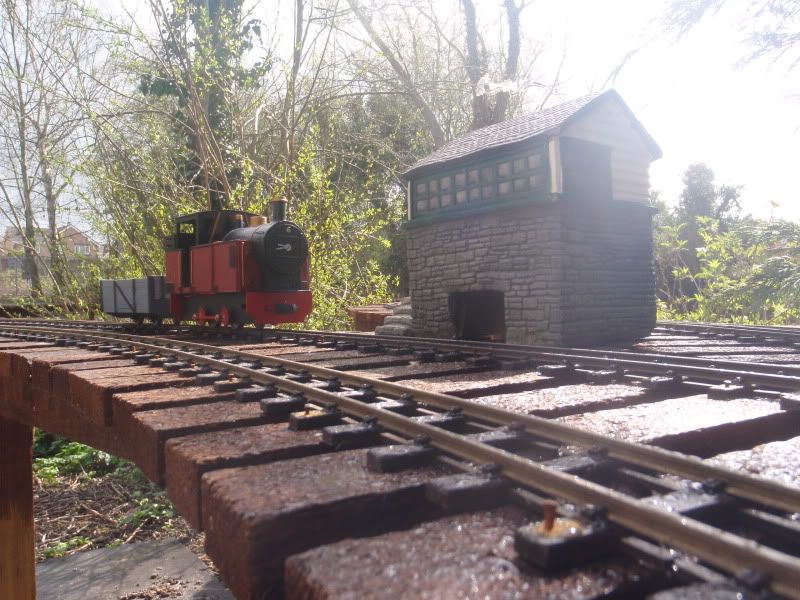
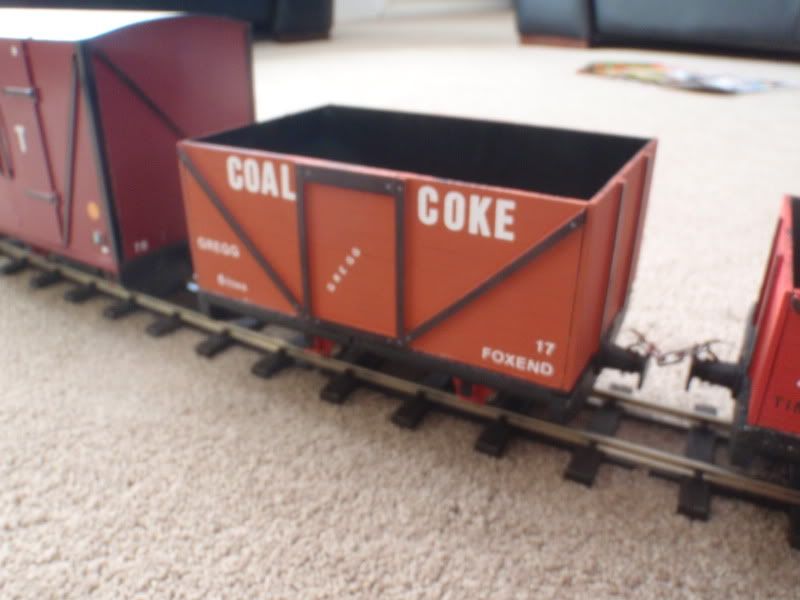
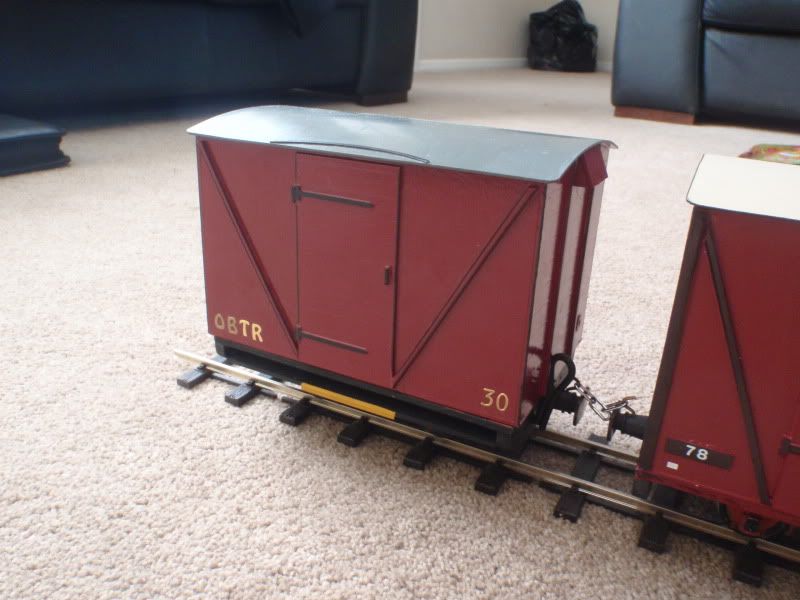
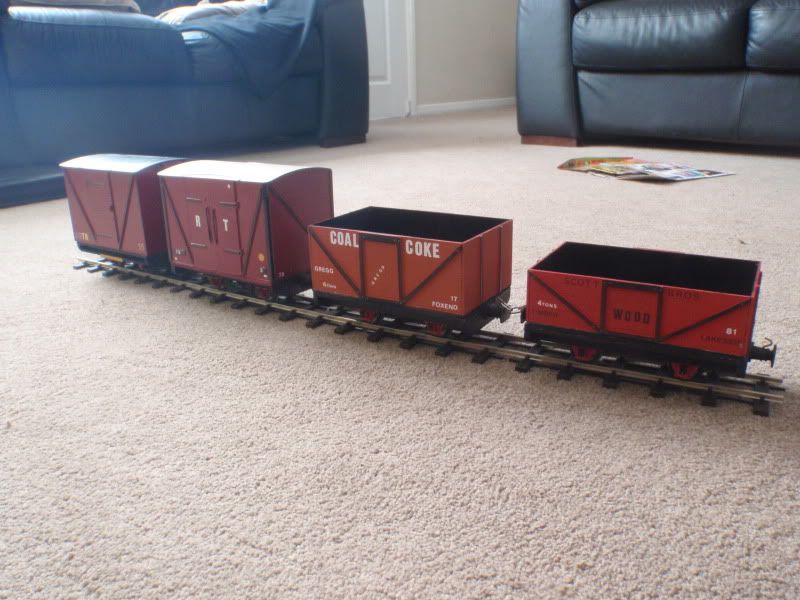
Now the rolling stock... as i'm a lazy so-n-so I've bought 4 trucks of ebay, which have cost me no more than £40 for the lot, all made by the same guy;
Image
Image
Image
Image

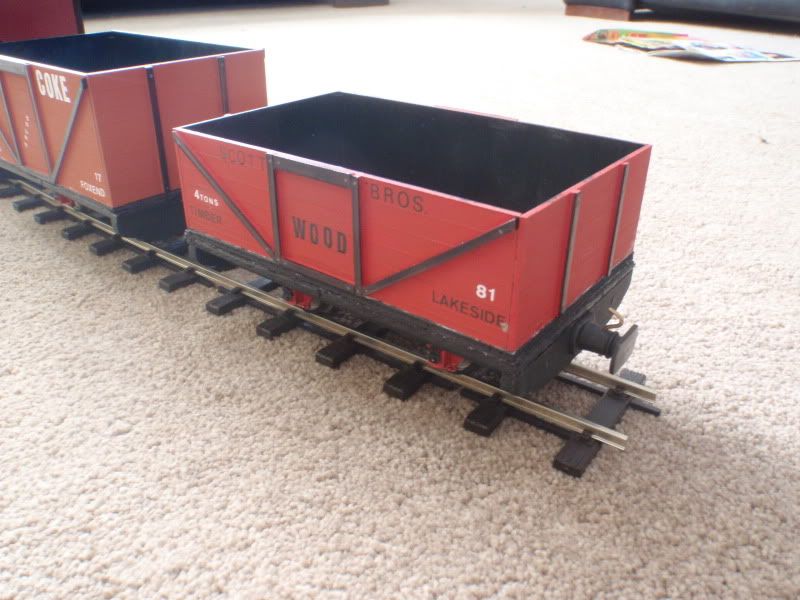
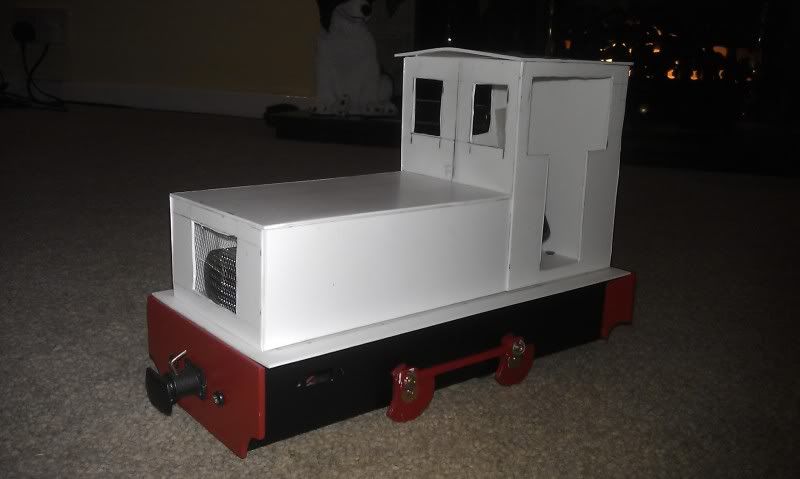
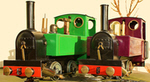
and an overall shot:
Image

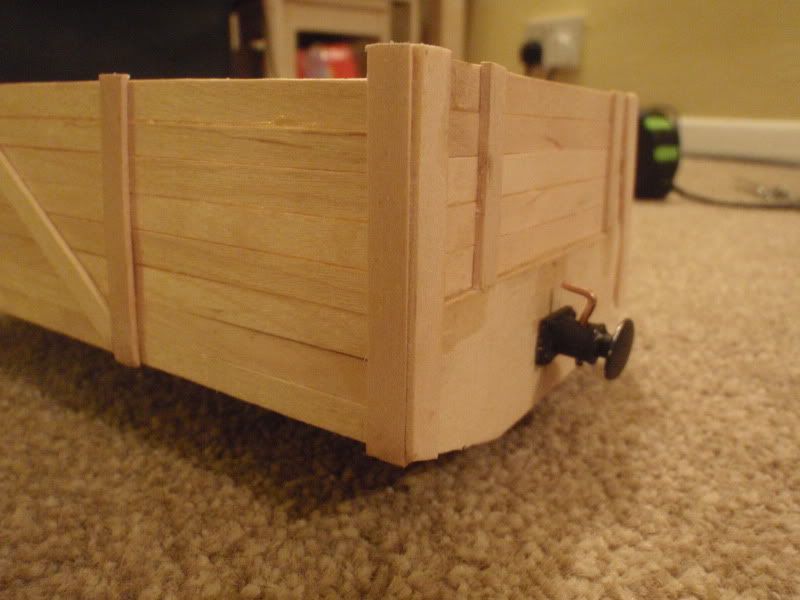
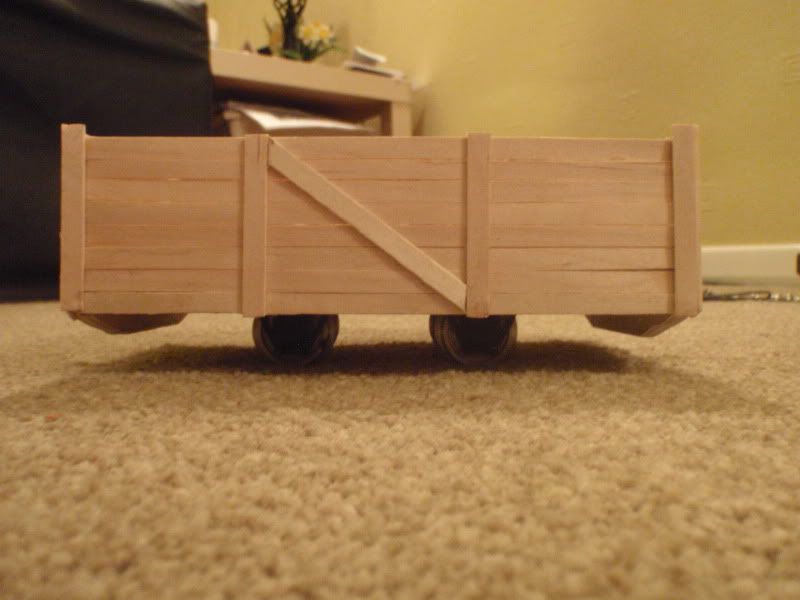
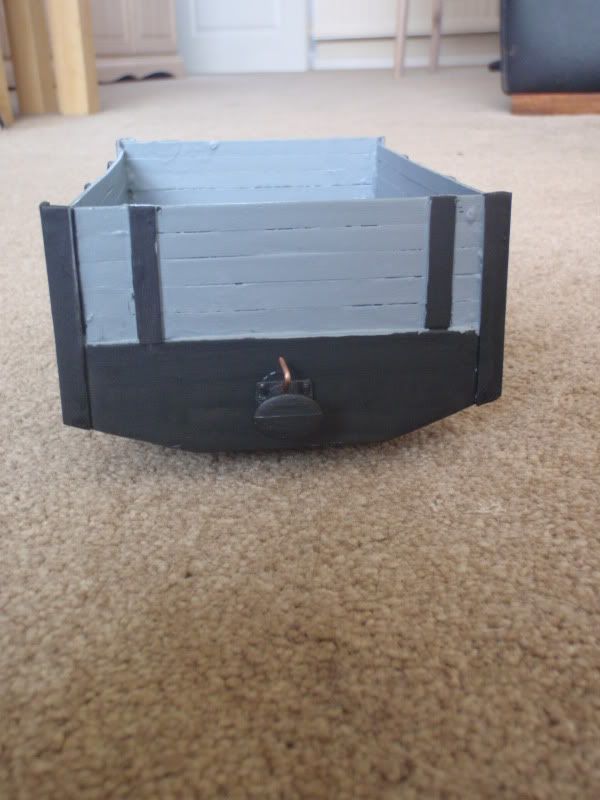
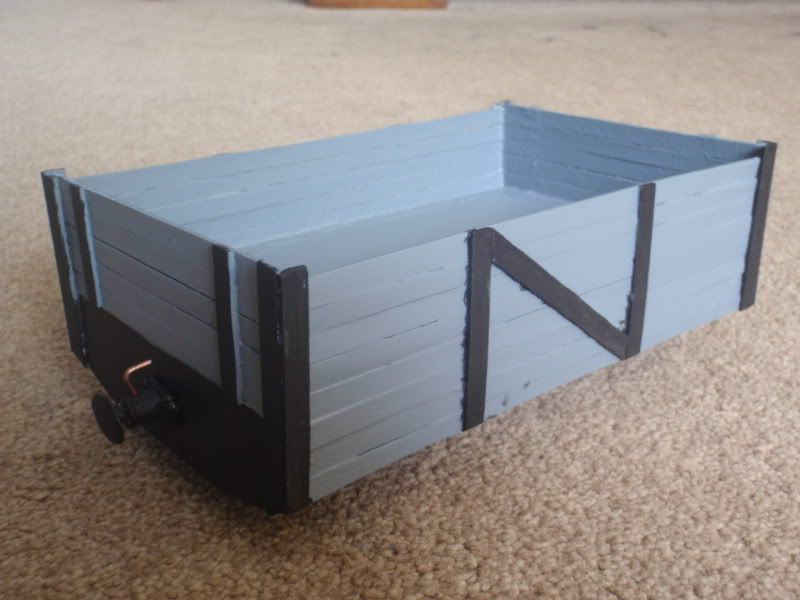
However a lazy one as I might be, I have made an attempt at one scratch built wagon, the axle boxes, wheels and buffers are all I.P. gear, with a left over plank of wood cut up and plenty of starbucks coffee stirrers!
Image
Image
Image

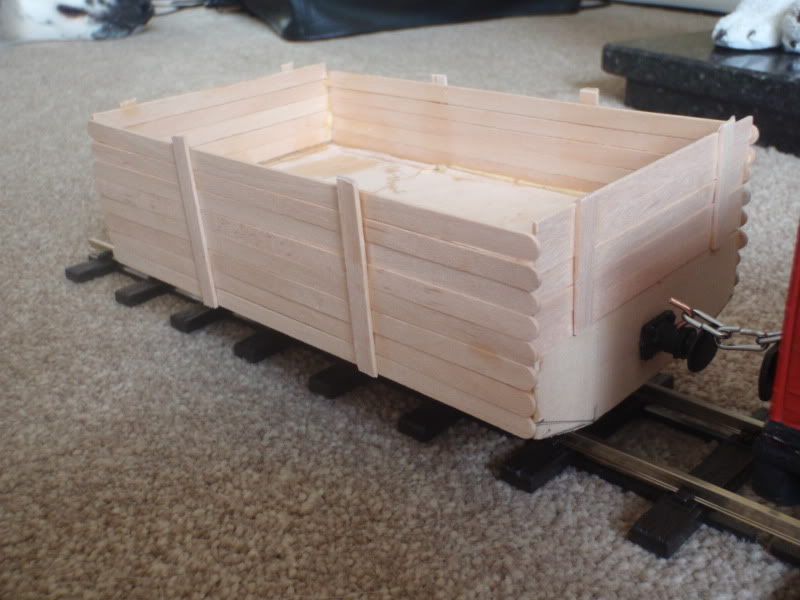
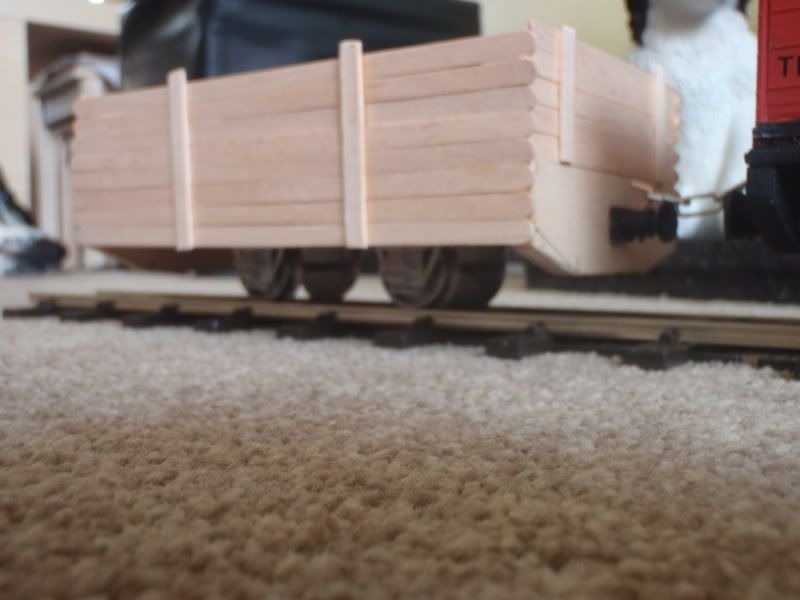
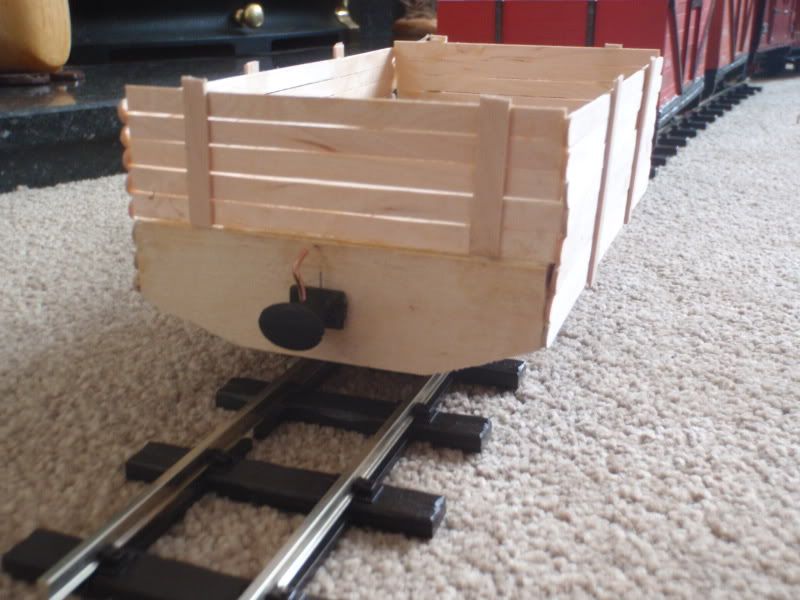
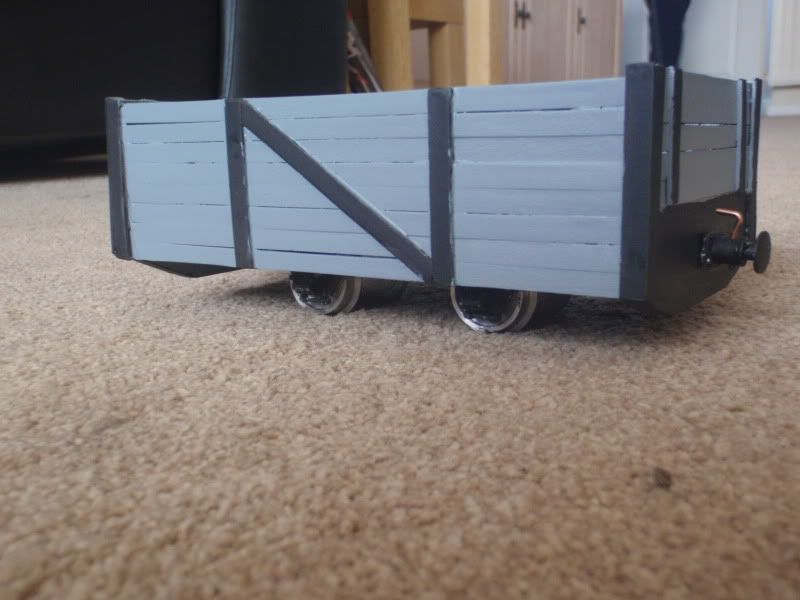
Hopefully this wagon will be painted grey-ish, and possibly be some sort of slate wagon, I dunno yet :lol:
Thats all for now!
Cheers,
Ste
:)
Last edited by Steven.T on Sun May 06, 2012 3:58 pm, edited 3 times in total.

User avatar
MDLR
Driver
Driver
Posts: 4027
Joined: Thu Jan 15, 2009 10:38 pm
Location: Near Ripley, Derbyshire, UK
Contact:

Post by MDLR » Sat Mar 19, 2011 4:31 pm

Had you considered taking a Dremel or a junior hacksaw to the rounded ends of the coffee stirrers?
Brian L Dominic
Managing Director
Flagg Fluorspar Co
www.mdlr.co.uk/ff.html

User avatar
Steven.T
Fireman
Fireman
Posts: 410
Joined: Sun Mar 13, 2011 5:56 pm
Location: Stockton

Post by Steven.T » Sat Mar 19, 2011 4:36 pm

Hi,
Yeah, I have thought about it and I think I may make more of a mess of it :lol:
What I might do is use some more coffee stirrers and place over the ends going vertically on each edge.
Cheers,
Ste

User avatar
Steven.T
Fireman
Fireman
Posts: 410
Joined: Sun Mar 13, 2011 5:56 pm
Location: Stockton

Post by Steven.T » Sun Mar 20, 2011 8:19 pm

Well more work has been done today, I have sanded the round ends off (which was easier than I thought) and added more coffee stirrers onto the edges to make the appearance a bit better, these still need sanding down a bit more. I've also added some diagonal ones across the middle just for the sake of it :lol:

Image

Image

Cheers,
Ste

User avatar
90733
Driver
Driver
Posts: 1952
Joined: Wed Dec 16, 2009 6:17 pm
Location: West Yorkshire
Contact:

Post by 90733 » Sun Mar 20, 2011 8:30 pm

Looking good :D
Thanks
Jack

mhlr
Retired Director
Retired Director
Posts: 4336
Joined: Sun Oct 21, 2007 8:16 pm
Location: Shropshire, England

Post by mhlr » Sun Mar 20, 2011 9:12 pm

Looks very rustic, needs a weathered paint job to it! :D
Image

User avatar
Steven.T
Fireman
Fireman
Posts: 410
Joined: Sun Mar 13, 2011 5:56 pm
Location: Stockton

Post by Steven.T » Sun Mar 20, 2011 9:22 pm

Thanks guys :)
I think once I have painted it it might have a roll around in the mud ;)

User avatar
Steven.T
Fireman
Fireman
Posts: 410
Joined: Sun Mar 13, 2011 5:56 pm
Location: Stockton

Post by Steven.T » Sun Mar 27, 2011 1:07 pm

Well, the truck has been painted, the body was sprayed with grey car primer and then black bits picked out by (a rather unsteady) hand.
Image

Image

Image

I have a few Airfix waterslide transfers left from some part-built kits that I never finished, I might use these to put some branding on, but try not to make it too cluttered if you know what I mean!
Cheers,
Ste :)

User avatar
Sir Clothem Cap
Driver
Driver
Posts: 1707
Joined: Sun Sep 26, 2010 8:45 pm
Location: Hampshire
Contact:

Post by Sir Clothem Cap » Sun Mar 27, 2011 1:57 pm

Looks great now, Well done

User avatar
dougrail
Driver
Driver
Posts: 1532
Joined: Mon Mar 14, 2011 5:11 pm
Location: Salopia; on the edge of Arcadia

Post by dougrail » Sun Mar 27, 2011 2:47 pm

I like the wagon chap - nicely painted - and from such humble beginnings too - well done :)

User avatar
Steven.T
Fireman
Fireman
Posts: 410
Joined: Sun Mar 13, 2011 5:56 pm
Location: Stockton

Post by Steven.T » Sun Mar 27, 2011 5:52 pm

Thanks for the positive comments guys :)
At the moment I'm in two minds whether to make it a Coal or slate wagon, at the moment I'm swaying more towards coal, what do you all think?
Cheers,
Ste :)

User avatar
Sir Clothem Cap
Driver
Driver
Posts: 1707
Joined: Sun Sep 26, 2010 8:45 pm
Location: Hampshire
Contact:

Post by Sir Clothem Cap » Sun Mar 27, 2011 5:57 pm

leave it as general goods then you can use it on a maintenance train too.

User avatar
Steven.T
Fireman
Fireman
Posts: 410
Joined: Sun Mar 13, 2011 5:56 pm
Location: Stockton

Post by Steven.T » Sat Apr 02, 2011 10:57 am

Sir Clothem Cap:51173 wrote:leave it as general goods then you can use it on a maintenance train too.
Good idea, I've bought another wagon which is painted in grey, and looks like a maintenance one.
Now I know this is technically cheating, but these two I couldn't resist, for £7 each, they were a bargain. I will still be making my own though, but for now, I have some bodies to swap between! :D

Image

Image

Image

Image

They aren't a perfect fit, but the steam loco doesn't fit too badly :)
The loco+trucks are going for a trip out tomorrow, to York SME's Garden Railway, so I will have some more pictures and possibly a video for you all ;)
Cheers,
Ste :)

User avatar
Steven.T
Fireman
Fireman
Posts: 410
Joined: Sun Mar 13, 2011 5:56 pm
Location: Stockton

Post by Steven.T » Sat Apr 02, 2011 10:58 am

Oh and I forgot to mention, the chassis have been fully sprayed, and is now finished :D

User avatar
Steven.T
Fireman
Fireman
Posts: 410
Joined: Sun Mar 13, 2011 5:56 pm
Location: Stockton

Post by Steven.T » Sun Apr 03, 2011 10:05 pm

Well, had a fairly successful day today, the loco ran fairly well, the only problem being the makeshift battery-pack coming apart frequently and the motor mount somehow moving, and disengaging the gears, but these are going to be sorted out!

The rake:
Image

Passing the station building:
Image

Passing the Signal Box:
Image

And the video I promised, bit of an edited mash up of a few different clips taken. It's also been shortened by about 5 minutes from original :lol:

<object width="425" height="344"><param name="movie" value="http://www.youtube.com/v/ubXAa9H6jMc?hl ... ram><param name="allowFullScreen" value="true"></param><param name="allowscriptaccess" value="always"></param><embed src="http://www.youtube.com/v/ubXAa9H6jMc?hl=en&fs=1" type="application/x-shockwave-flash" allowscriptaccess="always" allowfullscreen="true" width="425" height="344"></embed></object>

Thats all for now,
Cheers,
Ste

User avatar
Sir Clothem Cap
Driver
Driver
Posts: 1707
Joined: Sun Sep 26, 2010 8:45 pm
Location: Hampshire
Contact:

Post by Sir Clothem Cap » Mon Apr 04, 2011 9:49 am

She goes well apart from that squeak. If you think pizza and listen it drives the word deep into your brain. Great video editing! :D

User avatar
Steven.T
Fireman
Fireman
Posts: 410
Joined: Sun Mar 13, 2011 5:56 pm
Location: Stockton

Post by Steven.T » Mon Apr 04, 2011 4:36 pm

Yeah the squeaking was bugging me, I can't find out what it is either, although I think it's something to do with the axles/wheels/bearings area :lol:
Cheers,
Ste

User avatar
Steven.T
Fireman
Fireman
Posts: 410
Joined: Sun Mar 13, 2011 5:56 pm
Location: Stockton

Post by Steven.T » Mon Apr 25, 2011 8:27 pm

Work on the body has been carried out today, using some plasticard I had lying around. It's not really based on anything in particular, just what my imagination came up with :D
There is some wobbly lines, but these are being tidied up a bit.

Image

As you can see, allowance has been made for a battery pack in the bonnet area:
Image

Image


Another update soon, when the glue dries from the rest of the work!
Cheers,
Ste

User avatar
Steven.T
Fireman
Fireman
Posts: 410
Joined: Sun Mar 13, 2011 5:56 pm
Location: Stockton

Post by Steven.T » Mon Apr 25, 2011 9:45 pm

And now the glue has dried, well, to a certain extent anyway...
The roof has been attatched, a hole cut in the bonnet for the front grill/vent thingy and the front and rear of the cab added.
It's starting to look like a loco now :D

Image

Image

Image

And the base with battery pack:
Image

Work still to be done includes cutting out rear cab windows, profiling the top of the bonnet area and extra little details like louvres and handrails.
Also I've left a little shelf sort of area in the cab where some cab detail will go.
As for the colour, it won't be staying white! The roof and the body base will be black, the same as the chassis, and I'm currently undecided about the main structures colour, possibly an LNER green.
Thats all for now,
Cheers,
Ste :)

User avatar
DolwyddelanLightRail
Driver
Driver
Posts: 2579
Joined: Tue Sep 29, 2009 7:27 pm
Location: Lost

Post by DolwyddelanLightRail » Mon Apr 25, 2011 9:57 pm

I quite like the cab design! :D Nice one! :D

Post Reply

Who is online

Users browsing this forum: No registered users and 3 guests