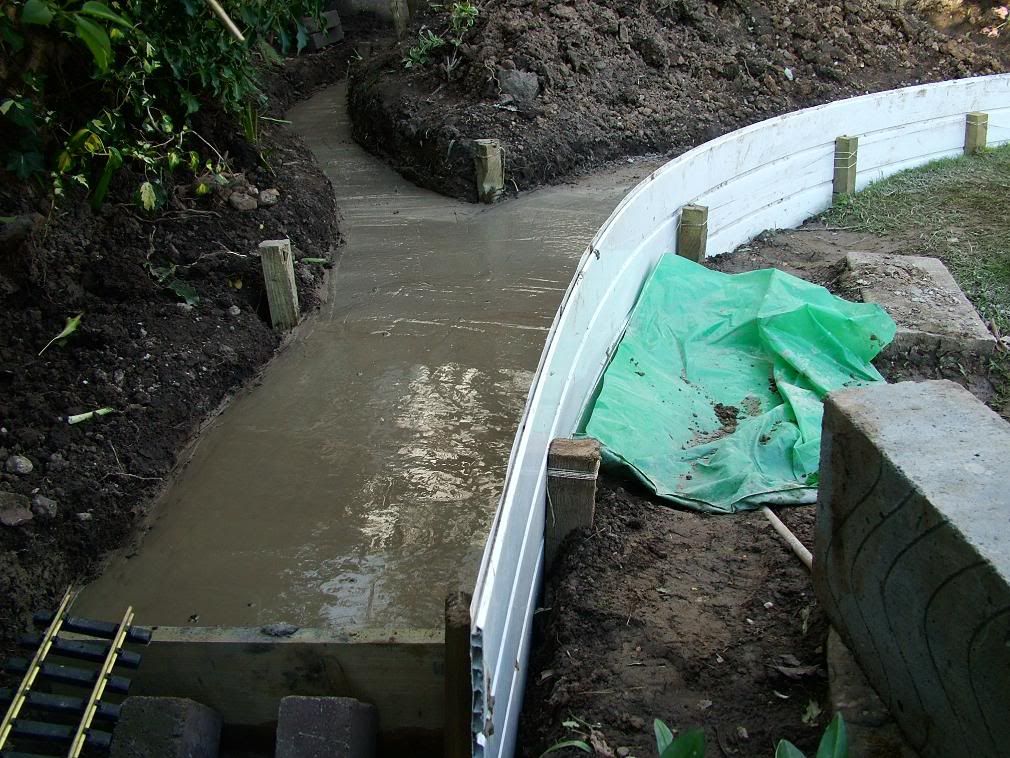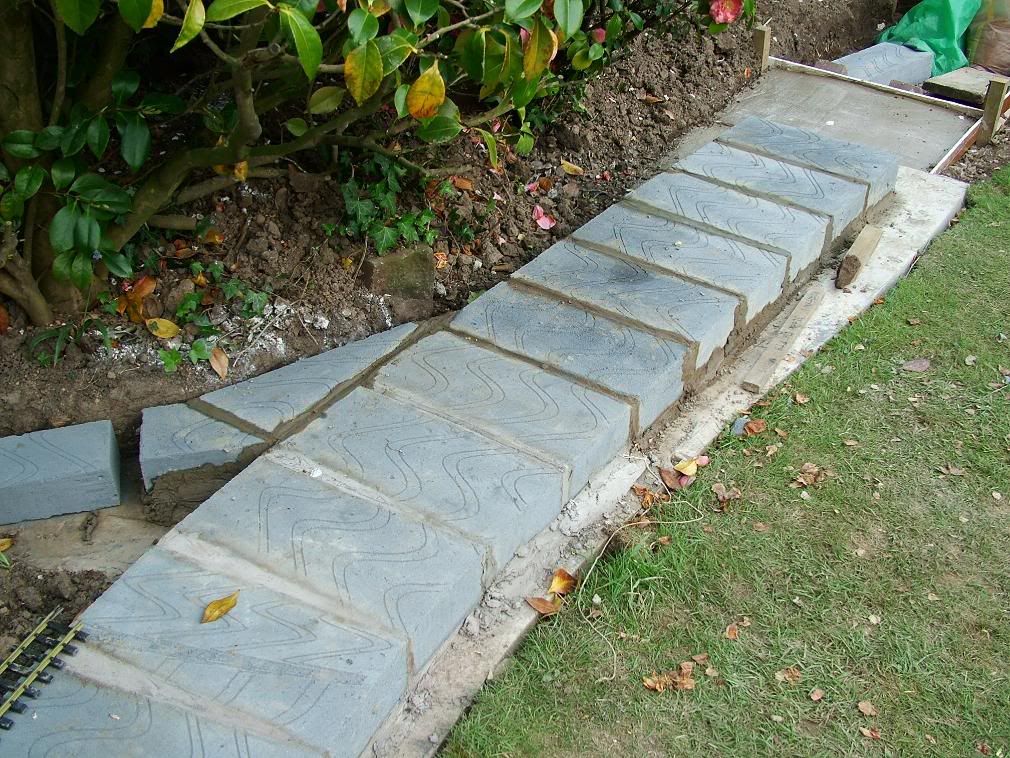

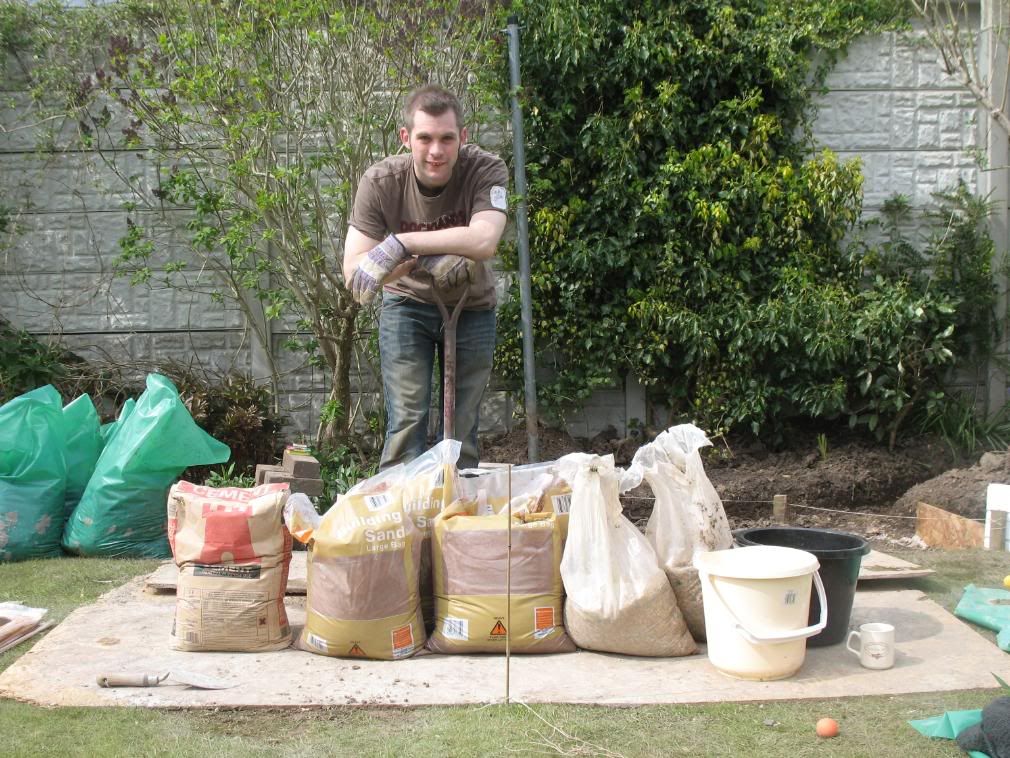
Today has been spent mixing concrete! In total we have mixed 4 batches to put in the trenches, with each batch having the following recipe:
1 bag of Cement
2 bags of aggregate
4 bags of builders sand (3 times as much as the cement in weight)
2-3 buckets of water
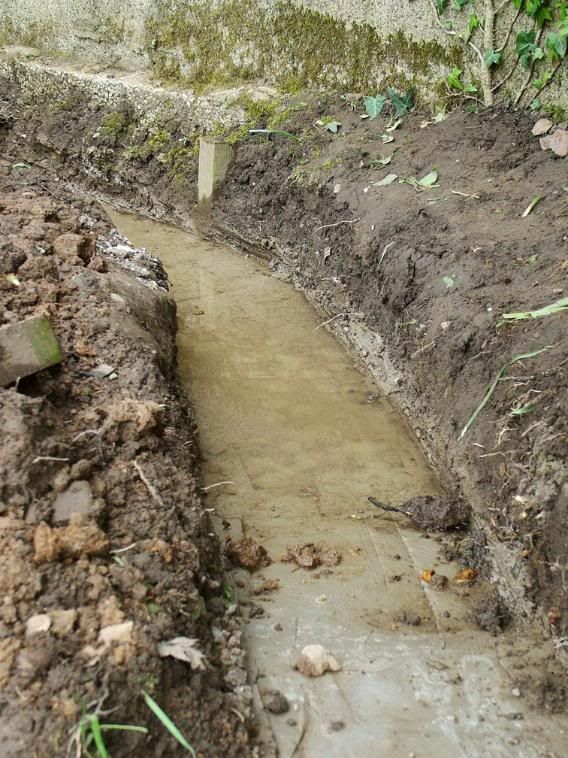
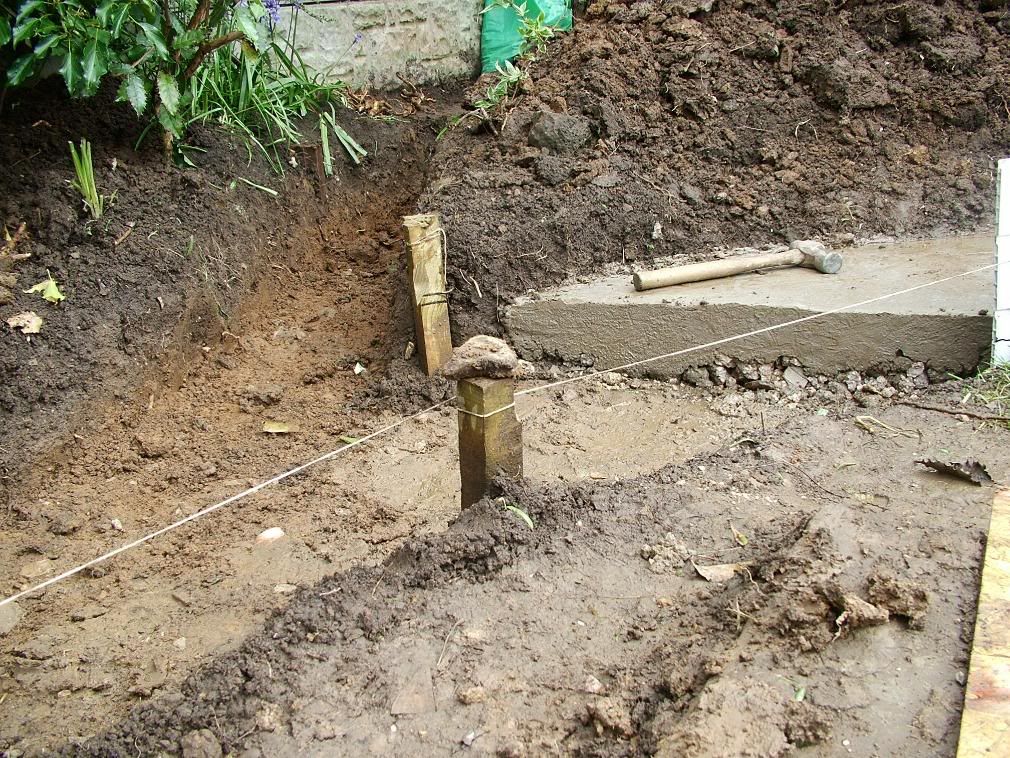
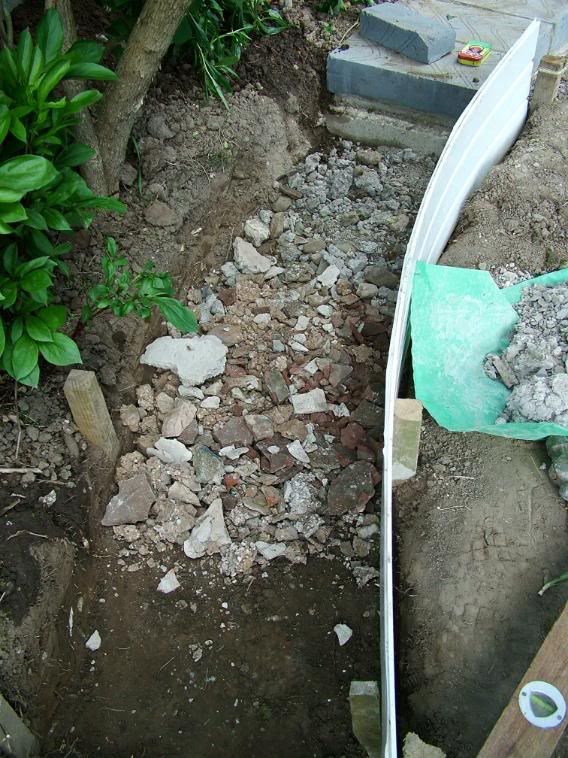
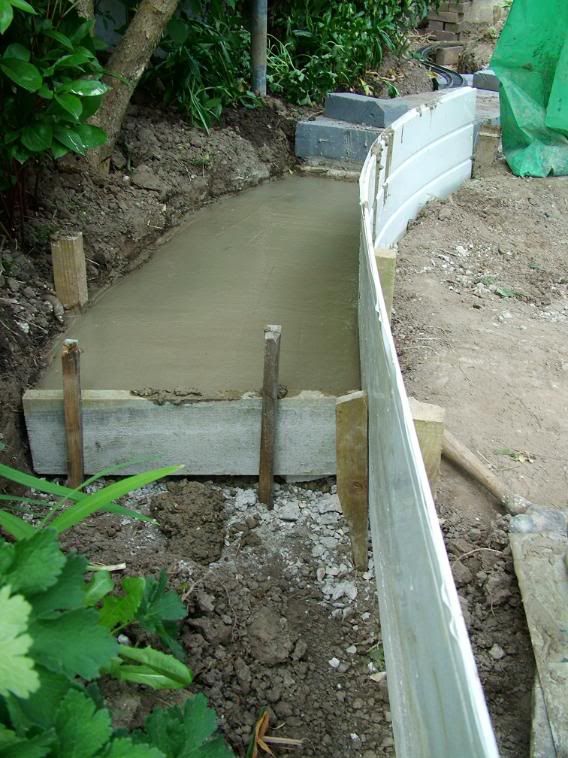
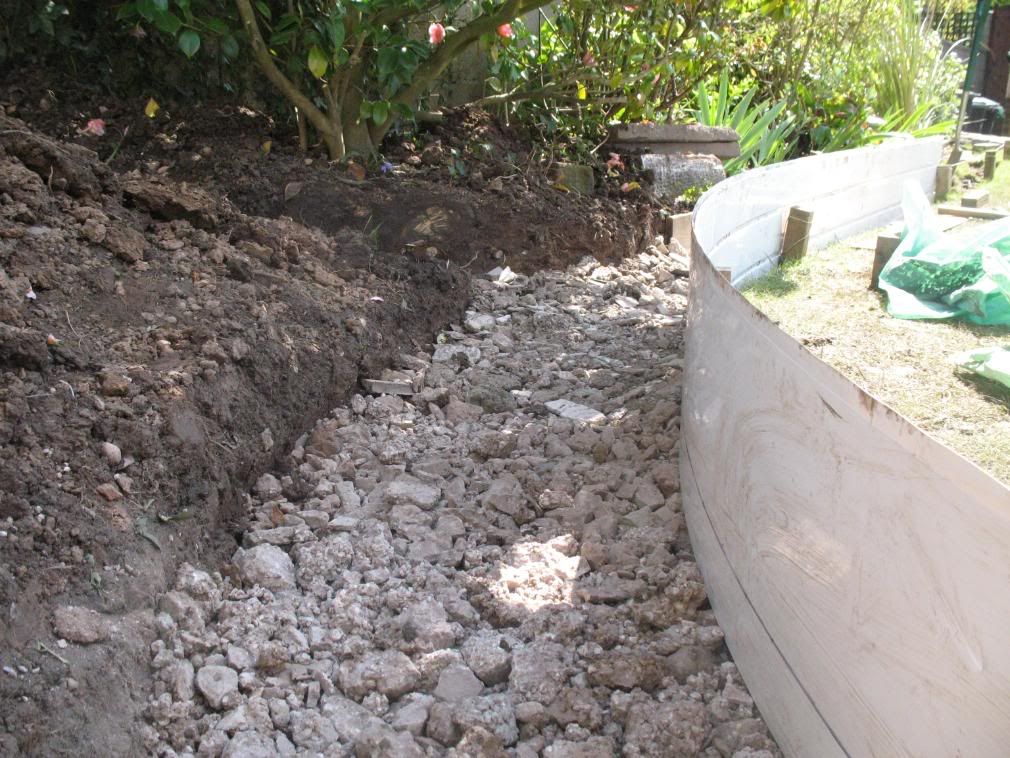
IT was hard work, but worth the effort! Before filling the trench with concrete, we lined the trench with about an inch of hardcore material. This varied from broken up bits of the old pebble dashing to chunks of solid cement ( where an old bag had gone hard). Some of it needed smashing up with a big hammer !
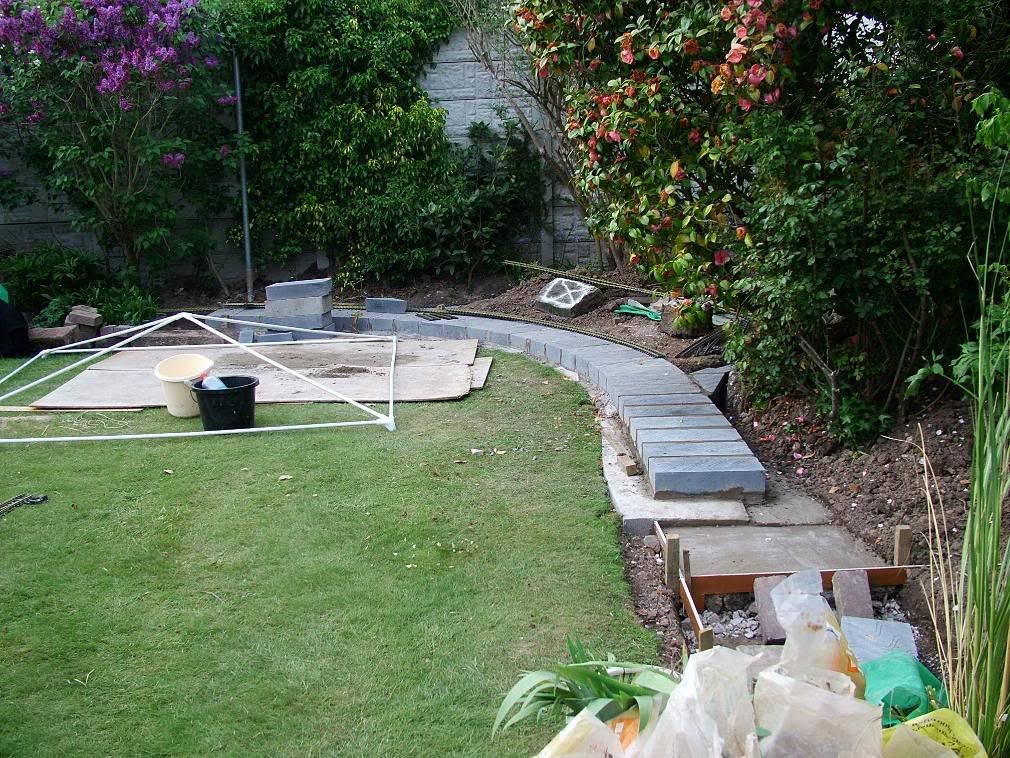
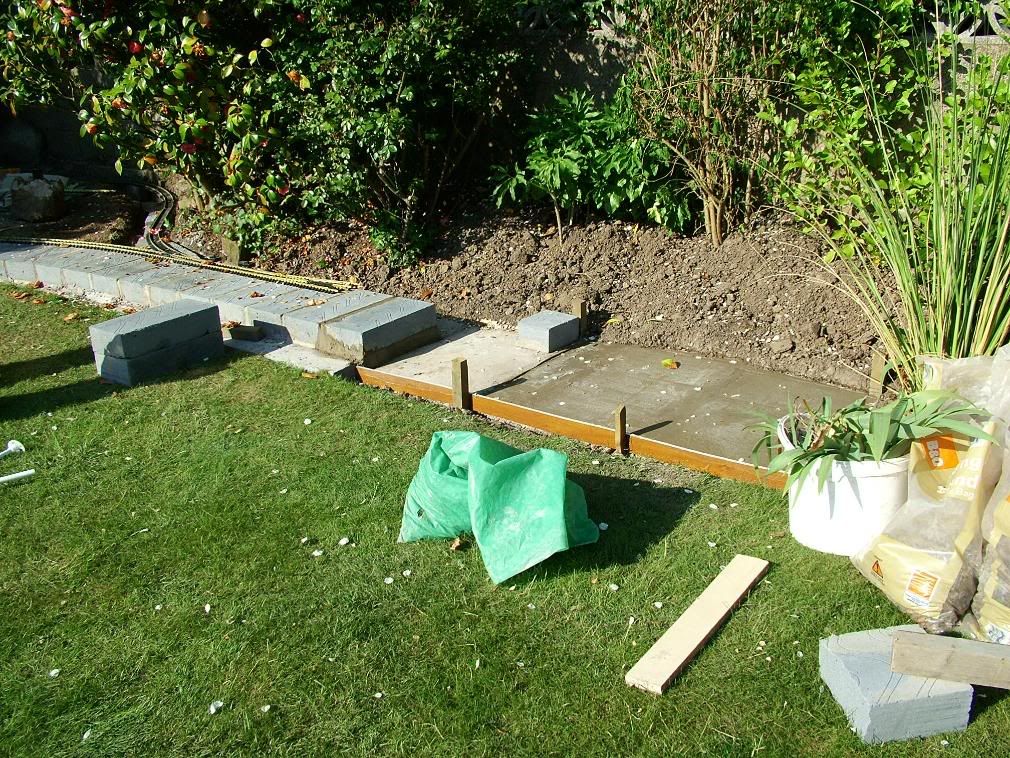
By the end of the day the front trench was done as far as the rear trench rejoiing it at the back of the garden, and the rear trench roughly filled to 1/3 of the way round.

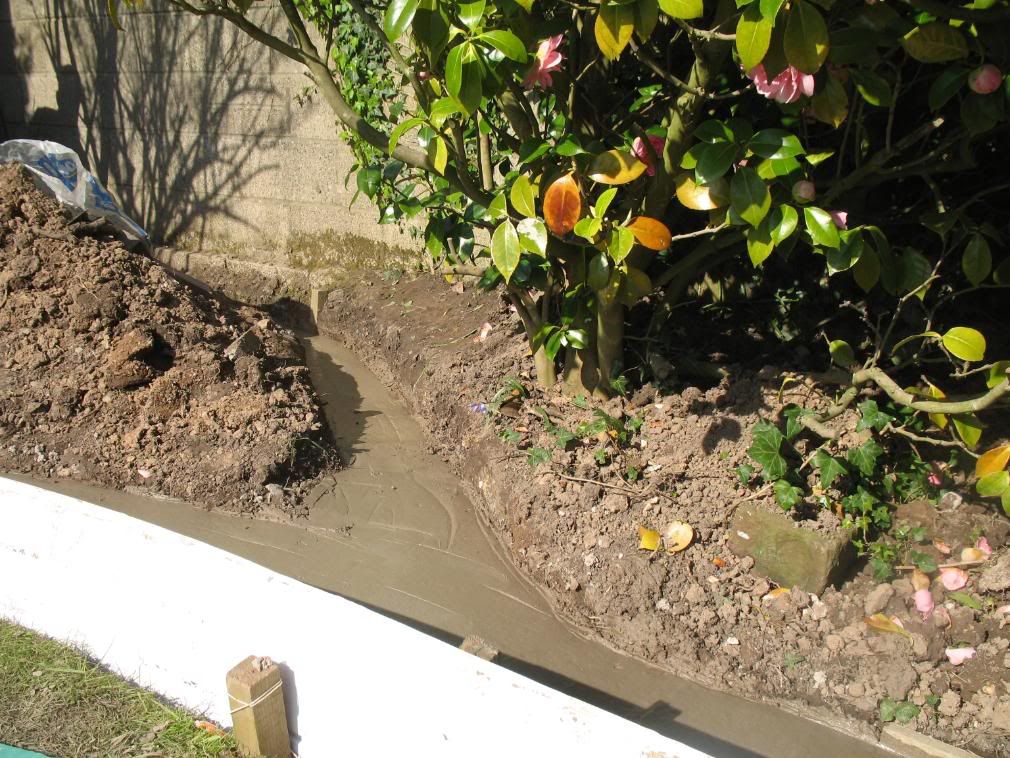
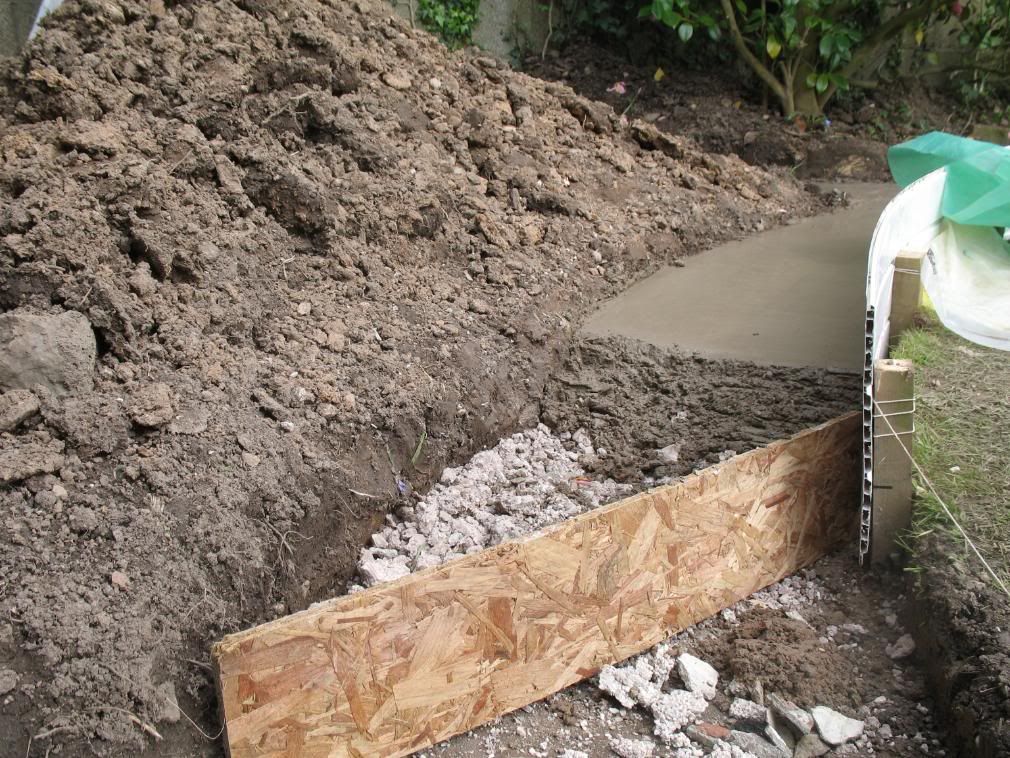
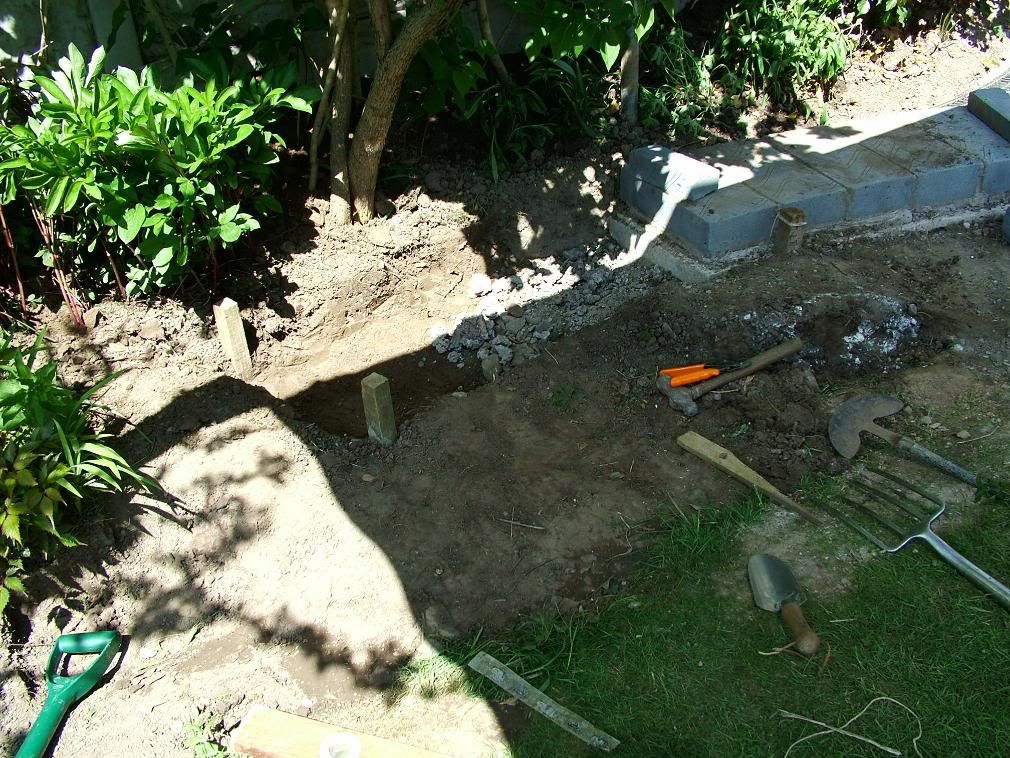
What we have found is that I need to excavate another inch or so out of the back trench between the end of todays concreting and the front loop, as the level is off, and there would not be a good, strong, deep foundation for laying the blocks onto!
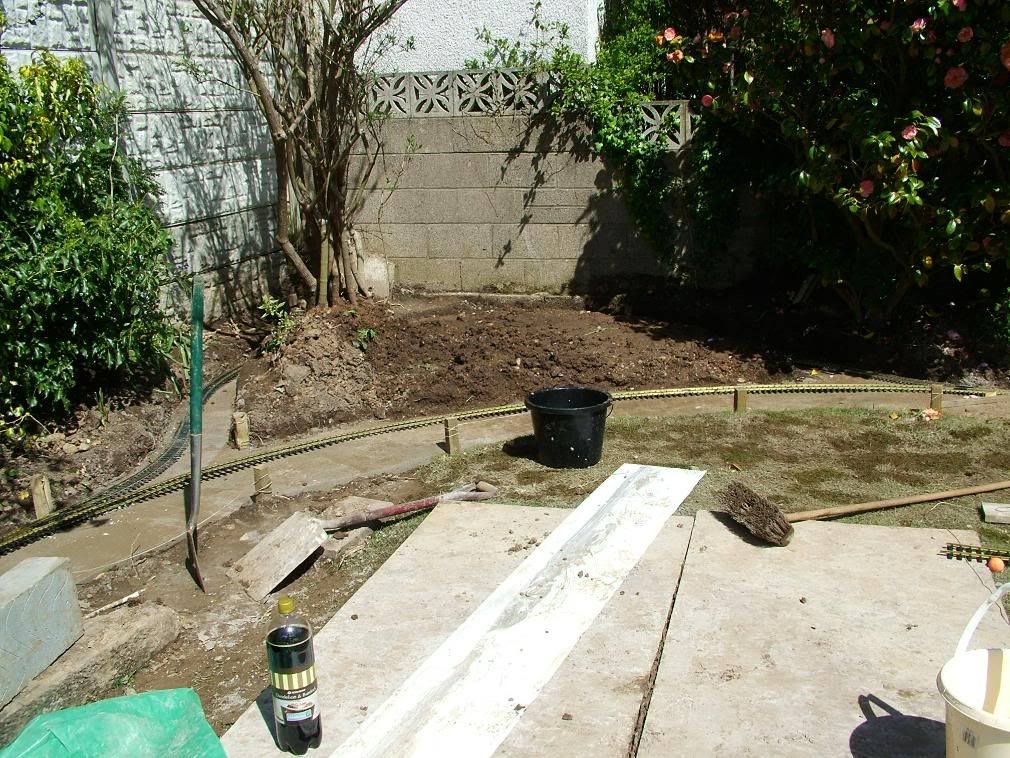
This view shows the view from an upstairs window of the progress made today!

Tomorrow, I am most likely to be working alone, so there might not be as much done, but the aim is to get the digging done, and get the rest of the concrete for this phase in place!
AS always, more piccies in my photobucket! ( I really should just link my photobucket in my signature!)