Gladstone Coach to Bush Tram Carriage
Posted: Fri Jan 12, 2024 7:16 am
A "little"  project from my defunct blog, that I've been meaning to contribute to the forum for quite a while..
Back in early 2019...
I wanted an end-platform carriage, reminiscent of the various carriages found on the 2ft gauge sugar tramways of Queensland. Several of these were built by sugar mills running a local passenger service in the slack season, (Dec - June) or by Shire Councils for year-round services on their own tramways.
I wanted a break from scratchbuilding. However, the few end-platform kits available in 16mm were either too big, or not quite the style I needed.
Eventually, I decided on cutting down an IP Eng. Gladstone Coach kit.
21/01/2019
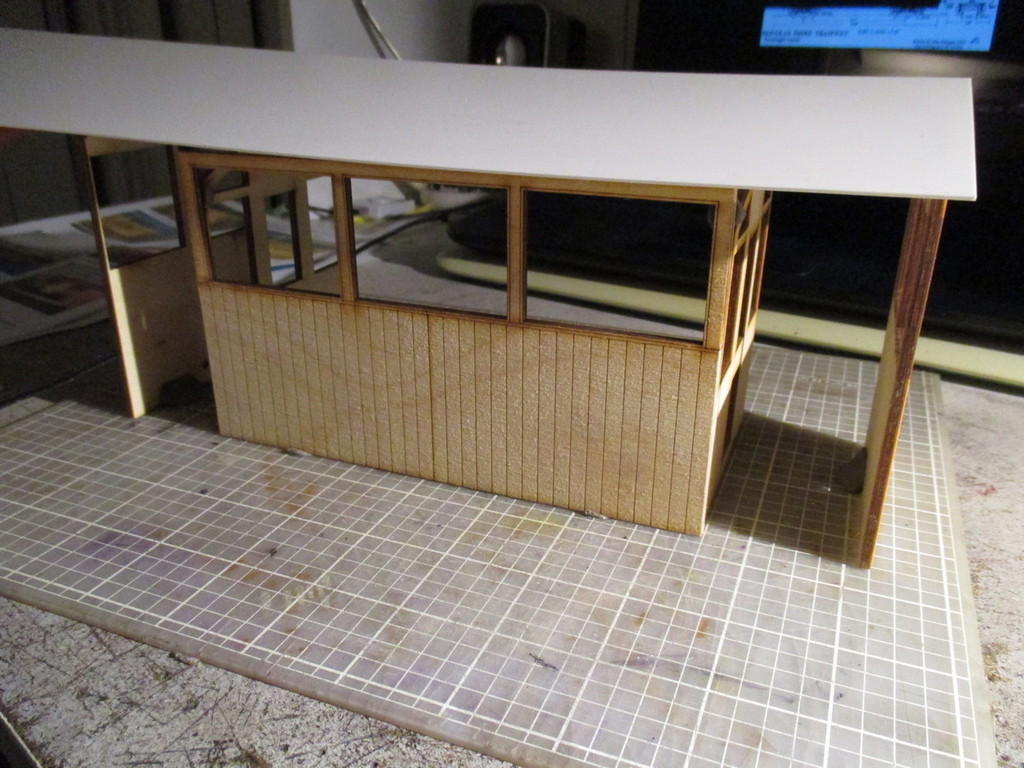
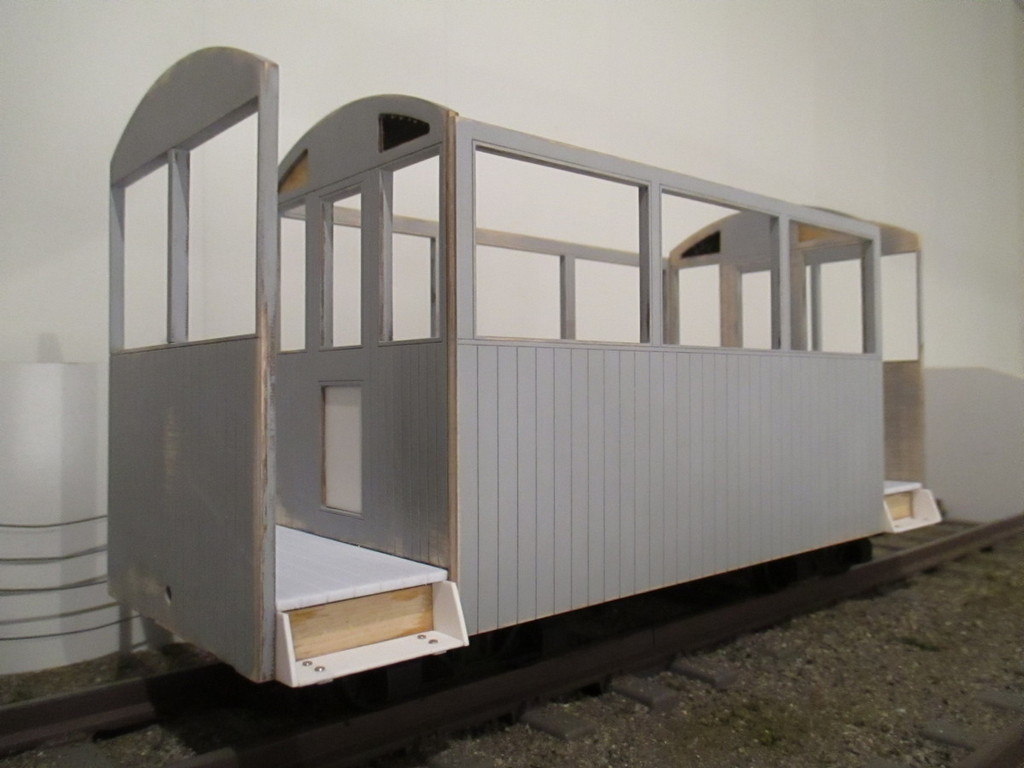
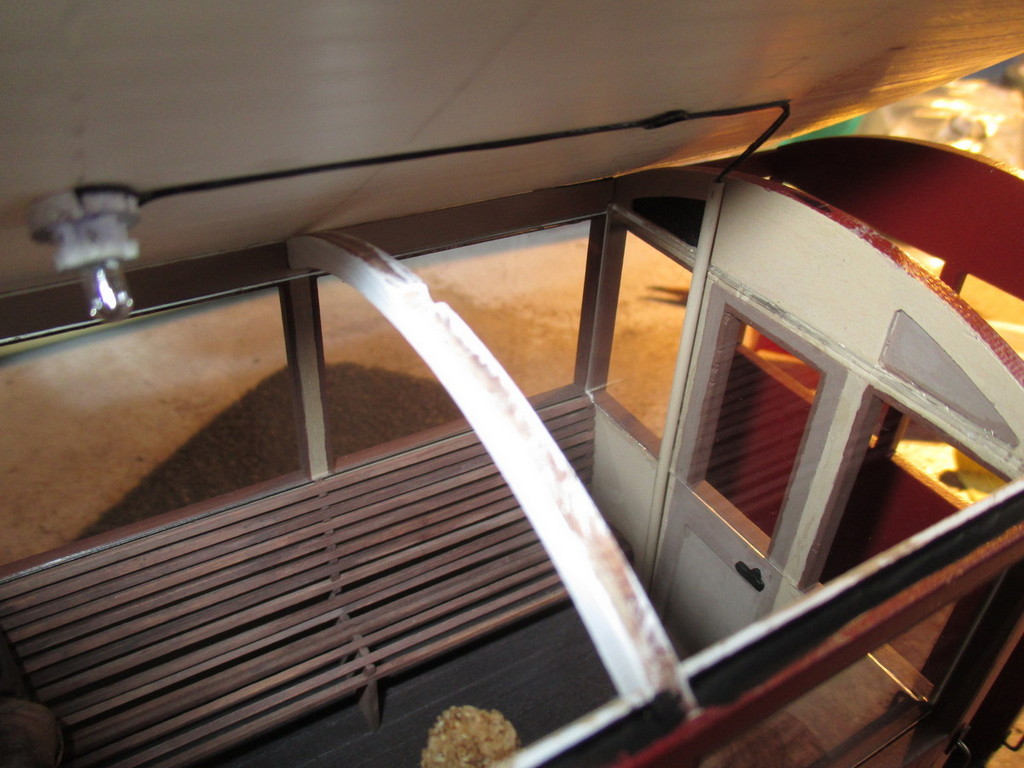
The open-sided ends were cut away, leaving only the glazed saloon.
23/01/19
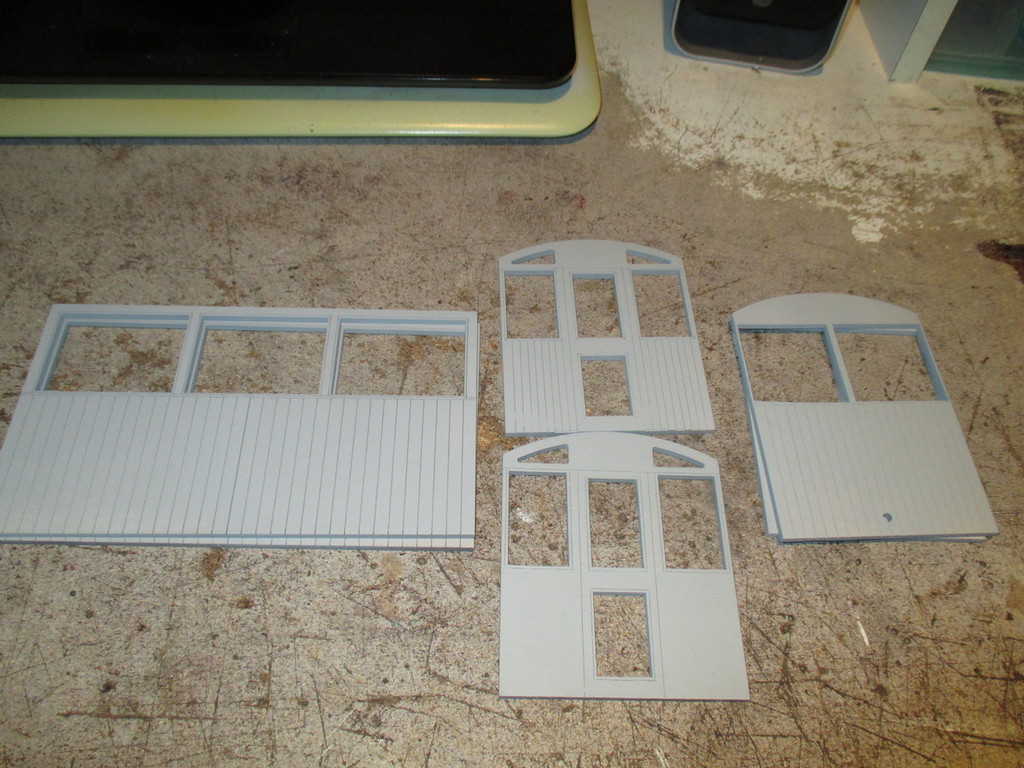
The end walls were scribed on both sides as needed, to match the side walls before filling the plywood's grain.
The grain was filled with spray putty. Each coat was sanded, the dust brushed away, then re-cut the scribed lines with a knife because the filler obscures them.
Very laborious. I prefer MDF over ply - it doesn't have a coarse, often wrong-way grain to fill, and I can't say I've ever had it warp.
For the latter reason, a replacement floor was made from 3mm foamboard.
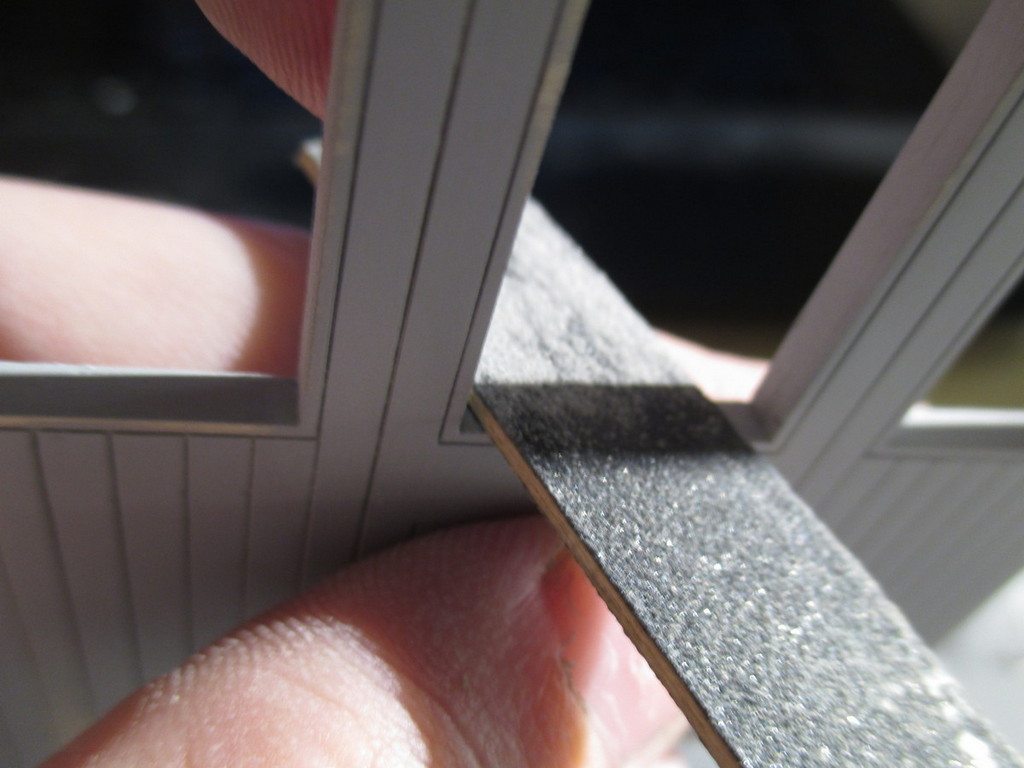
Emery boards (nail files from the cheap shop) are great for smoothing out window openings.
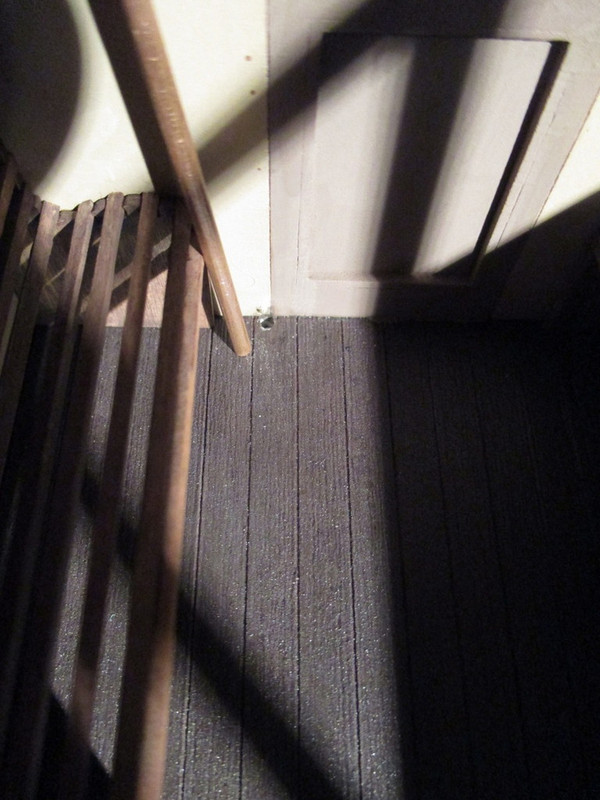
Handrails were bent from music wire, on a jig. A drilling jig with precisely-located guide holes was made from a length of styrene angle.
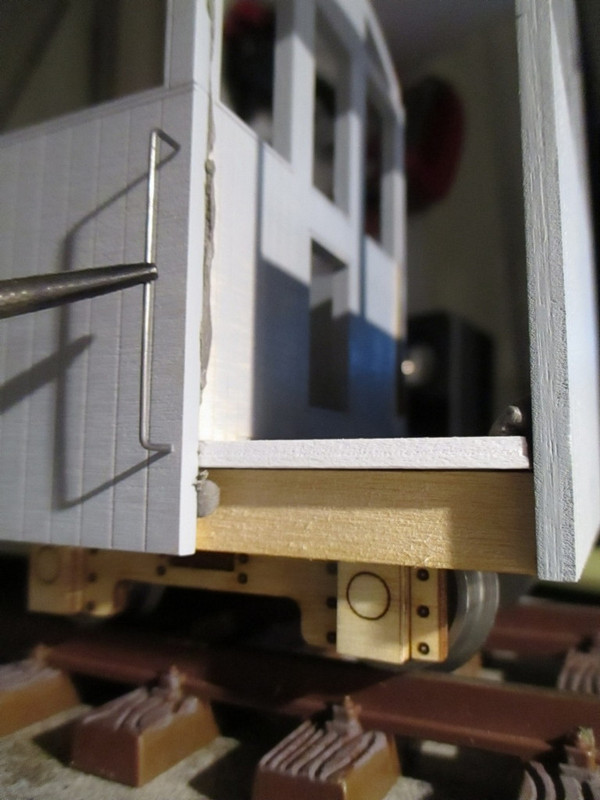
The kit's solebars were cut down to suit the shortened frame. The wagon here is mocked up with blu-tac, and sits on temp. bogeys.
05/05/19
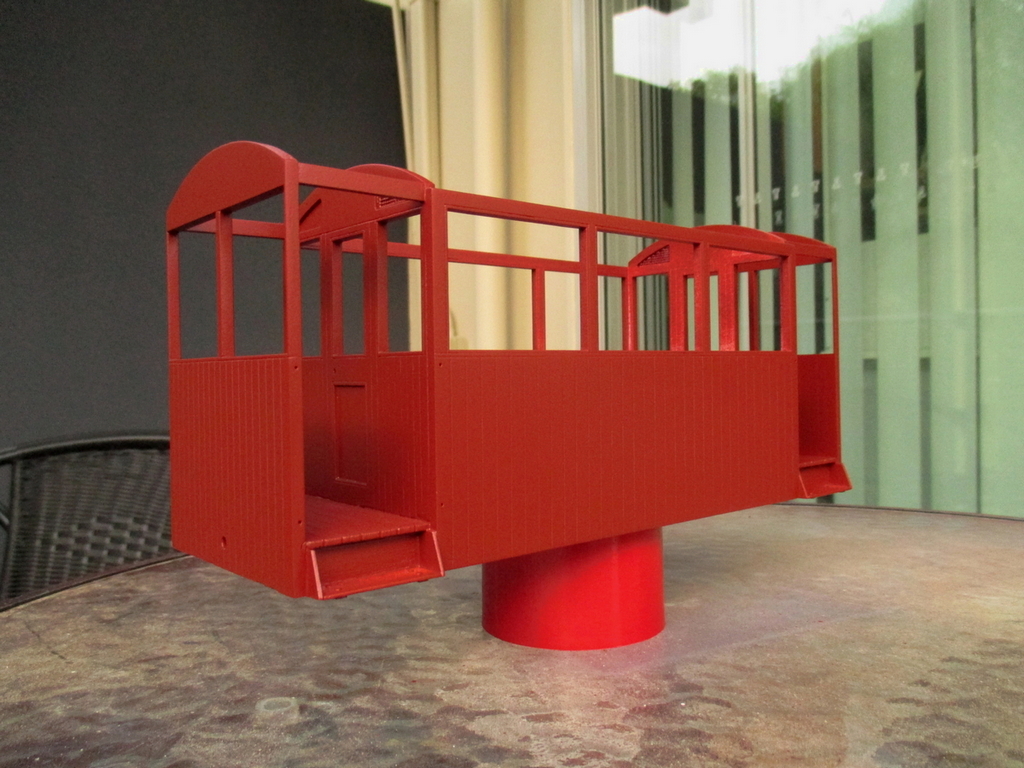
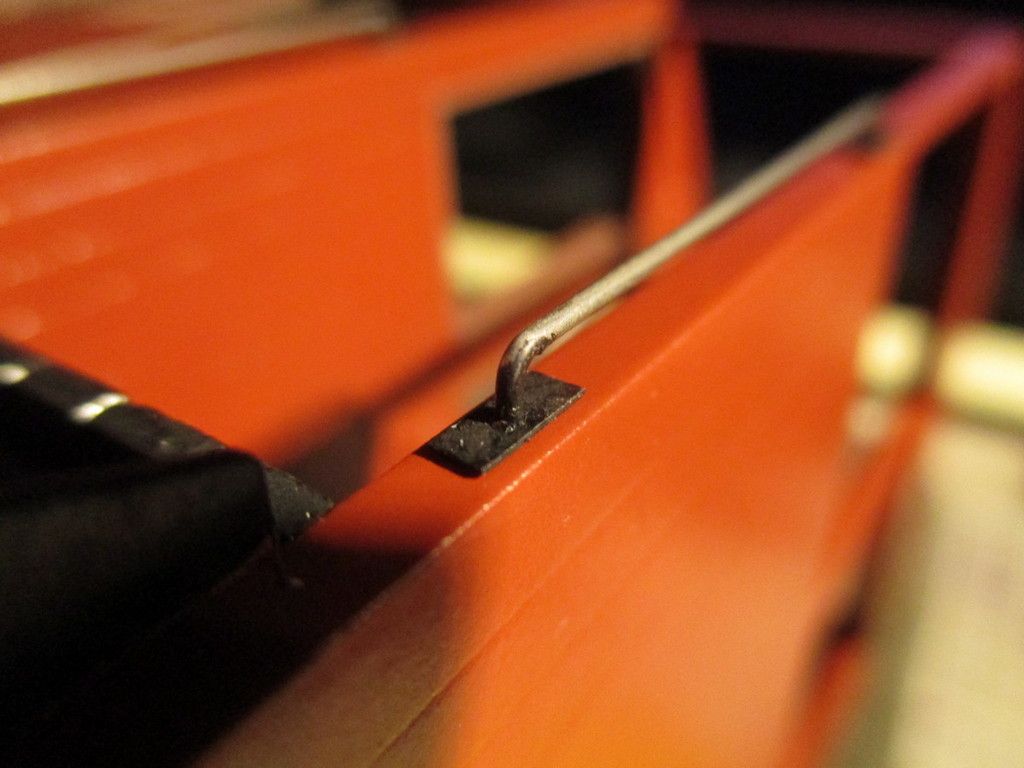
I wanted the steps to be simple and robust. They resemble those fitted to tram trailers - fitting, given the carriage is built like one. It now rides on a pair of IP Eng. whitemetal archbar bogeys with Binnie 20mm wheels. As you may have noticed, this was at the time built to 45mm gauge.
06/06/19
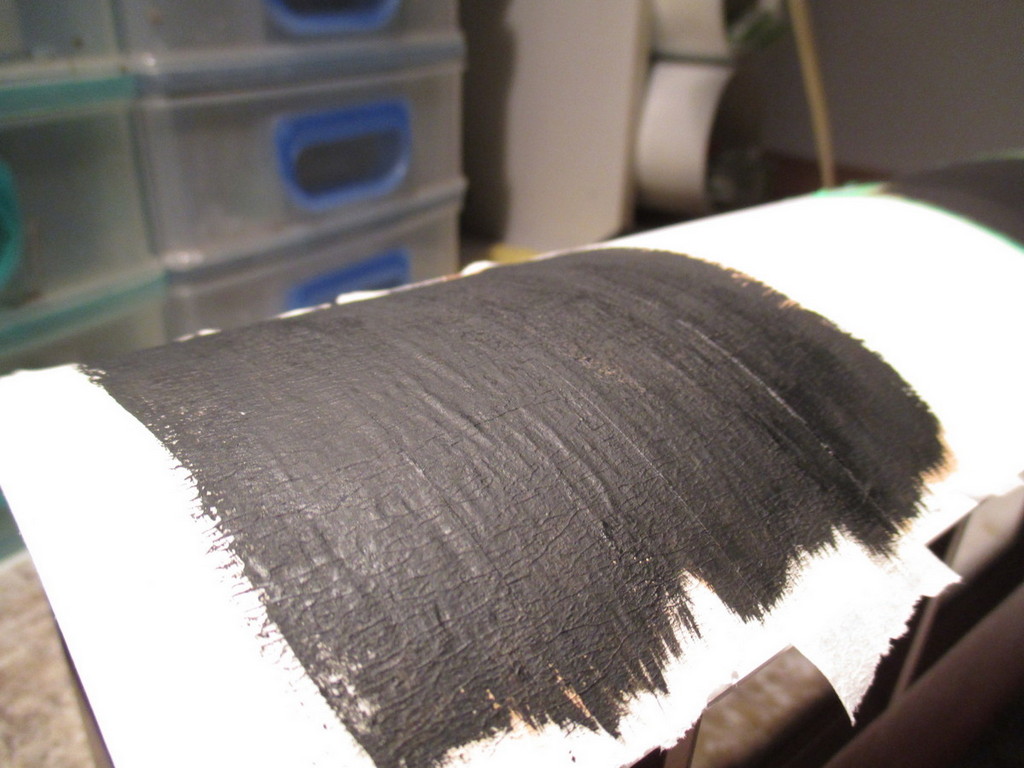
After a light base-coat of white, followed by red oxide primer, I dug out an aerosol can of Tamiya's TS-33 Dull Red.
A satin clearcoat gave the appearance of a more recent addition to the wagon roster, as opposed to the flat finish of the older coaches I had at the time.
05/07/19
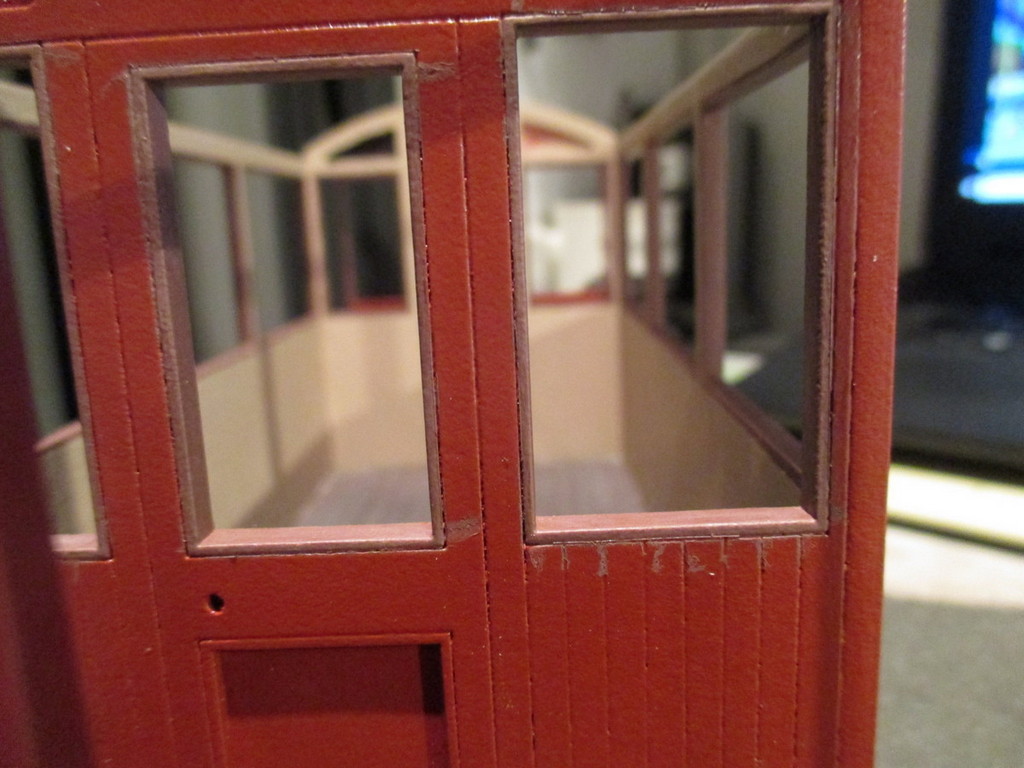
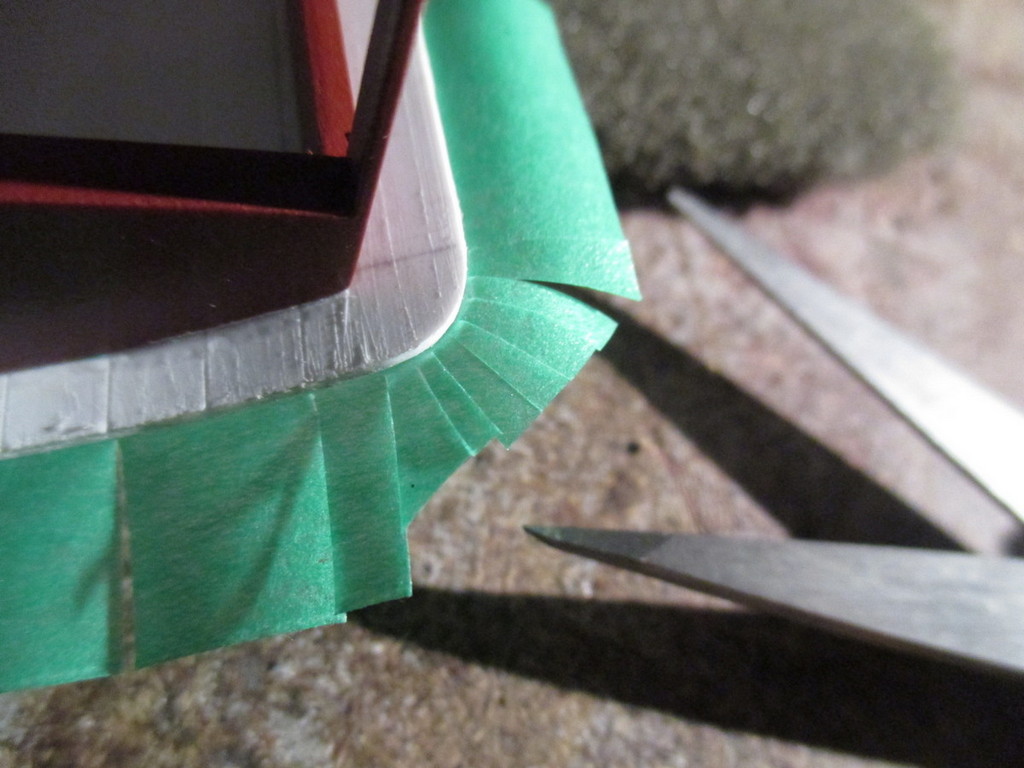
Again to match the existing stock, the window frames were painted brown. To save some tedium, Tamiya 3mm wide tape (the repackaged strips of electrical tape for masking curves) was used to mask off. That stuff is too thick to burnish down properly at the corners, and I should've bought the 3mm wide version of their excellent 10mm paper masking tape I had on hand. Much retouching ensued...
12/07/19
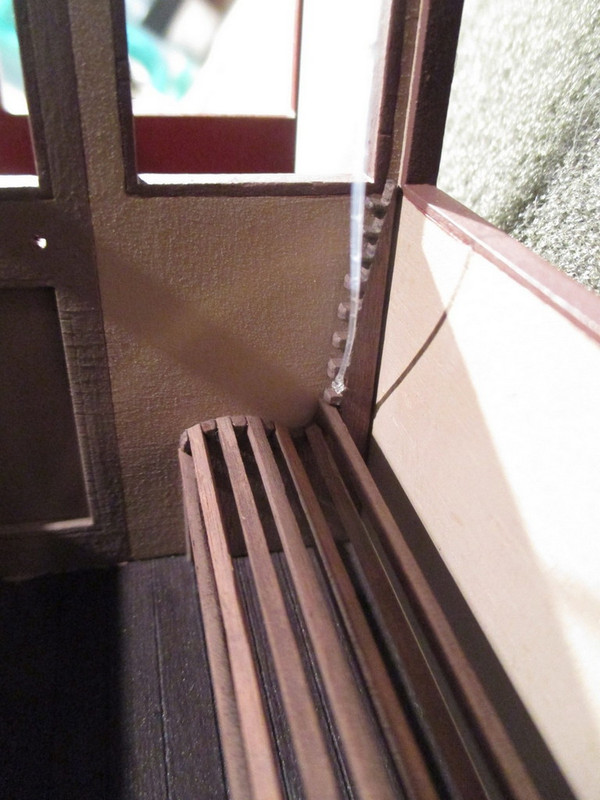
A fine-tip superglue applicator made a nice job of fitting the delicate but beautiful seat slats.
30/07/19
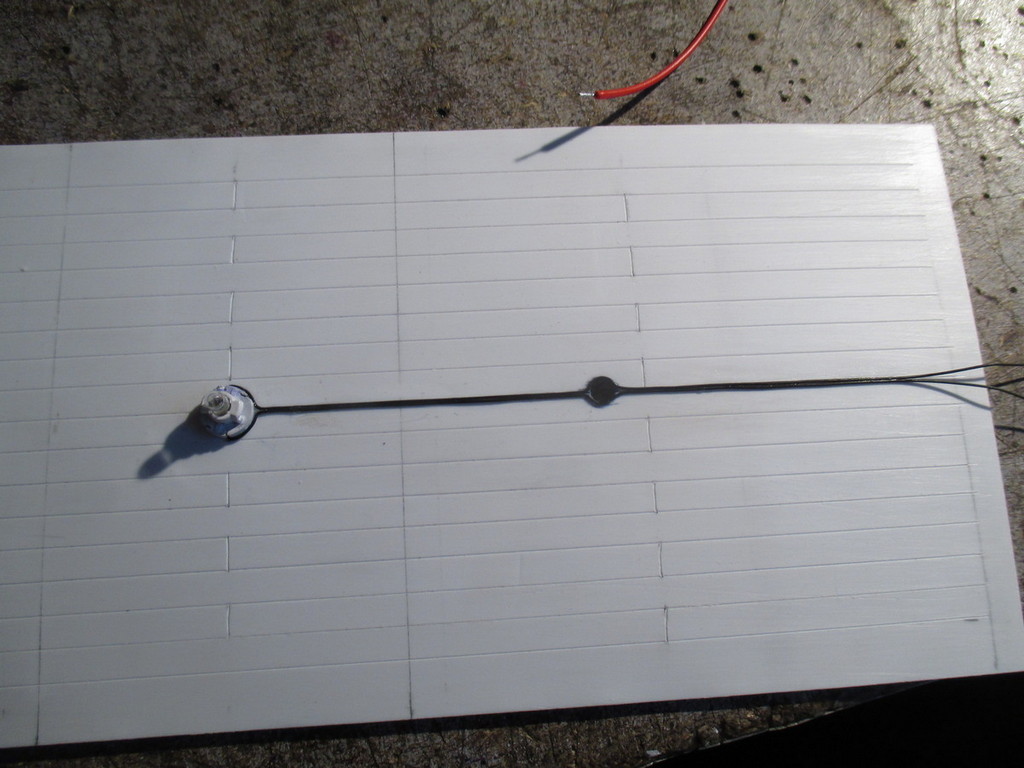
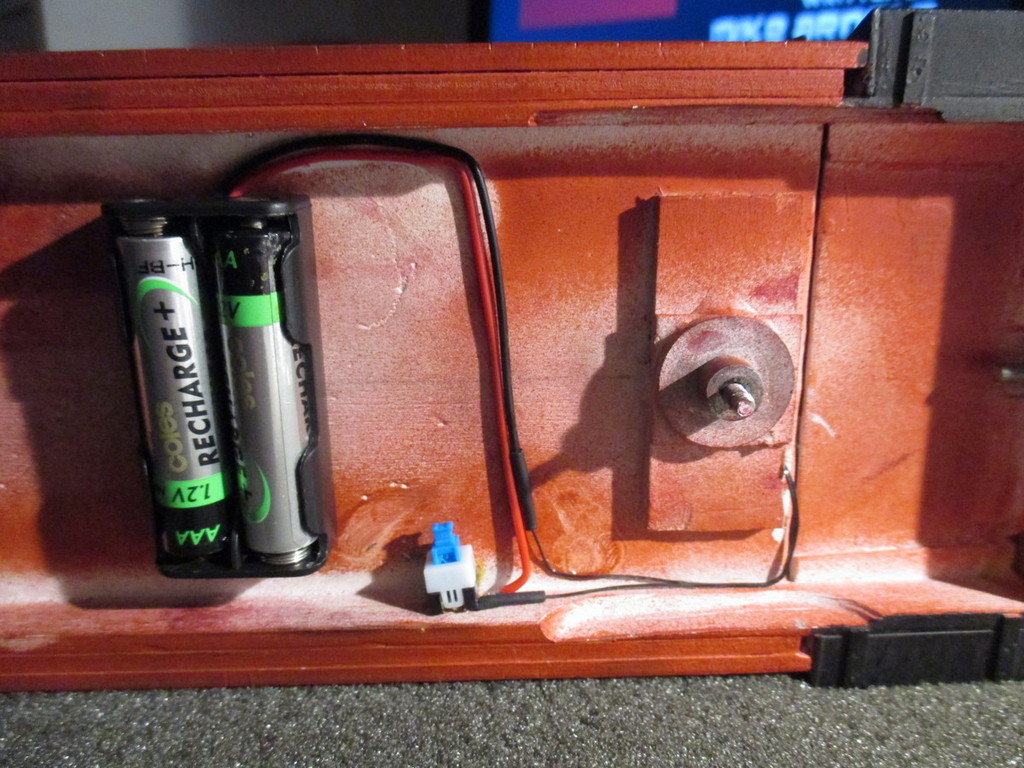
Night excursions became popular in the 1920s, so interior lighting is a must. A pair of AAA cells will go under the floor. Some tube from the scrap box makes an ideal conduit.
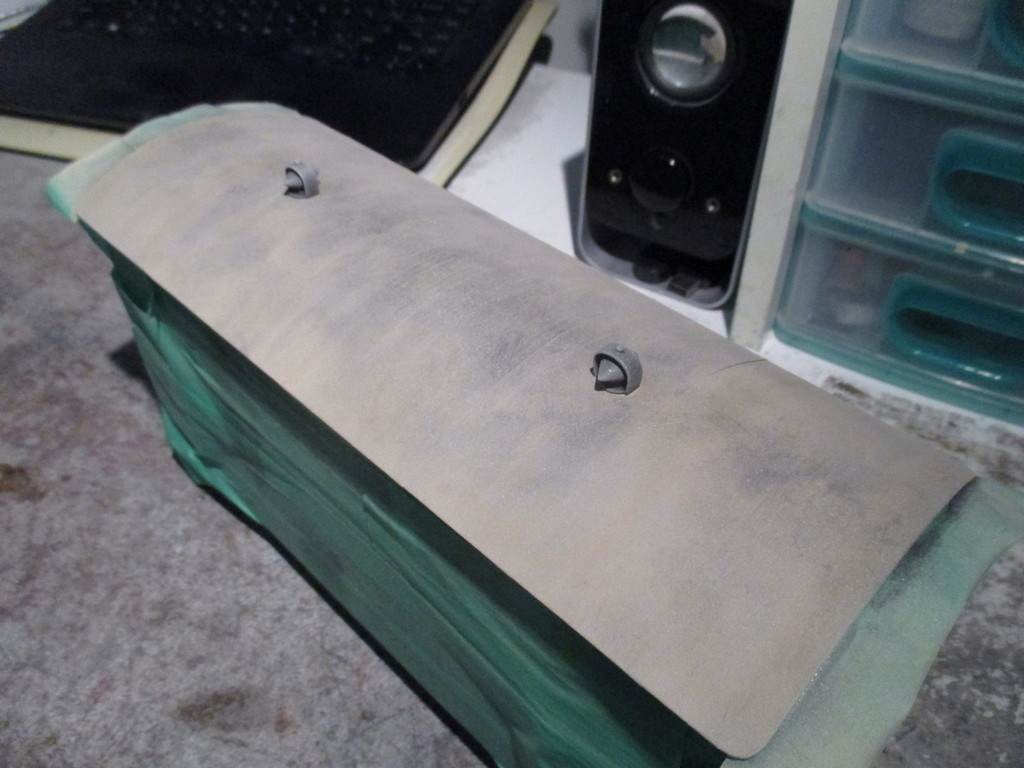
Tiny "feet" were cut from styrene strip for the handrail landings. Loosely based on those fitted to North-East Dundas Tramway coach "A-1", now running on the Redwater Creek Tramway in Tasmania.
25/09/19
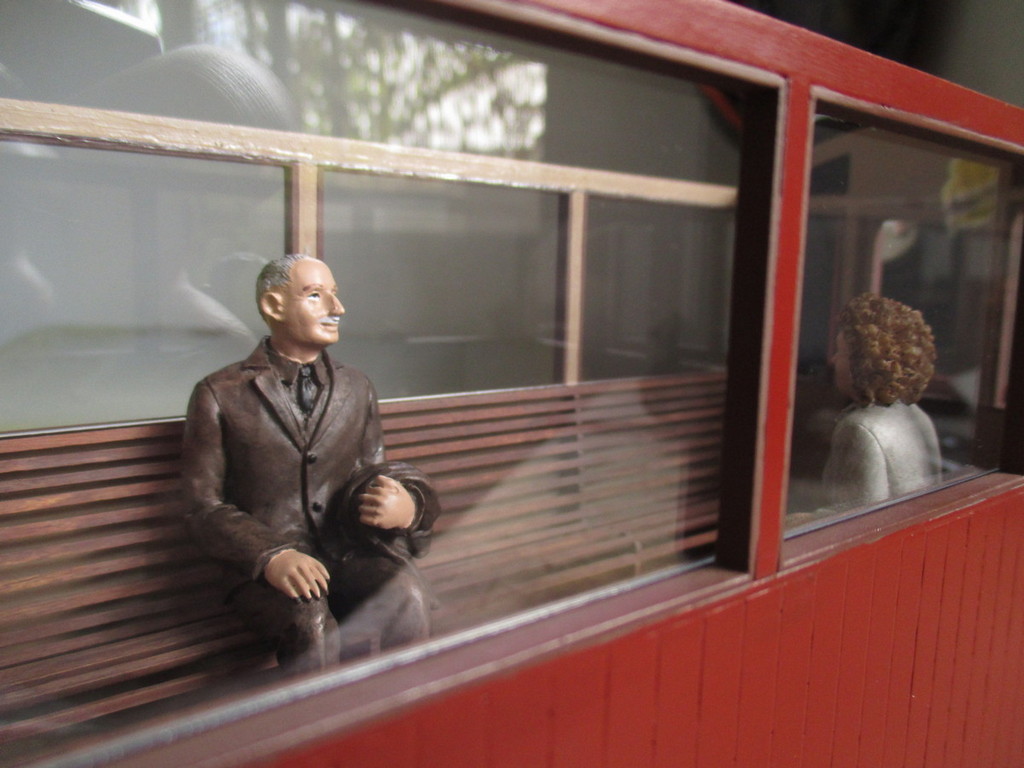
Glazing from the kit was trimmed to fit the modified saloon, and installed with canopy cement, sparingly applied with a screwdriver.
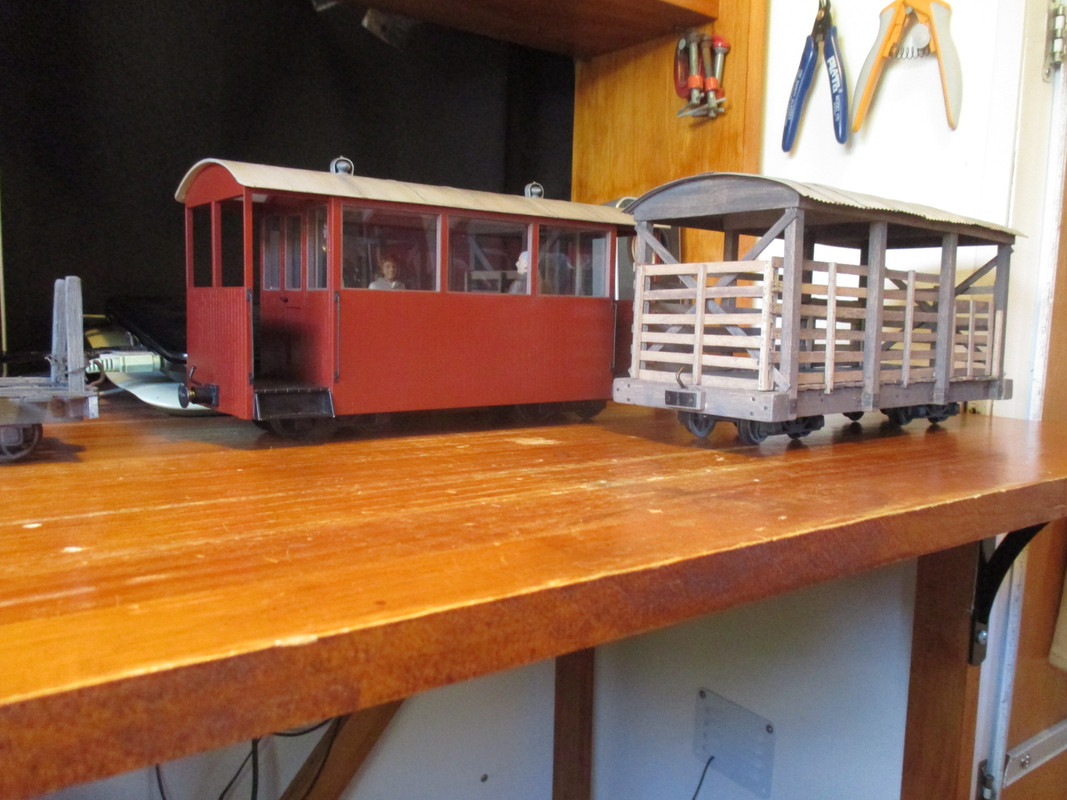
The large, revealing windows meant I needed something better than the cheap and under-scale 1:24 figures already to hand.
The bullet was bitten, and $50 was spent on a pair of Bachmann's Scenecraft 16mm scale figures. I think you'll agree, it was worth the expense.
More to come soon.
Back in early 2019...
I wanted an end-platform carriage, reminiscent of the various carriages found on the 2ft gauge sugar tramways of Queensland. Several of these were built by sugar mills running a local passenger service in the slack season, (Dec - June) or by Shire Councils for year-round services on their own tramways.
I wanted a break from scratchbuilding. However, the few end-platform kits available in 16mm were either too big, or not quite the style I needed.
Eventually, I decided on cutting down an IP Eng. Gladstone Coach kit.
21/01/2019
The open-sided ends were cut away, leaving only the glazed saloon.
23/01/19
The end walls were scribed on both sides as needed, to match the side walls before filling the plywood's grain.
The grain was filled with spray putty. Each coat was sanded, the dust brushed away, then re-cut the scribed lines with a knife because the filler obscures them.
Very laborious. I prefer MDF over ply - it doesn't have a coarse, often wrong-way grain to fill, and I can't say I've ever had it warp.
For the latter reason, a replacement floor was made from 3mm foamboard.
Emery boards (nail files from the cheap shop) are great for smoothing out window openings.
Handrails were bent from music wire, on a jig. A drilling jig with precisely-located guide holes was made from a length of styrene angle.
The kit's solebars were cut down to suit the shortened frame. The wagon here is mocked up with blu-tac, and sits on temp. bogeys.
05/05/19
I wanted the steps to be simple and robust. They resemble those fitted to tram trailers - fitting, given the carriage is built like one. It now rides on a pair of IP Eng. whitemetal archbar bogeys with Binnie 20mm wheels. As you may have noticed, this was at the time built to 45mm gauge.
06/06/19
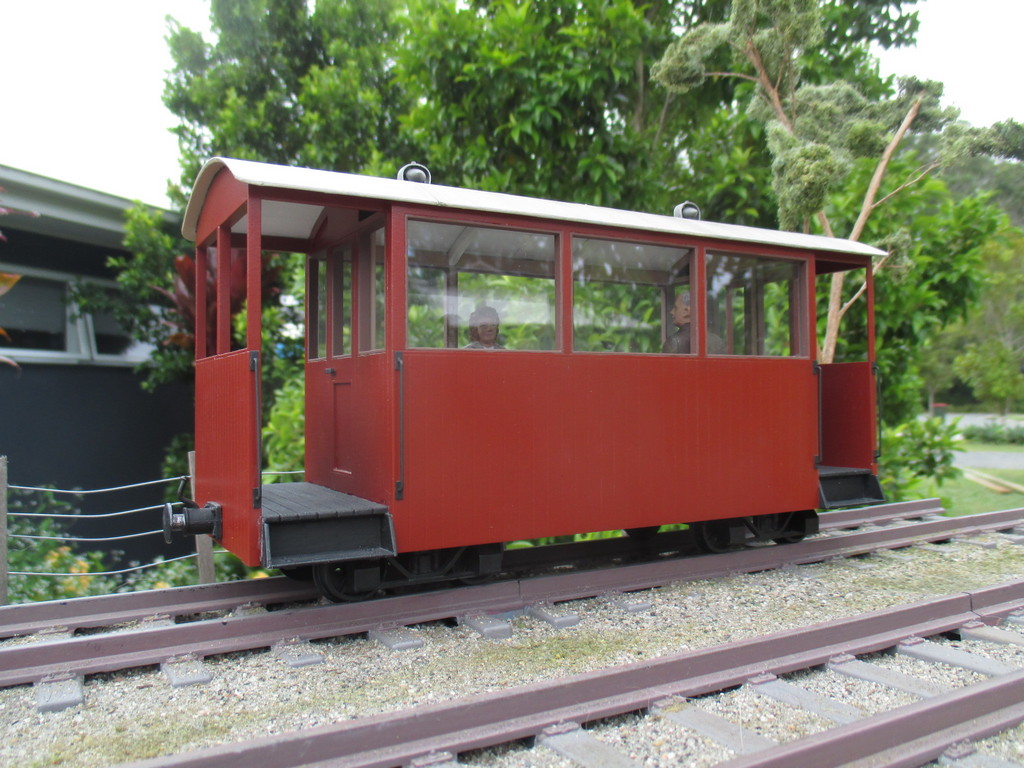
After a light base-coat of white, followed by red oxide primer, I dug out an aerosol can of Tamiya's TS-33 Dull Red.
A satin clearcoat gave the appearance of a more recent addition to the wagon roster, as opposed to the flat finish of the older coaches I had at the time.
05/07/19
Again to match the existing stock, the window frames were painted brown. To save some tedium, Tamiya 3mm wide tape (the repackaged strips of electrical tape for masking curves) was used to mask off. That stuff is too thick to burnish down properly at the corners, and I should've bought the 3mm wide version of their excellent 10mm paper masking tape I had on hand. Much retouching ensued...
12/07/19
A fine-tip superglue applicator made a nice job of fitting the delicate but beautiful seat slats.
30/07/19
Night excursions became popular in the 1920s, so interior lighting is a must. A pair of AAA cells will go under the floor. Some tube from the scrap box makes an ideal conduit.
Tiny "feet" were cut from styrene strip for the handrail landings. Loosely based on those fitted to North-East Dundas Tramway coach "A-1", now running on the Redwater Creek Tramway in Tasmania.
25/09/19
Glazing from the kit was trimmed to fit the modified saloon, and installed with canopy cement, sparingly applied with a screwdriver.
The large, revealing windows meant I needed something better than the cheap and under-scale 1:24 figures already to hand.
The bullet was bitten, and $50 was spent on a pair of Bachmann's Scenecraft 16mm scale figures. I think you'll agree, it was worth the expense.
More to come soon.

