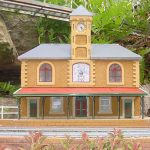

I found this pic of a cute little Heisler type geared loco here: https://www.mylargescale.com/threads/m ... ler.90542/
I thought it could be built on a ‘diesel‘ motor block. (I don’t have any spare steam motor blocks but do prefer steam to diesel).
I ‘scaled’ the size of the loco from the sleeper spacing in the pic.
- small heisler.jpg (116.88 KiB) Viewed 7353 times
The USA Trains motor block I bought years ago, seems a pretty good fit for wheel dia (28mm) and axle spacing (95mm) and only 40mm high.
- USAT a.JPG (60.47 KiB) Viewed 7353 times
As the pic shows, the motor extends above the plastic motor block by about 3mm.
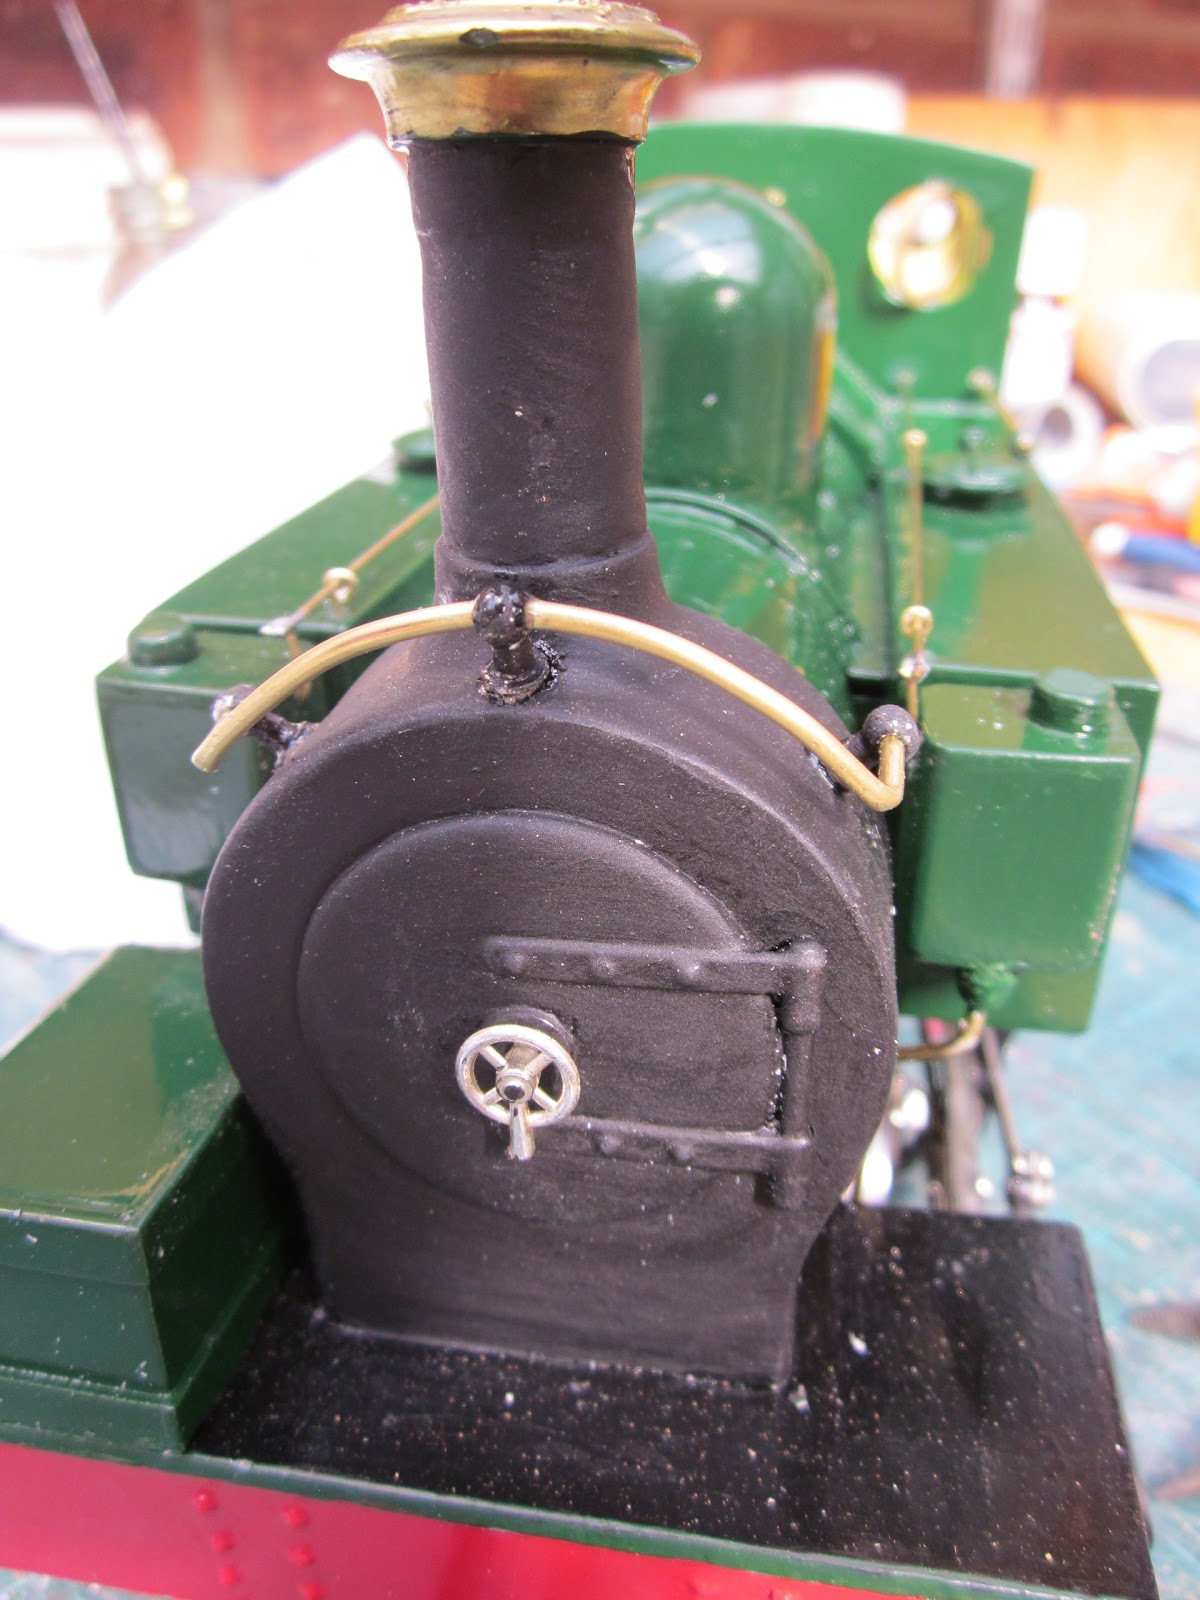
I also had an old boiler discarded from some previous build, which seemed it could fit the bill.
- bare boiler.jpg (224.33 KiB) Viewed 7353 times
So I started ‘sketching’ by ‘skewing the pic to give a side-on view. Then using Libre Office drawing function in their Writer program to overlay the various bits at scale.
I already have a number of small locos that are 240mm long so I decided to aim for this length again. This gave me the rough dimensions.
- sml heisler2 skew crop.jpg (76.58 KiB) Viewed 7353 times
to be continued....