Imperial Hotel - a Queenslander pub
Posted: Thu Jan 07, 2021 5:58 am
Quite a bit of this was adapted and condensed from my blog, which I keep mainly as a record for my own future reference..
One thing I'd like to do eventually, is to incorporate a street running section of track, as once seen on the cane tramways of Moreton Mill, and as continues today at Mossman Mill.
A prominent feature of such scenes, is often the ubiquitous timber Australian corner hotel & pub - So I guess I'll start with one of these.
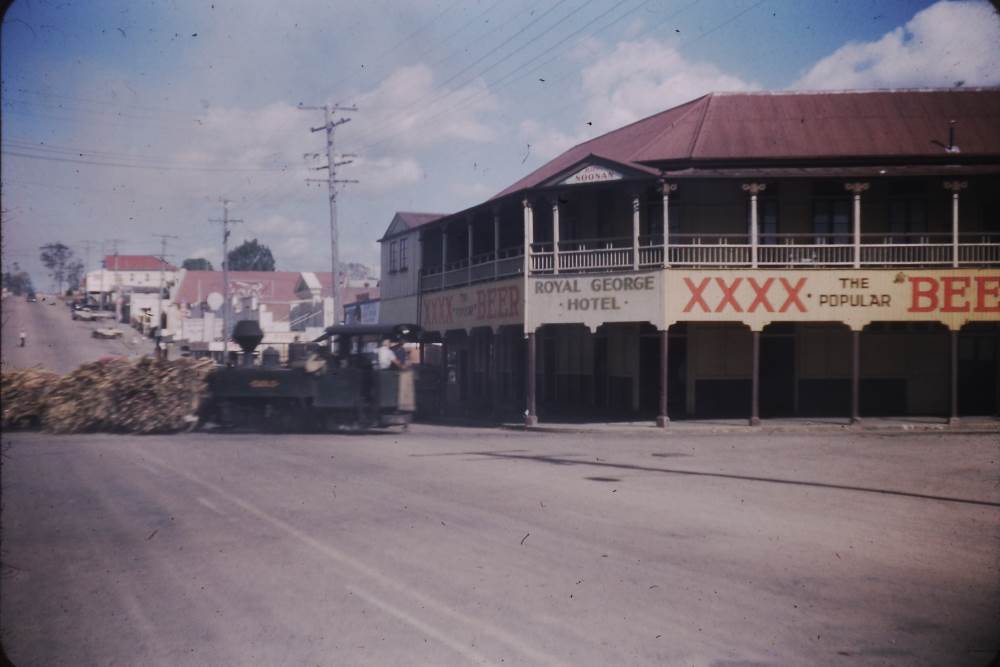
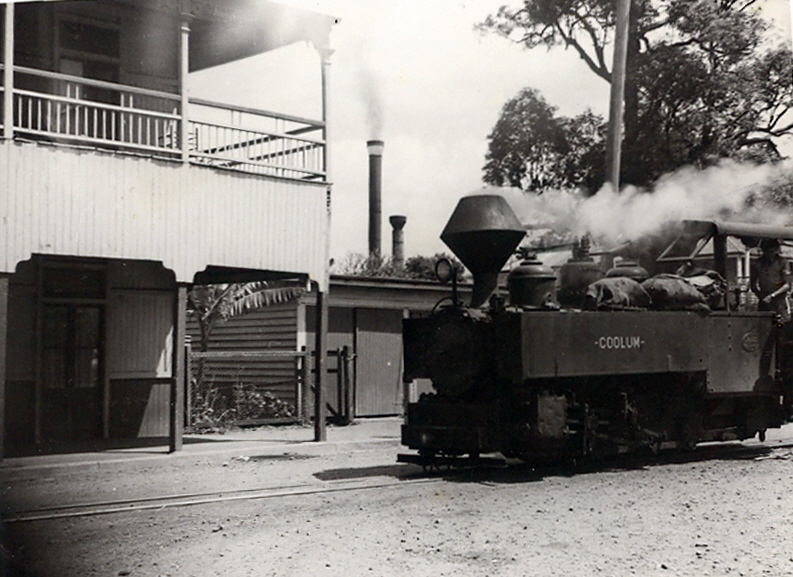
The Royal George pub stood on the corner of Howard and Currie streets in Nambour, Queensland, from 1903 until it burned down in 1961. This excellent 1935 photograph, along with a (very) few others like this one, will be my main two references - though my pub will only be based on the Royal George, rather than a scale replica.
The cane tramway ran very closely past the pub, the rails being visible just below the car in the 1935 image. The wide, overhanging cane loads brushing the verandah posts as they passed. Later on, the line was relaid closer to the middle of the street, to help reduce congestion of increasing road traffic. Later still, after the pub burned, the line was again relaid, this time in the centre of the street where it remains today.
That's enough background, on with the build.
21/03/2019
I'd seen and heard a lot about PVC foamboard for buildings, being a light, fairly cheap, easy to work, and most importantly, weatherproof material. I started familiarising myself with the stuff, by making a simple "weatherboard" shed. It turned out well, so I got stuck into designing the pub.
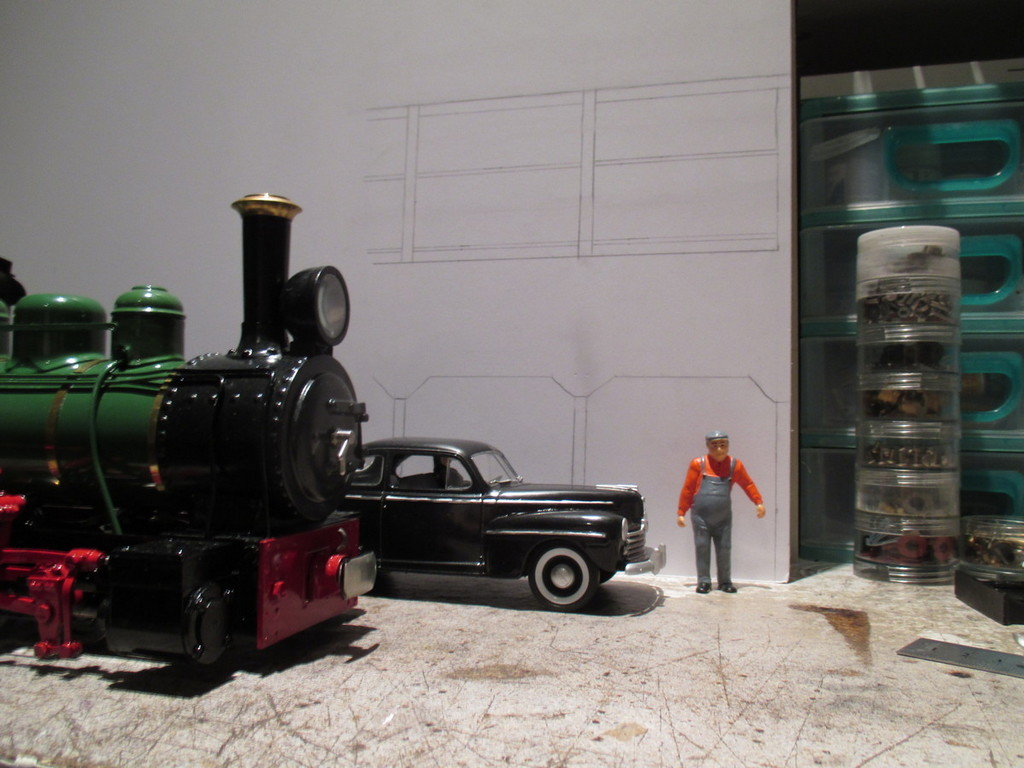
Using my Roundhouse Fowler "Victoria", a 1:24 car, a figure, and photographs of cane trams in Nambour, I started working out the rough size and dimensions. I found it simpler to work with Imperial dimensions, for this job. Considering the emerging design was nearly entirely Imperial, I figured "Imperial Hotel" would be as good a name for the building, as any.
Using Microsoft Paint, (as it's easier to fix mistakes and make changes) I made up a simple scale drawing for the pub. As the reminder on the drawing says, the non-visible rear walls will be made from corflute, as it's 1/6th the price of foamboard. In hindsight, these should've been foamboard as it's far more robust, but it's no serious issue.
Comparing the drawing to to the 1935 photo, you may notice the shorter leg of the building is a little shorter than the prototype. This is simply to cut down on some work, and to reduce the bulk of this already huge building. The angle of the prototype's front walls was about 105 degrees. I've changed this to 90 degrees, simply to make it easier to build.
25/03/19
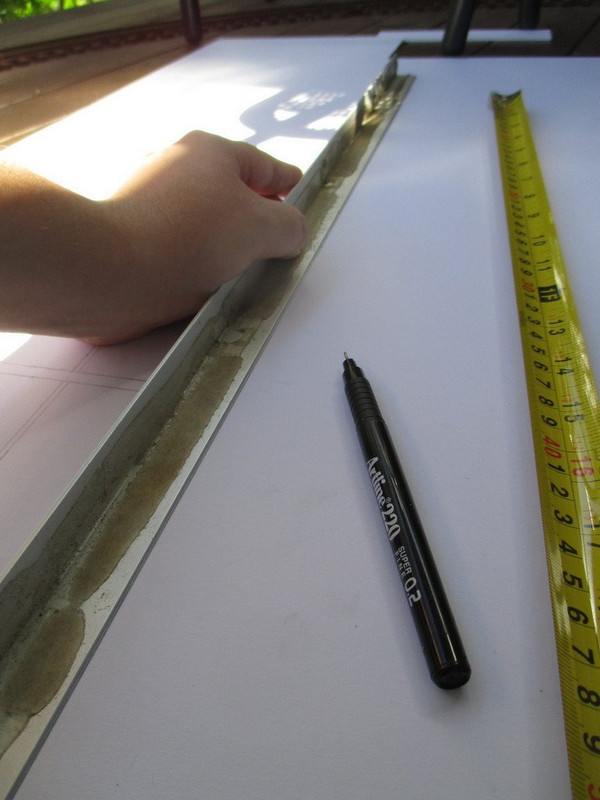
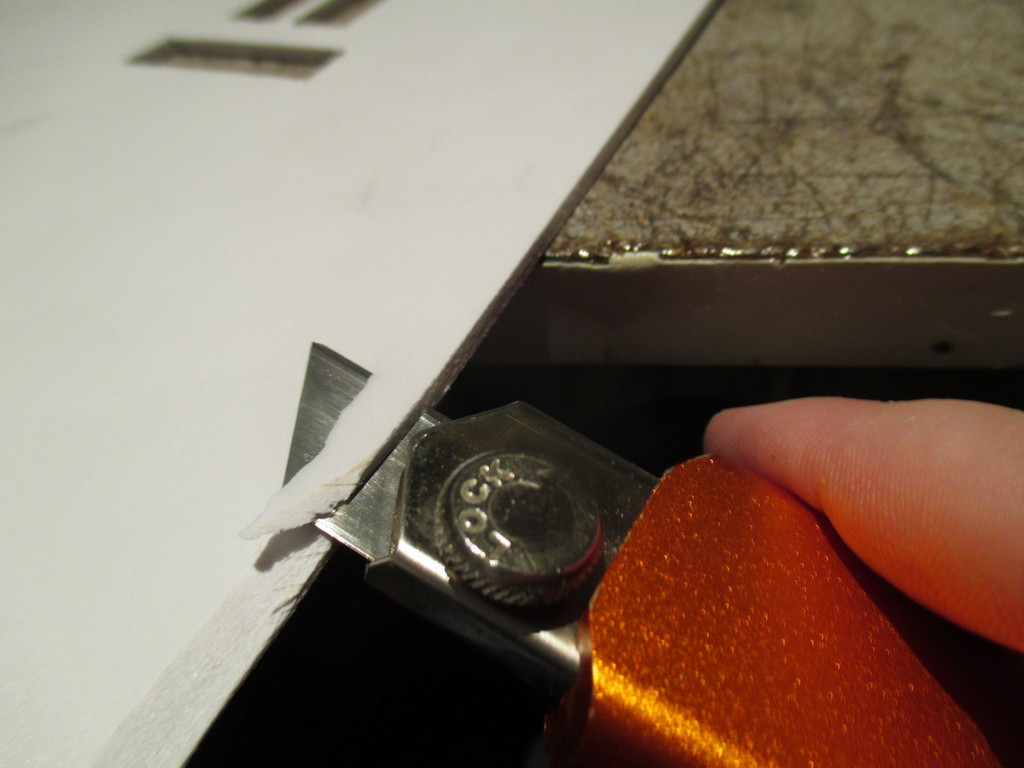
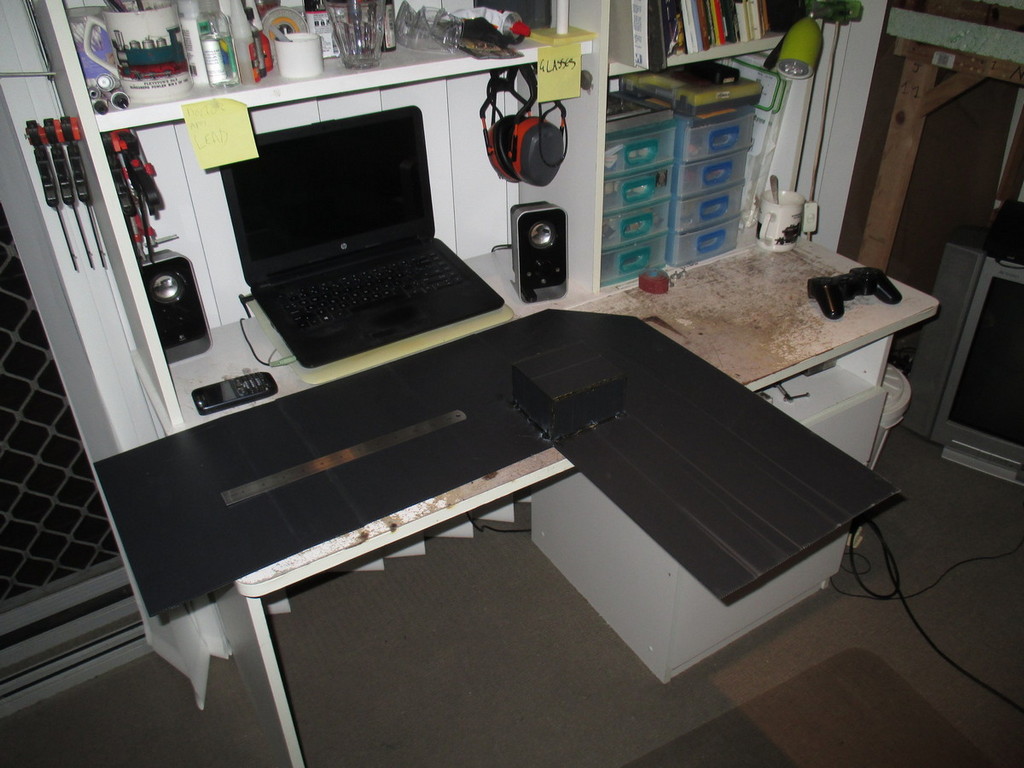
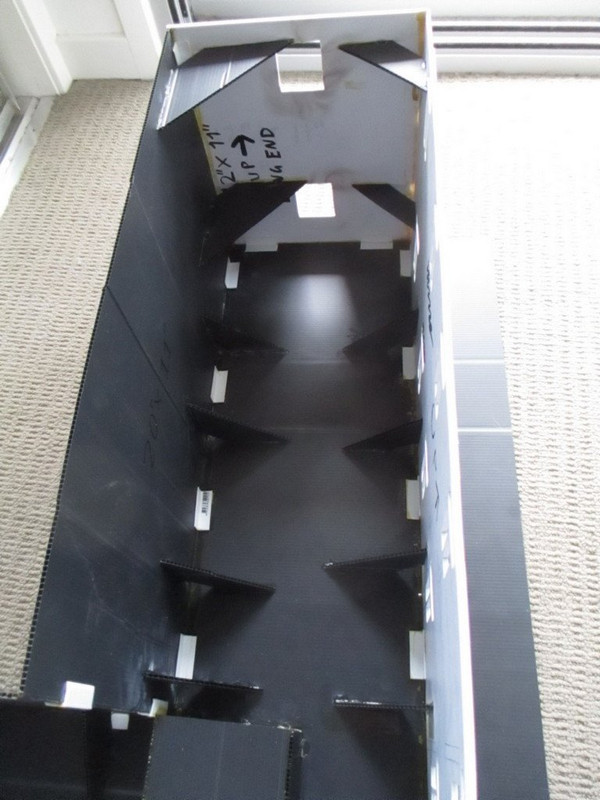
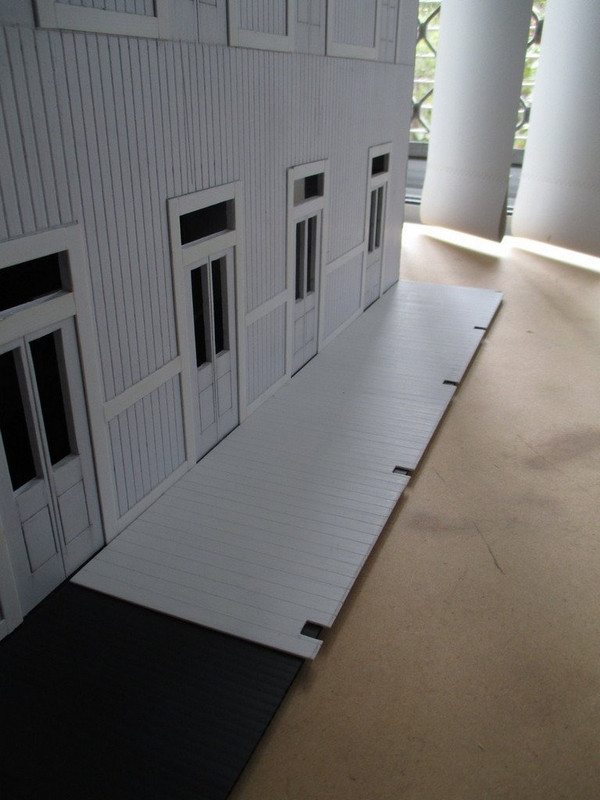
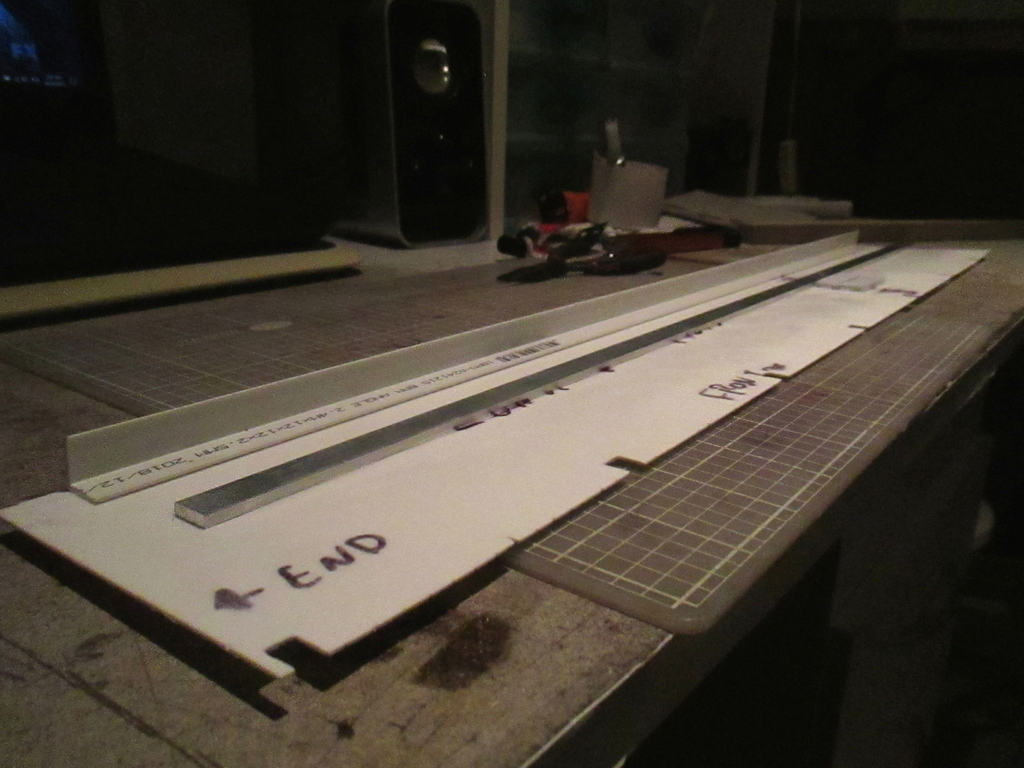
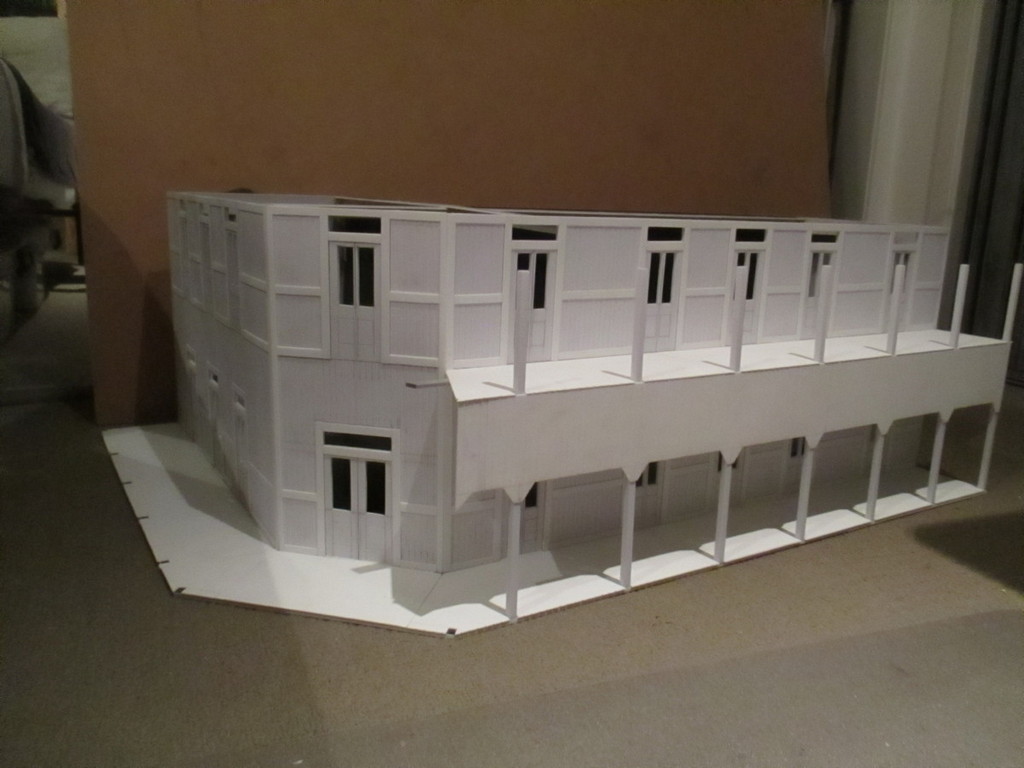
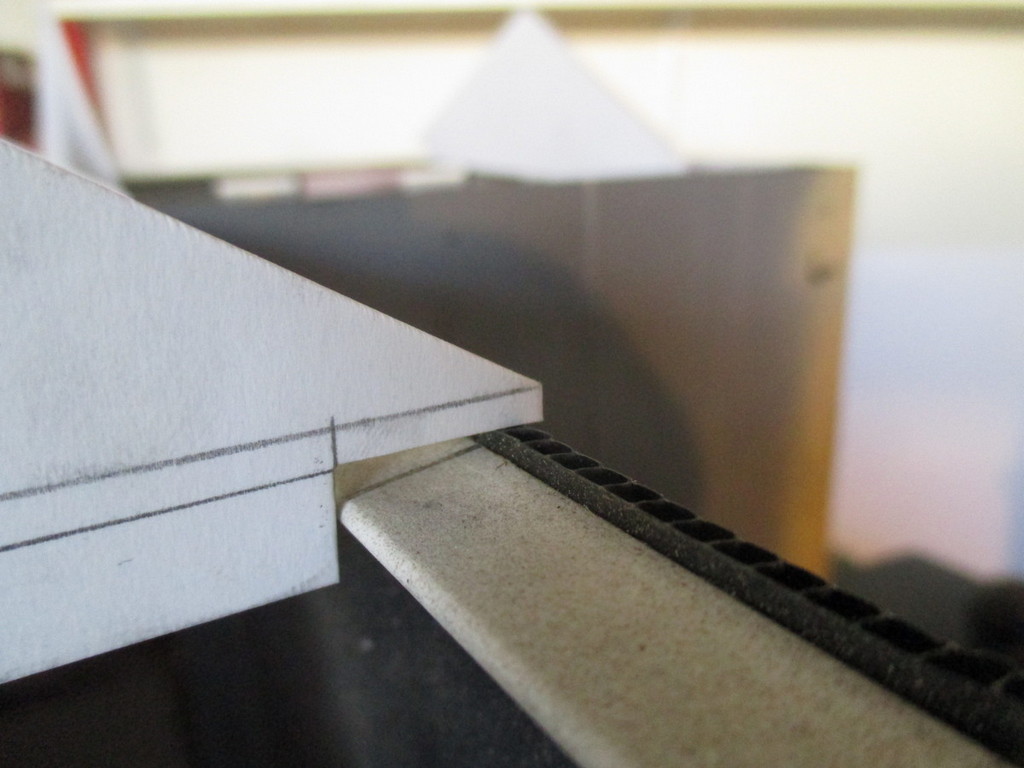
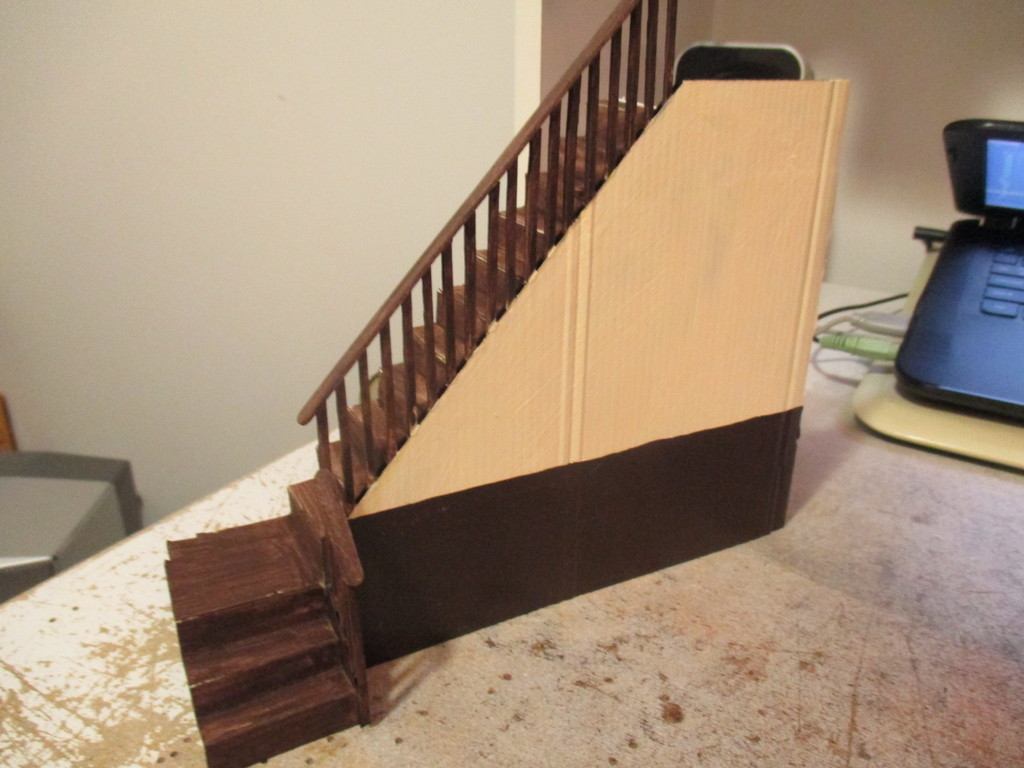
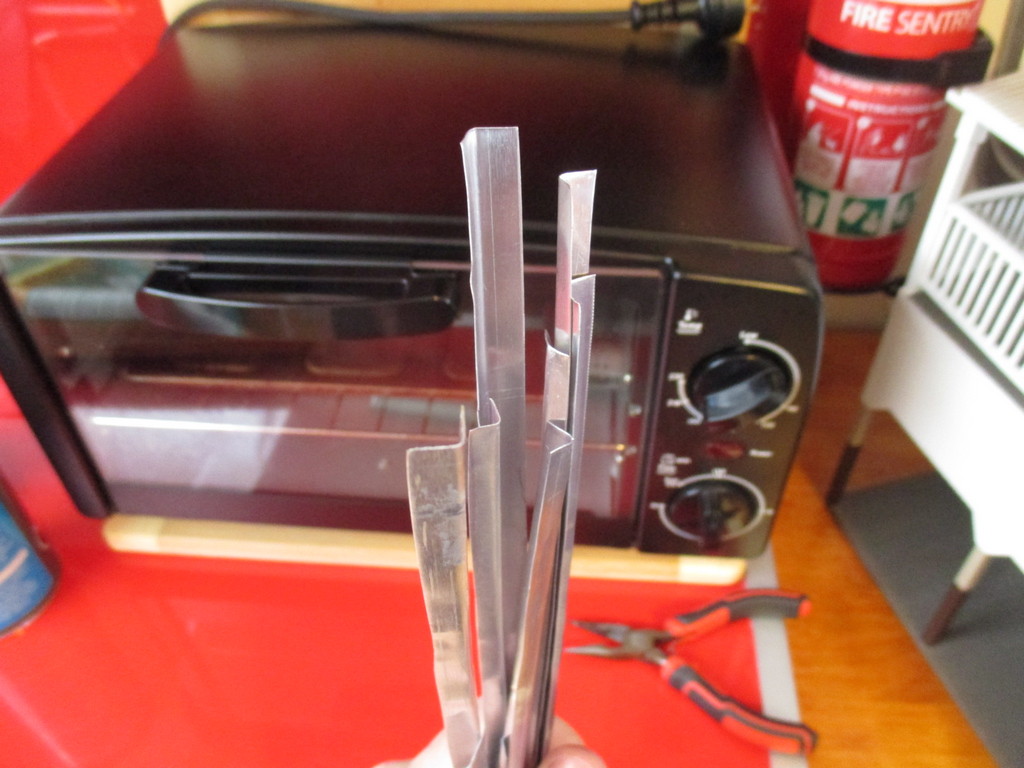
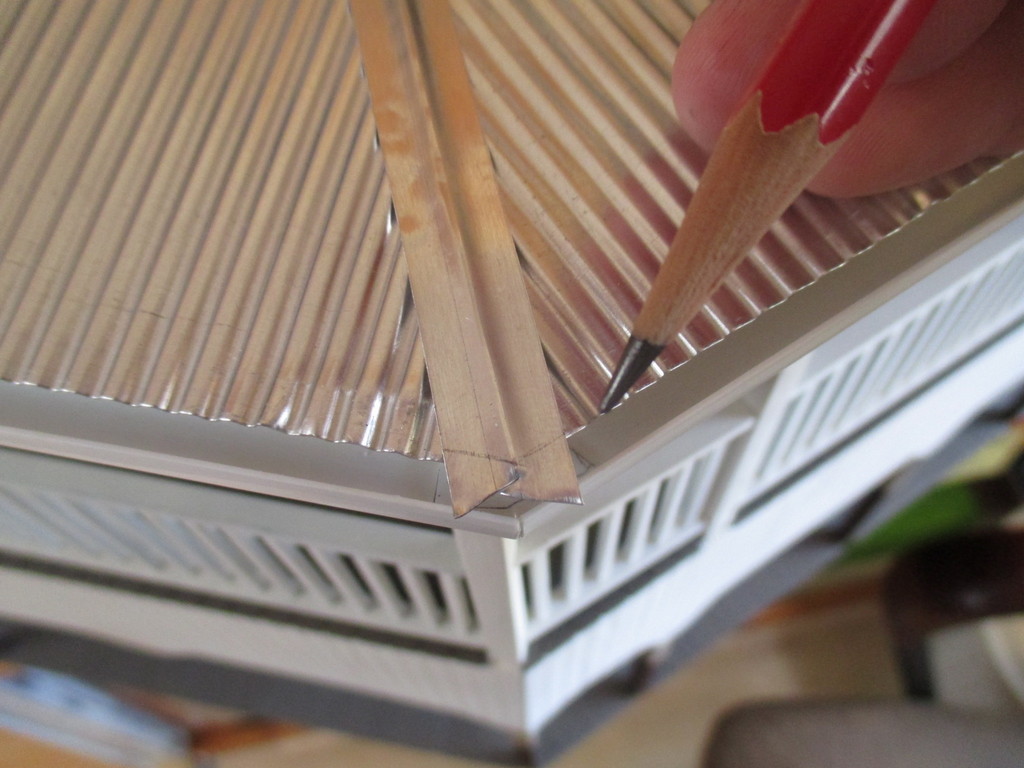
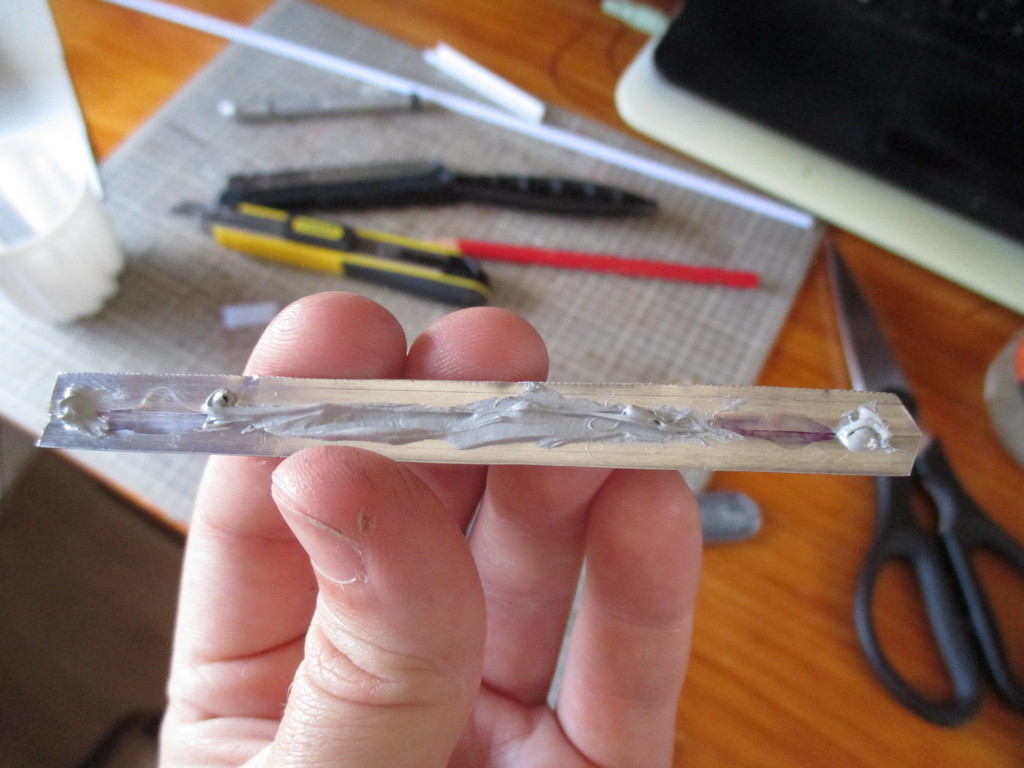
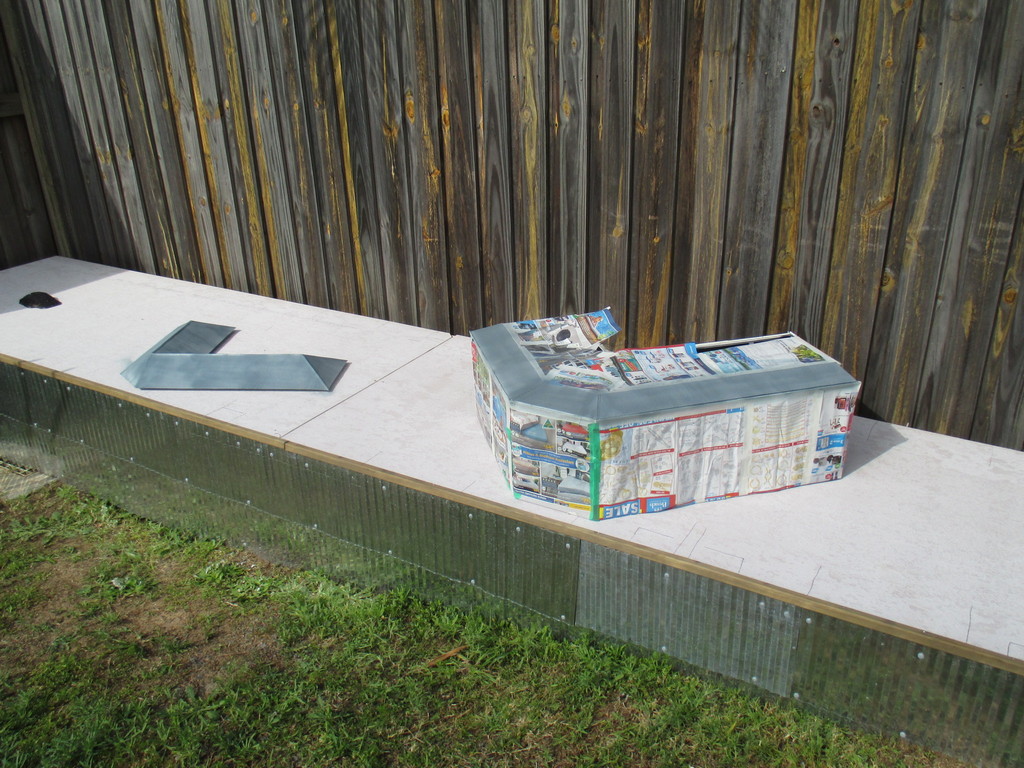
Dimensions at hand, I started by cutting out the main front and end walls from foamboard. A scrap piece of aluminium angle was checked for straightness, then used as a straight-edge for marking and cutting. 2-4 passes with a hobby knife cuts the foamboard nicely.
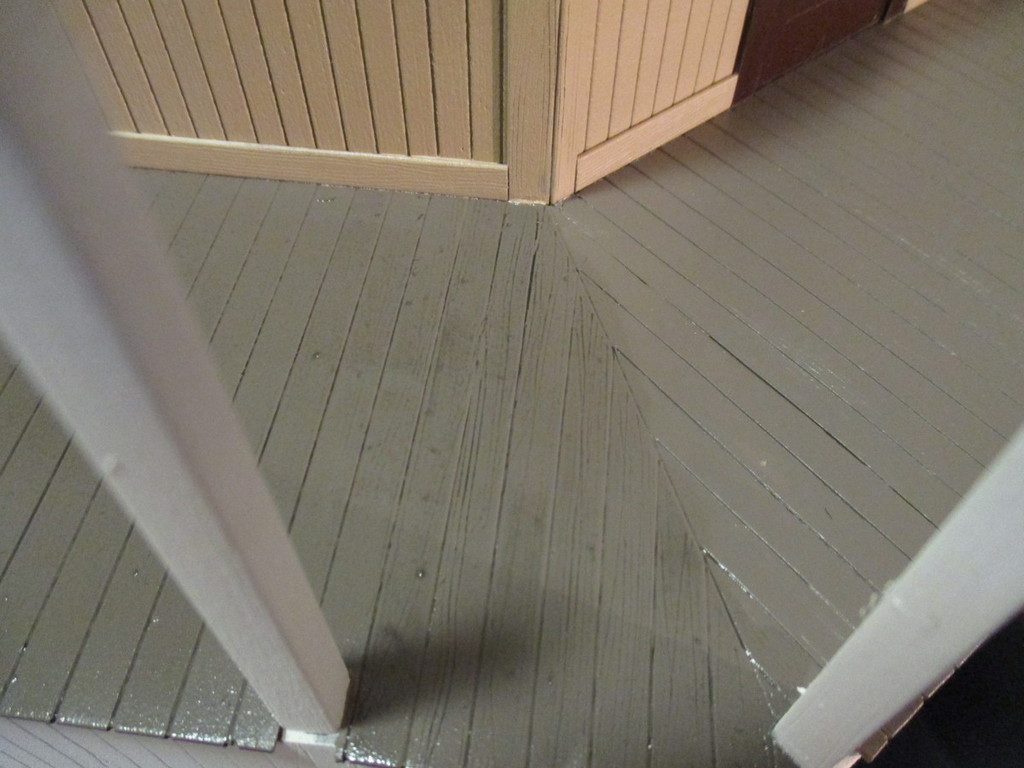
I'm cutting the foamboard on my balcony, as it's a 3x4ft sheet, and it's the only suitably large, hard flat area available. Needless to say, a great deal of care was needed to ensure the knife didn't cut into the decking boards. Although the blade never touched the deck, a sacrificial sheet of plywood or MDF between the foamboard and deck, would've made things far quicker and easier.
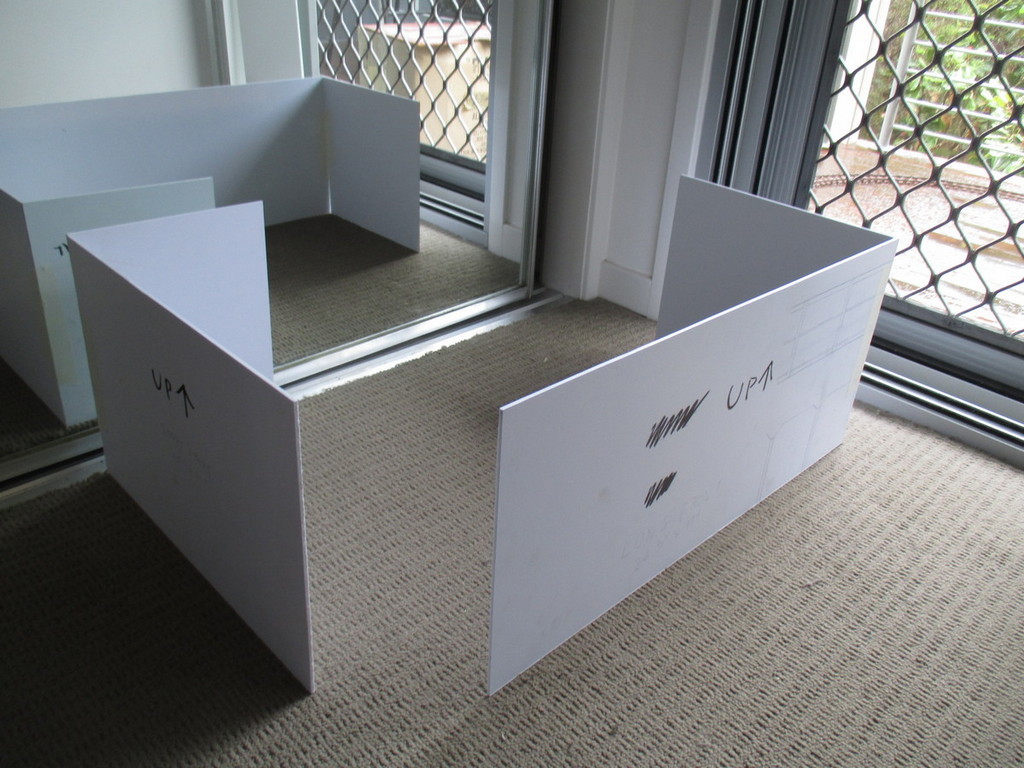
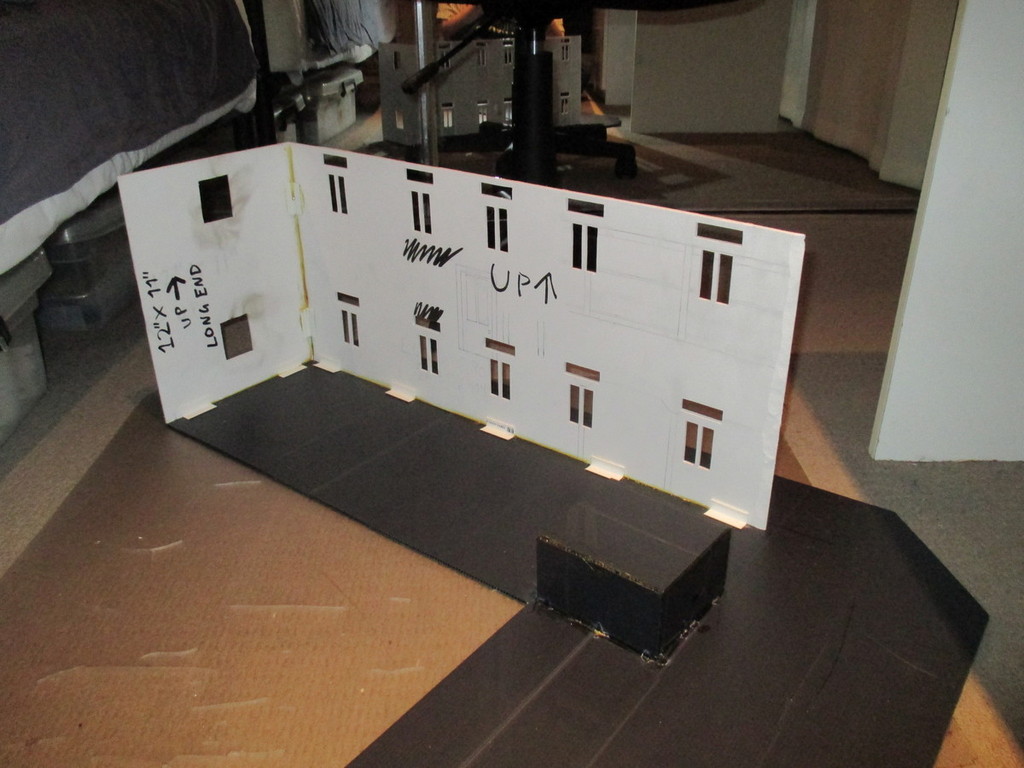
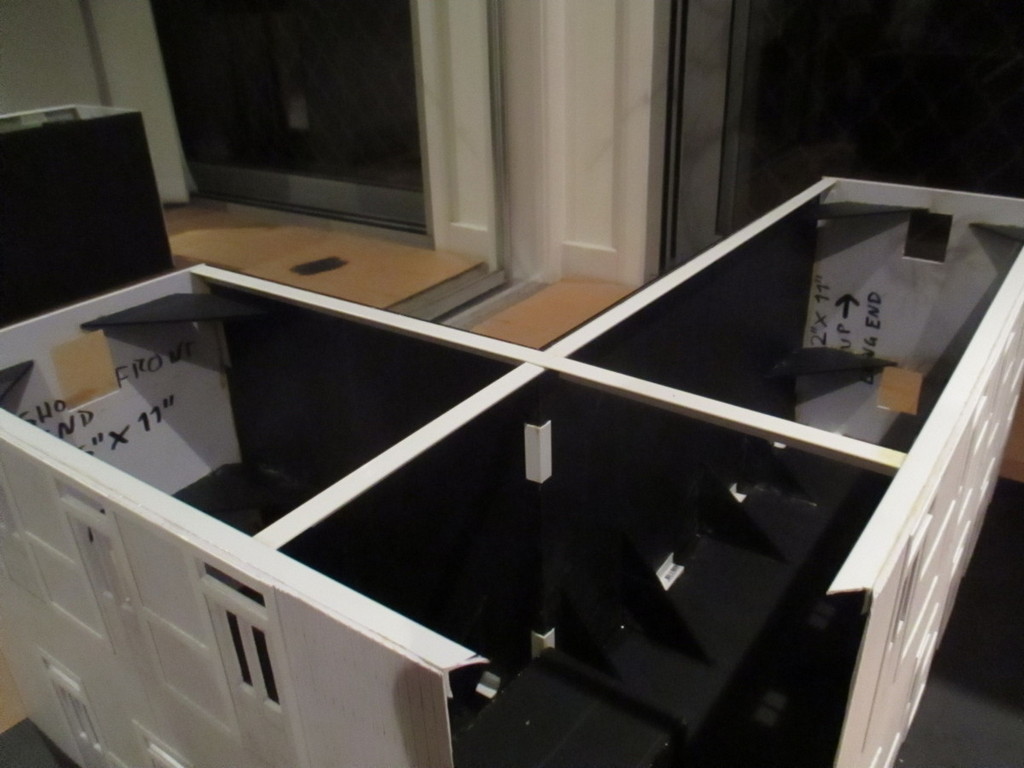
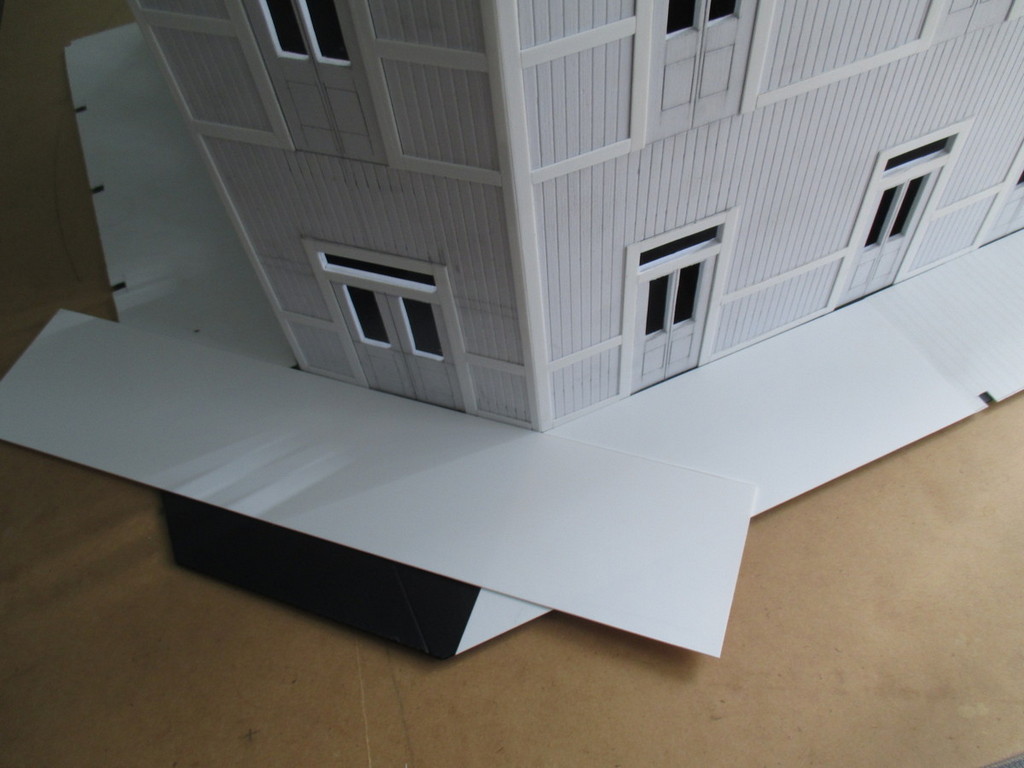
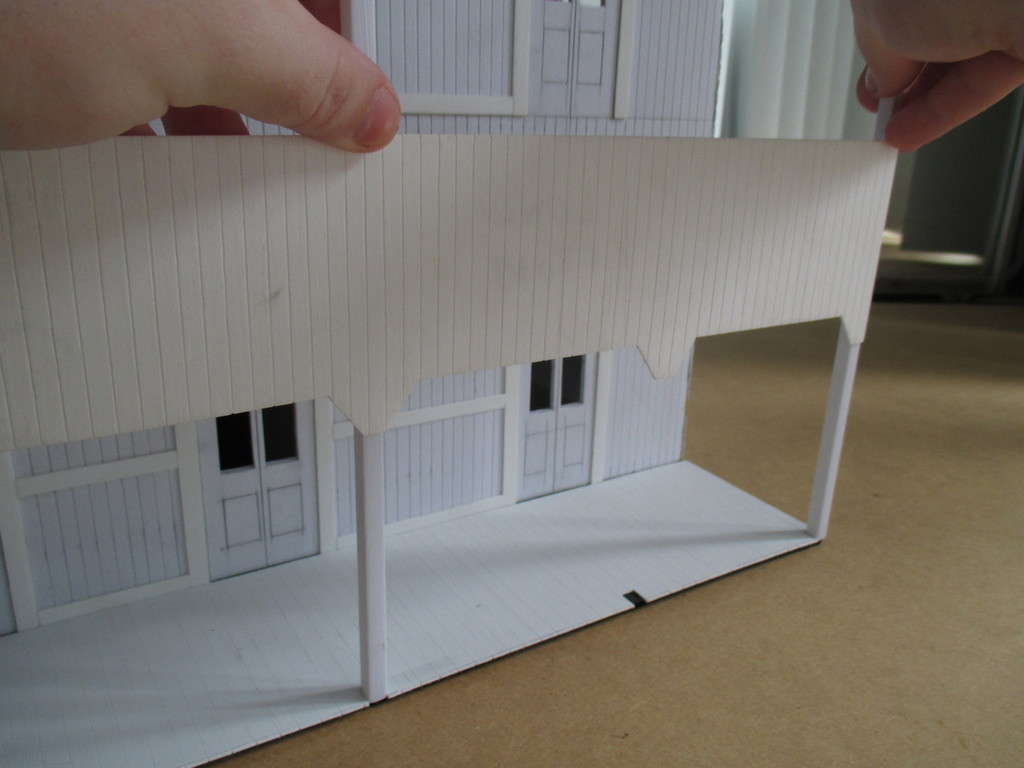
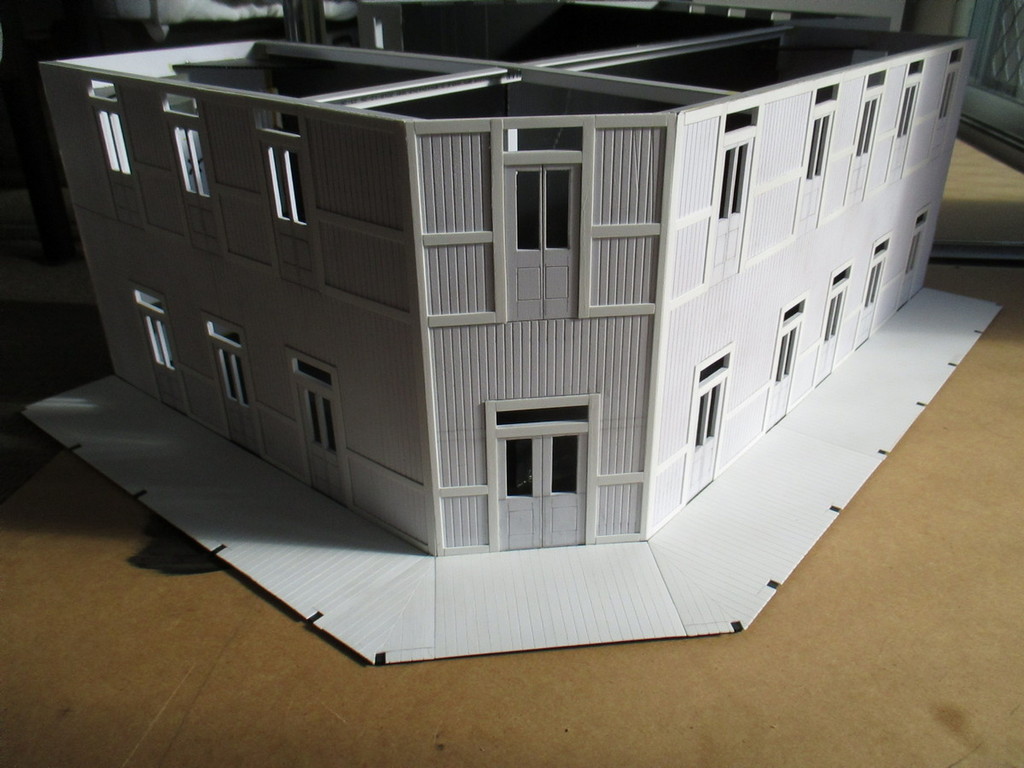
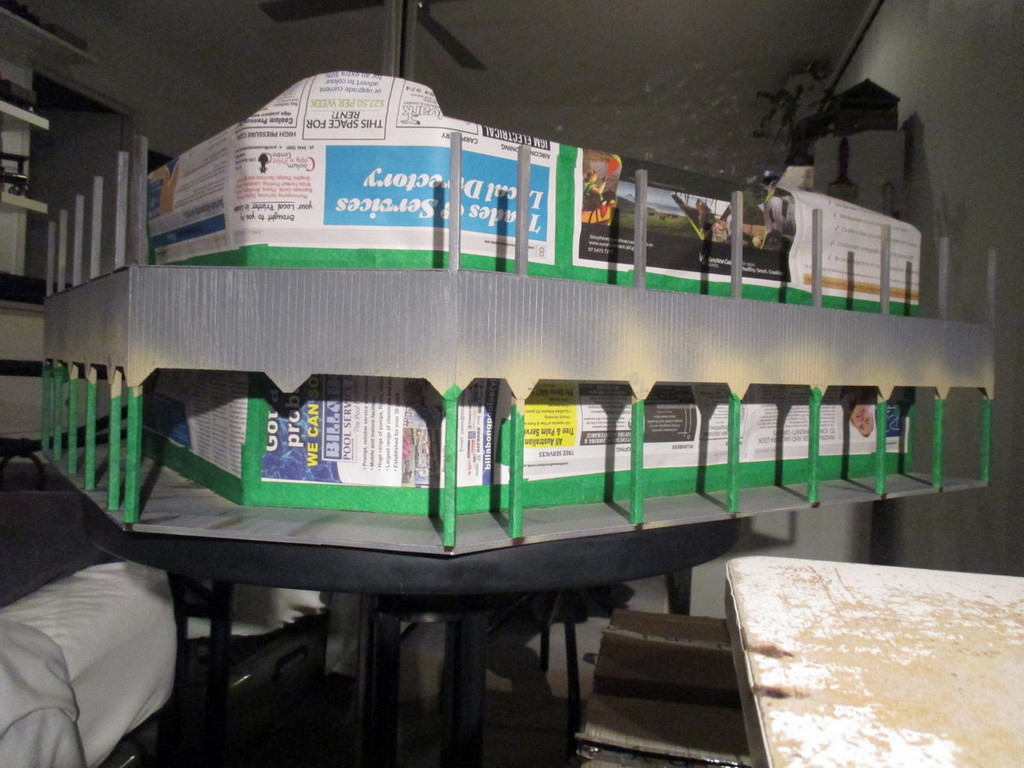
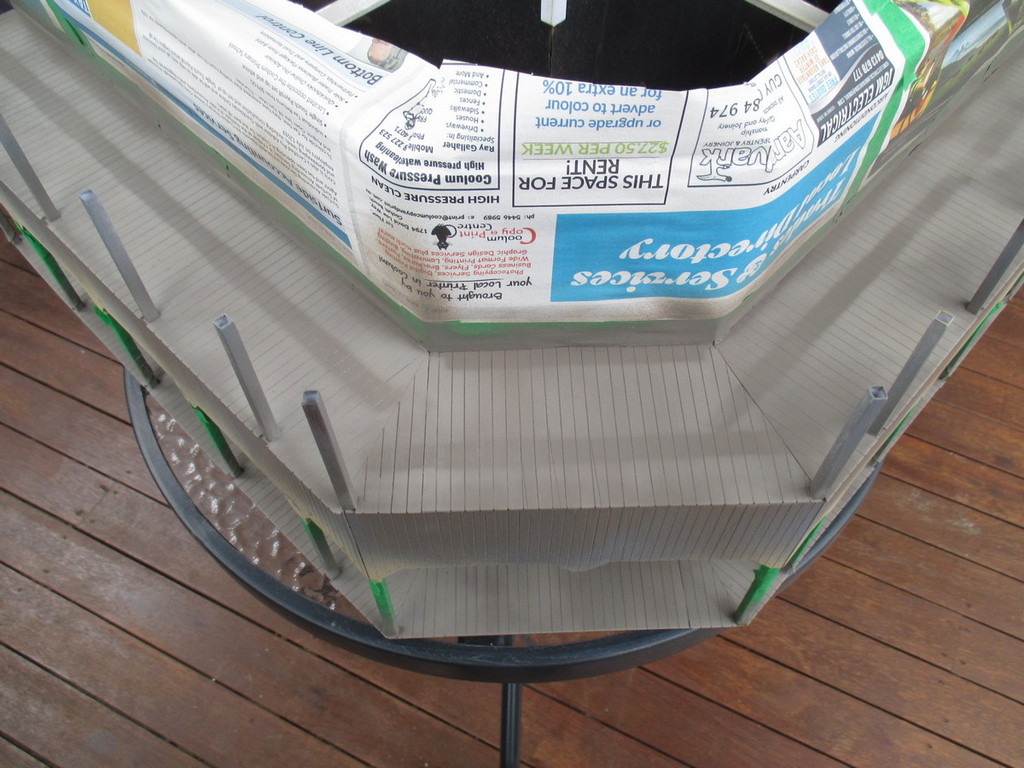
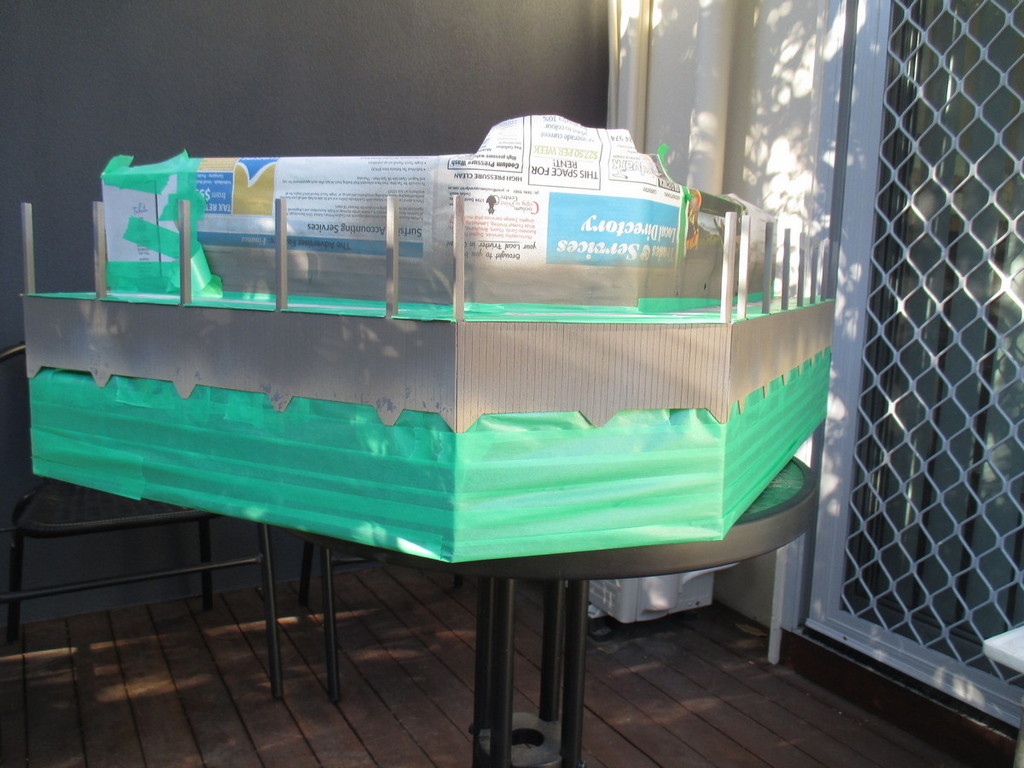
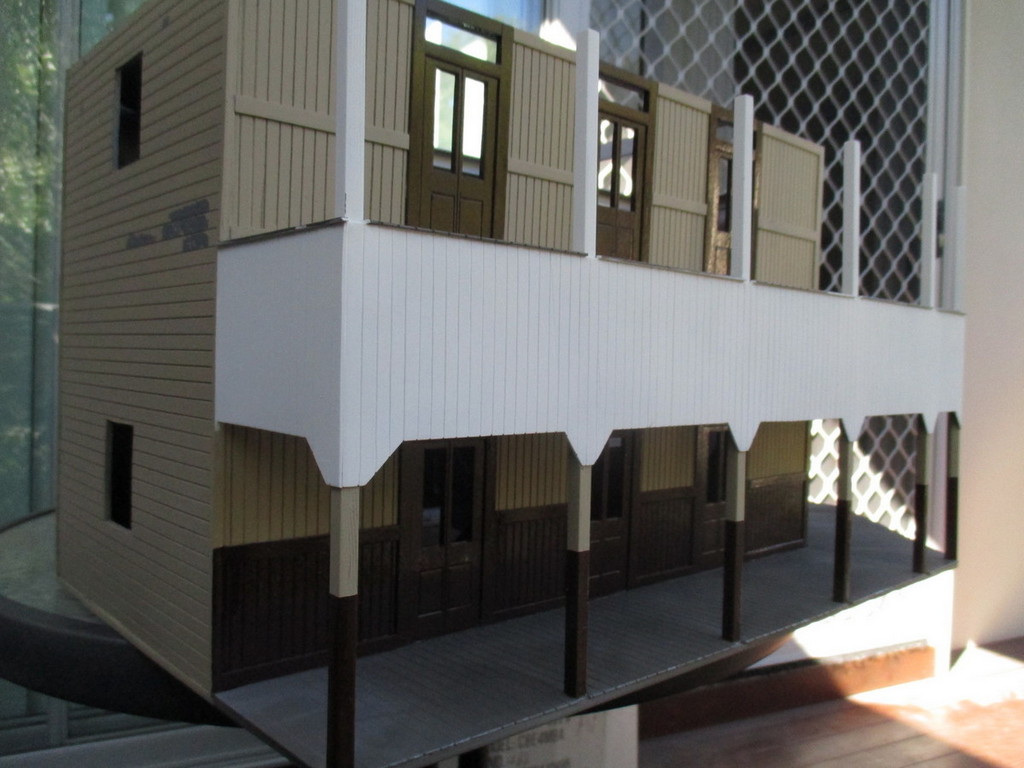
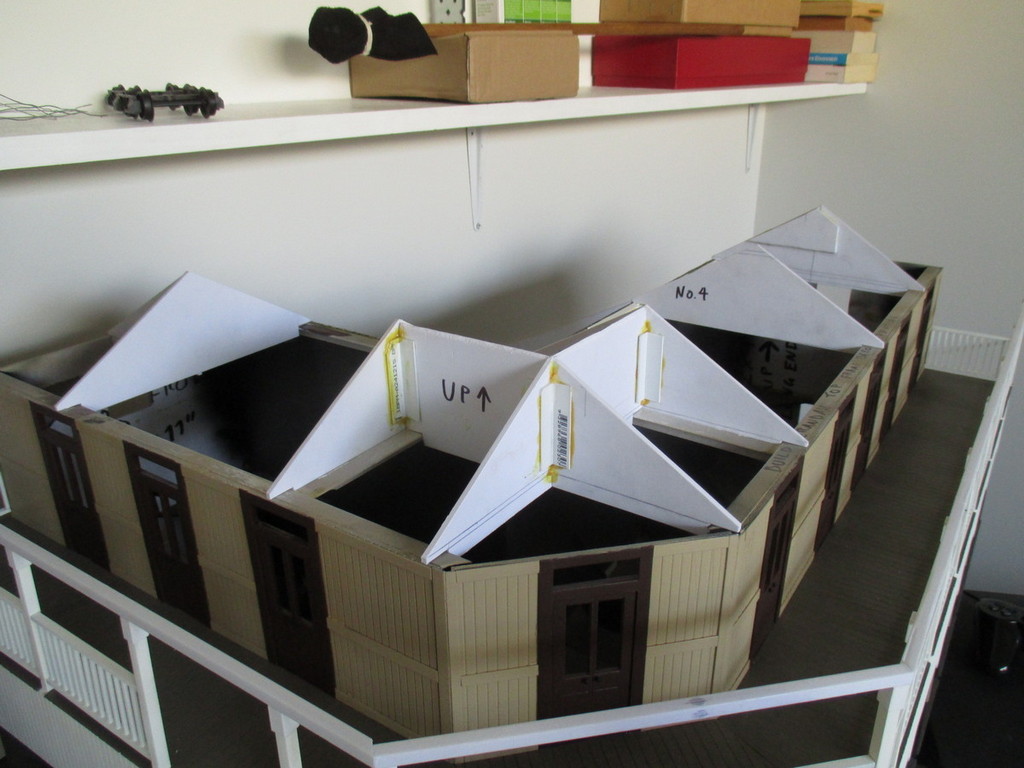
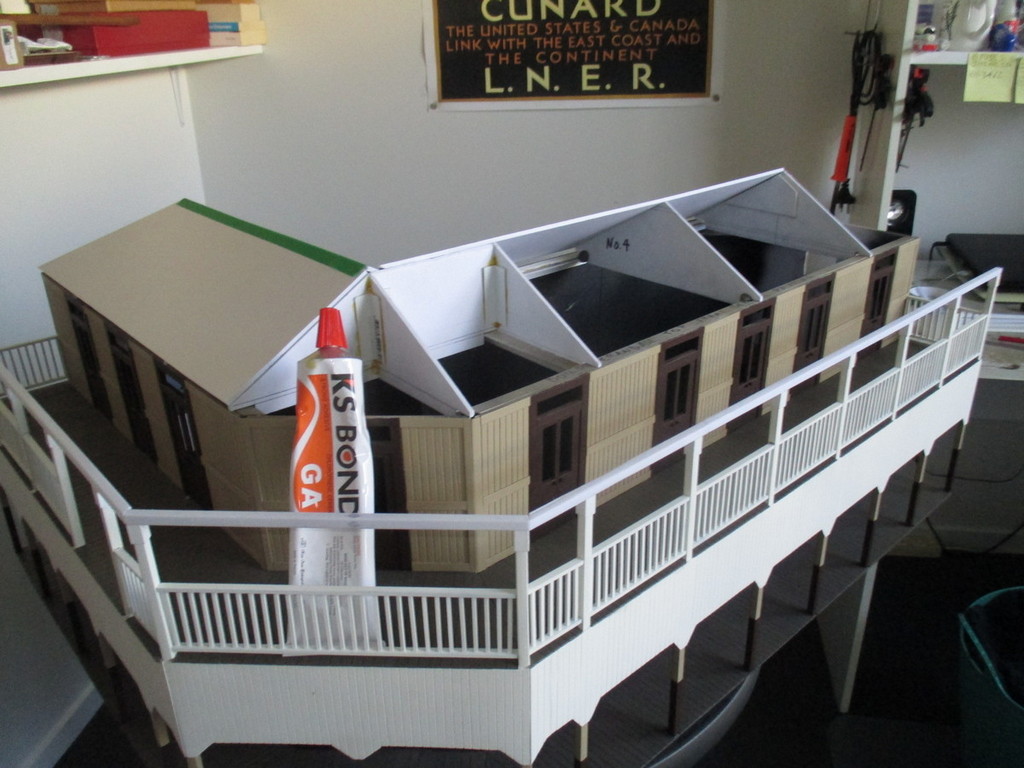
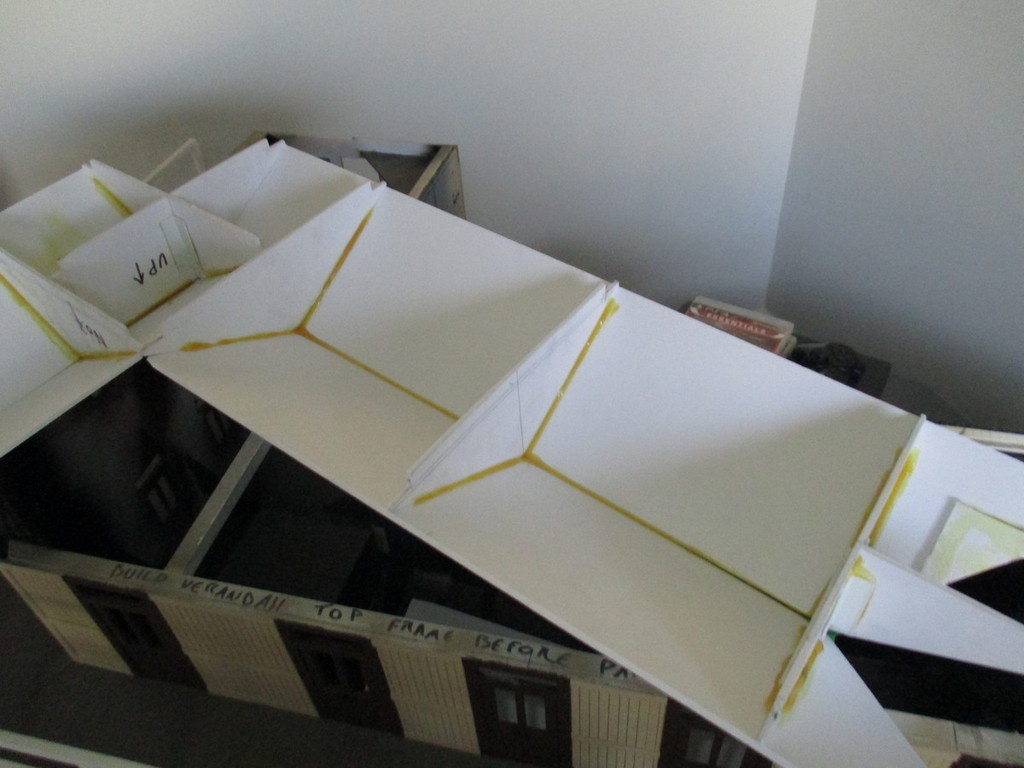
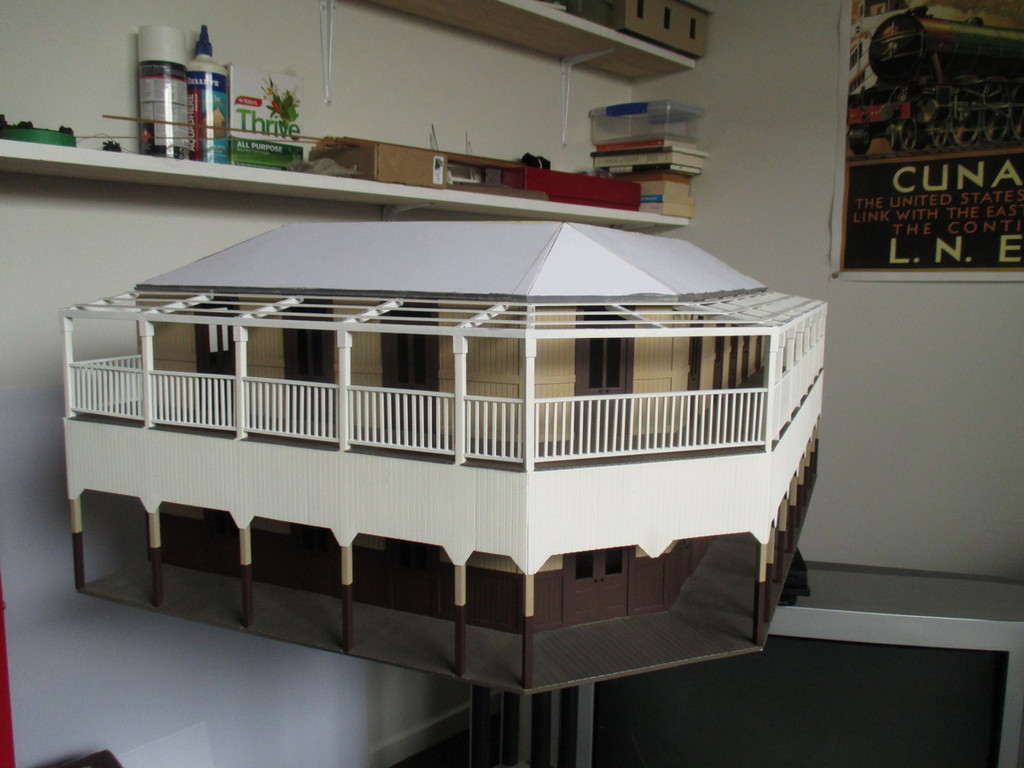
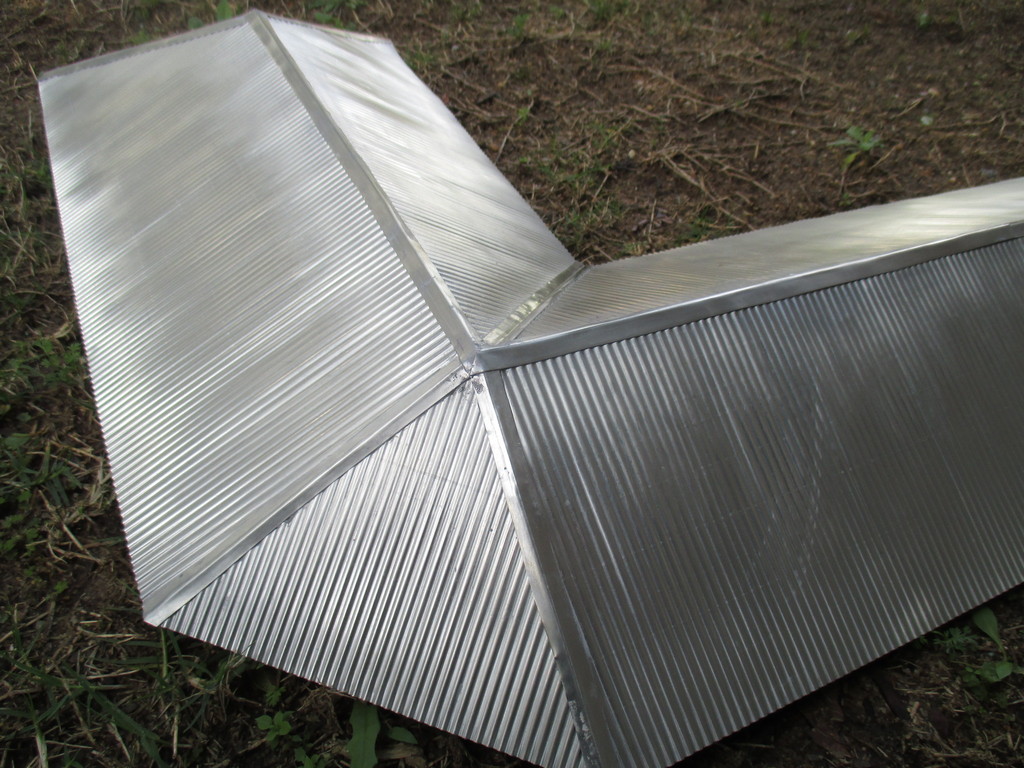
The main wall sections were then mocked up, held together with masking tape. I can't make the rear walls or the base yet, as the shop was out of corflute. The angled front wall will be made to fit, once the other walls are assembled on the base.
27/03/19
I'm going to need a lot of styrene sheet for this and future buildings, and most of the time here in Australia, it's prohibitively expensive. I was able to find a local plastics supplier on Evilbay, and bought five A3-sized sheets of 1mm thick styrene for just $20.
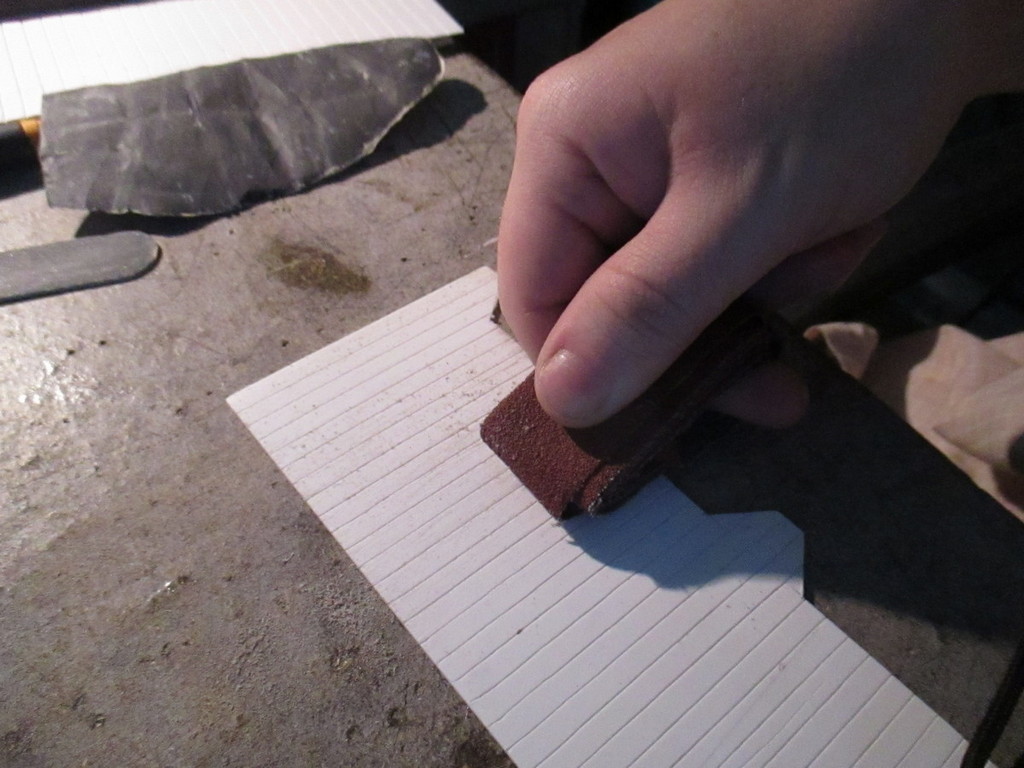
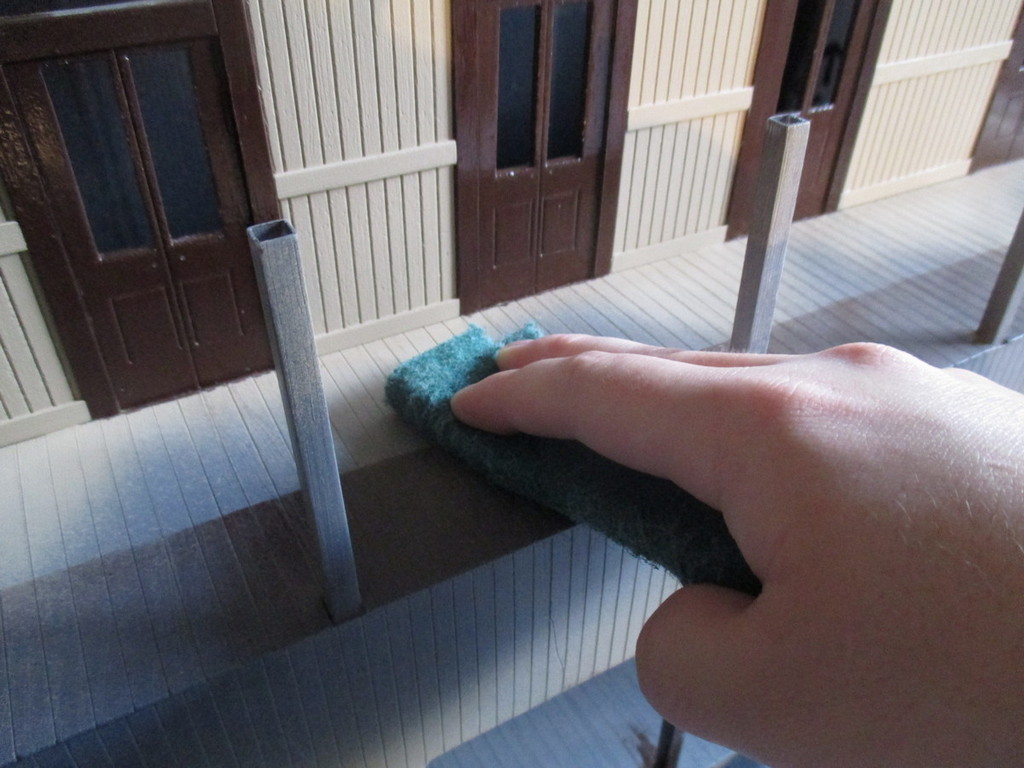
It's quite shiny on one side. Too shiny, this could be a problem for paint and glue adhesion. A quick wet sanding will sort that..
28/03/19
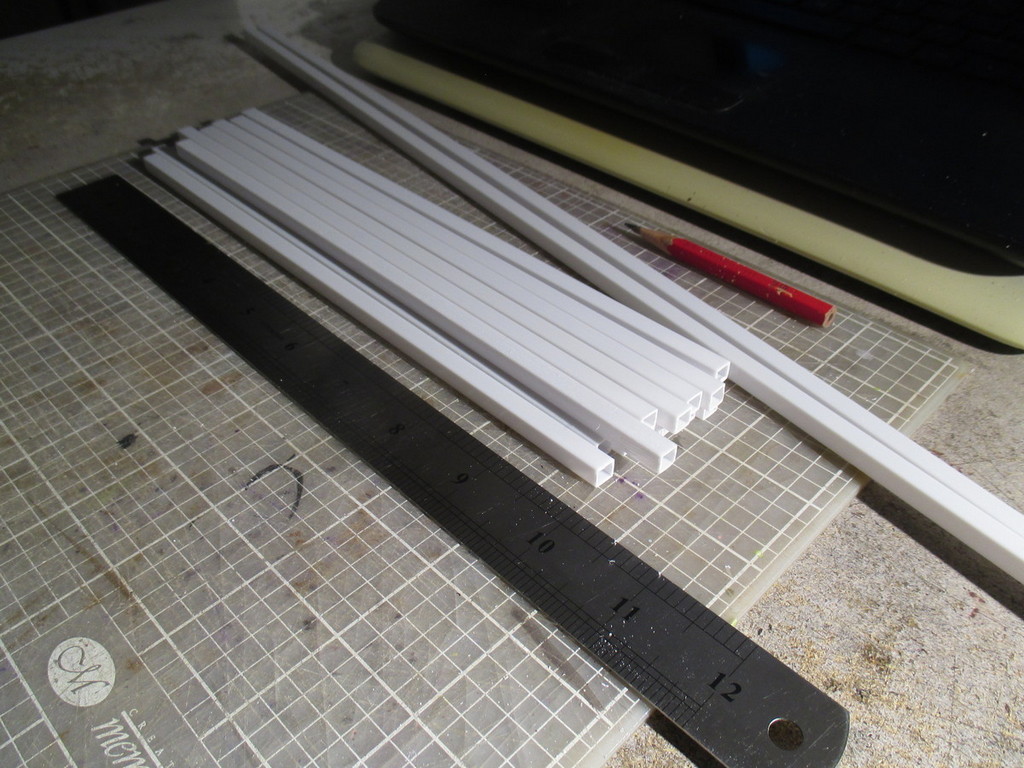
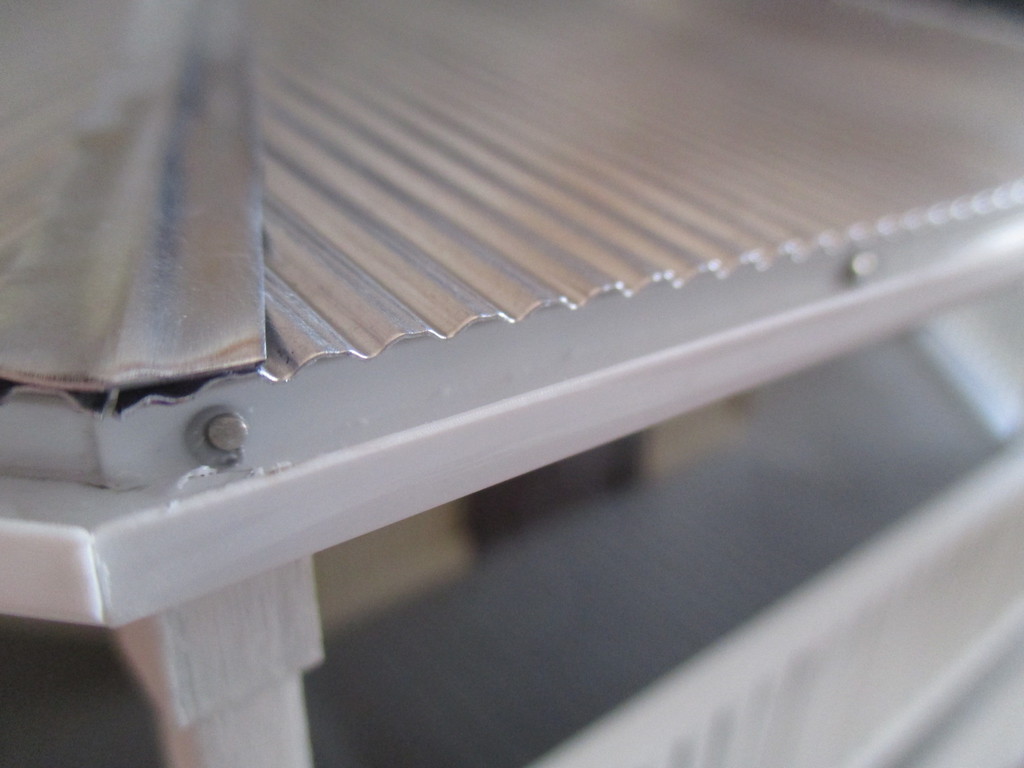
It's an awfully slow process, scribing styrene, but the front faces of the fascia are done, and the cut-outs, well, cut out. The spacing of the "boards" is 5mm.
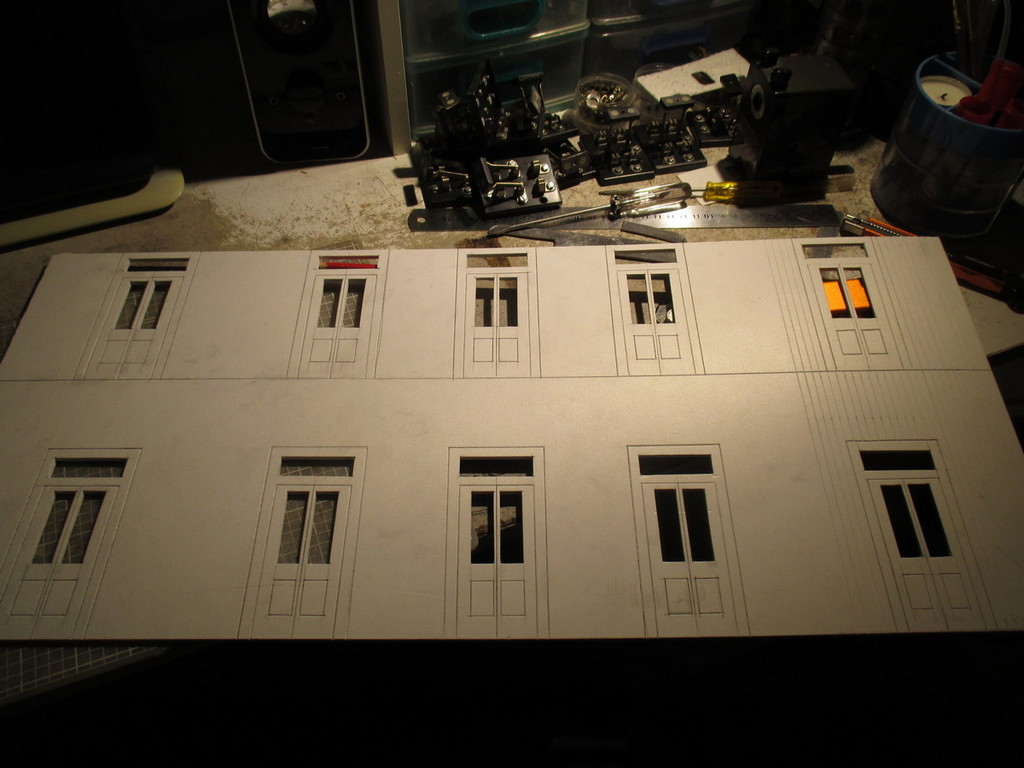
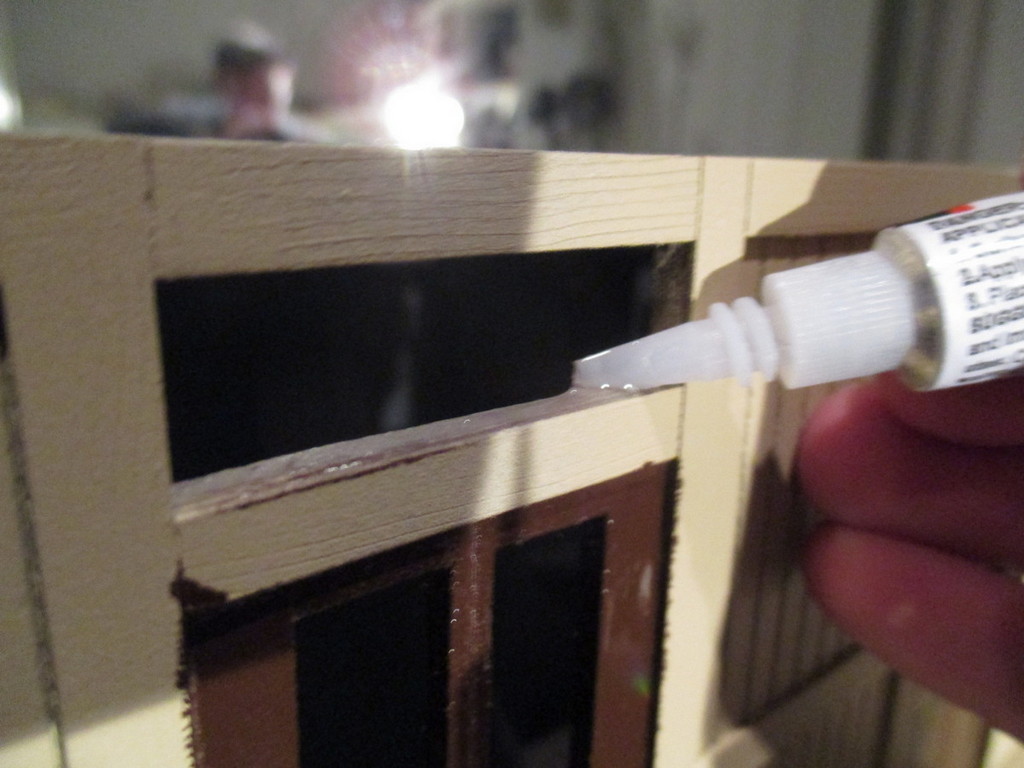
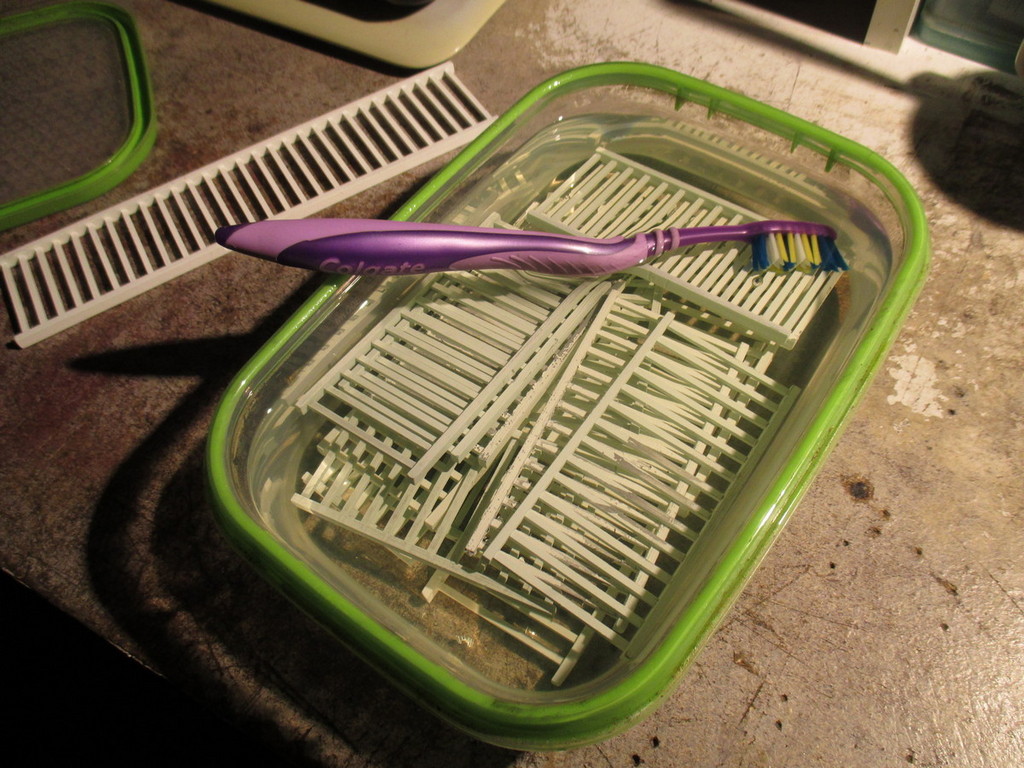
To save a lot of time, effort and frustration, I made a styrene stencil for marking out the doors on the foamboard walls.
A frame was drawn up to surround each door, the frames being ¼" thick, incorporating a ½" tall fanlight window.
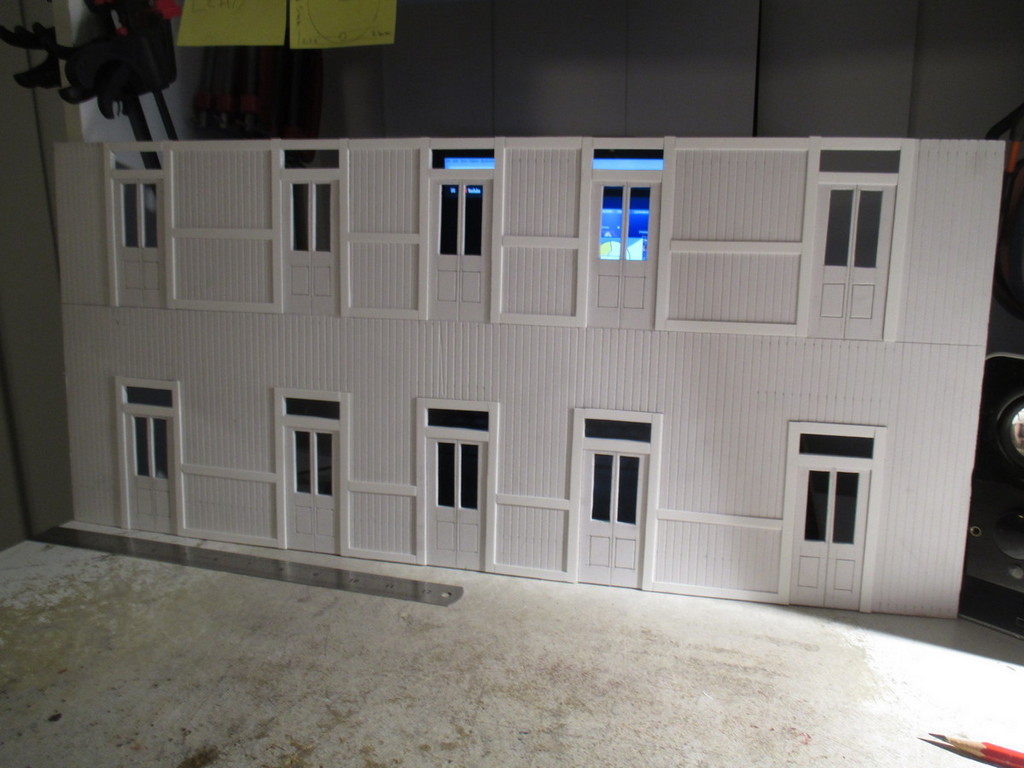
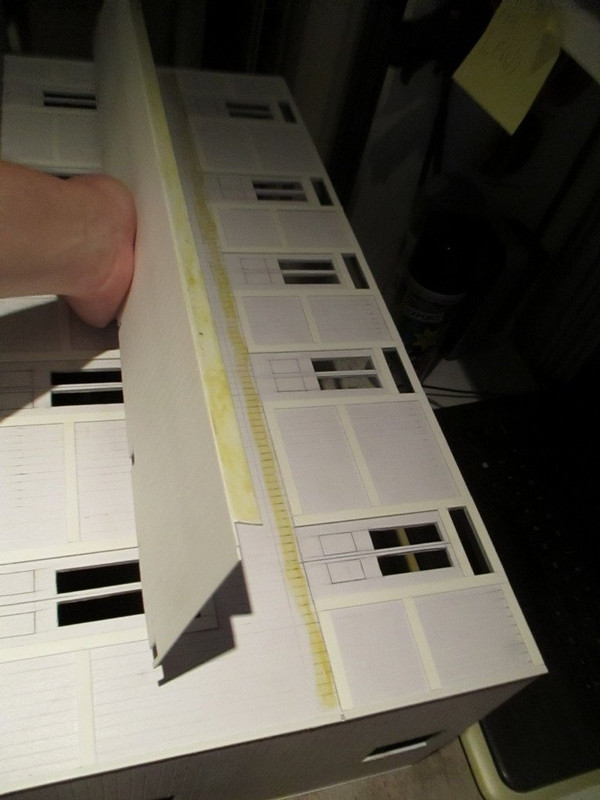
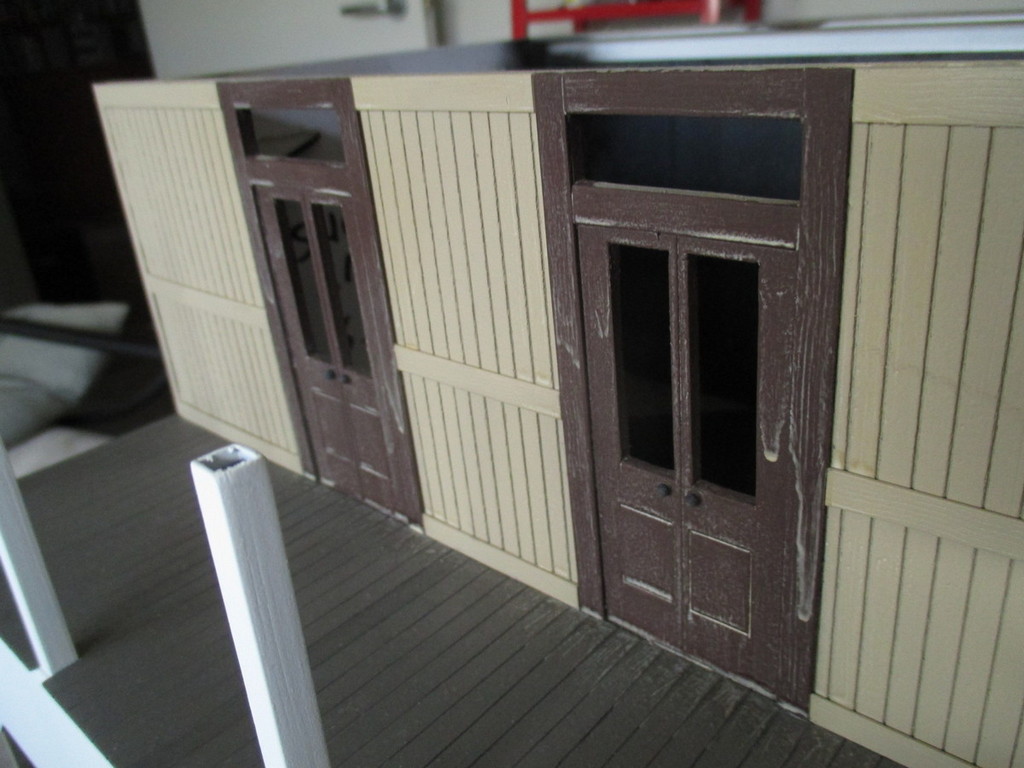
After working out the correct spacing based loosely on my reference photos, the remaining doors were marked out. The frames and lower paneling in each door were then scribed with the screwdrivers and ruler, similarly to the styrene fascia. Foamboard is much easier to scribe - a pleasure, actually.
You'll notice on the right, I got carried away and started scribing the vertical boards, before remembering to get this shot.
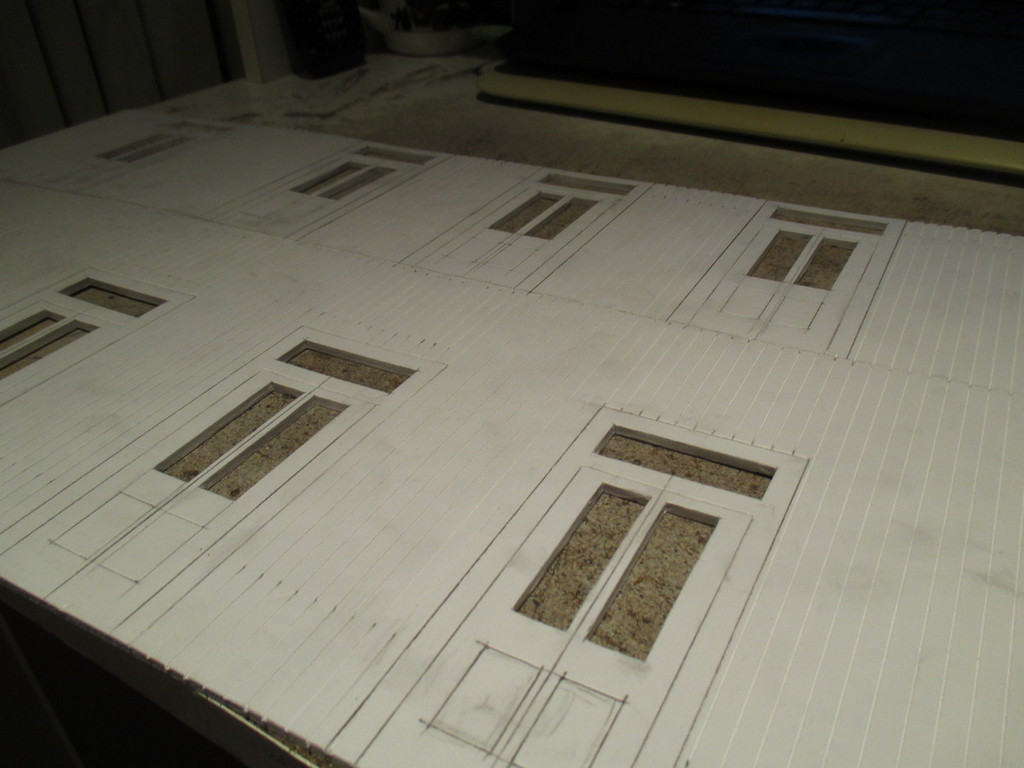
A ruler and knife were carefully used to cut the windows from the doors, followed by cut-down emery boards to clean up the openings.
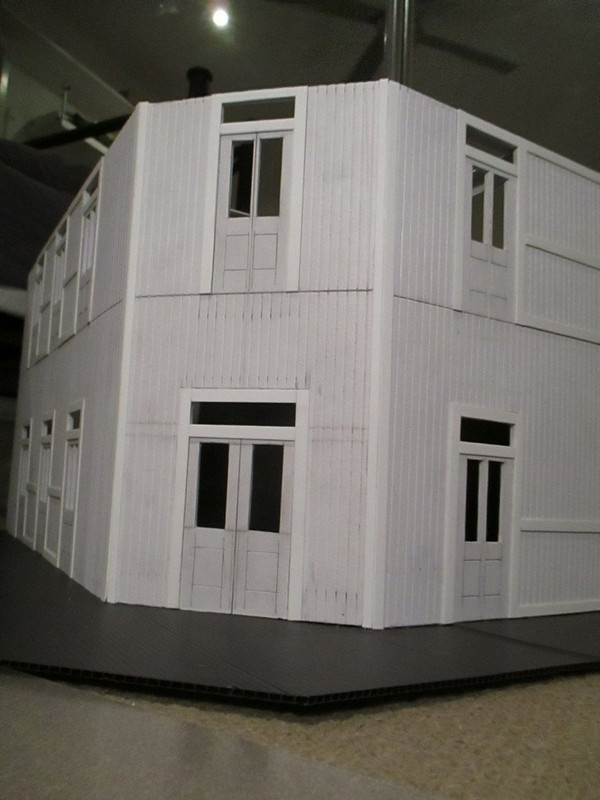
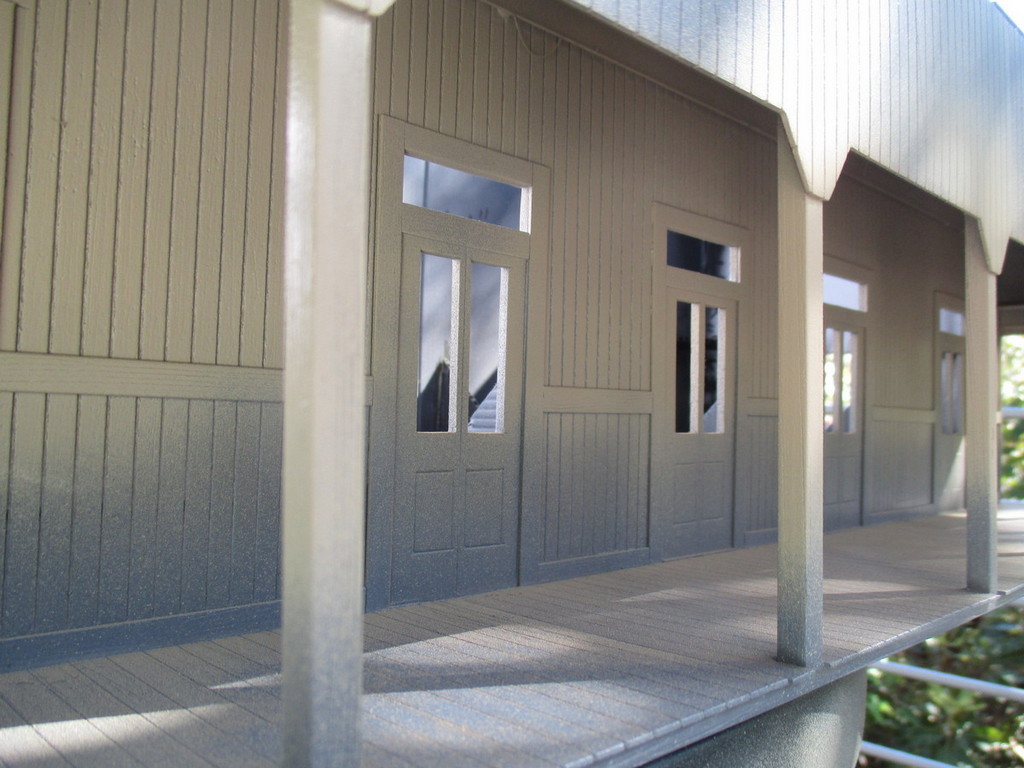
The windows were time-consuming to do, but came up well. The vertical boards can now be finished.
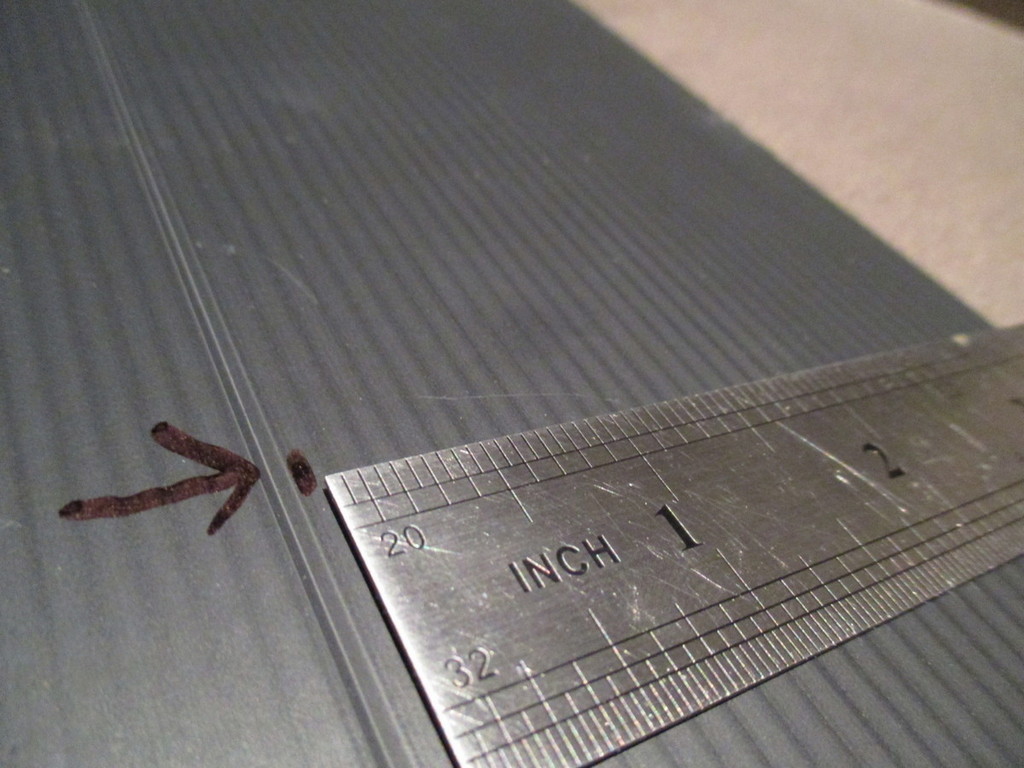
They were marked out in the same manner as the fascia. Again, 5mm width, as it looks about right to my eye, and is easy to mark out.

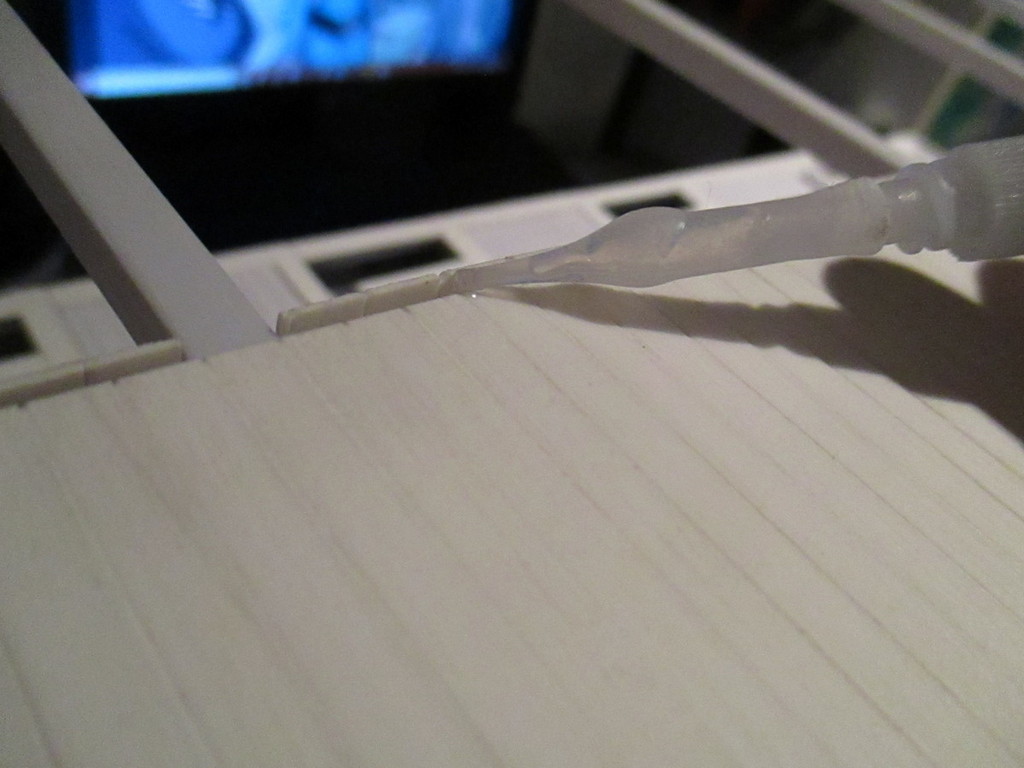
Holding the ruler firmly in place, the 6" screwdriver scribes the boards. Moderate pressure applied over a single pass is sufficient.

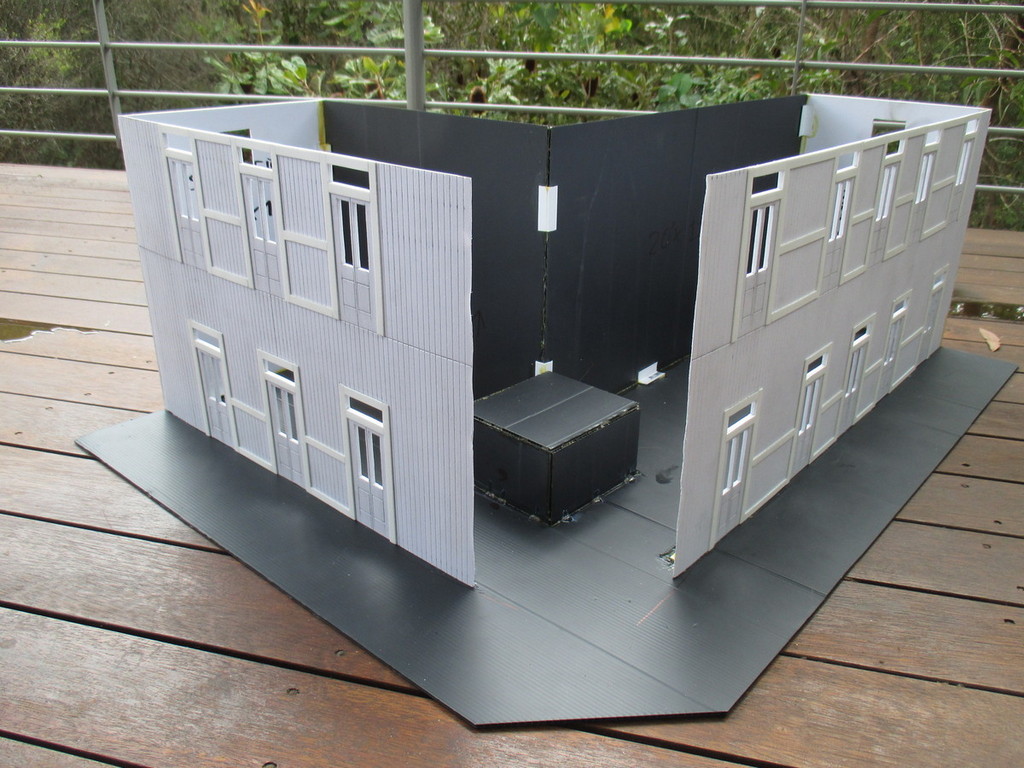
It's tricky to photograph this stuff sometimes. All scribing on this larger of the two front panels is done. The process was repeated on the shorter front wall, before moving on.
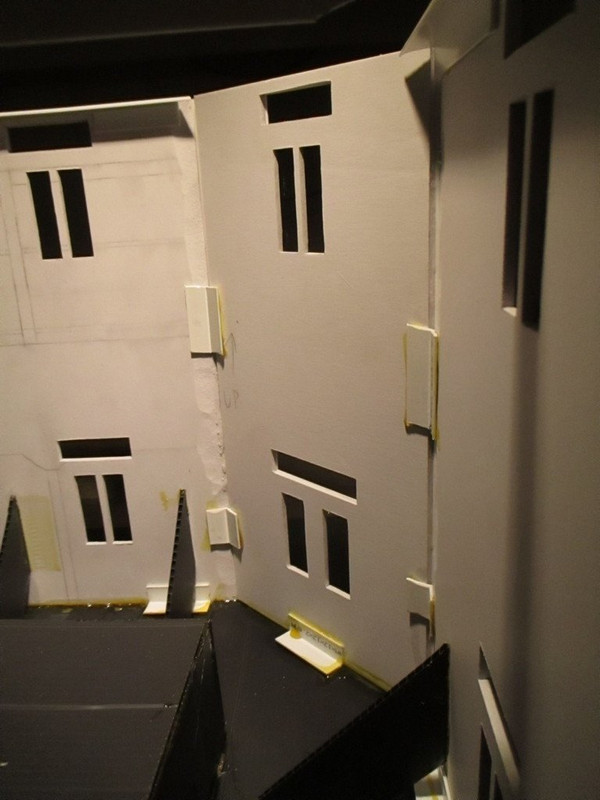
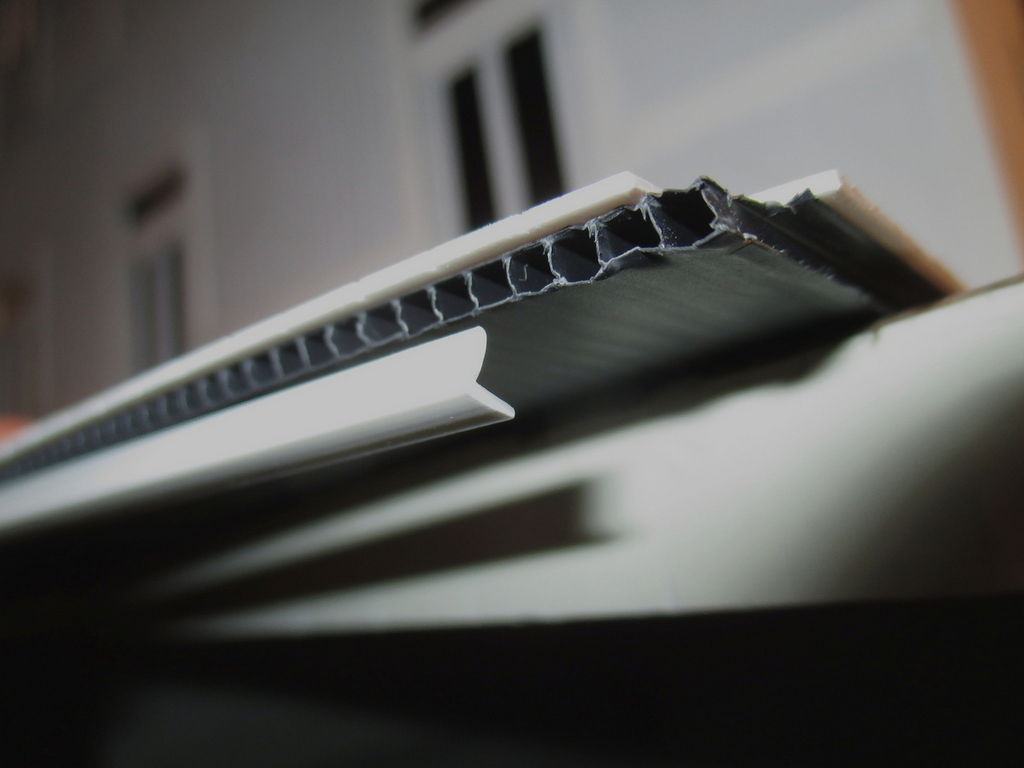
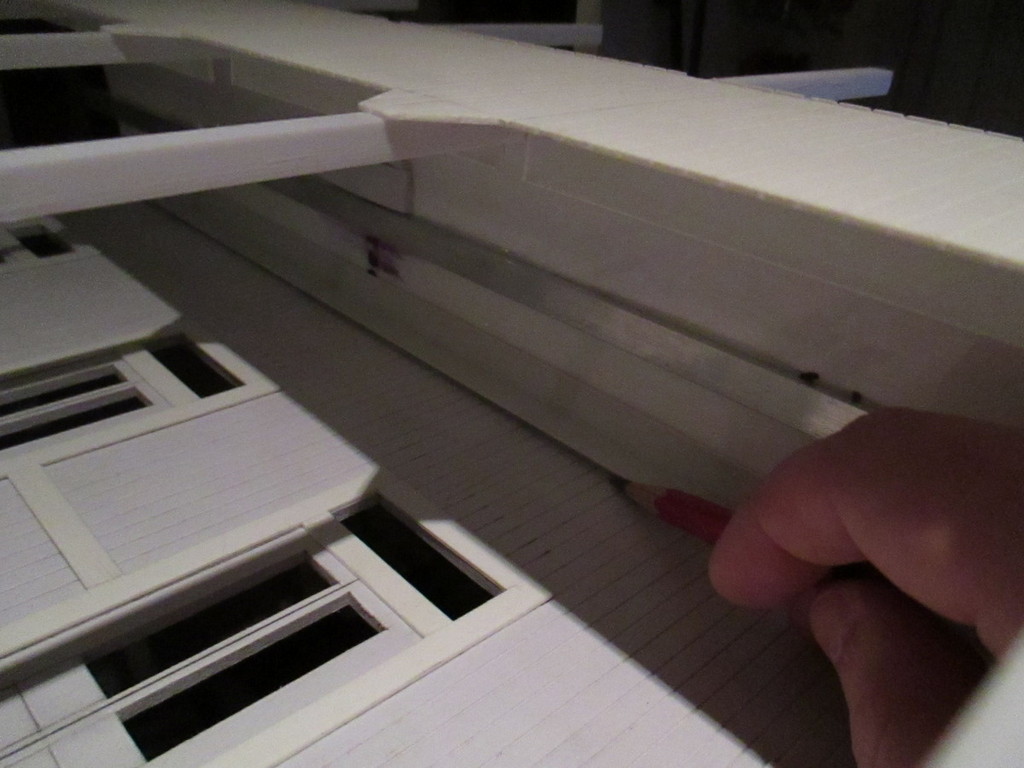
A knife was used to bevel the ends of the wall panels, making for a crude "mitre joint". This will allow the very edges of the walls to go together a little more seamlessly, than if I just butted the walls together. I'm really not sure this was necessary, as I'd always intended to cover the outside faces of the joints with styrene trim, anyway. This will also make it more difficult to glue the walls together. It's also all to easy to cut too deep and affect the nice straight edge of the wall.
One thing I'd like to do eventually, is to incorporate a street running section of track, as once seen on the cane tramways of Moreton Mill, and as continues today at Mossman Mill.
A prominent feature of such scenes, is often the ubiquitous timber Australian corner hotel & pub - So I guess I'll start with one of these.
The Royal George pub stood on the corner of Howard and Currie streets in Nambour, Queensland, from 1903 until it burned down in 1961. This excellent 1935 photograph, along with a (very) few others like this one, will be my main two references - though my pub will only be based on the Royal George, rather than a scale replica.
The cane tramway ran very closely past the pub, the rails being visible just below the car in the 1935 image. The wide, overhanging cane loads brushing the verandah posts as they passed. Later on, the line was relaid closer to the middle of the street, to help reduce congestion of increasing road traffic. Later still, after the pub burned, the line was again relaid, this time in the centre of the street where it remains today.
That's enough background, on with the build.
21/03/2019
I'd seen and heard a lot about PVC foamboard for buildings, being a light, fairly cheap, easy to work, and most importantly, weatherproof material. I started familiarising myself with the stuff, by making a simple "weatherboard" shed. It turned out well, so I got stuck into designing the pub.
Using my Roundhouse Fowler "Victoria", a 1:24 car, a figure, and photographs of cane trams in Nambour, I started working out the rough size and dimensions. I found it simpler to work with Imperial dimensions, for this job. Considering the emerging design was nearly entirely Imperial, I figured "Imperial Hotel" would be as good a name for the building, as any.
Using Microsoft Paint, (as it's easier to fix mistakes and make changes) I made up a simple scale drawing for the pub. As the reminder on the drawing says, the non-visible rear walls will be made from corflute, as it's 1/6th the price of foamboard. In hindsight, these should've been foamboard as it's far more robust, but it's no serious issue.
Comparing the drawing to to the 1935 photo, you may notice the shorter leg of the building is a little shorter than the prototype. This is simply to cut down on some work, and to reduce the bulk of this already huge building. The angle of the prototype's front walls was about 105 degrees. I've changed this to 90 degrees, simply to make it easier to build.
- Pub dimensions.png (22.14 KiB) Viewed 9720 times
25/03/19
Dimensions at hand, I started by cutting out the main front and end walls from foamboard. A scrap piece of aluminium angle was checked for straightness, then used as a straight-edge for marking and cutting. 2-4 passes with a hobby knife cuts the foamboard nicely.
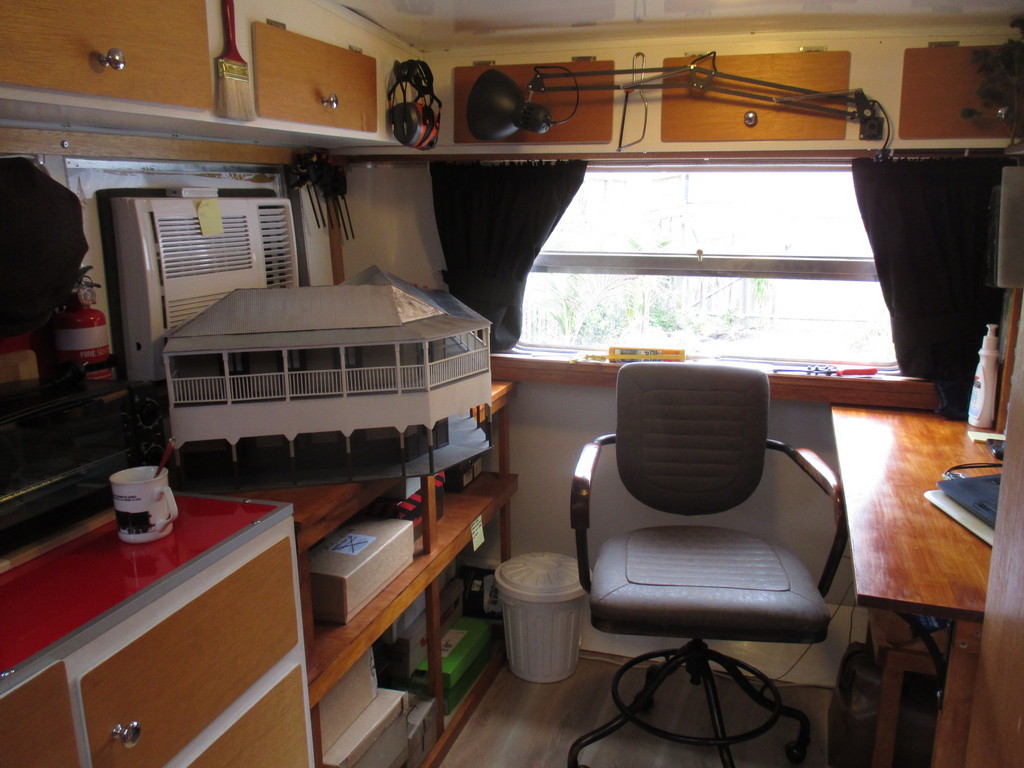
I'm cutting the foamboard on my balcony, as it's a 3x4ft sheet, and it's the only suitably large, hard flat area available. Needless to say, a great deal of care was needed to ensure the knife didn't cut into the decking boards. Although the blade never touched the deck, a sacrificial sheet of plywood or MDF between the foamboard and deck, would've made things far quicker and easier.
The main wall sections were then mocked up, held together with masking tape. I can't make the rear walls or the base yet, as the shop was out of corflute. The angled front wall will be made to fit, once the other walls are assembled on the base.
27/03/19
I'm going to need a lot of styrene sheet for this and future buildings, and most of the time here in Australia, it's prohibitively expensive. I was able to find a local plastics supplier on Evilbay, and bought five A3-sized sheets of 1mm thick styrene for just $20.
It's quite shiny on one side. Too shiny, this could be a problem for paint and glue adhesion. A quick wet sanding will sort that..
28/03/19
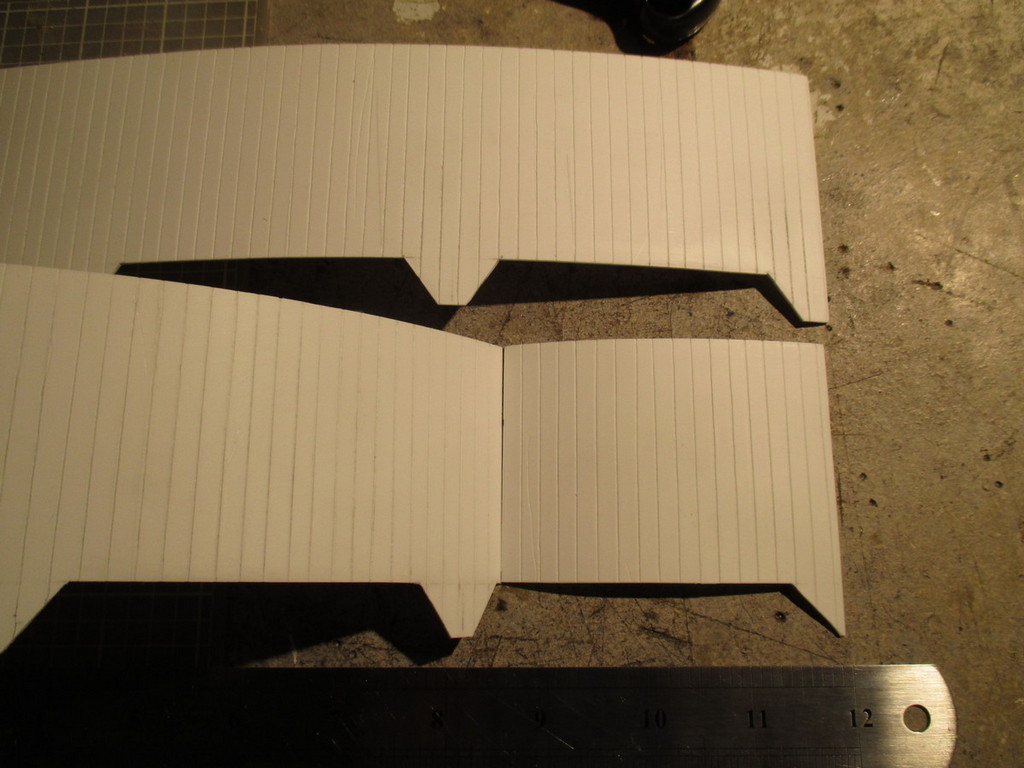
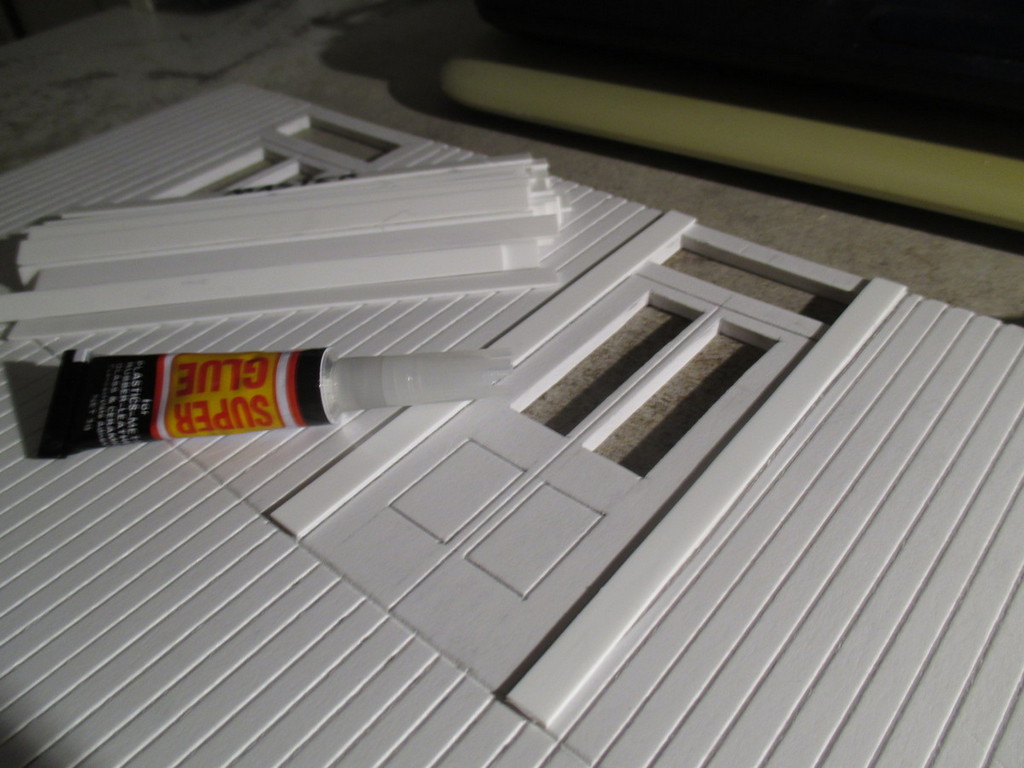
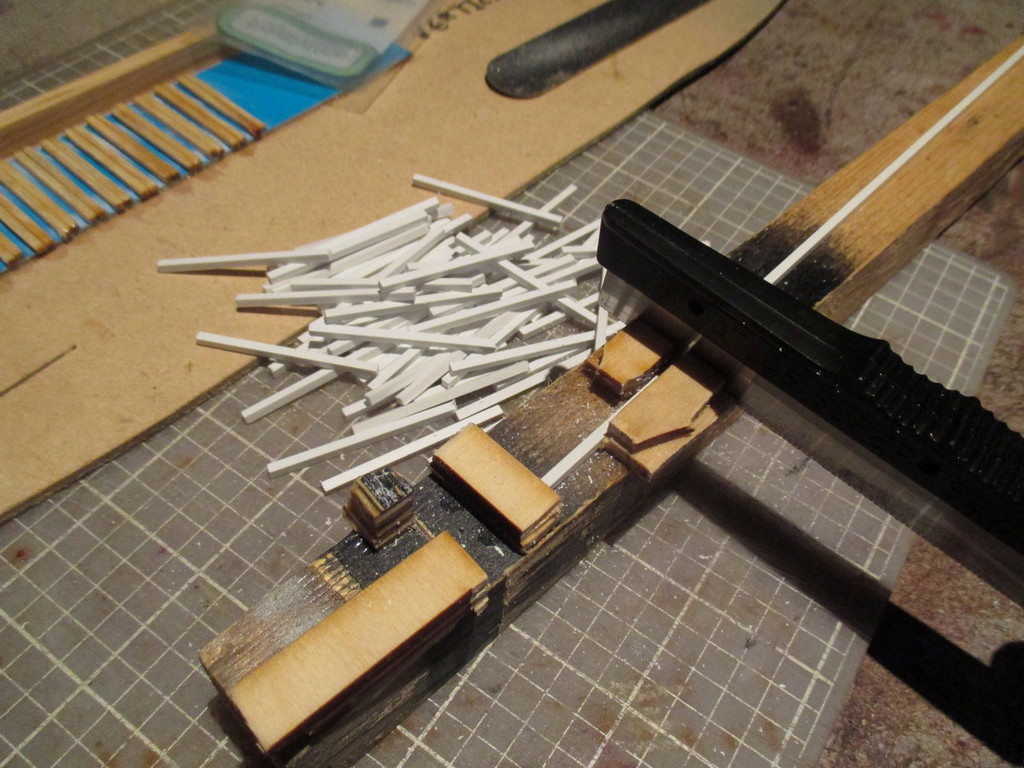
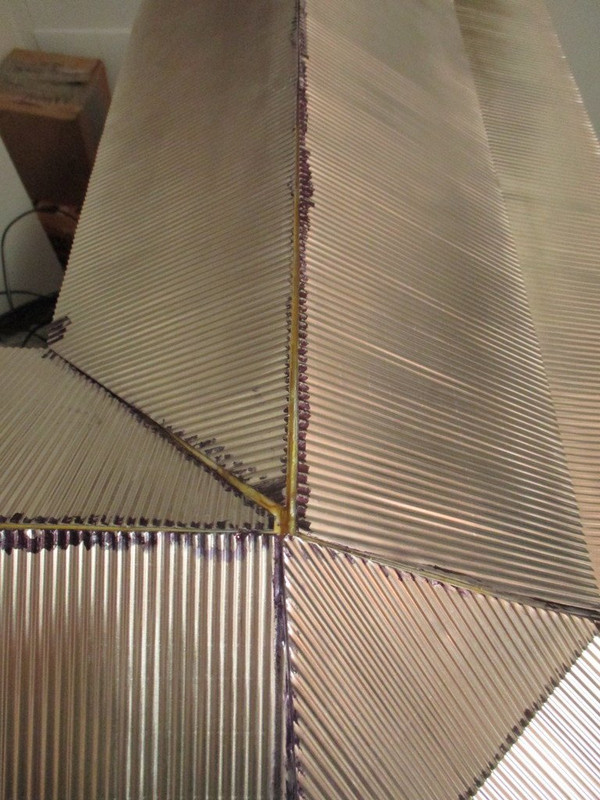
It's an awfully slow process, scribing styrene, but the front faces of the fascia are done, and the cut-outs, well, cut out. The spacing of the "boards" is 5mm.
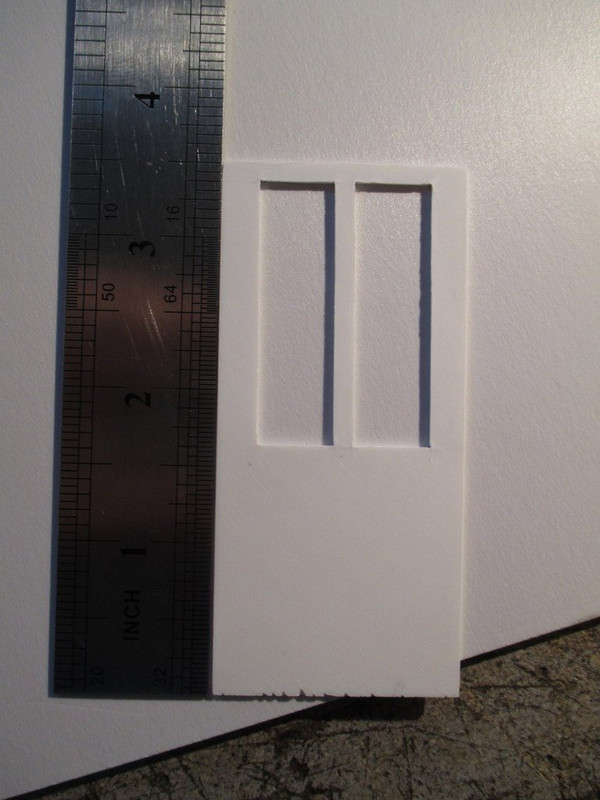
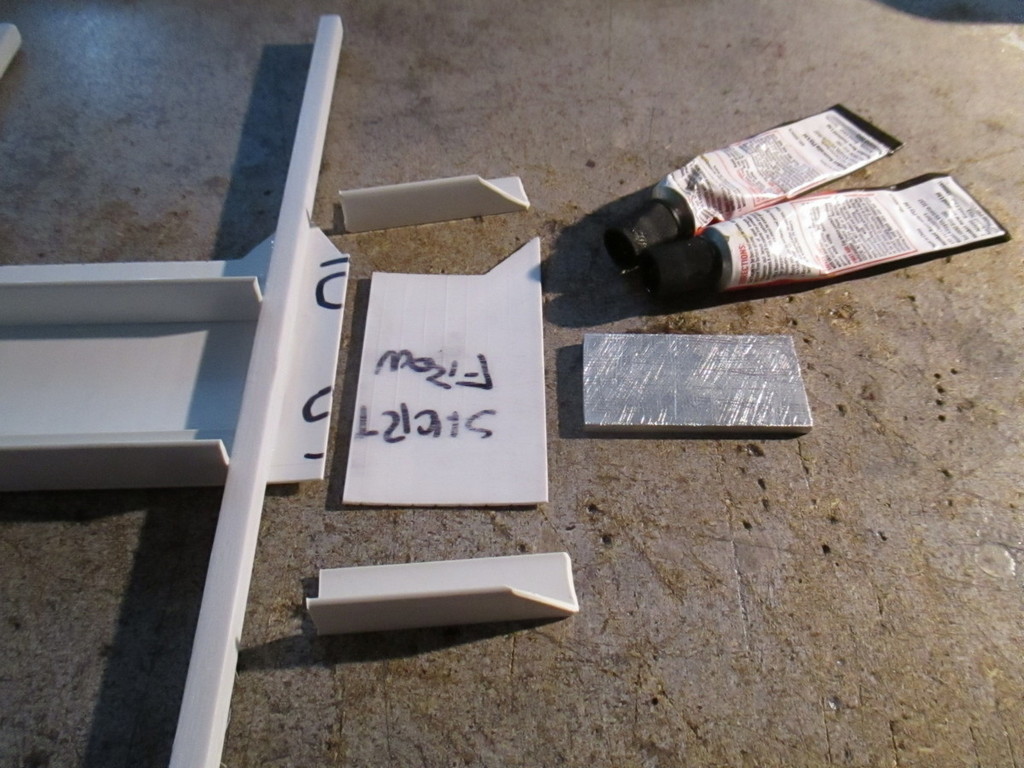
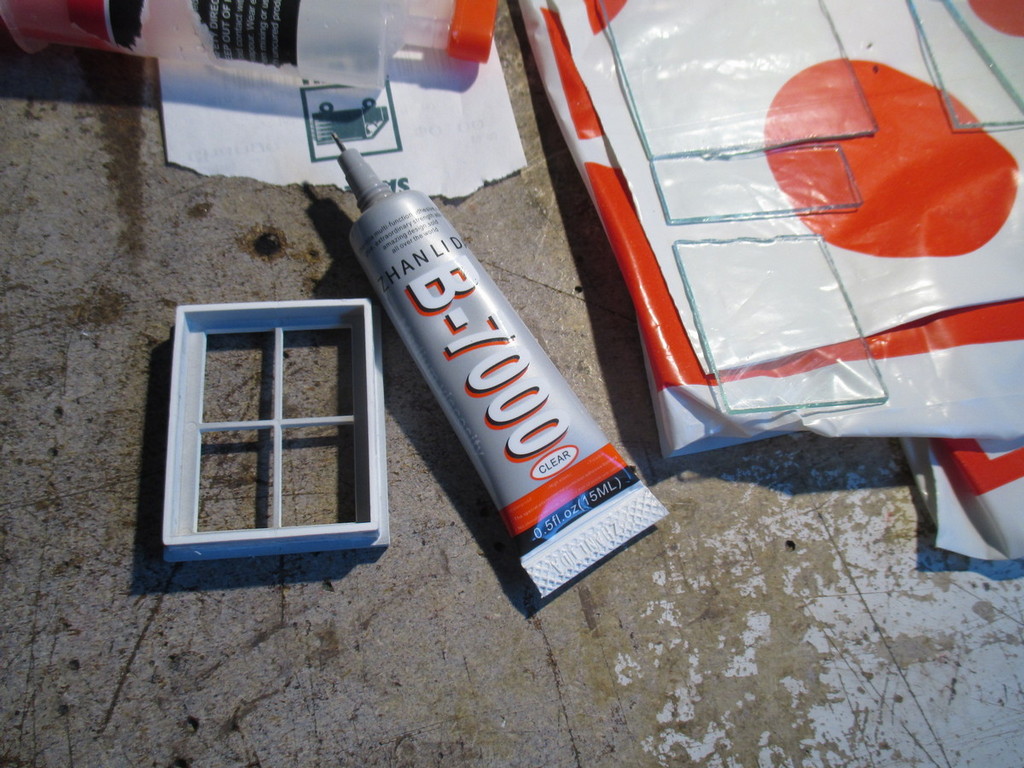
To save a lot of time, effort and frustration, I made a styrene stencil for marking out the doors on the foamboard walls.
A frame was drawn up to surround each door, the frames being ¼" thick, incorporating a ½" tall fanlight window.
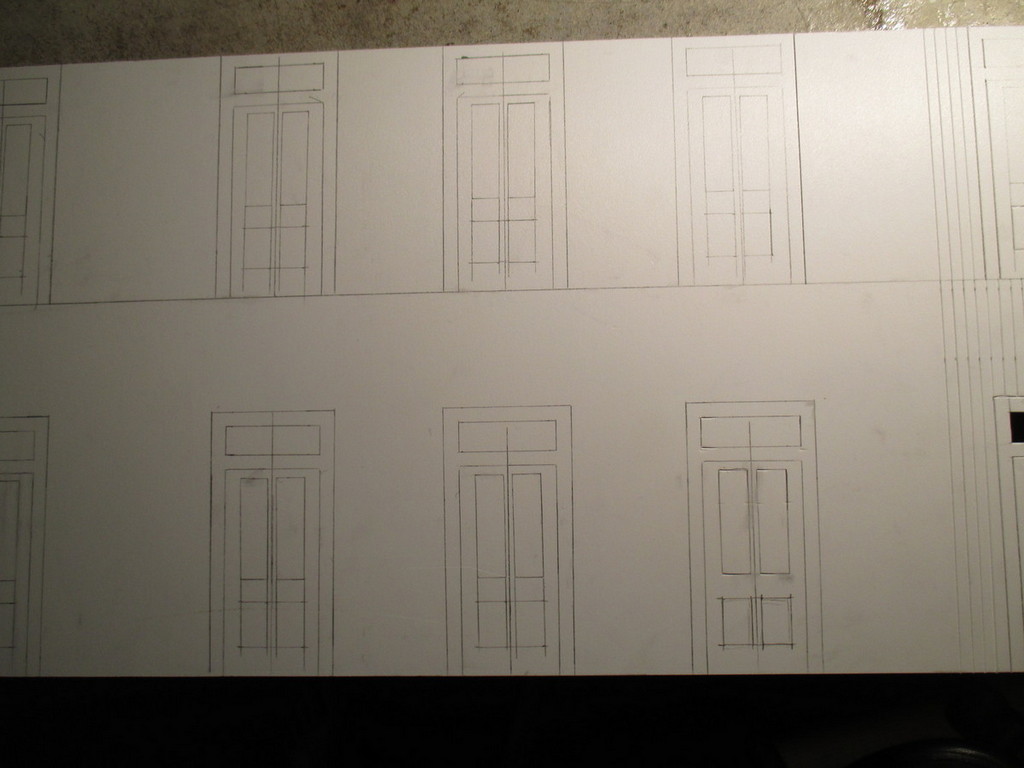
After working out the correct spacing based loosely on my reference photos, the remaining doors were marked out. The frames and lower paneling in each door were then scribed with the screwdrivers and ruler, similarly to the styrene fascia. Foamboard is much easier to scribe - a pleasure, actually.
You'll notice on the right, I got carried away and started scribing the vertical boards, before remembering to get this shot.
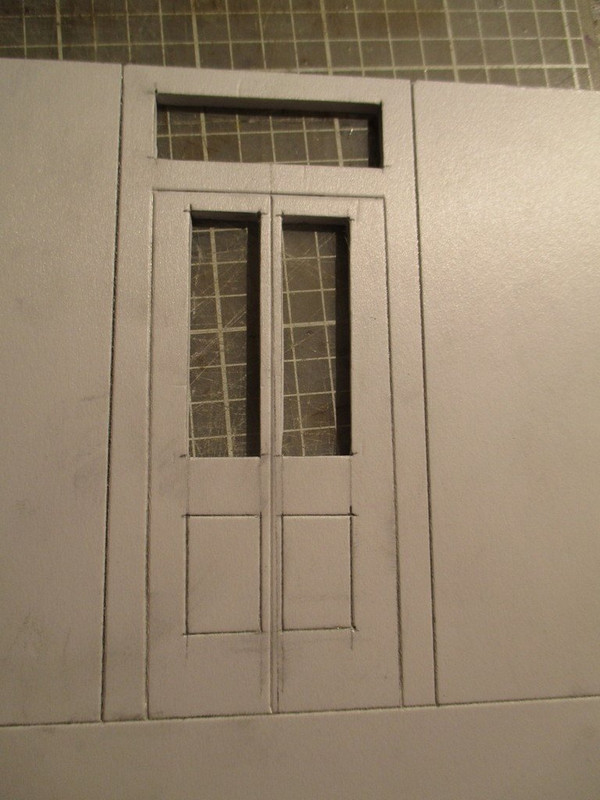
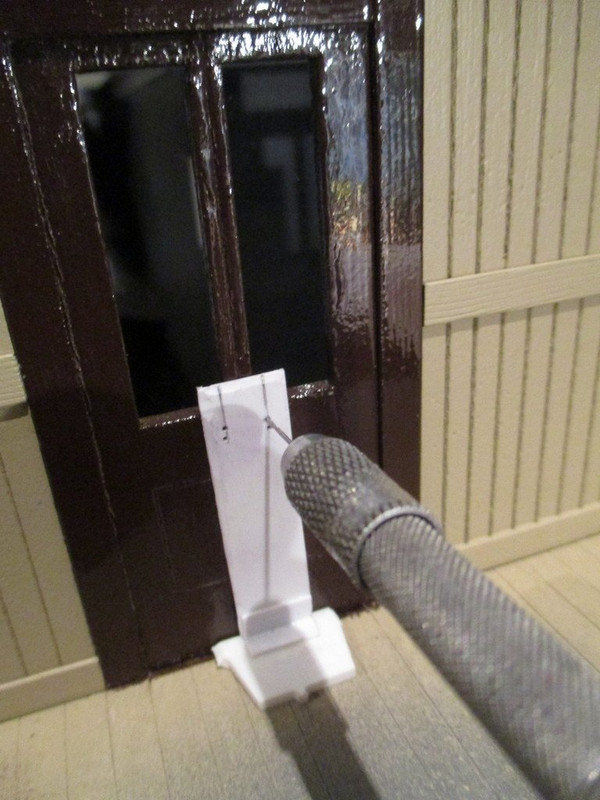
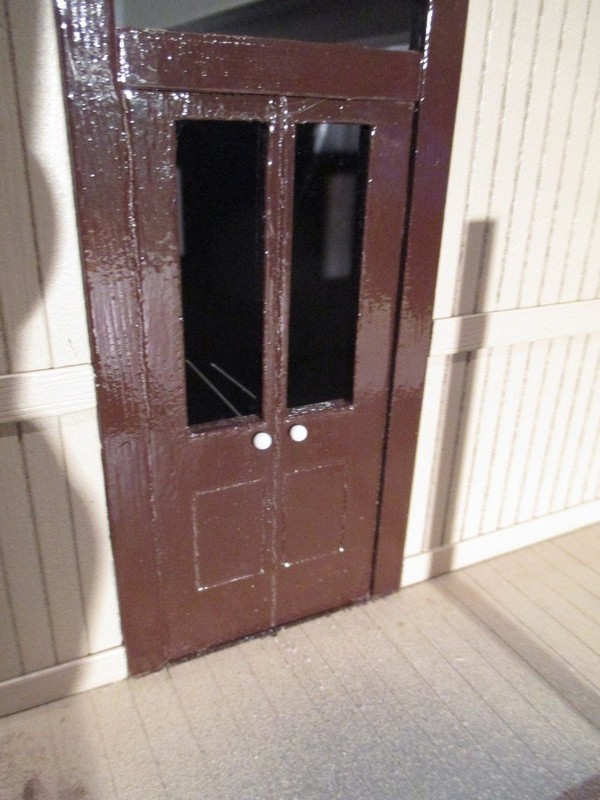
A ruler and knife were carefully used to cut the windows from the doors, followed by cut-down emery boards to clean up the openings.
The windows were time-consuming to do, but came up well. The vertical boards can now be finished.
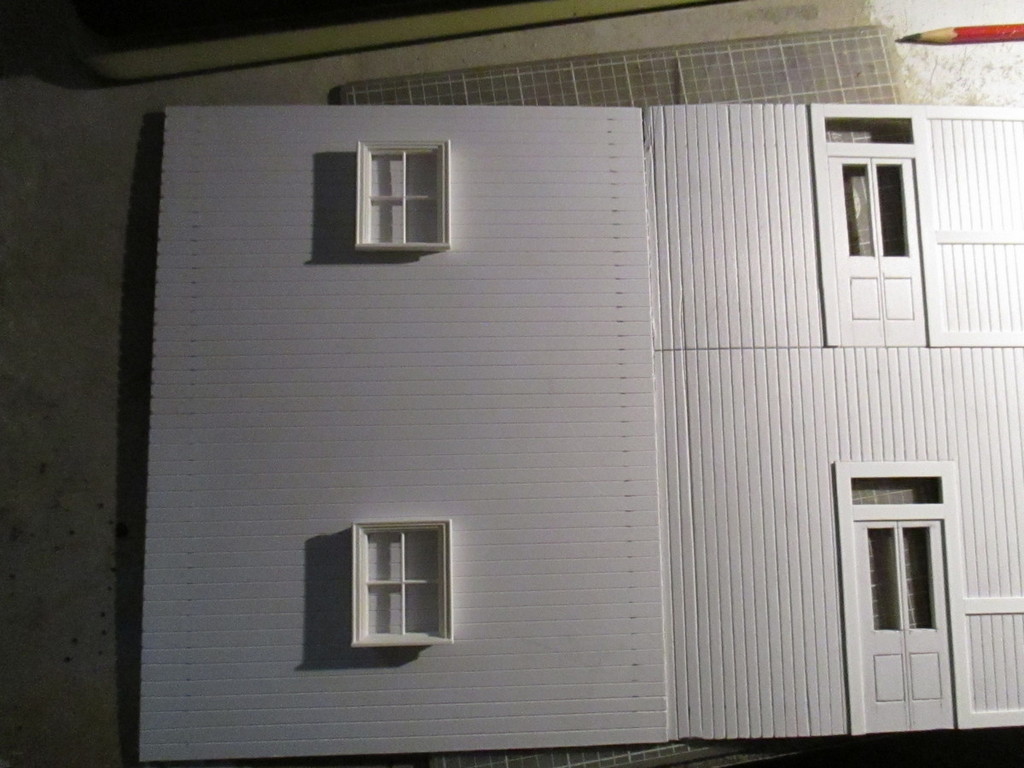
They were marked out in the same manner as the fascia. Again, 5mm width, as it looks about right to my eye, and is easy to mark out.
Holding the ruler firmly in place, the 6" screwdriver scribes the boards. Moderate pressure applied over a single pass is sufficient.
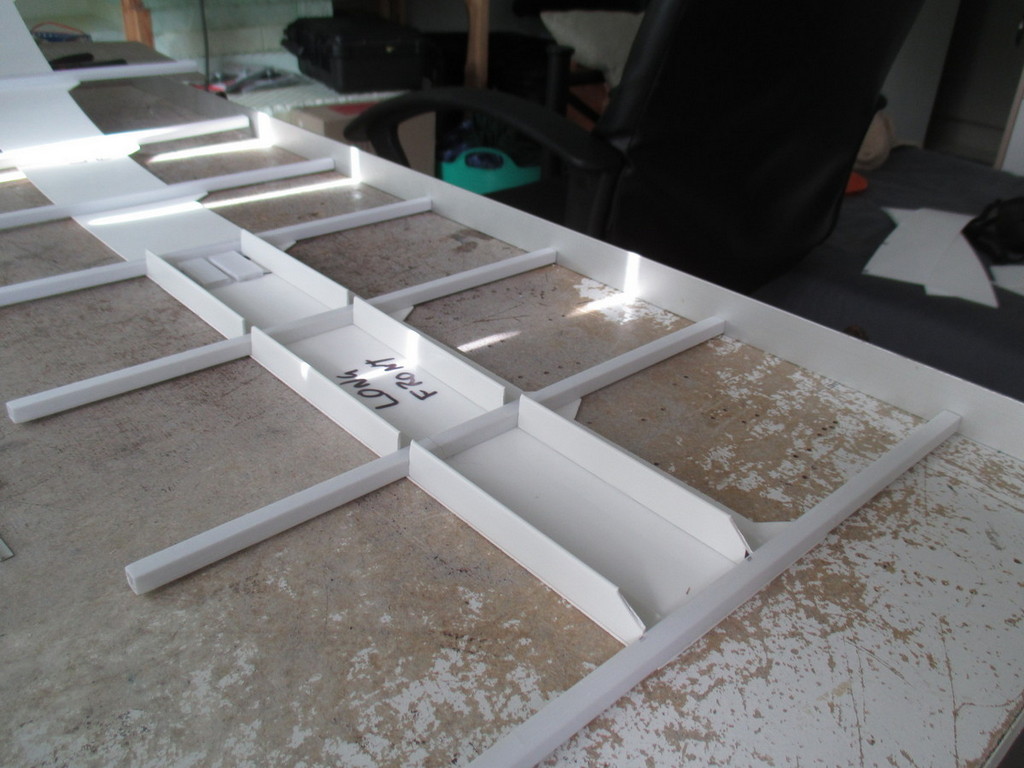
It's tricky to photograph this stuff sometimes. All scribing on this larger of the two front panels is done. The process was repeated on the shorter front wall, before moving on.
A knife was used to bevel the ends of the wall panels, making for a crude "mitre joint". This will allow the very edges of the walls to go together a little more seamlessly, than if I just butted the walls together. I'm really not sure this was necessary, as I'd always intended to cover the outside faces of the joints with styrene trim, anyway. This will also make it more difficult to glue the walls together. It's also all to easy to cut too deep and affect the nice straight edge of the wall.


