Meanwhile, I sent off for some PVC foamboard and tried drawing some window-frames on SketchUp.
The Sketchup frames looked fine on the screen, ......
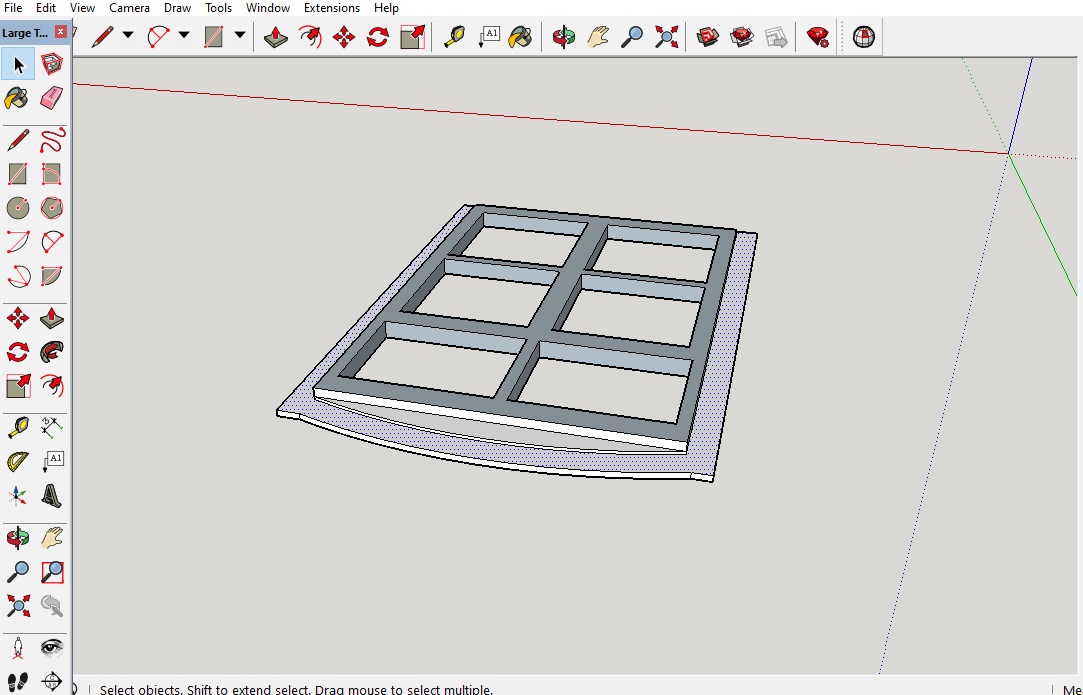
- Sketchup window.jpg (140.24 KiB) Viewed 6797 times
.
....... but no matter how hard I tried, I just couldn't get them to load successfully into my slicer software (Cura). Cura complained they were unprintable as they weren't manifold (which means there were holes in the drawing). I tried various methods are repairing the drawings but all to no avail.
In the end, I consulted Google and discovered a great little online 3D package called TinkerCAD. The problem with SketchUp seems to be that, although it is an extremely powerful and versatile program for producing 3D drawings, it was developed before 3D printers became available and hence its drawings are not really appropriate for 3D printing (unless there are some techniques or tools of which I am unaware). TinkerCAD is designed specifically for making drawings for 3D printers and so, after a bit of "tinkering" I produced the drawings for the three types of window needed.
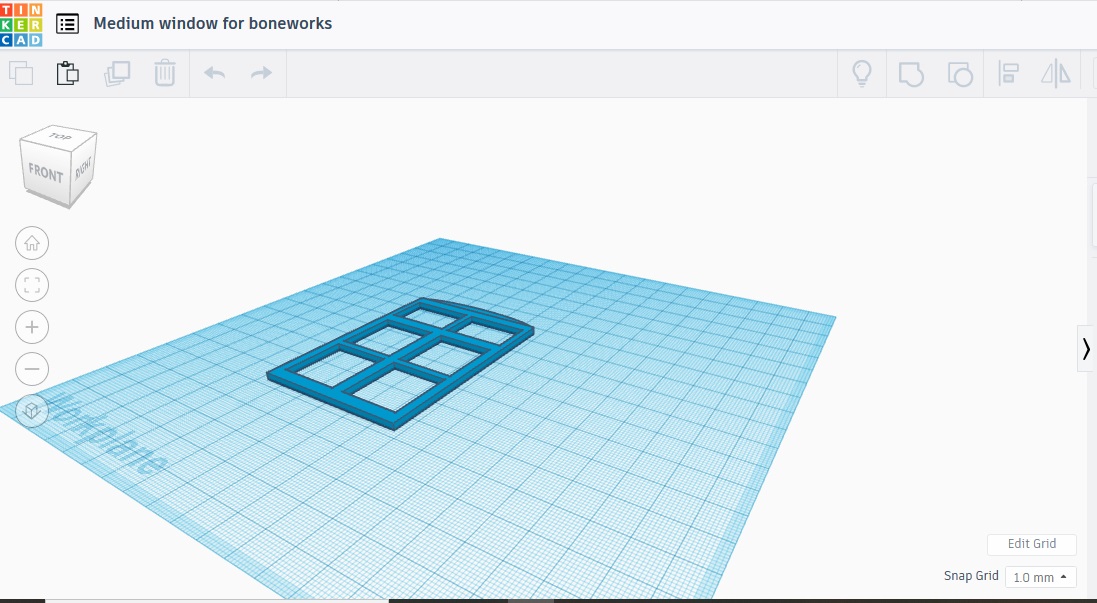
- Tinker-window2.jpg (154.03 KiB) Viewed 6797 times
.
The large (6' x 12') window for the engine room (which incidentally contained a Watt beam engine), had to be split as it was too large for the printer bed.
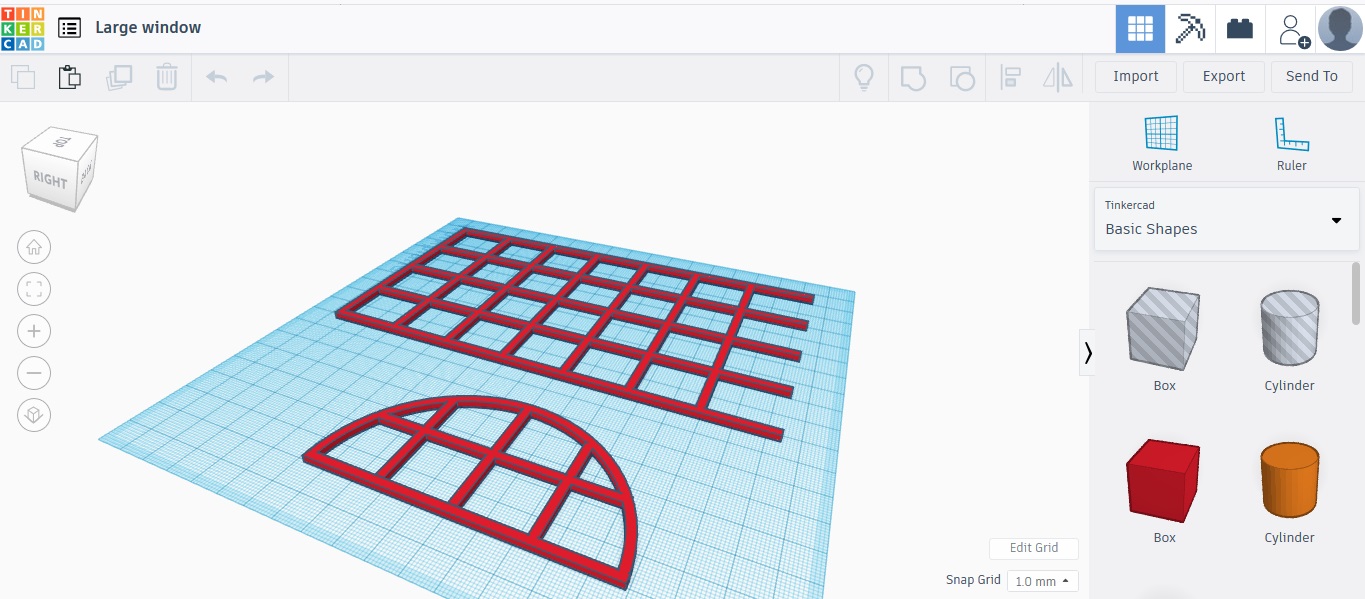
- Tinker-window3.jpg (192.87 KiB) Viewed 6797 times
.
The drawings imported into Cura and were sliced with no problems!!
TinkerCAD is actually designed (by AutoDesk) to be used by teachers with children and hence it is quite easy to use. It does mean it has limitations but I found the drawing environment to be quite intuitive and the learning curve a heck of a lot less steep than SketchUp - though, of course, a number of the concepts and techniques are transferable.
Rik
.... to be continued .....