Regarding the cream, I must agree; I usually prefer double what I'd used, but had to stretch the cream as it was running out. Not something I often do, and not all brands will mix in properly, but a teaspoon of cream is also very good in coffee.
Peter, now that's the way to go. Thanks for the reminder - I've raspberries sitting forgotten in the fridge, will have to see if they're still edible..
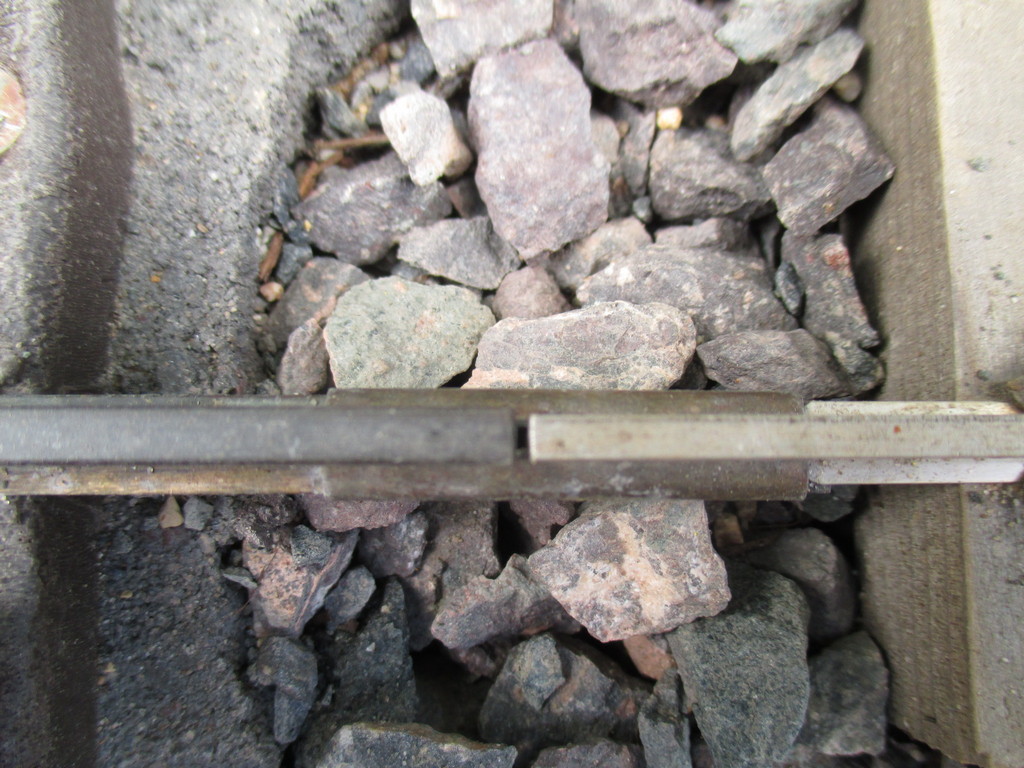
That's very interesting to hear, Grant. Might have to lengthen my gaps, then. At some point, I noted a discussion on another forum having determined that the expansion of brass and aluminium rail to be roughly the same, and that it would expand by roughly 20mm over fifteen meters, between 0°C and 70°C.
Andrew, aye, I was thinking of that video, too. Can't help but feel sorry for that loco and wagons, being treated like that. Tried looking for the video I initially mentioned, to no avail. It involved a roughly 8" deep trough dug into the ground with pond liner, and filled with water. Track laid down the length of it, climbing up out onto the grass at either end.
Tim & Graham, here's the build log I wrote up when I built the rake of cane trucks years ago.
https://anzaccreekworkshops.blogspot.co ... build.html
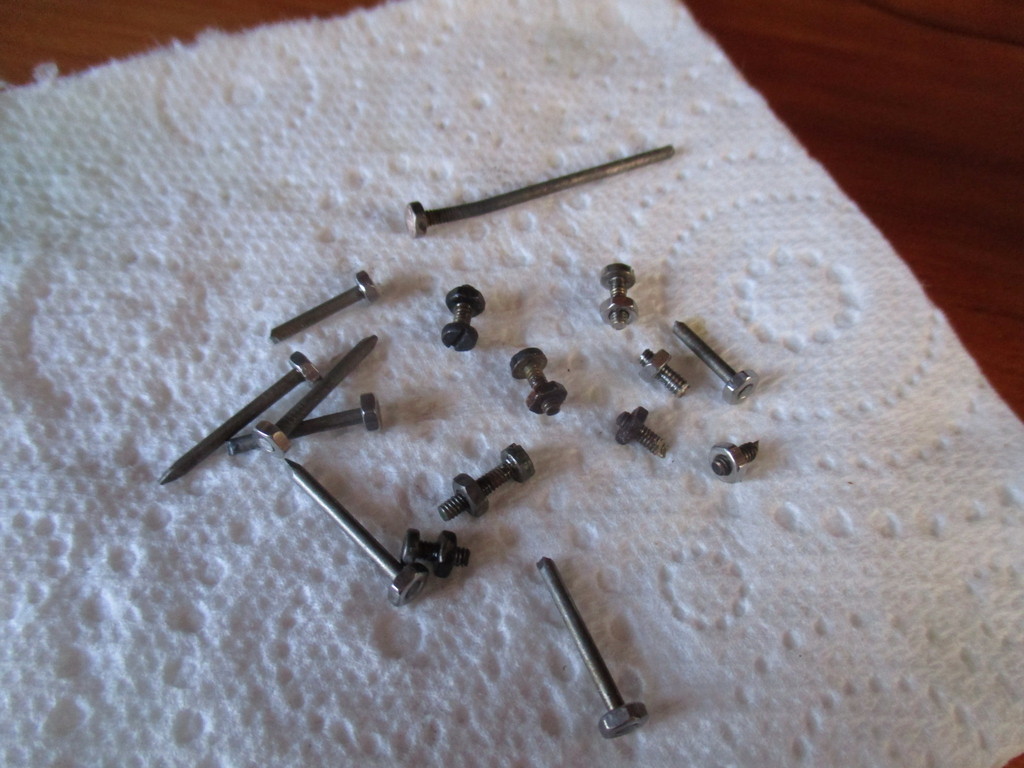
Whilst they run well, and I'm very happy with the finish, (which has since been improved with an airbrush) I feel they sit far too high, owing to my choice of axleboxes. Because the trucks' frames are balsa, I can't remove the existing 'boxes without destroying the frames. Plus, as I'd like a longer rake and other design changes, it's easier to simply start over. I've bought enough Binnie running gear (using Hudson skip axleboxes this time) for thirty trucks, and will re-design the frames - which will this time, be made of oak ripped down from planks, rather than using pre-milled balsa. To recoup some of the build costs, I'm selling the existing rake of ten trucks to a mate.
Would certainly love to see more cane modelling here - I daresay that insofar as variety of gauges, rollingstock, operations, infrastructure and scenery, Queensland's cane tramways are an Australian modelling equivalent of Welsh slate railways.
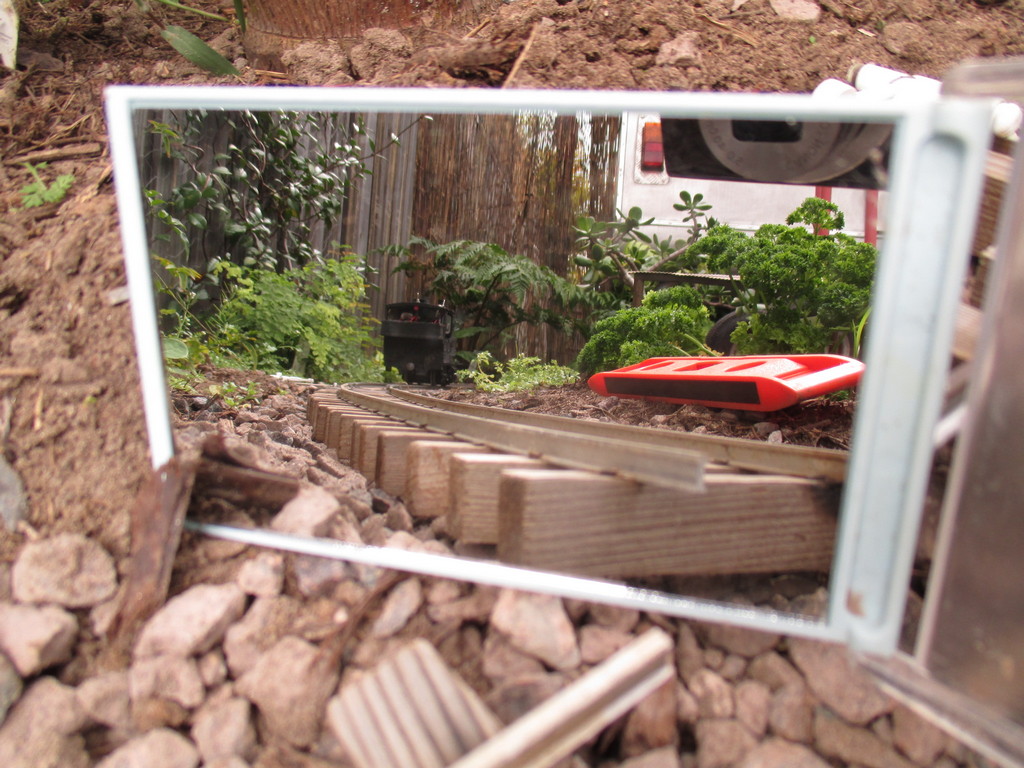
On to photos, anyway..
27/07/20
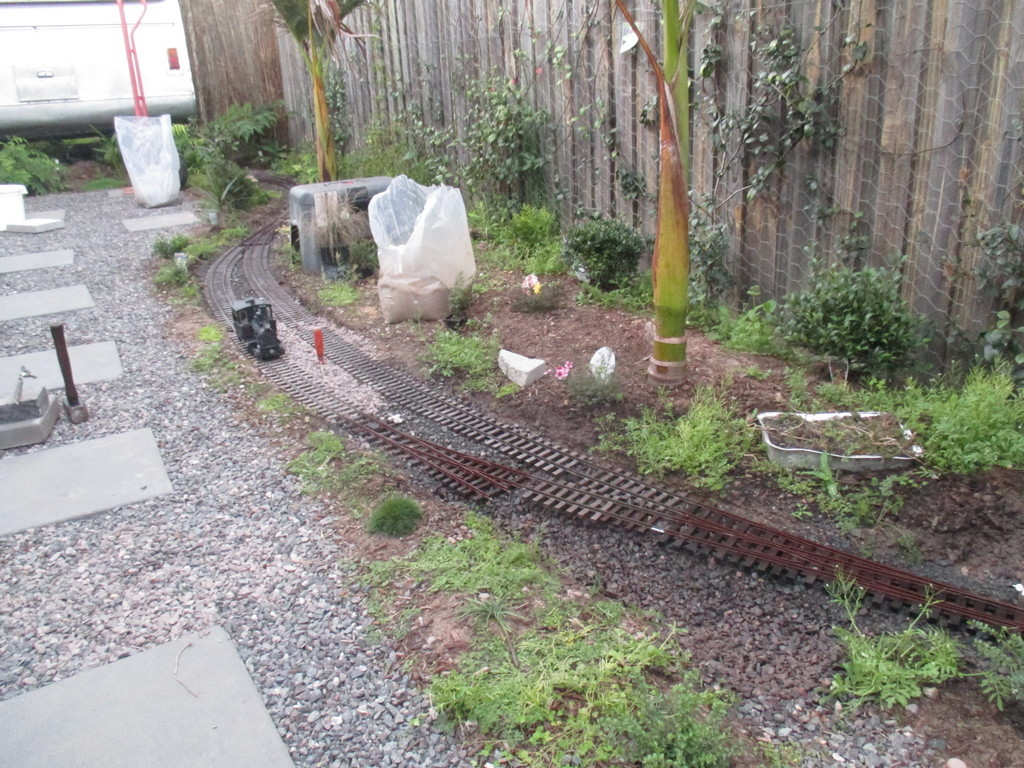
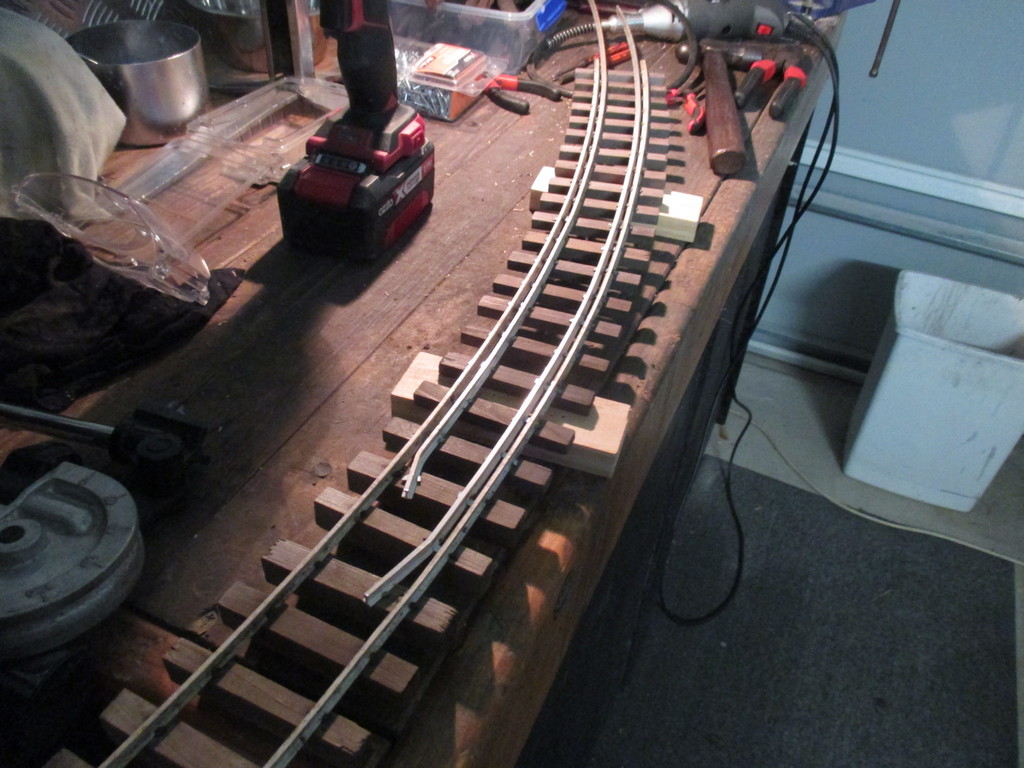
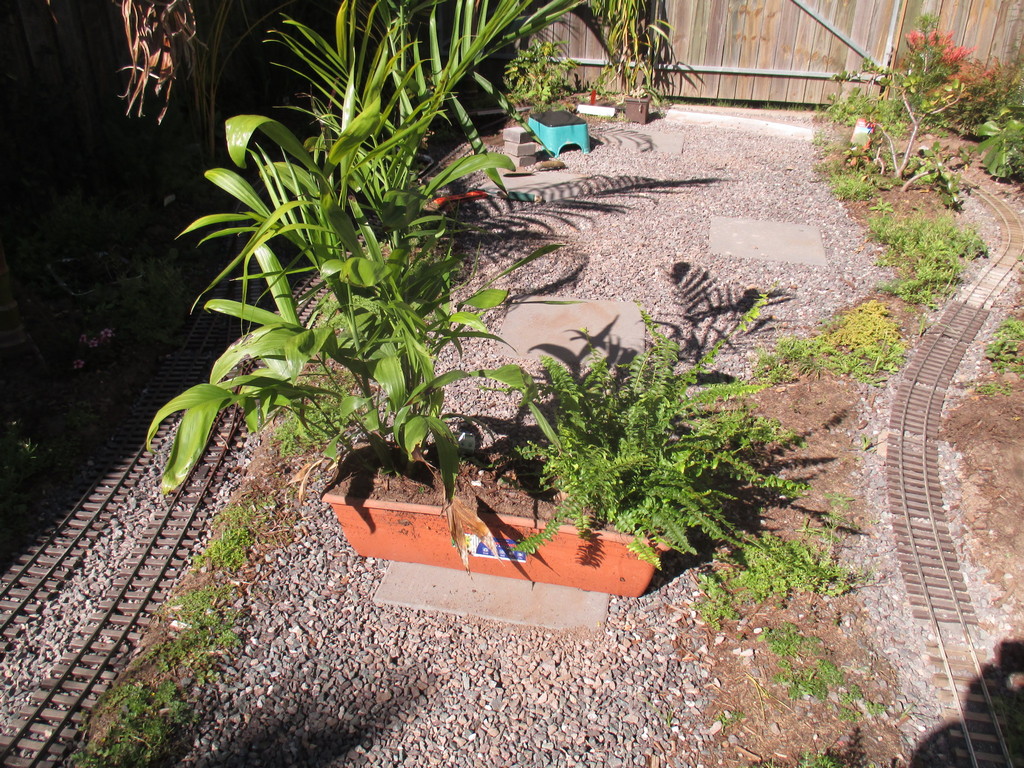
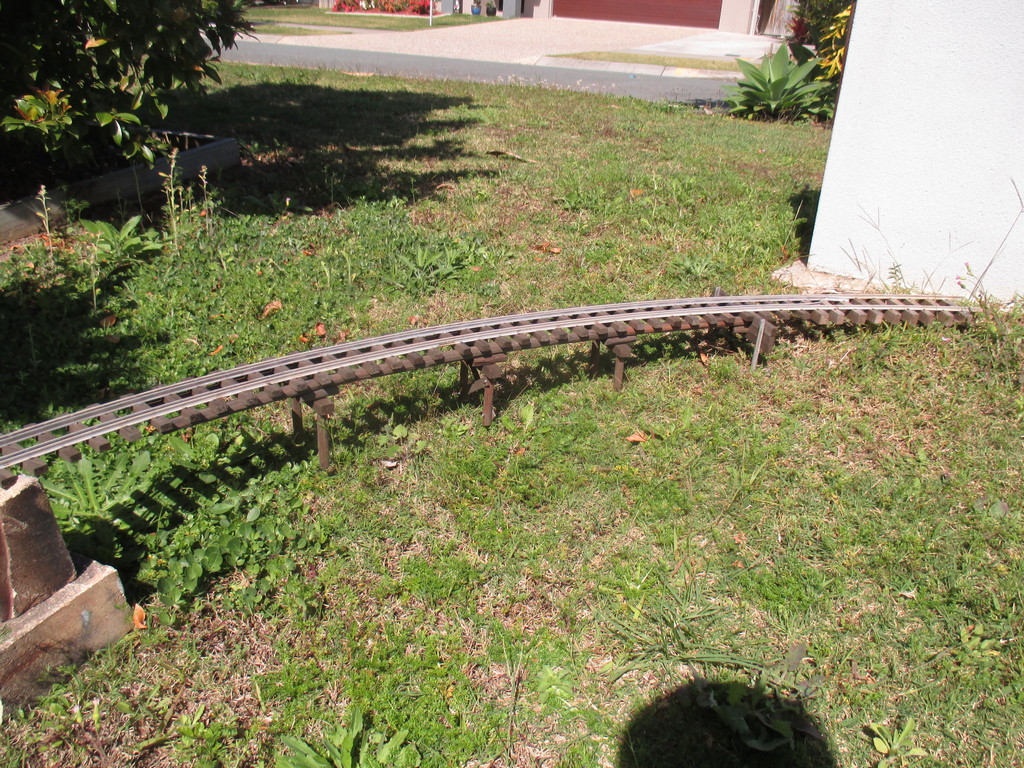
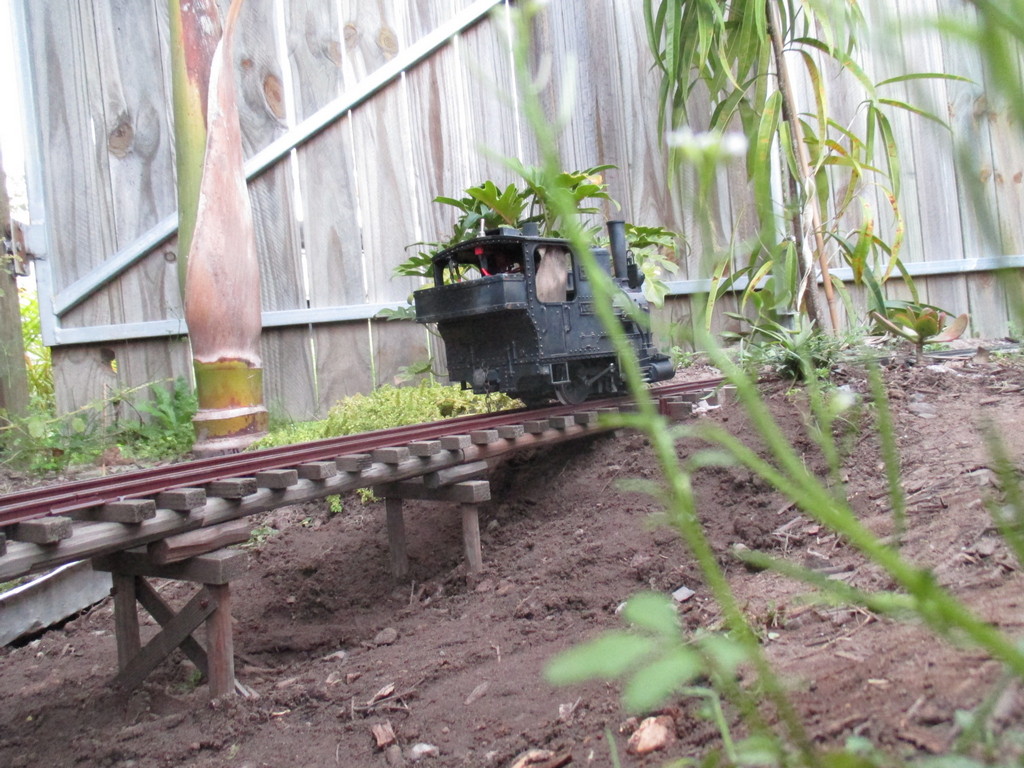
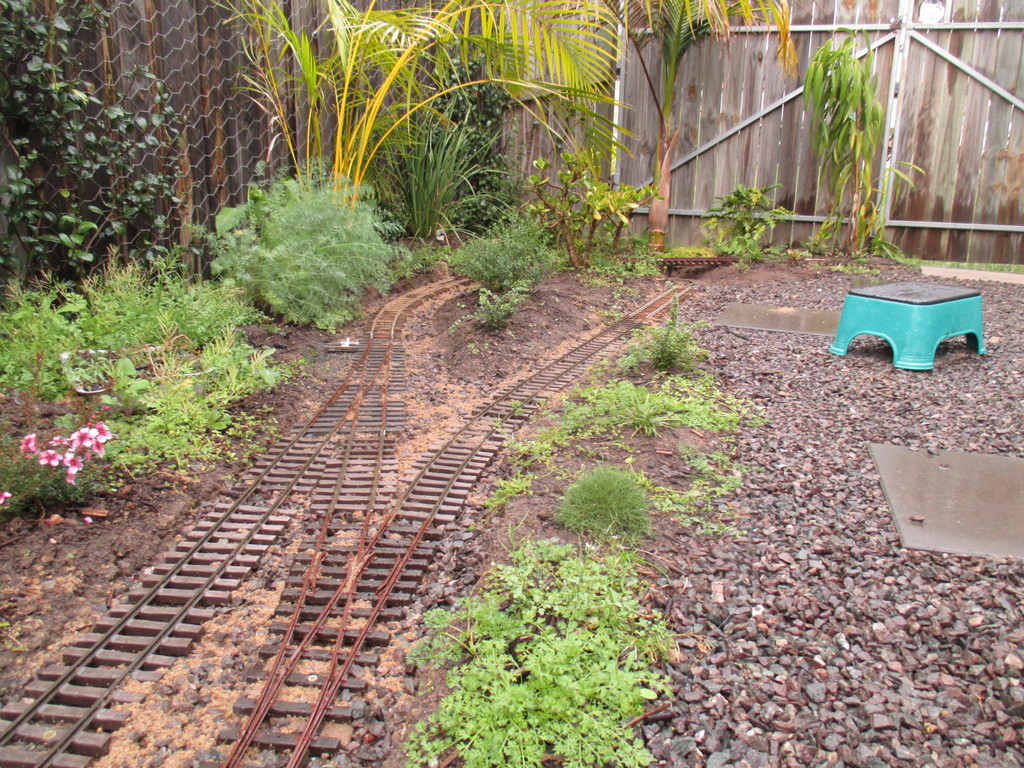
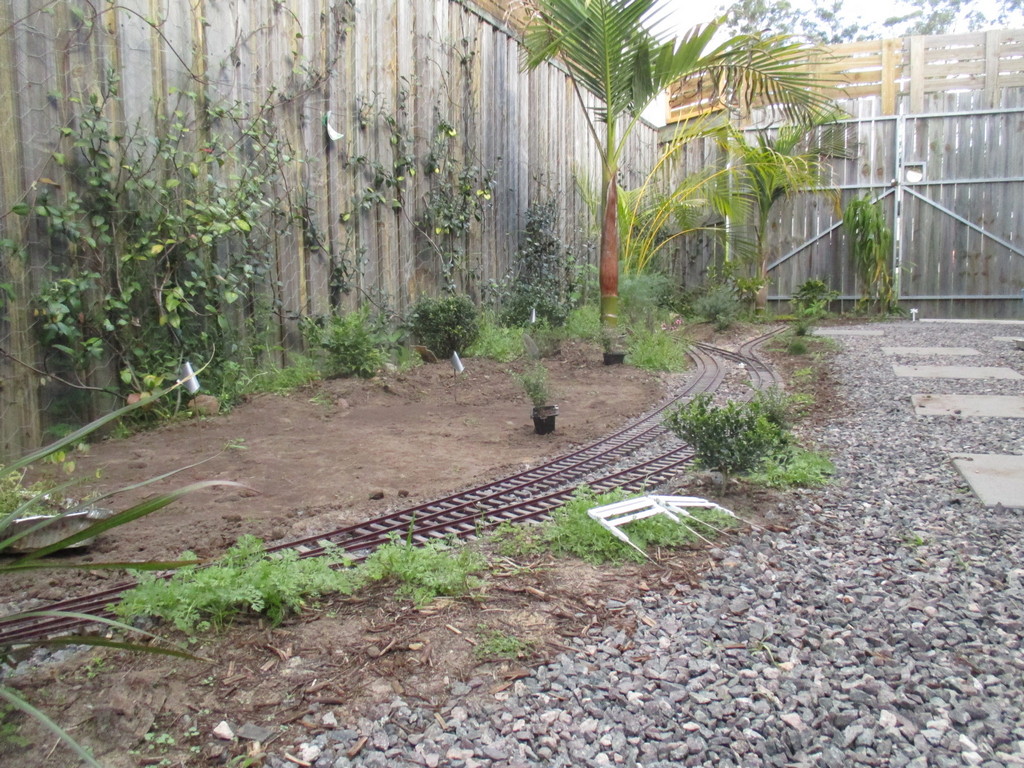
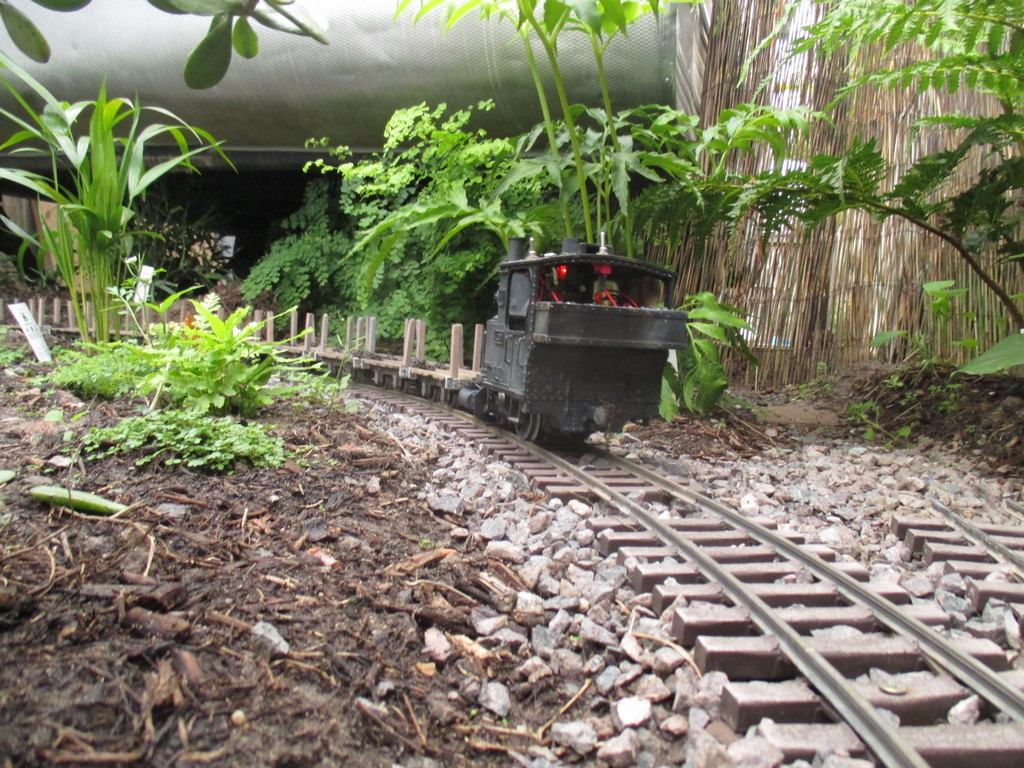
Another few yards are down, allowing for the first train on the tramway. The trucks were thoroughly tested at all speeds, pushed and pulled in both directions, loaded and empty, etc etc. Only problems were from some of the permanently-link-coupled trucks, (because they don't like being pushed) and the odd cane load snagging on weeds, which were subsequently trimmed.
The line to mid-right will be laid as part of
Stage Two.
28/07/20
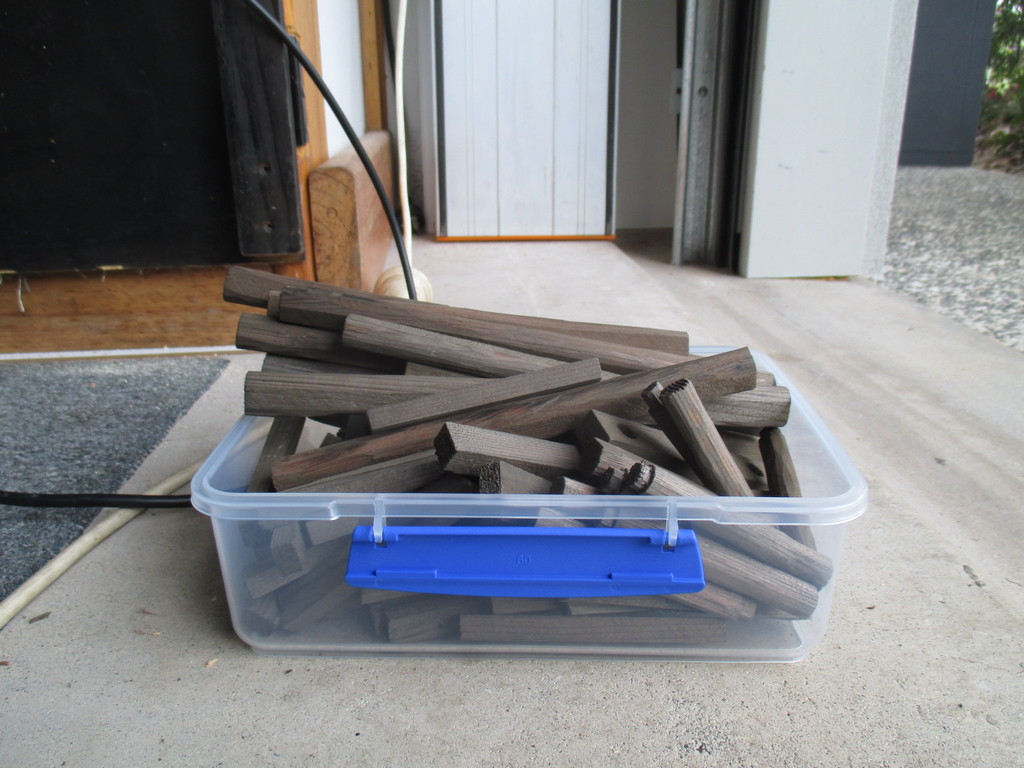
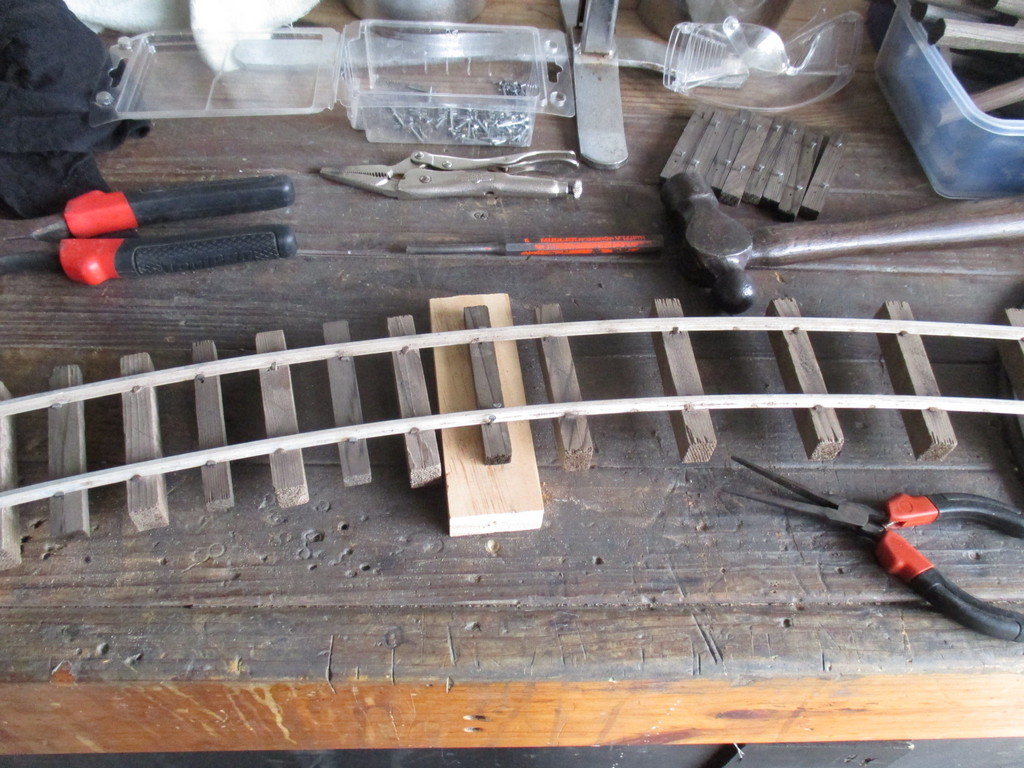
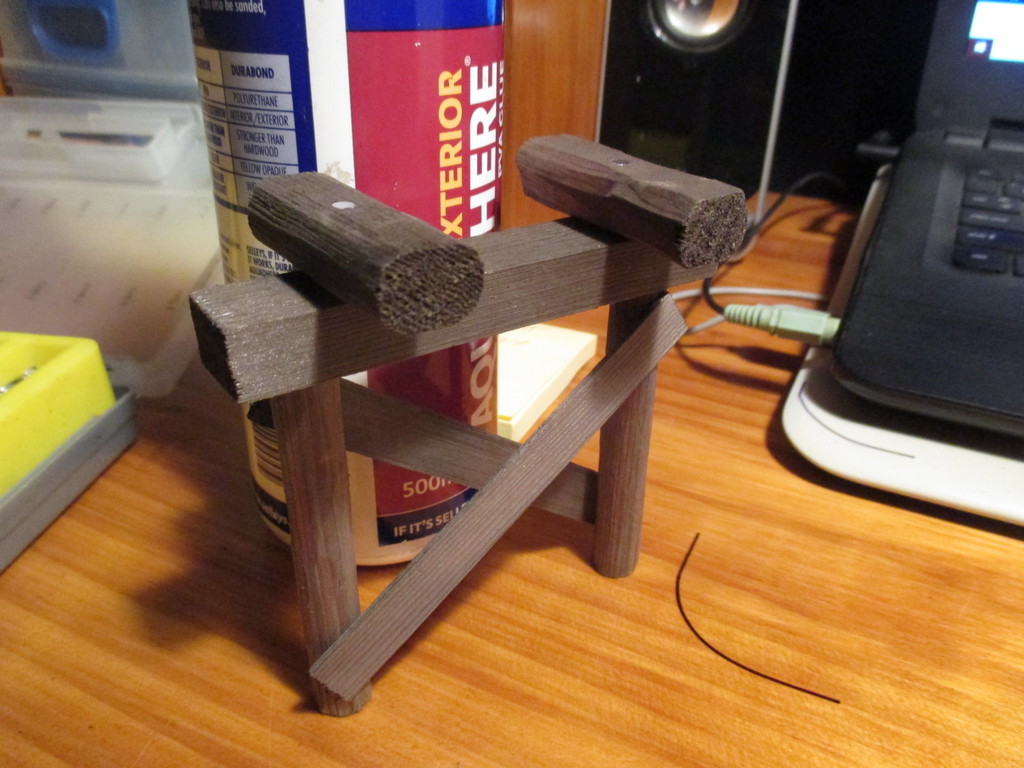
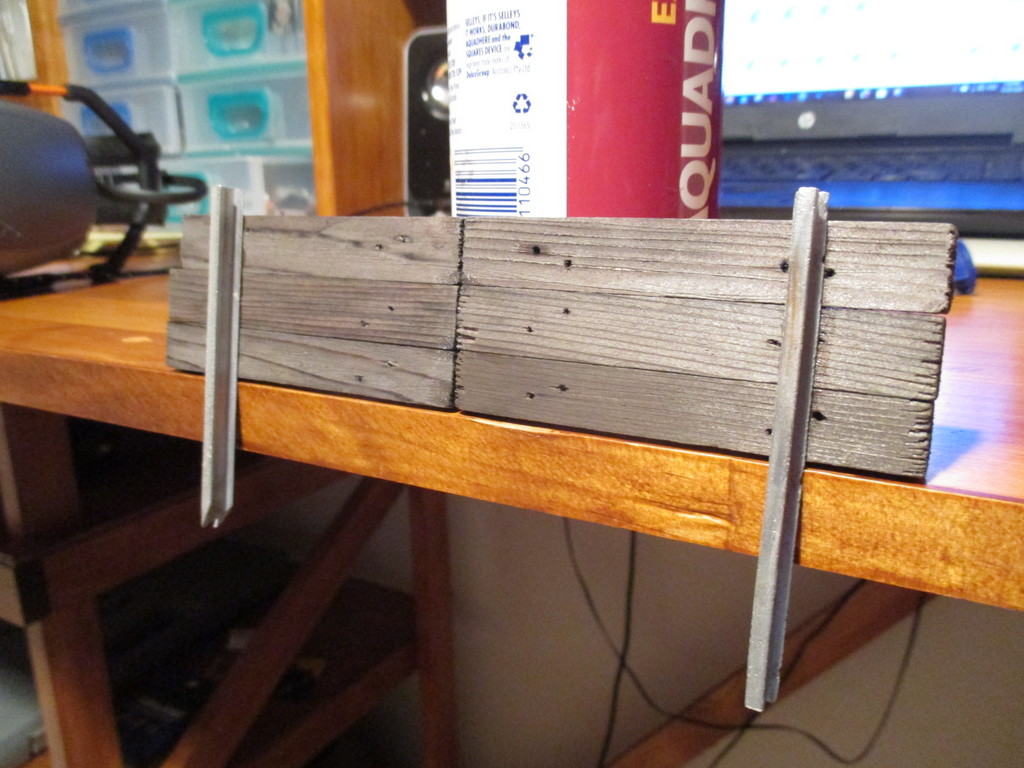
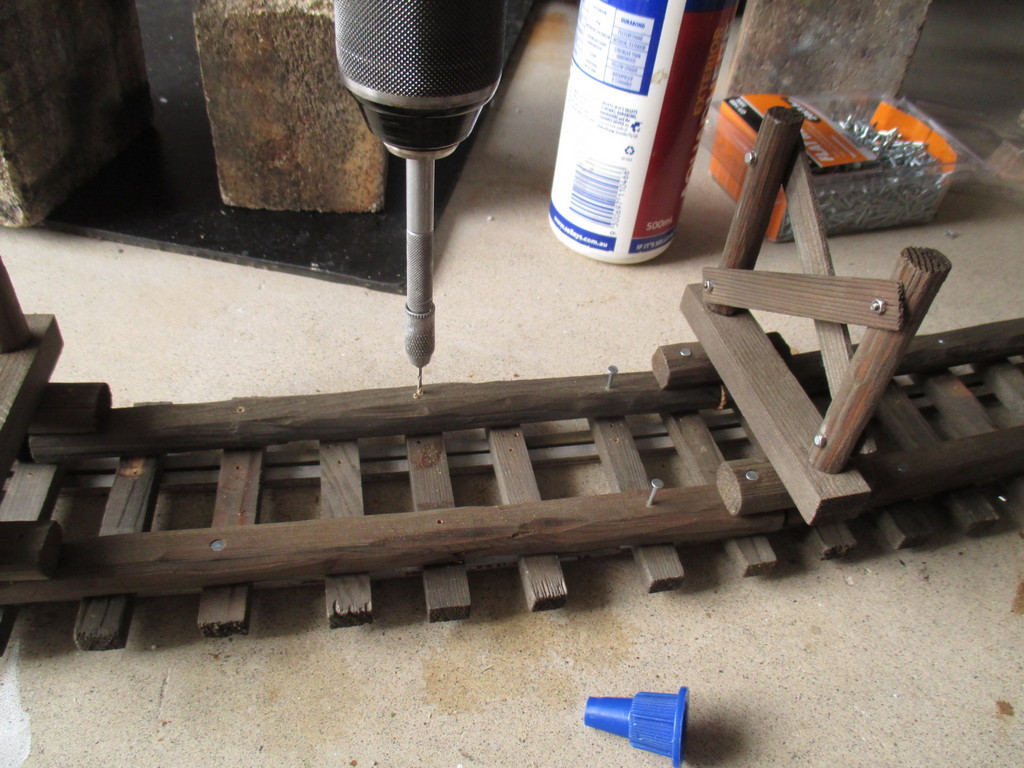
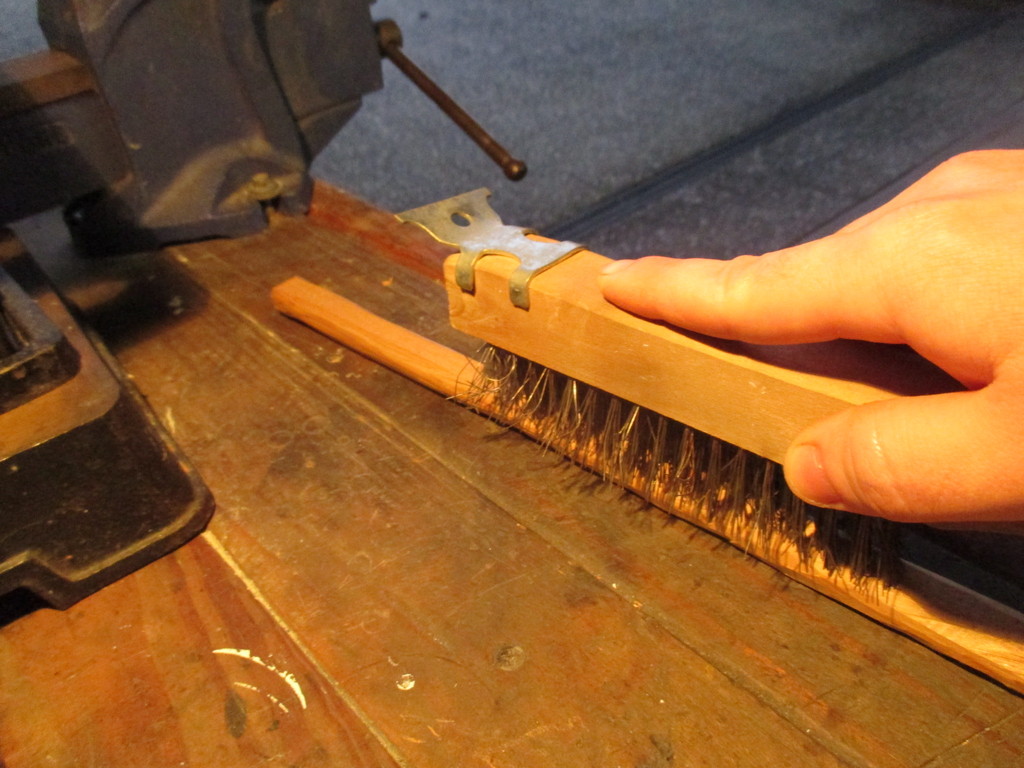
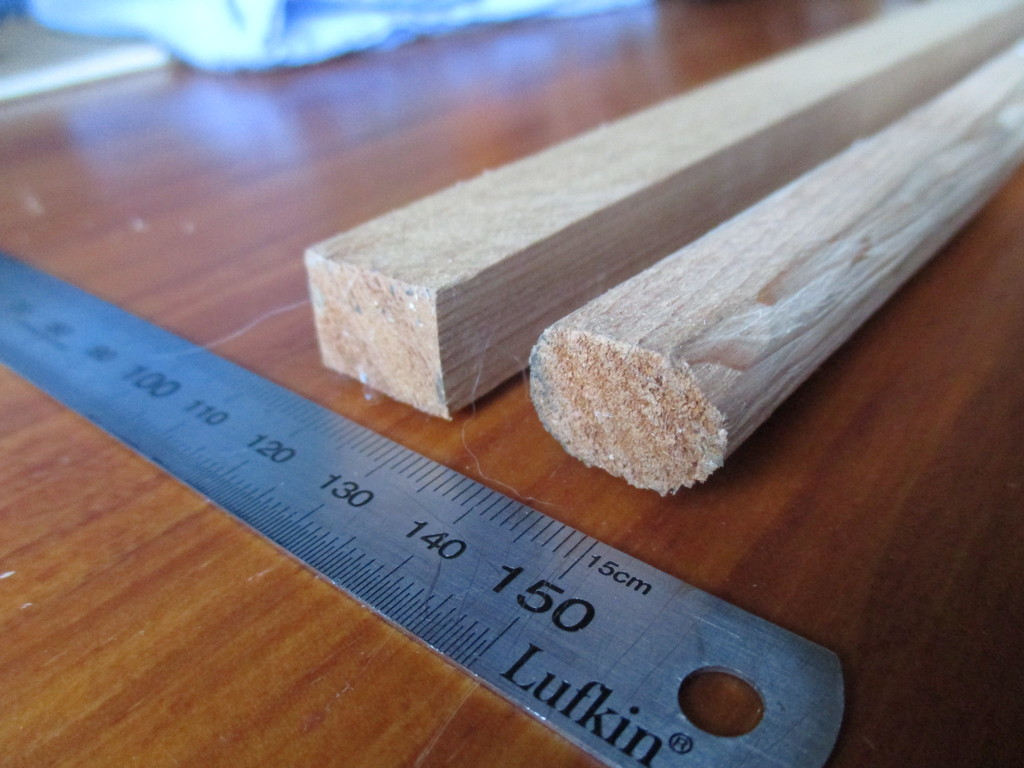
The bridge in the Southeastern corner of the yard will be built from cedar. When I built the handlaid track some years ago, I set aside a bundle of sticks ripped down from cedar planks, for use as point and bridge timbers. The term for of milling both sides of a log, so it doesn't roll away, is unknown to me, so unless anyone knows the correct term for it, I'll just call them "paralleled" logs. A pair of sticks had two sides each, whittled down to look like "paralleled" logs. Whittling's rather enjoyable, though I don't see myself carving anything more than miniature logs..

A scale grain effect was added with a wire brush.
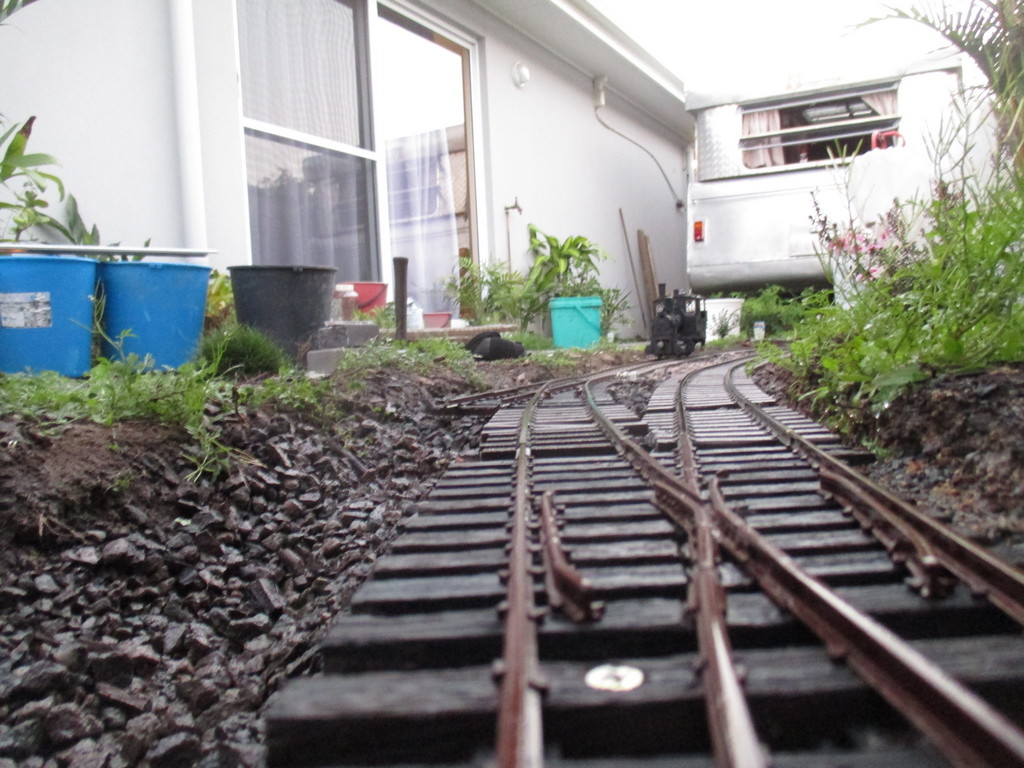
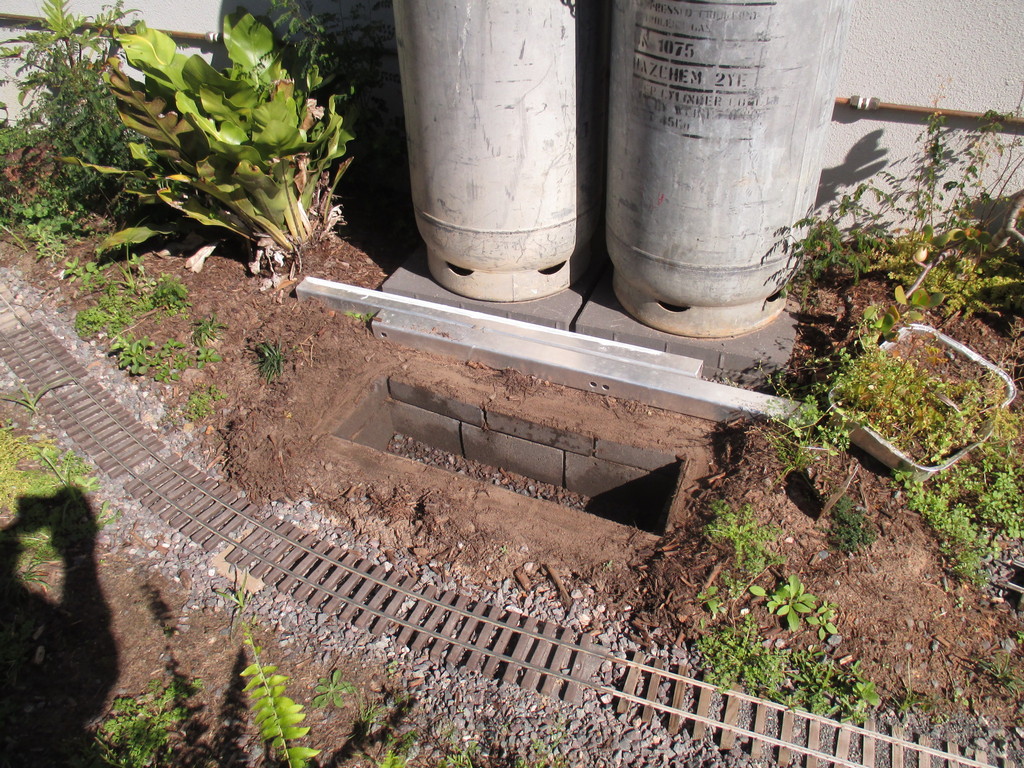
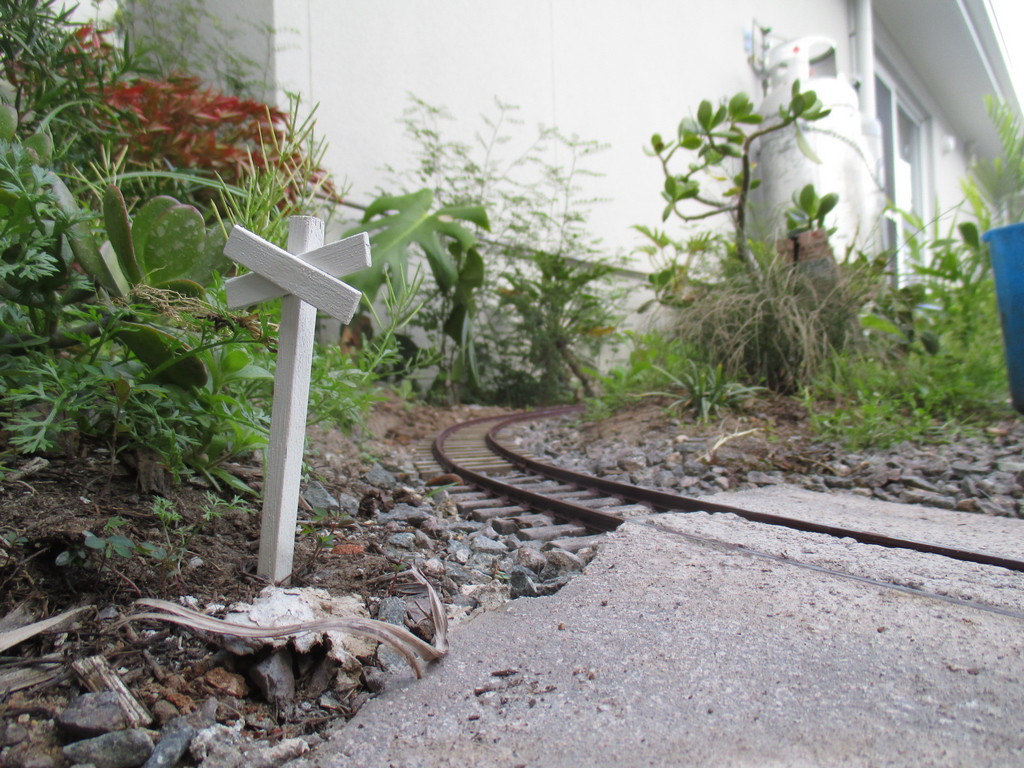
30/07/20
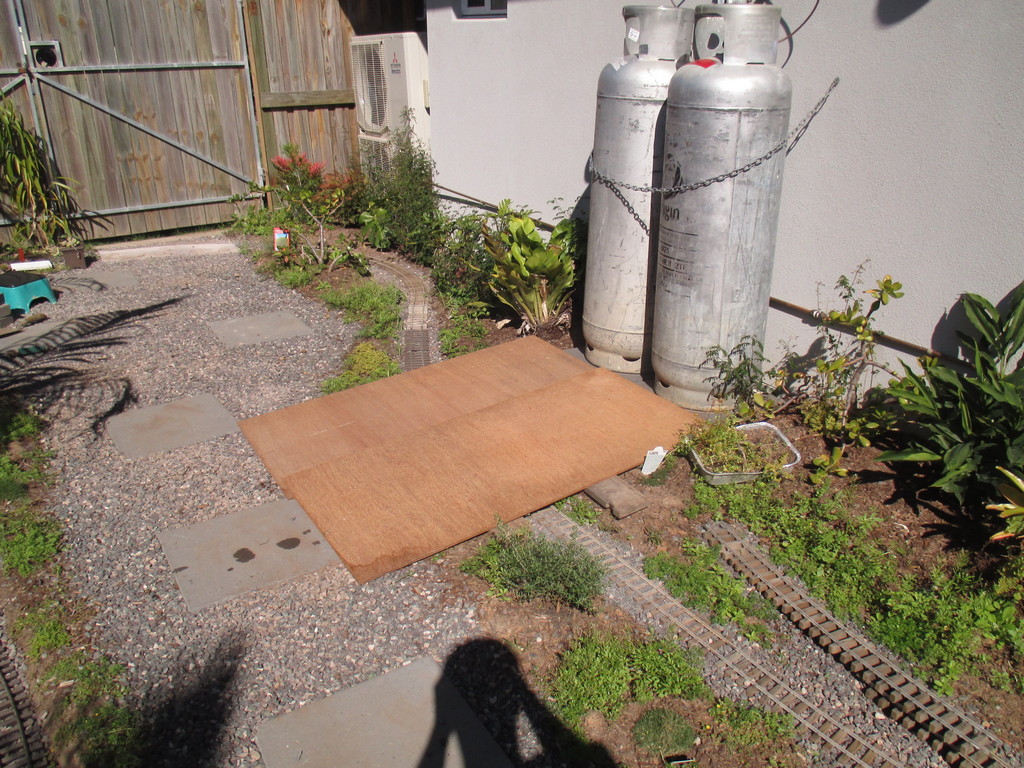
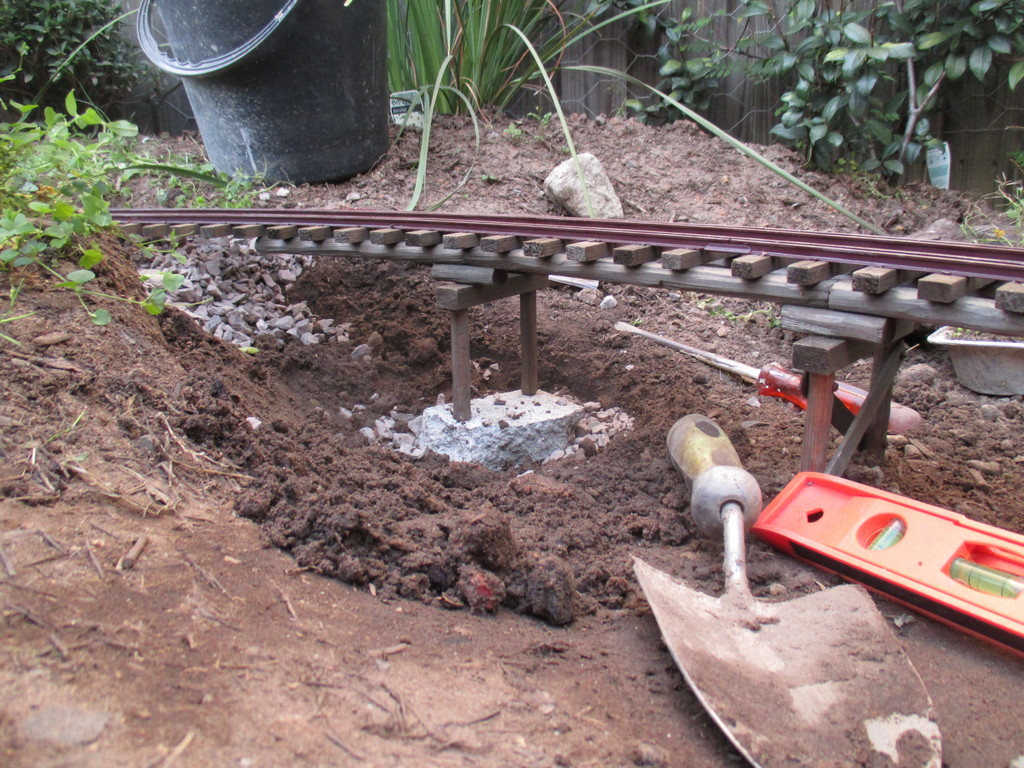
One of the gas bottles is about empty, so I switched to the other bottle, and we'll have to order a replacement for the first, soon. In readiness for that, the crossings have all been concreted. In the initial batch of concrete, I used leftover gravel from the pathway, which was unsurprisingly too coarse for use between the rails. That was dumped elsewhere as fill, and a new batch mixed using crusher dust instead. The first crossing turned out very nicely. We'll see how it holds up once cured..
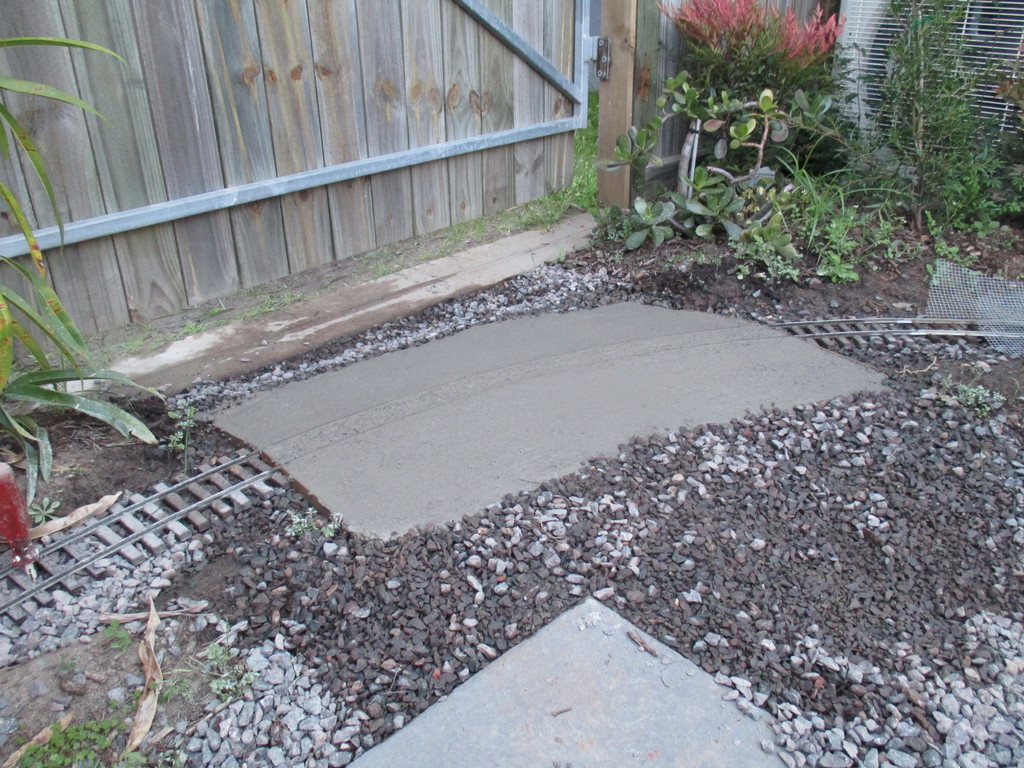
The second was awful. A new batch was mixed each time, and for whatever reason, this was the best surface finish I could manage.
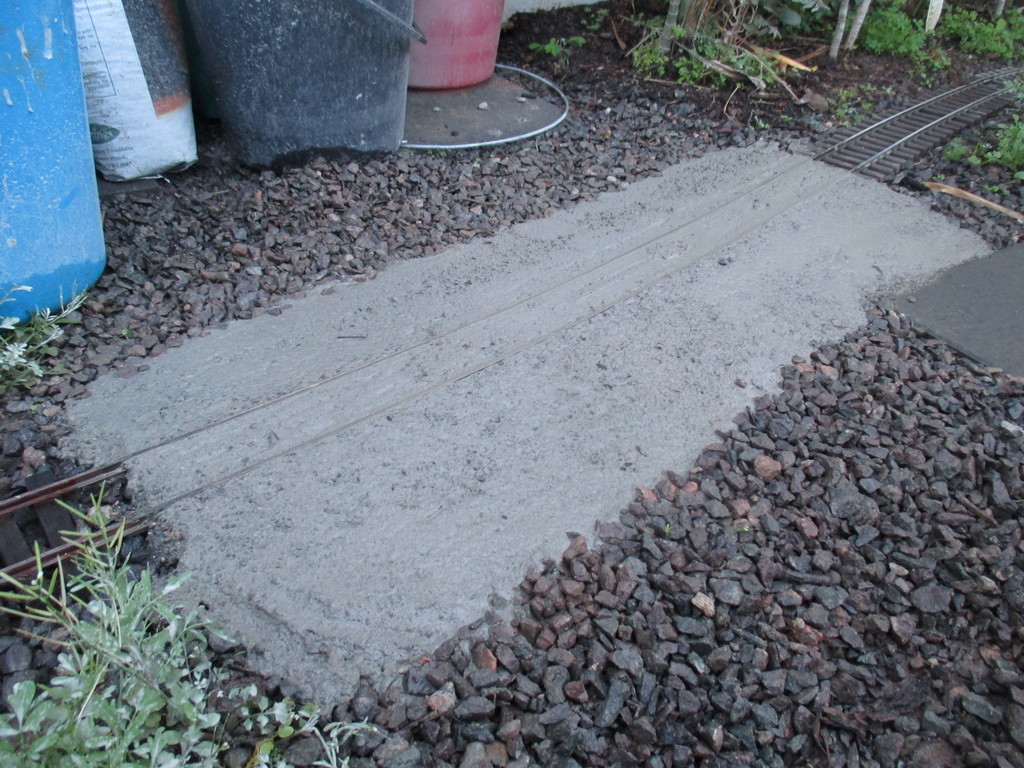
- IMG_7611.JPG (300.62 KiB) Viewed 4163 times
The third came out somewhat better.

- IMG_7612.JPG (283.97 KiB) Viewed 4163 times
31/07/20
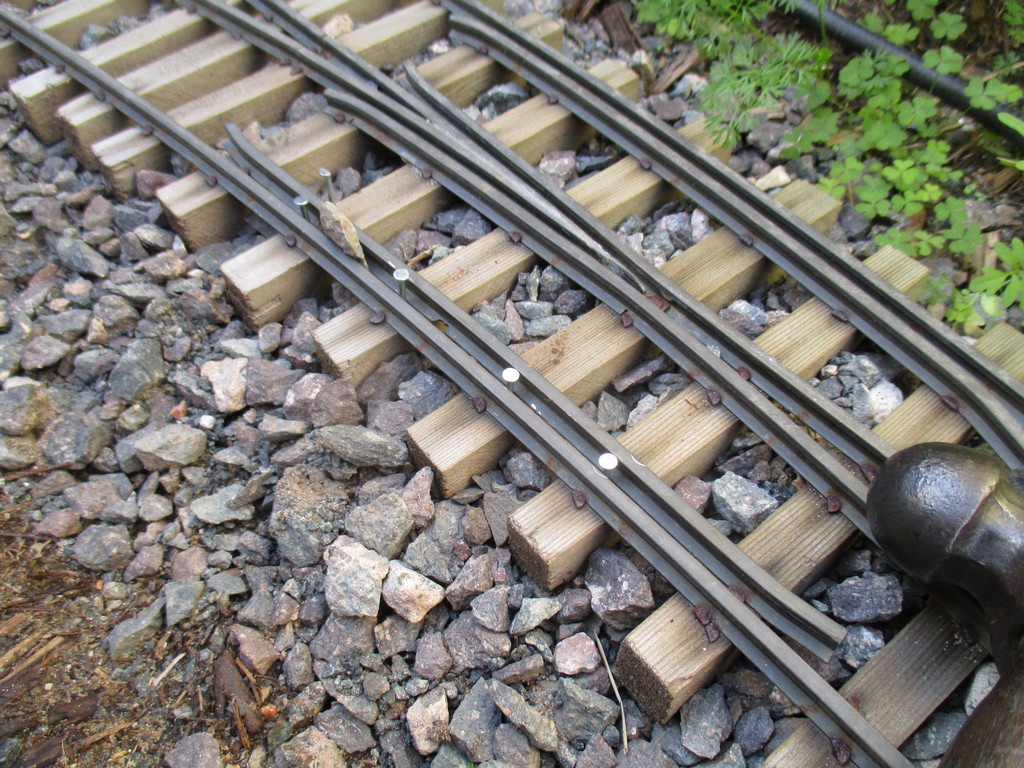
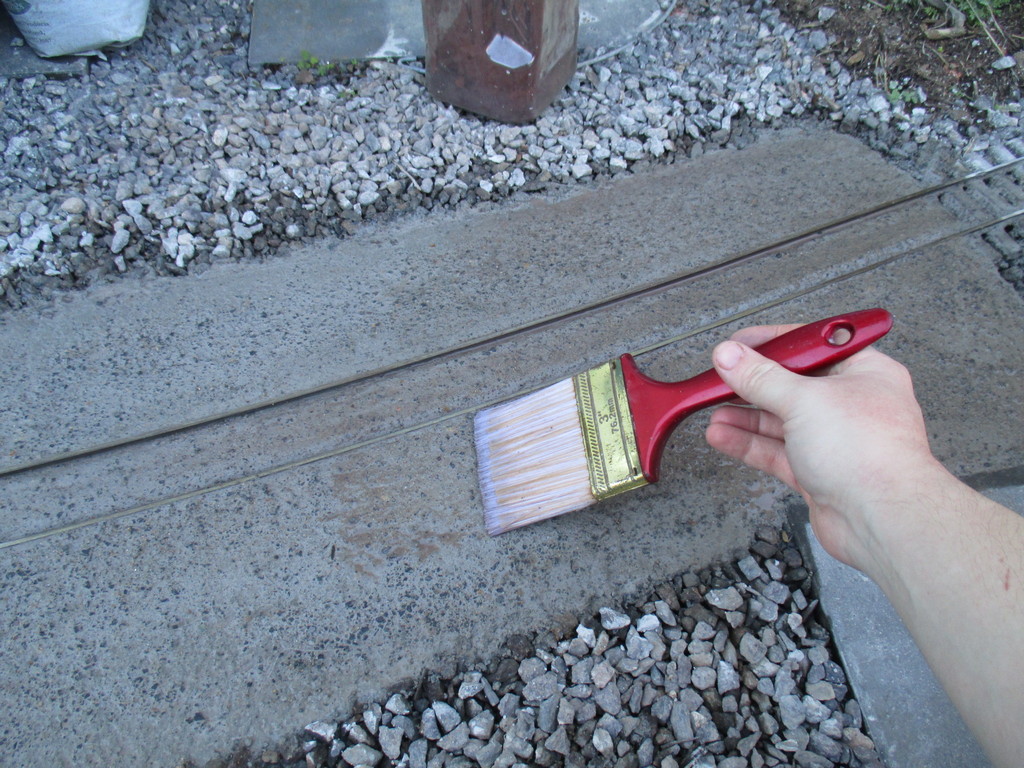
Once the crossings had turned "green", flangeways were carved with a screwdriver. The edges of each crossing were straightened, and the surfaces of the second two smoothed, somewhat. During mixing, I'd forgotten to add some brown oxide to tone down the starkness, so I thought I'd try mixing some oxide with water and brushed it over the partially-set concrete. Weather or not that works, remains to be seen.
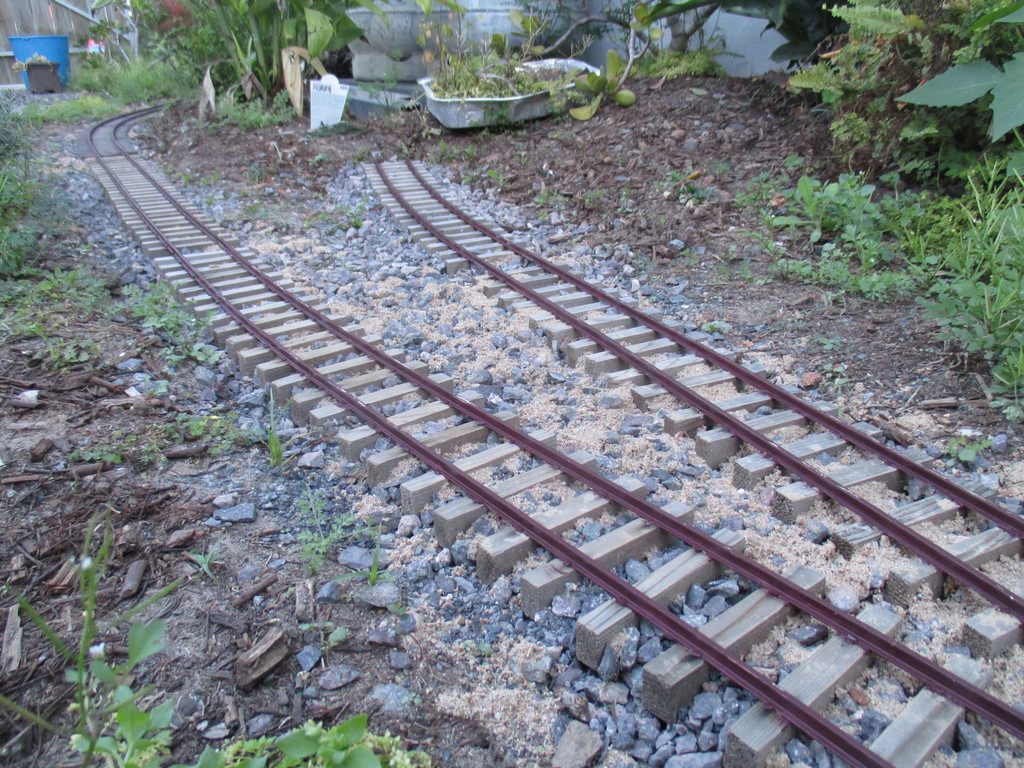
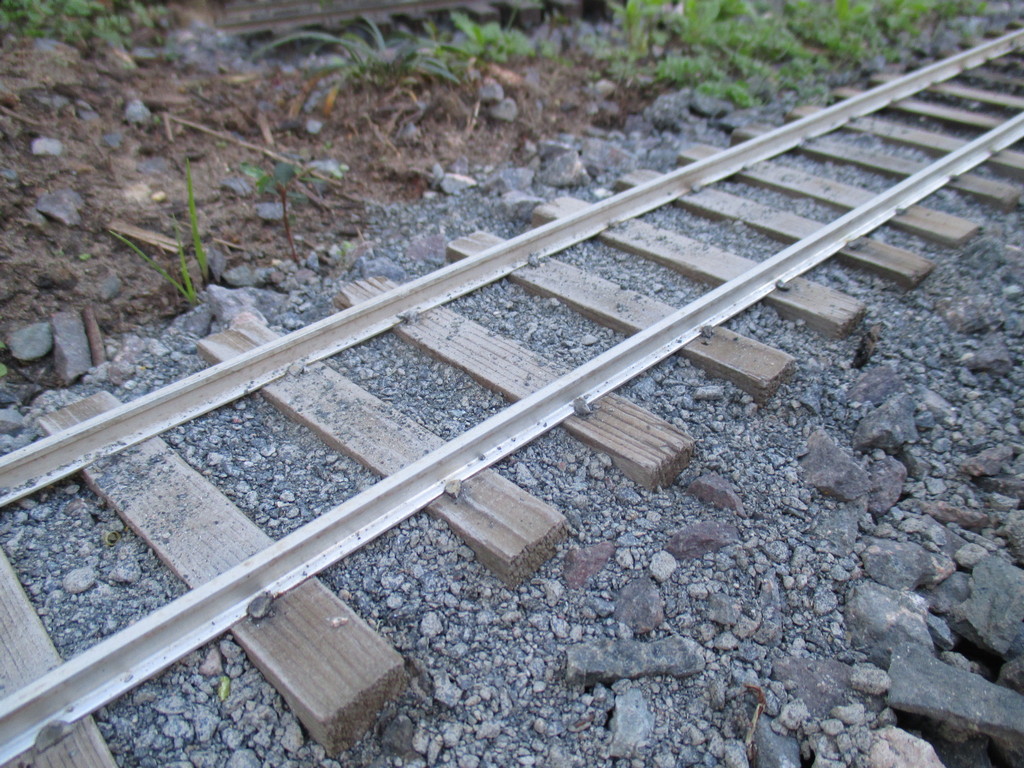
Just to see how it looks, some crusher dust was spread over a short section. Looks great, but certainly too well-maintained in appearance. Will pack this lot down a bit, paint the rails, then apply the "proper" ballast mix, in time.
01/08/20
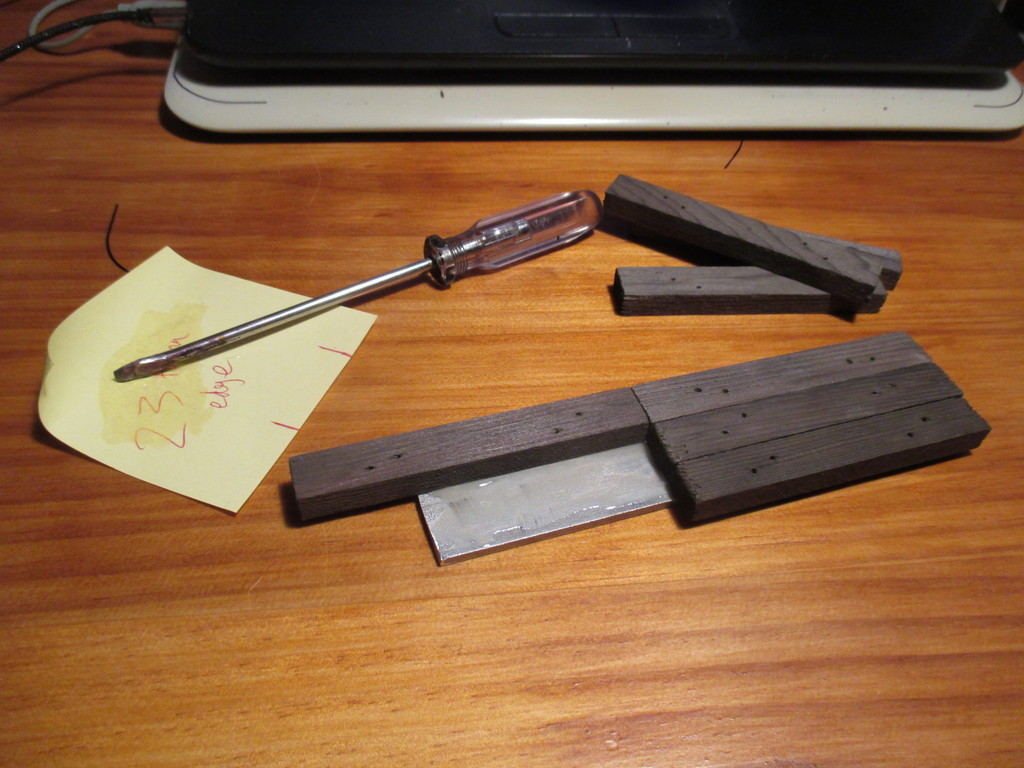
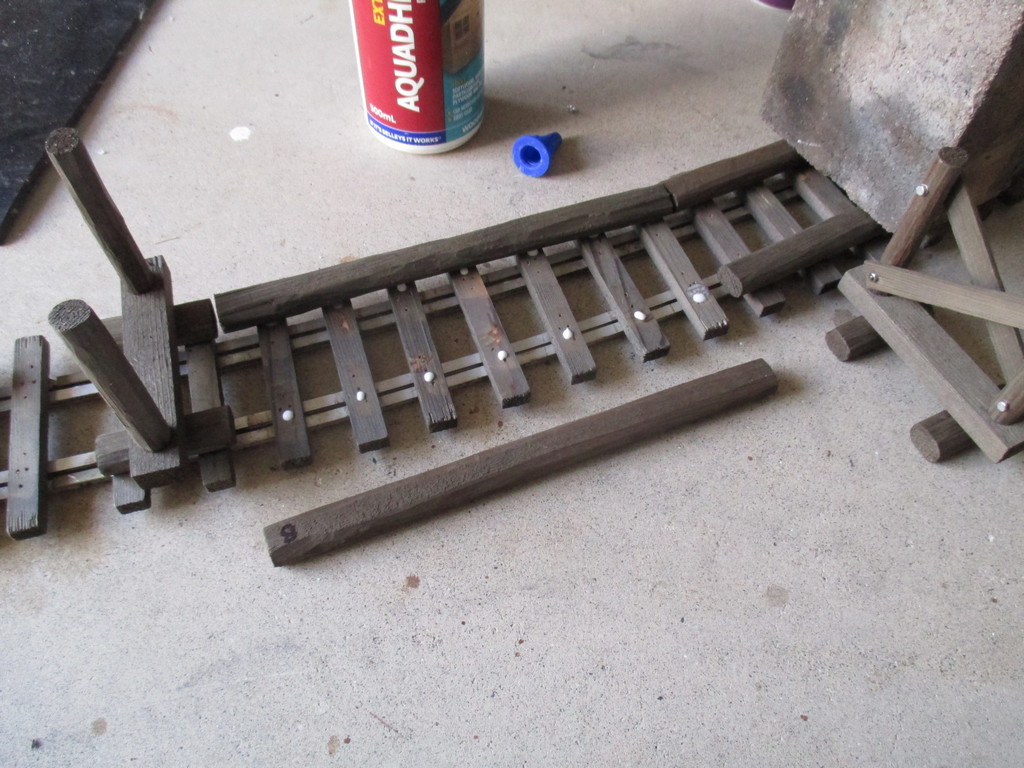
The remaining bridge parts have been made, and the stringers cut down to suit the curve where the bridge is to be assembled. Pre-weathering the components with the vinegar and steel wool method. In the past however, I've found that not all types of wood are affected by the treatment. Another pre-treatment deals with this - soak the parts in tea, and allow to fully dry, prior to the vinegar bath. Whilst I have stained cedar with the vinegar method, I don't remember weather it needs the tea or not. Easy enough just to do it anyway. Might throw the parts in vinegar/rust tomorrow.

Regards,
Aaron