Hi guys,
I know not posted on my thread for some months, same old story like most of us...

Anyway I received a Christmas present, a IP Engineering Footbridge..

..

so when did I Start this build, it was about the 4th of January..

It could have been worse, that's pretty good for me.
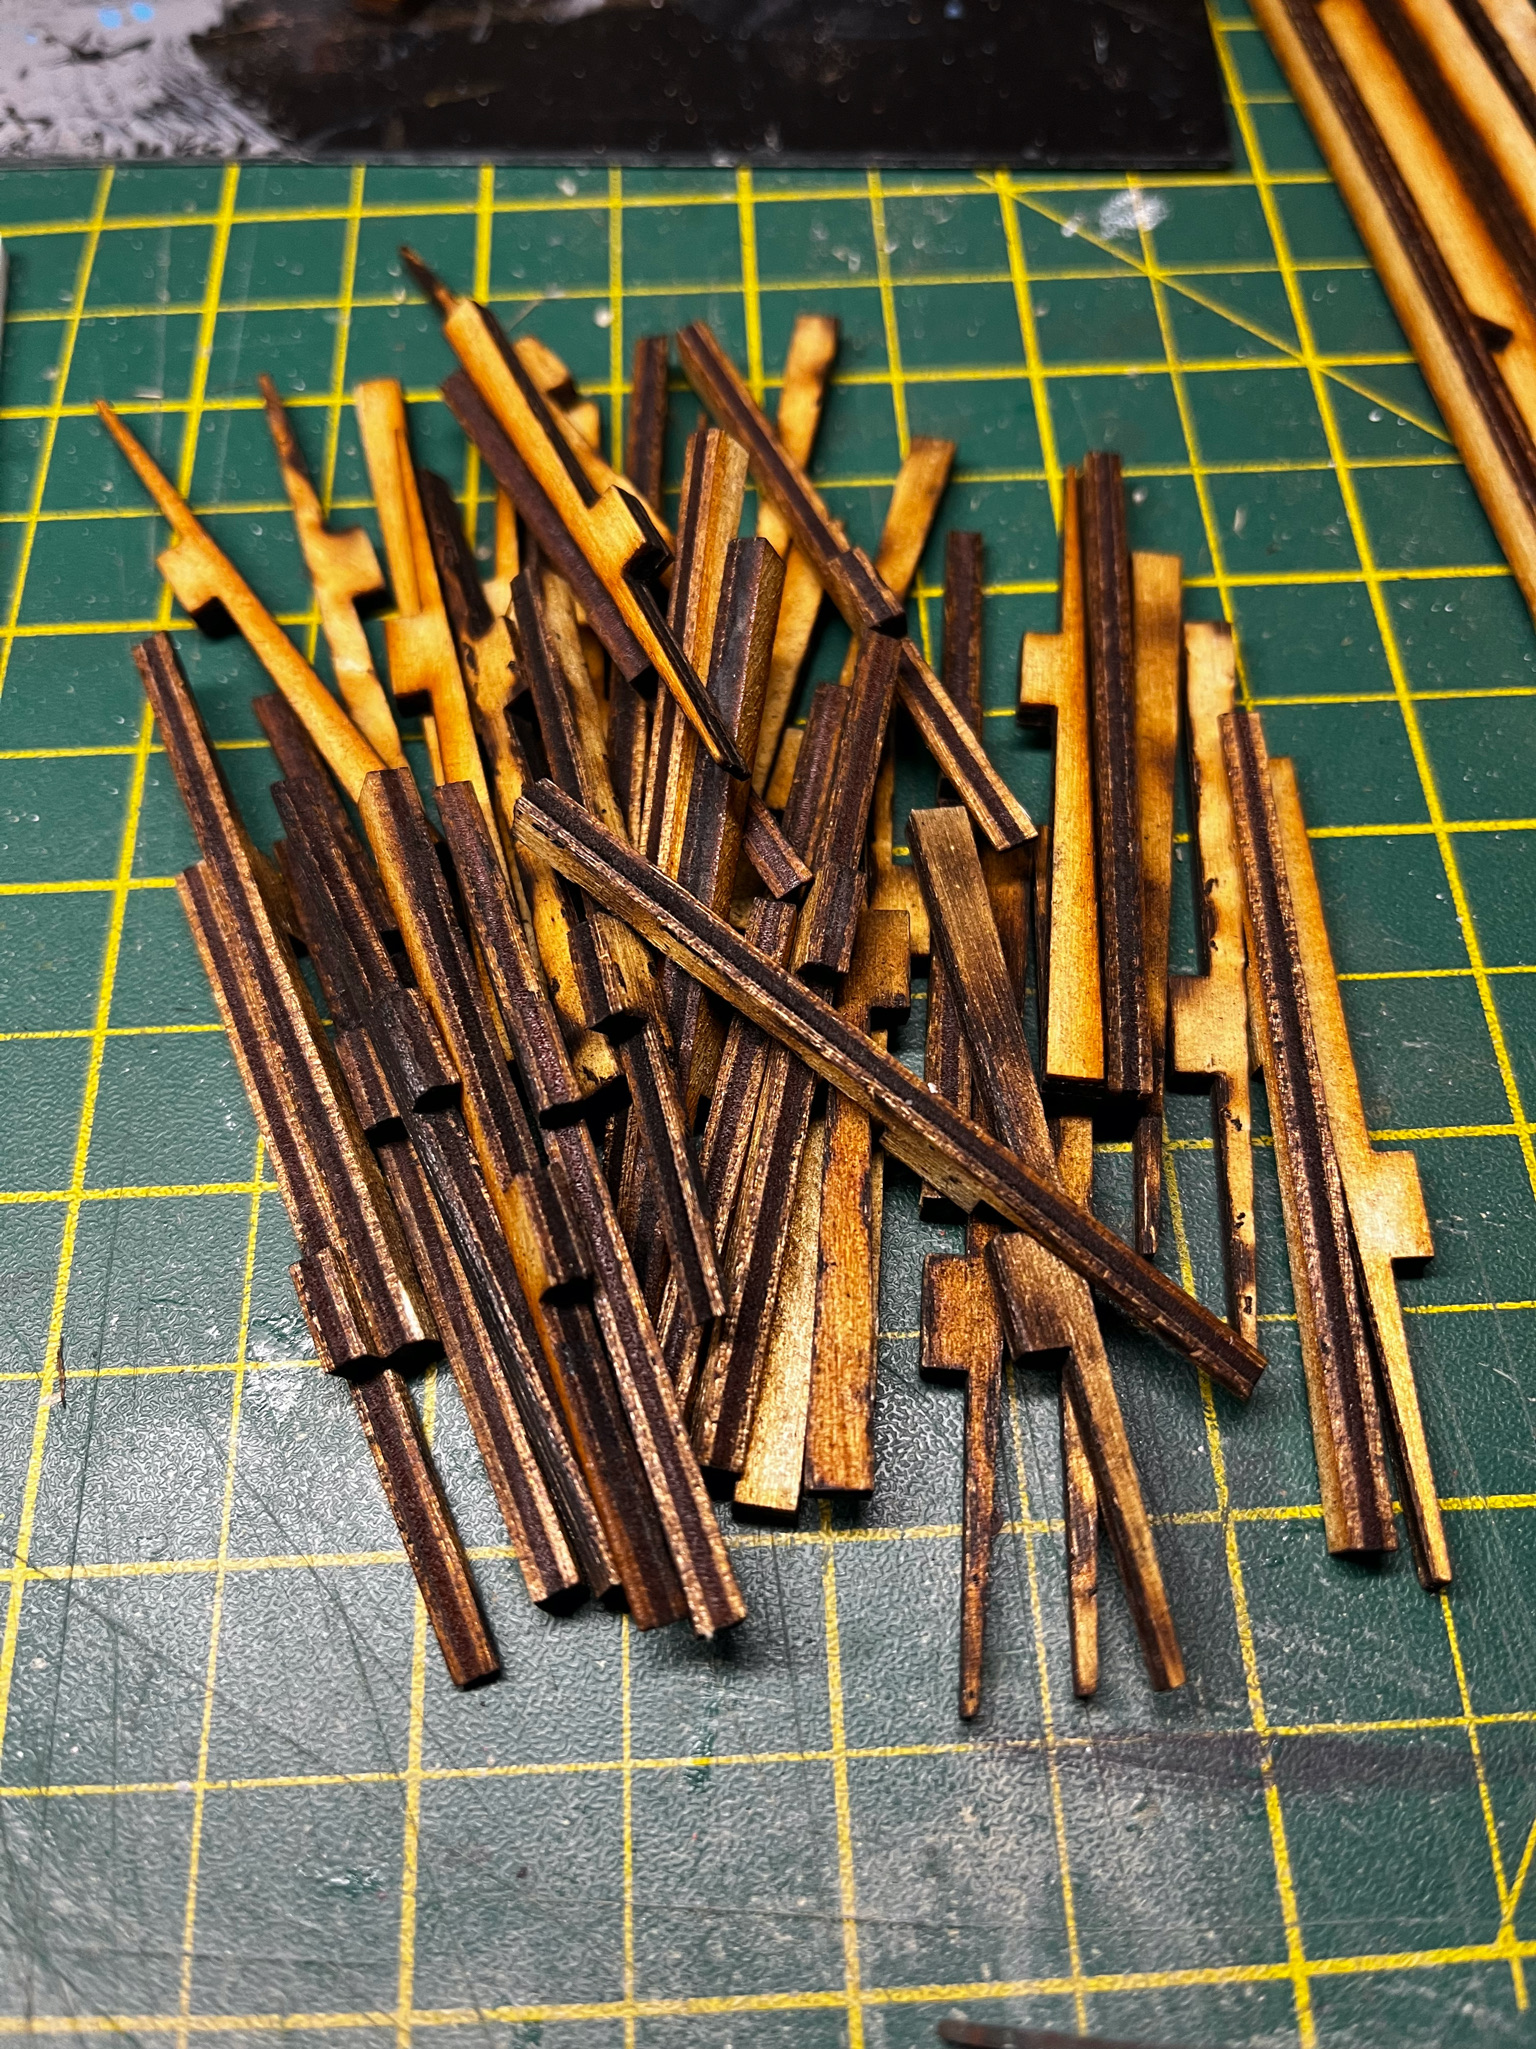
Anyway on to the build. After I opened the box I saw a lot of parts, a lot more than I usually get when I build a kit from someone and there were loads I can tell you. I laid them out, sorry I didn't take a photo of all the parts, read the instructions which were ok but they could have been a lot better, if someone with not to much experience of kit building would struggle I think.
Some of the parts..
- 9EF5F36F-53DF-4D33-9F9D-A2D3A9879556.jpg (1.72 MiB) Viewed 882 times
I started with the steps...Which took some holding straight, I did in the end just do one at a time with my 90deg angle and some small clamps up against them until they went off a bit which didn't take any time at all, but it did take a few days to do both of them because when I came to put the other side on, you guessed it, they were leaning, so it took a little bit of jiggling to get they on with a small toffee hammer just to persuade them ...
I am so sorry guys, I thought I had took a couple photos of the steps, but it seems I didn't..
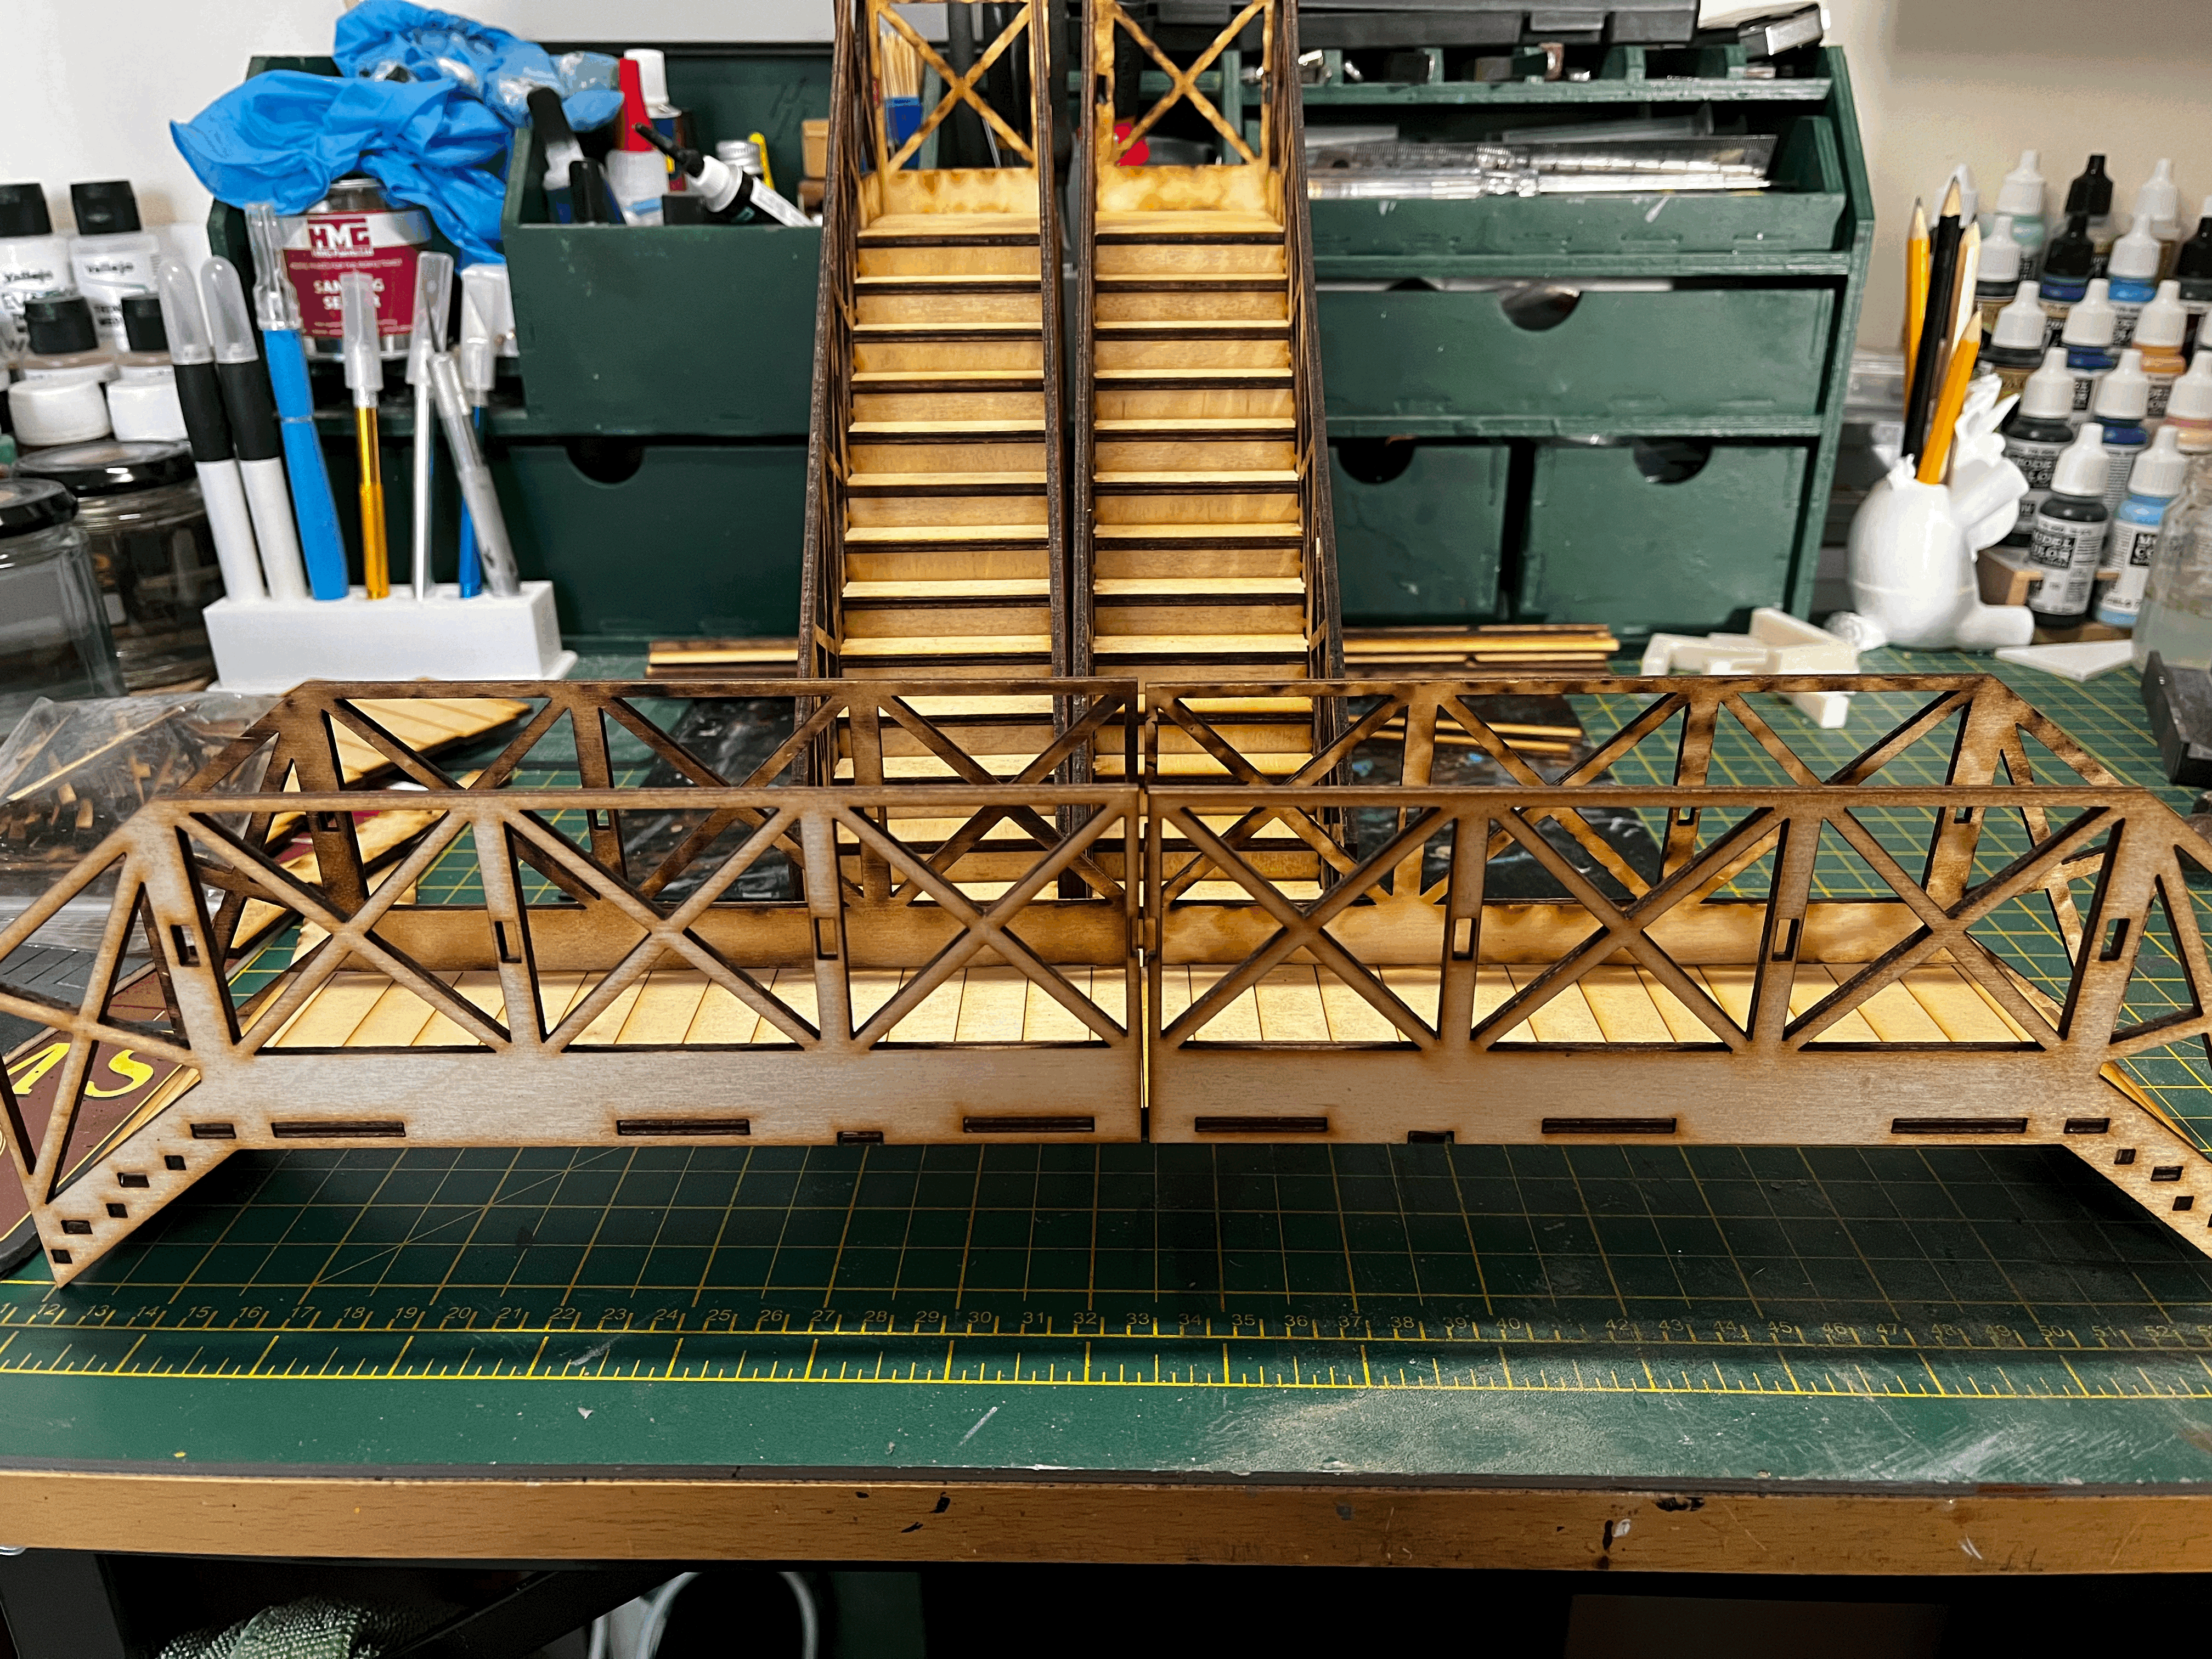
Next was the walkway, this in it self was a little
so and
so to line up. It was the same as the steps but not has bad. There is a short length of board to hold them together underneath the walkway, but after putting the walkway dry onto the steps when I put it onto the bench and looked at it there was something that didn't look right with it. The short board in my mind should have been the full length of the walkway or two pieces so it didn't look like it was just bodged. I cut two more lengths on my little table bench saw and fitted them, they did make a huge difference to the appearance. Those little pieces that are in the first photo are glued to the side of the parts where the slots are.
- tempImageifpPop.gif (6.67 MiB) Viewed 882 times
Then it was the towers to glue.
Again I am so sorry about no photos...

The 5 main parts, they towers are glued to the steps..
- tempImagejpG8Pr.gif (5.5 MiB) Viewed 882 times
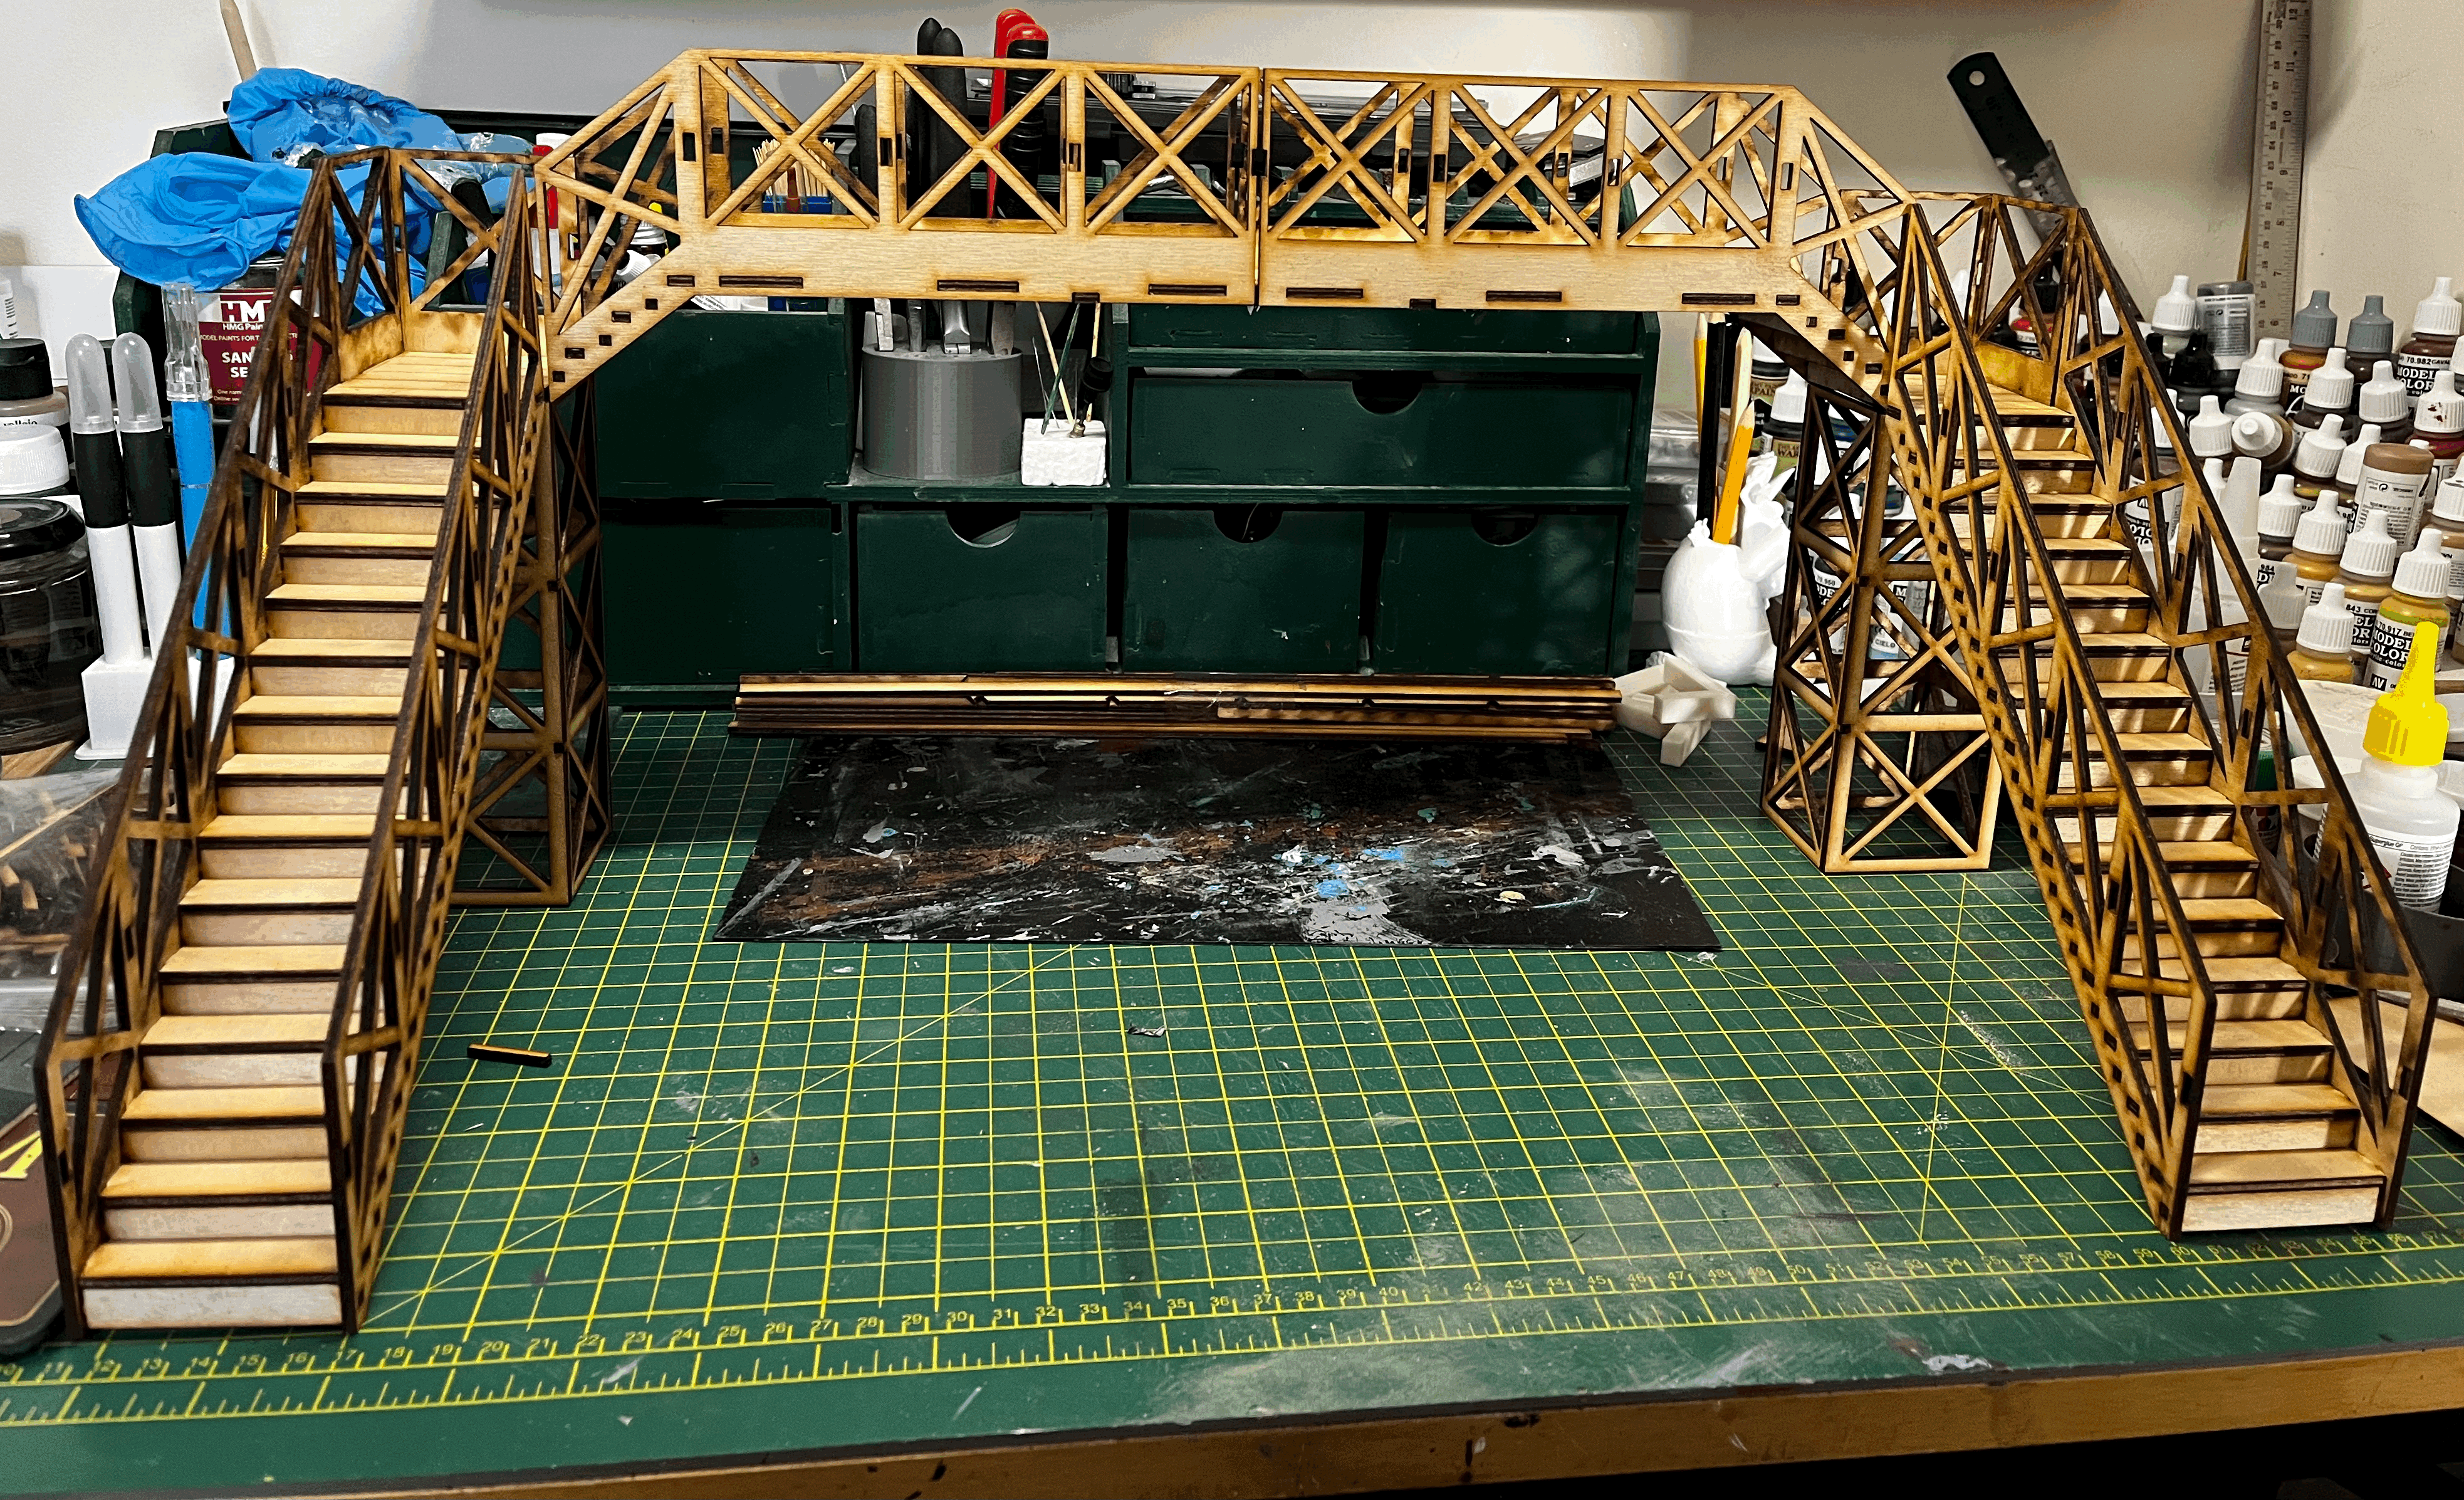
And put together dry on the bench.....
- tempImageG3fY5v.gif (4.95 MiB) Viewed 882 times
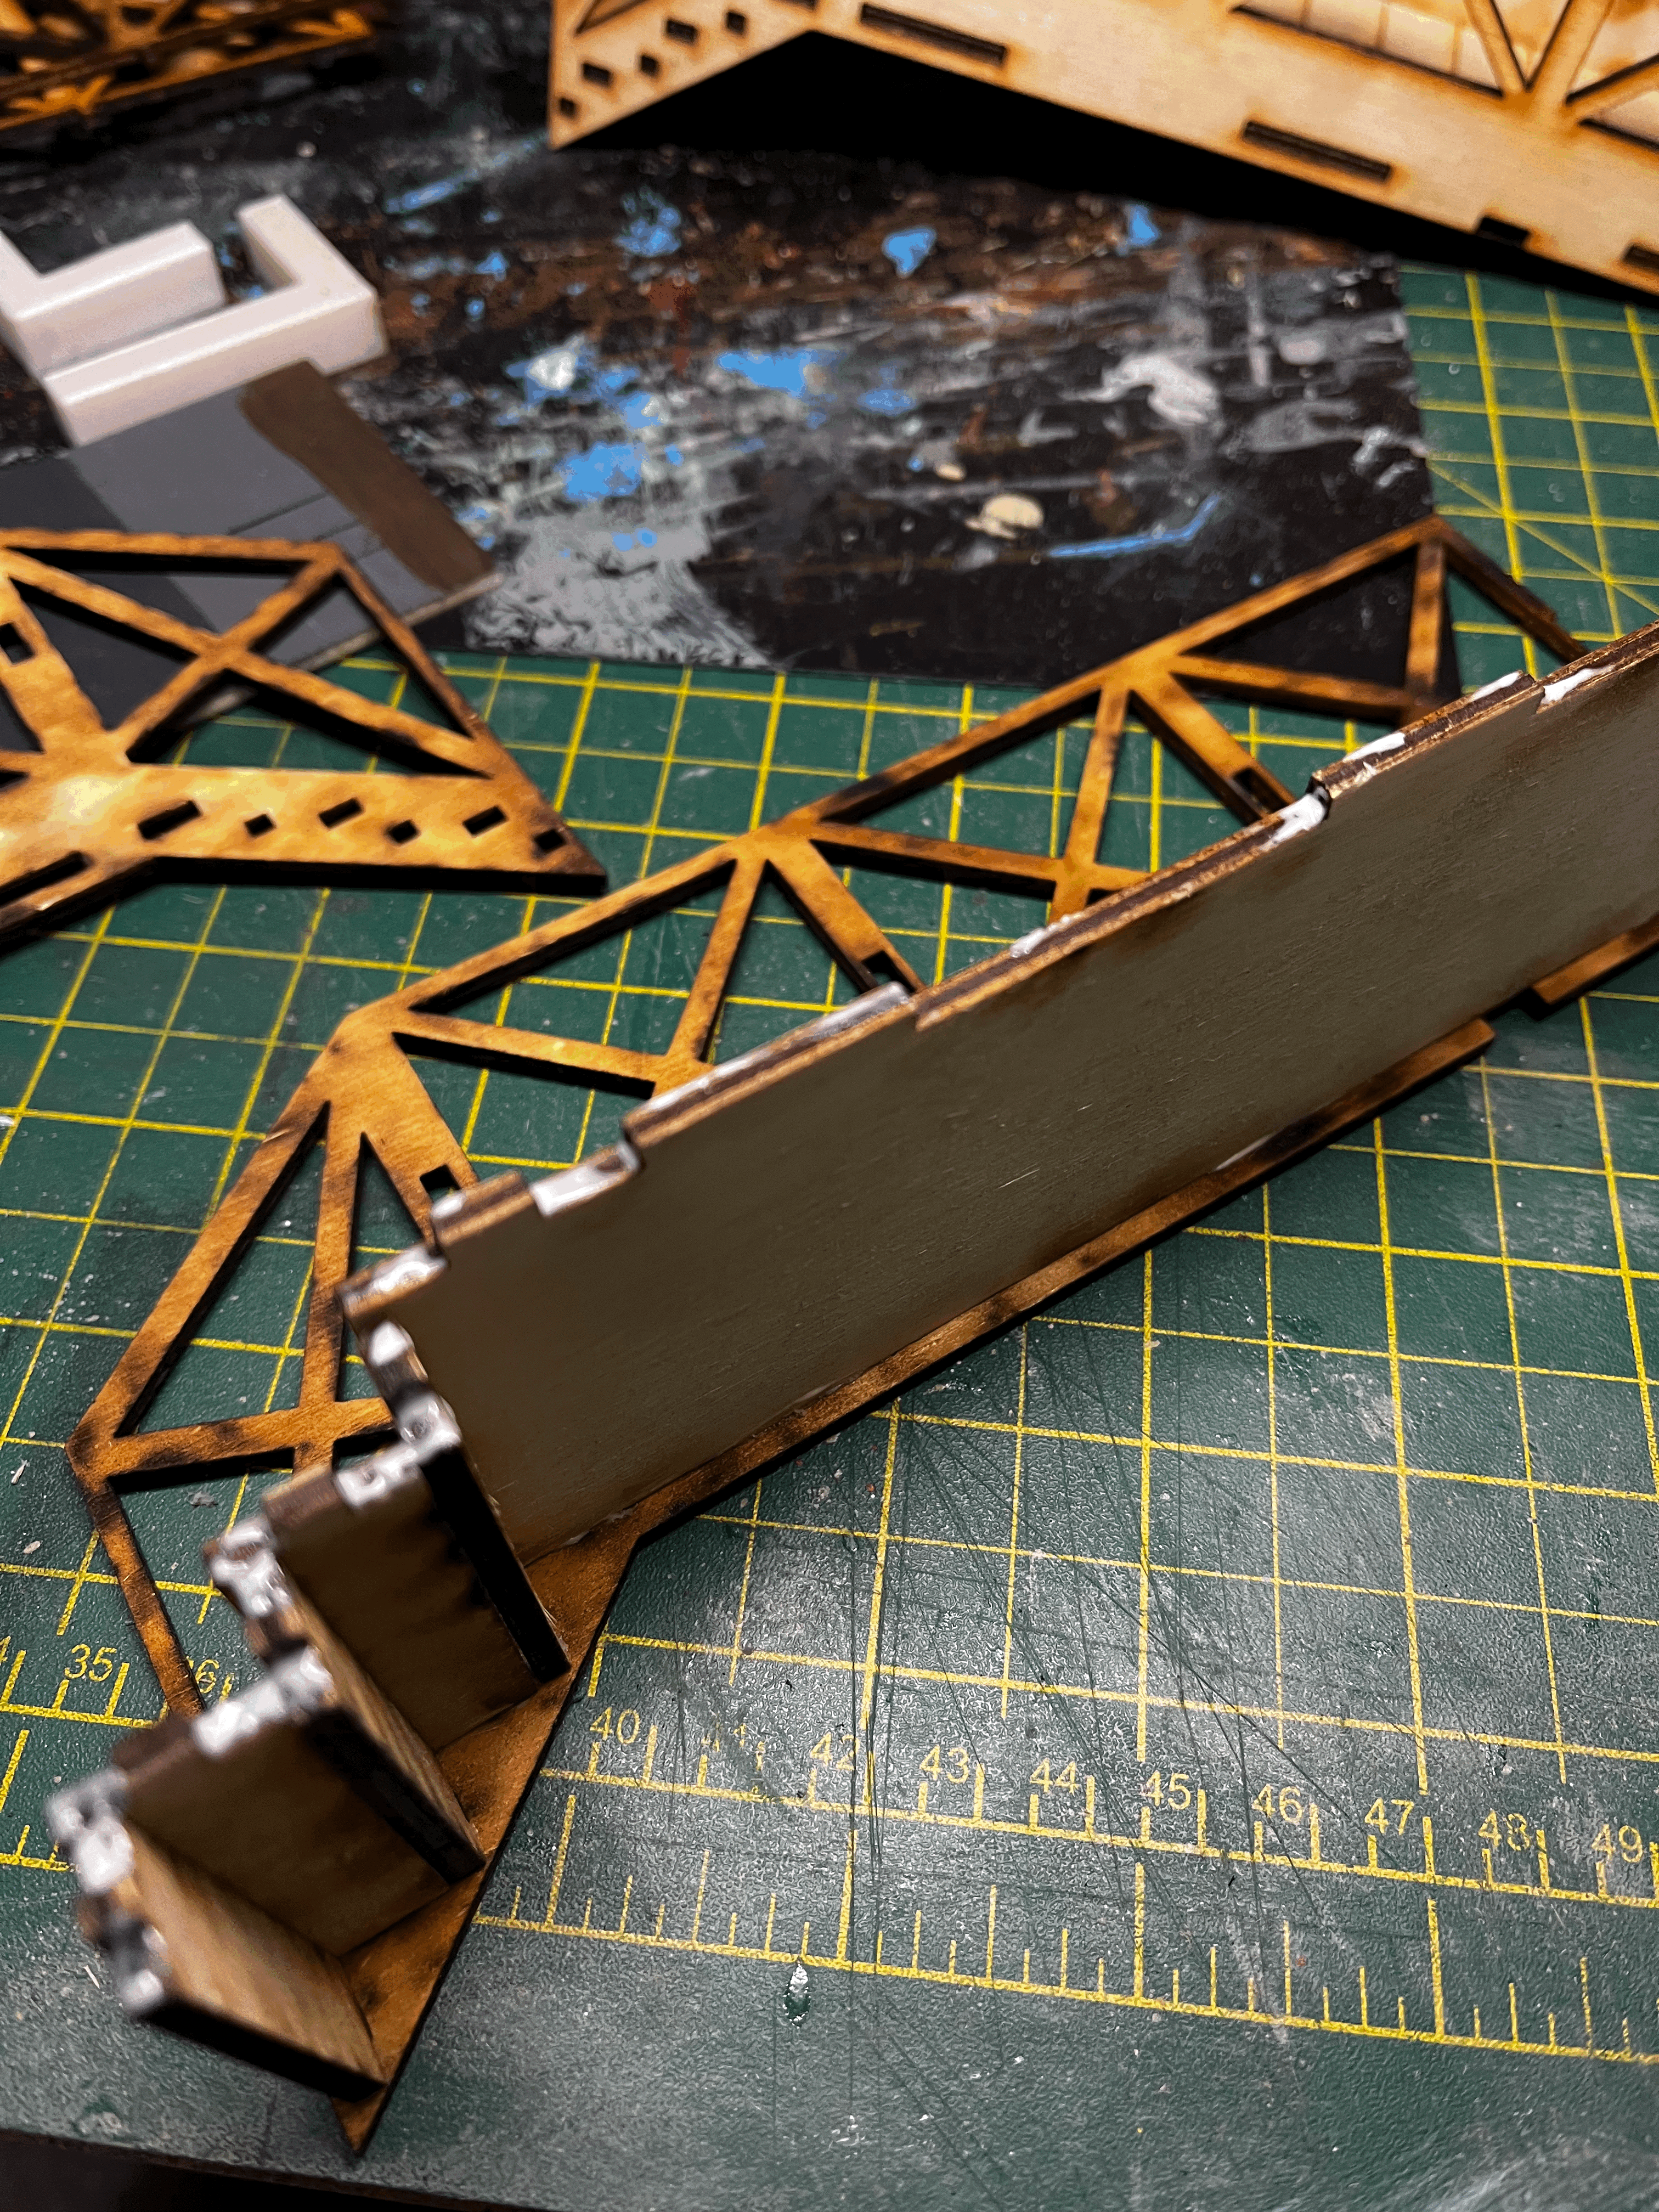
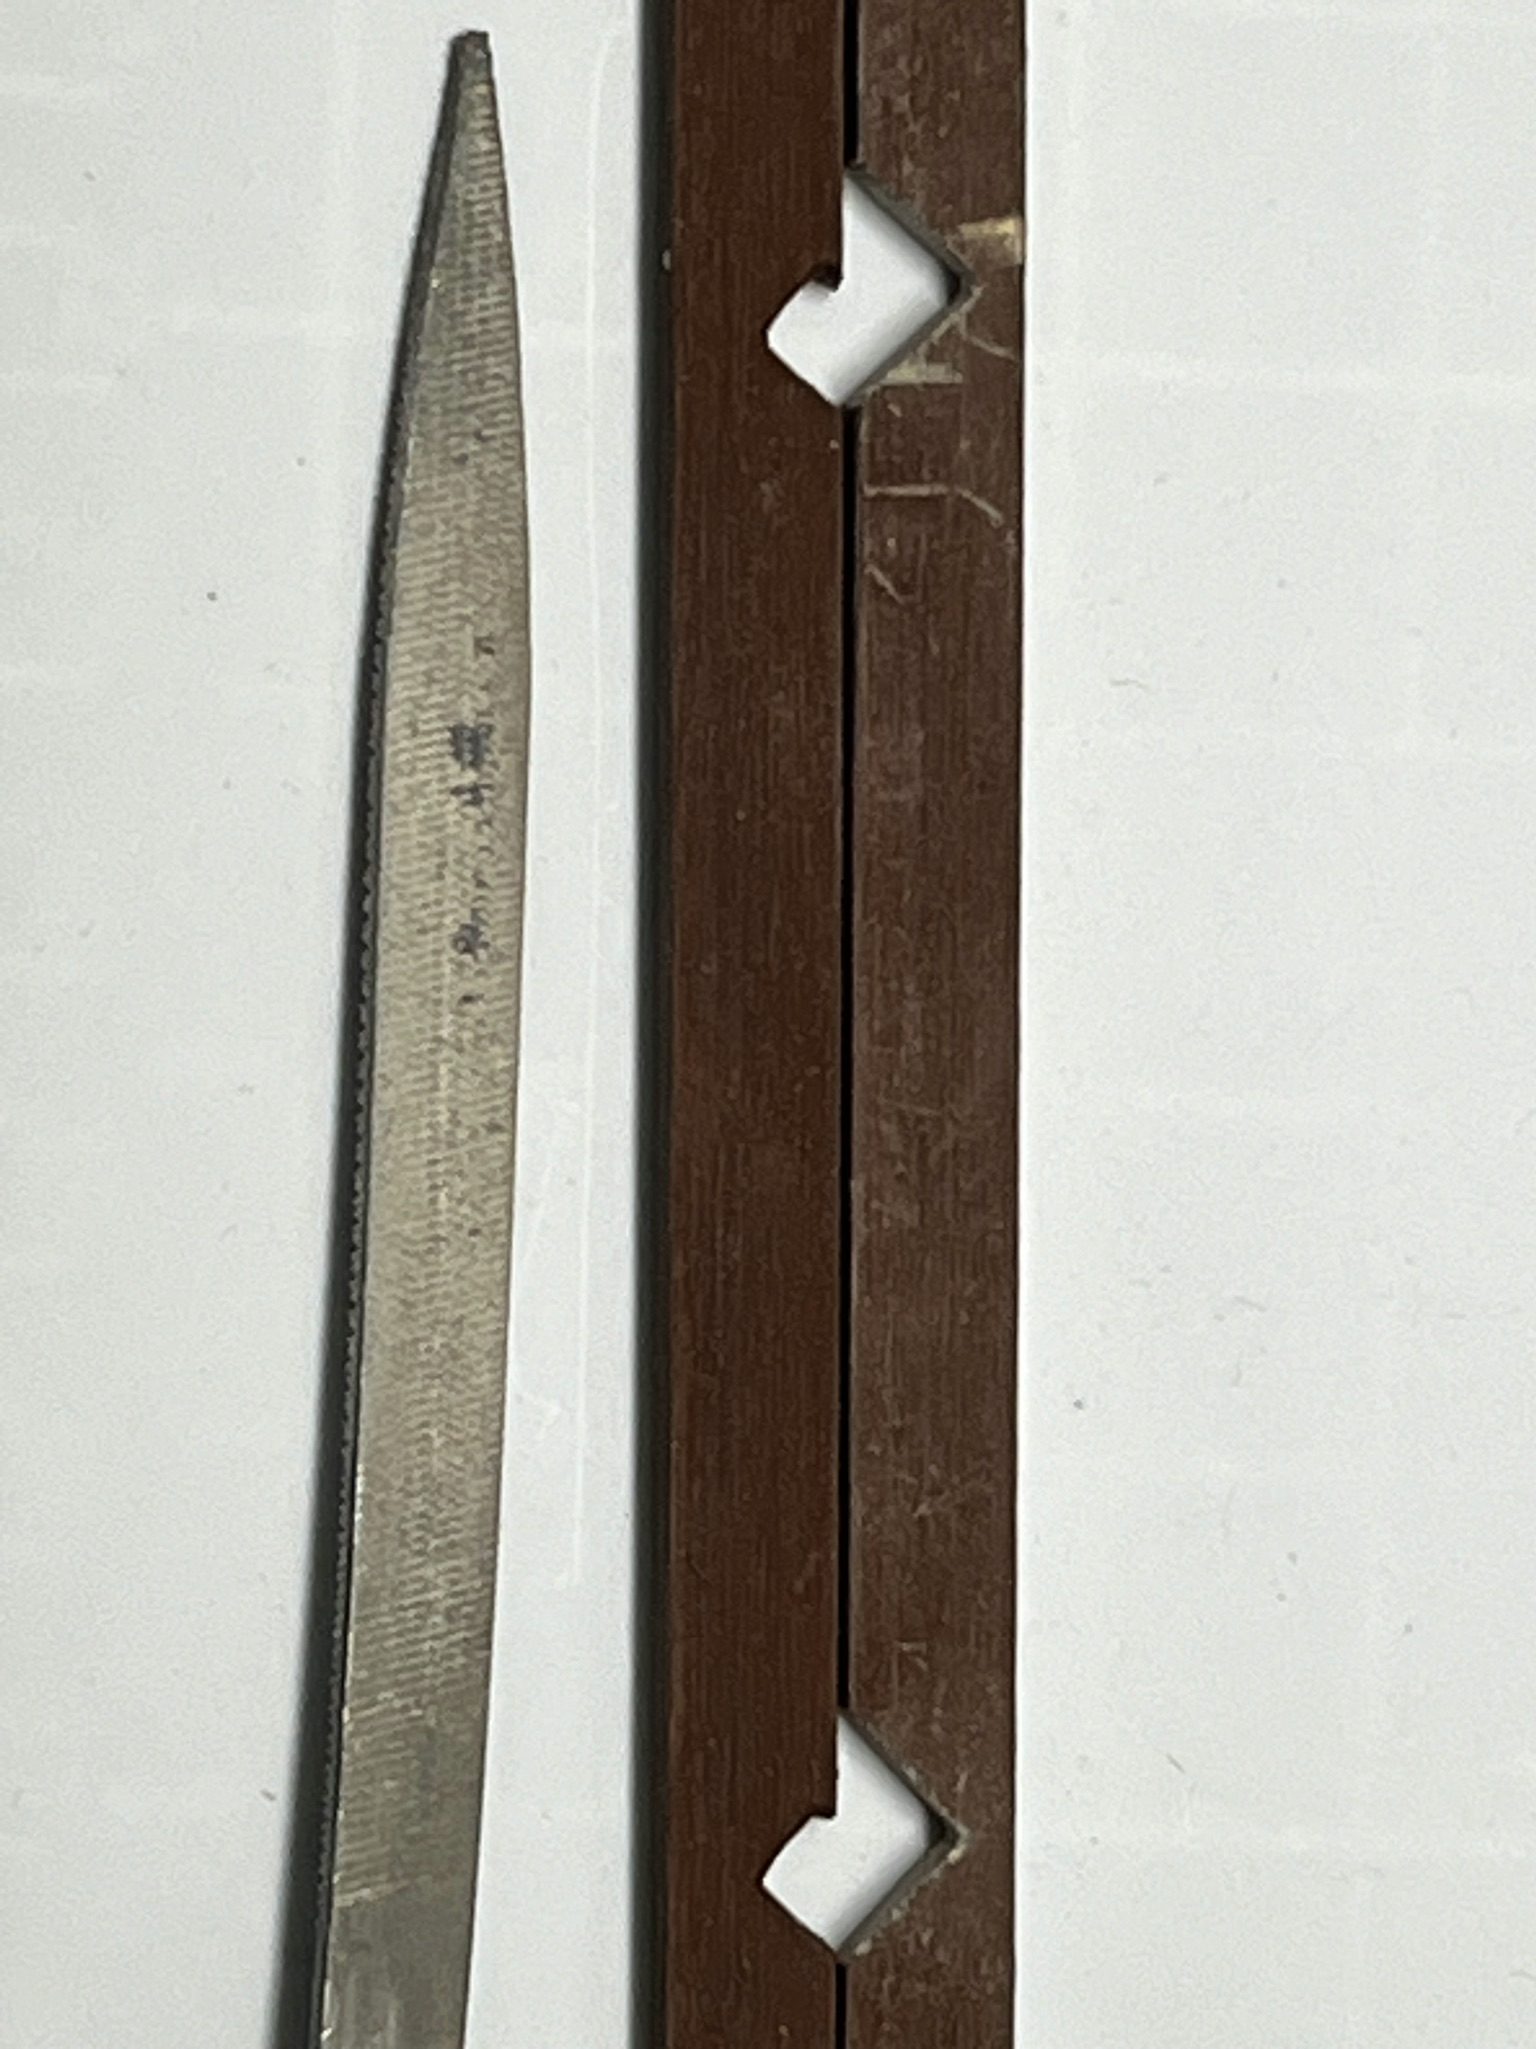
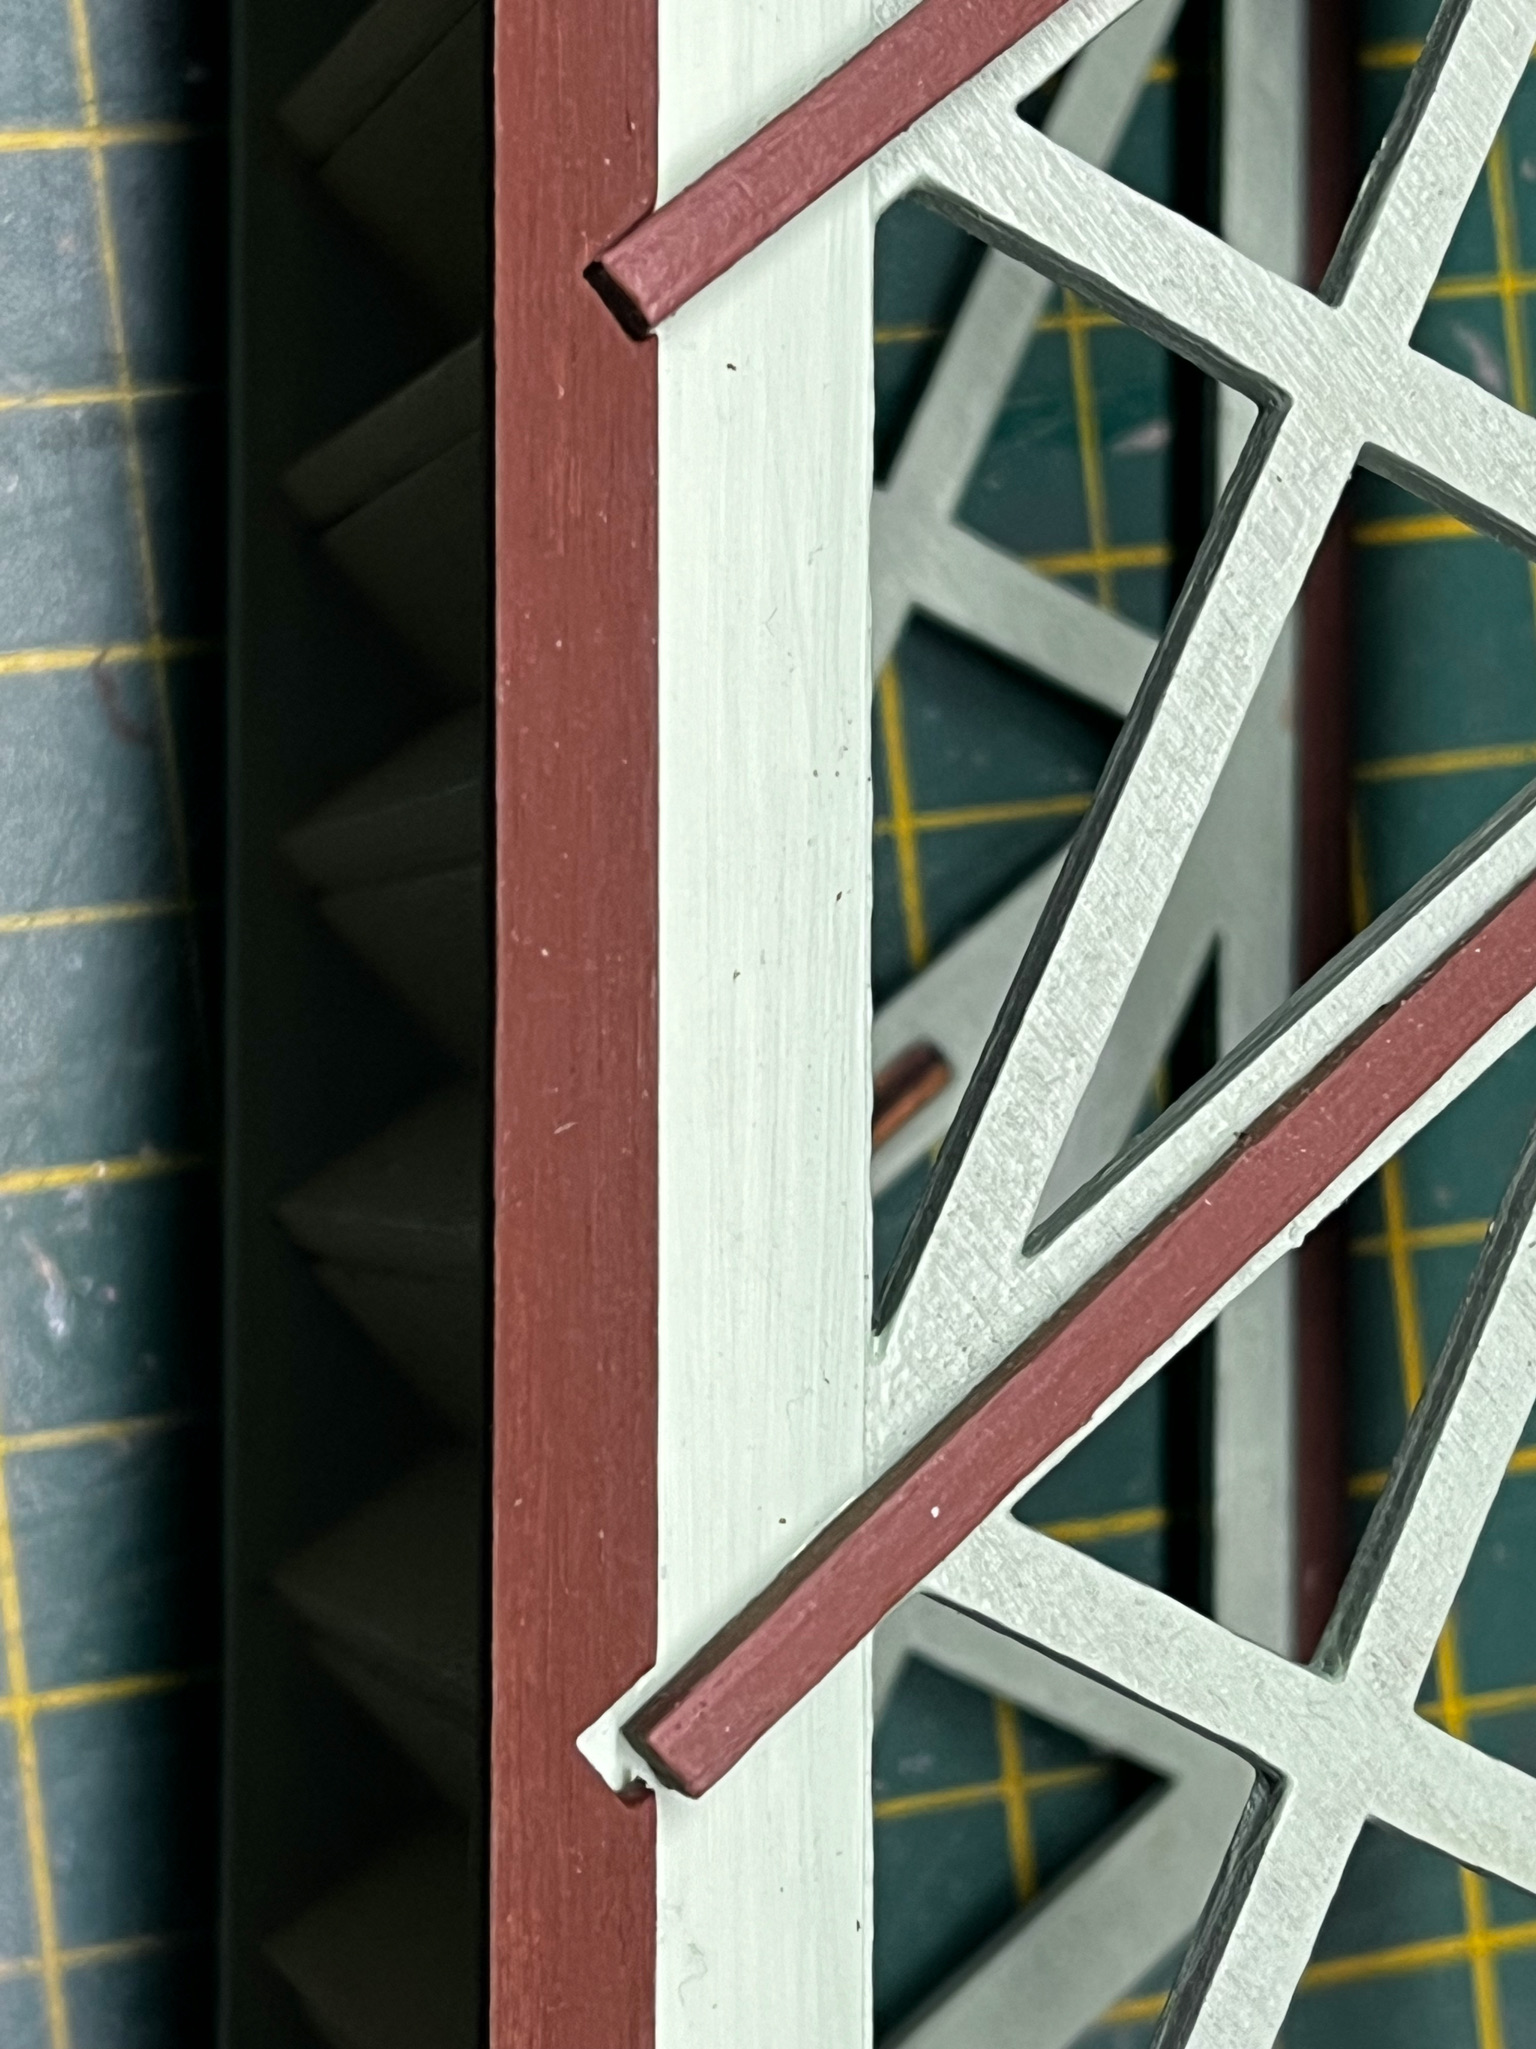
If you notice there are holes in the sides of the steps and the walkway. The straight part of the walkway was ok to hide because there is two lengths of wood that are just the correct length to hide them, but the short steps don't have anything to hide them which I think is not brilliant of the manufacture really. I cut some thin plastic sheet and glued them on to hid them. It was pretty much the same with the long steps, but there are some pre-cut lengths to hide them but there are poorly made in my eye....
The lengths of wood for the long steps sides. You can see that they don't match up and also the short pieces that are put along the sides of the steps don't line up either. I had to file them open a bit to fit on the side and consequently they don't look anywhere near great.
- 454B3581-B37E-45C4-9BD9-B4734C48DBF4.jpg (611.29 KiB) Viewed 882 times
- 709124C7-F7AB-4704-BE08-A01DC5FC4D58.jpg (755.6 KiB) Viewed 882 times
I did eventually get the Footbridge built and painted, that also took a little time to get somewhat decent because the heat that is used to cut the pieces must have been turned up a little bit to high, you can see on the parts that some are almost black, so getting the paint to cover them was a heck of a job, I had to make sure that the coats I had applied went hard enough for another coat to be put on.
Thats all of the photos I can put on the thread, do have an issue with trying to put more on, other members can, but I can't, it's not a problem it just means I have to put more post on with some more photos......

