Hi all.
While waiting for paint and glue to cure on the duckets i have made a start on the coach underframe. The two points that stand out to me looking at photos 2 and 3 on page 1 of this thread are the rivets/bolts on the solebars and the fact that the solebars are set in slightly from the ends of the buffer beams. From the makers photo of the coach i have scaled up the relative distances of the four sets of 4 rivets and the pair of single rivets. Following other threads on this forum, there are obviously a few methods members use for adding rivet detail. I have previously done it in a way i have not seen before and have used it this time also.
After cutting two solebars 9mm by 3mm to appropriate length i marked out the relative positions of the rivets with pencil and punched with a steel scriber point. The next job was to drill through with a 1mm drill. Soft dressmakers pins were then cut to approx 3mm in length and superglued into the holes.
- IMG_20171108_194826.jpg (53.43 KiB) Viewed 3185 times
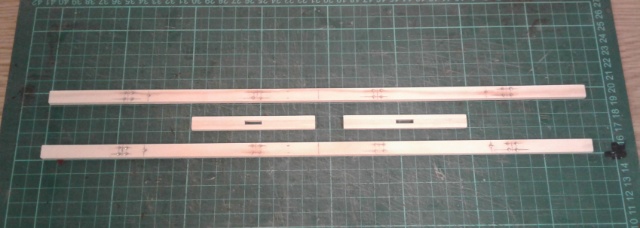
Completed solebars and buffer beams.

- IMG_20171108_194920.jpg (64.85 KiB) Viewed 3185 times
Closeup of rivet detail.
The buffer beams are made as a lamination of 3 pieces of 3mm by 3mm wood which has allowed me to include a 12mm x 3mm slot to take the square shaft of the Slaters chopper couplings that i use. The width of the slot allows the coupling to swing horizontally.
David T.


