Page 1 of 7
The Reading and Squamish Light Railway Stock Thread
Posted: Mon Mar 06, 2017 6:40 am
by big-ted
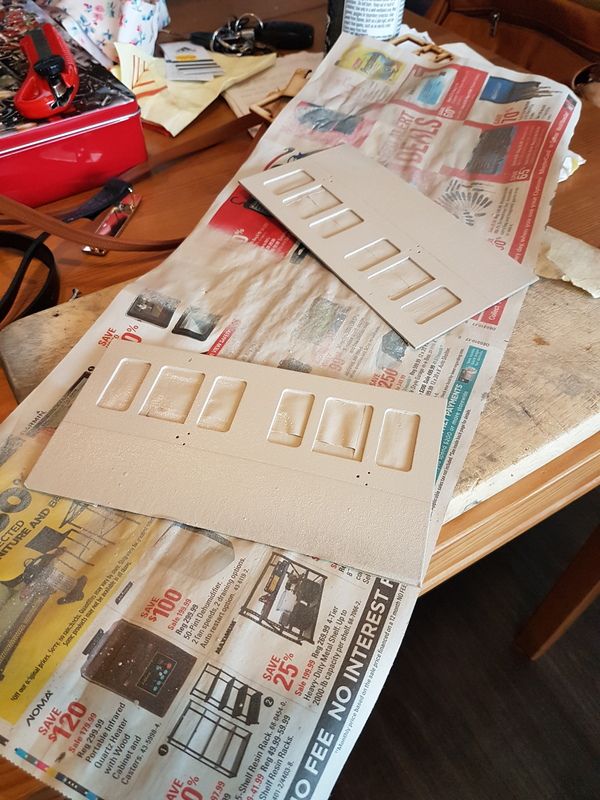
First things first, I'm a long way from having a railway of my own, living as I do in a small rented apartment in Vancouver, but I had been planning on a loco purchase for a while ahead of my visit home to the UK. Two weeks before I left Vancouver, I had the opportunity to pick up some unbuilt Brandbright kits, so my 'workbench' currently looks like this:
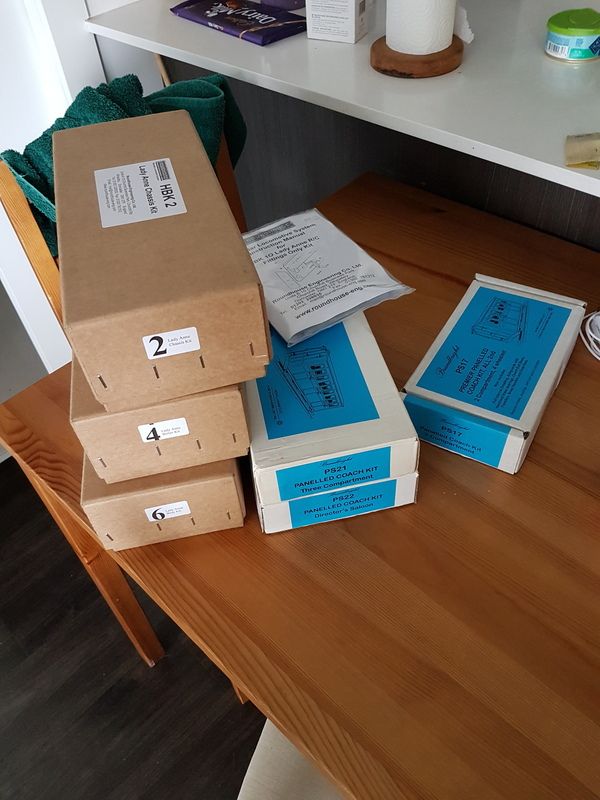
Not a bad problem to have, but I'd better get cracking! (On a side note, note also the bar of English dairy milk in the background. To be rationed as long as possible!)
I couldn't resist the temptation to start the smaller carriage before I left, so I told myself I'd finish it before I start the loco.
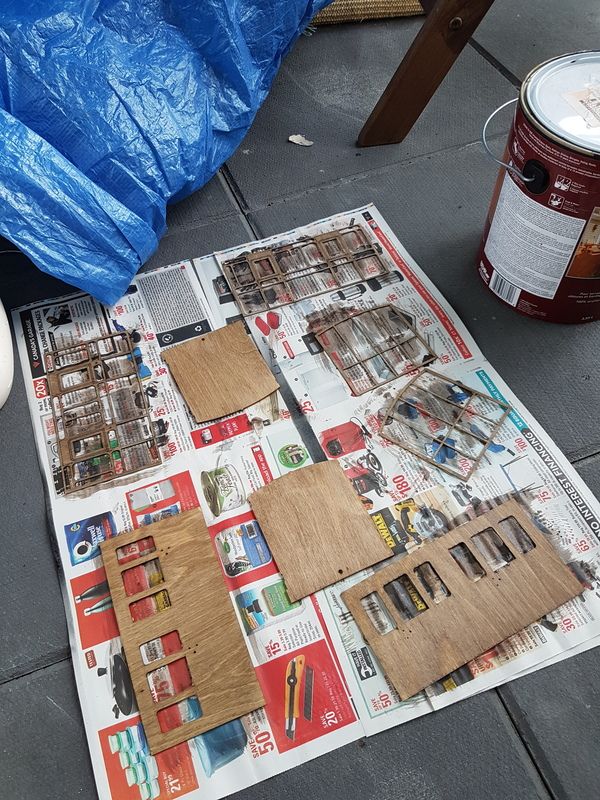
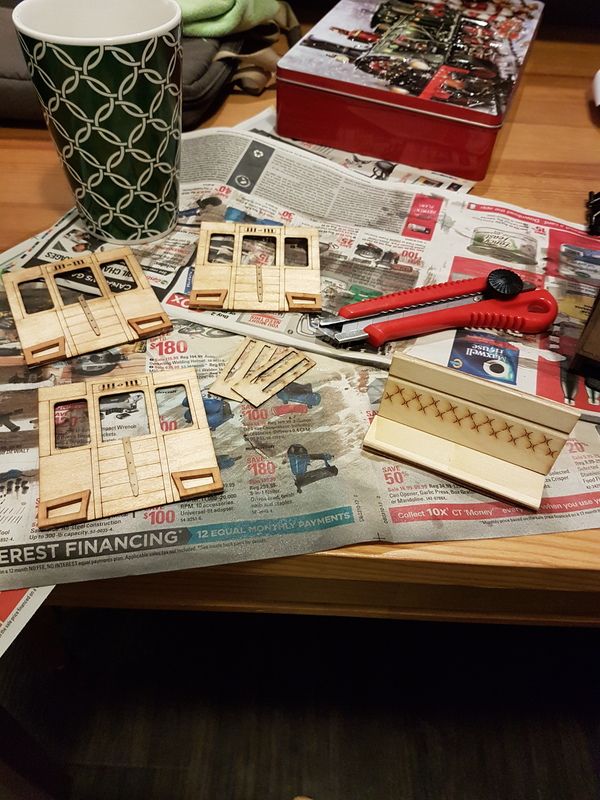
First up, staining the coach side components. Livery is to be based around a huge tin of exterior stain I bought to do two deck chairs last Summer:
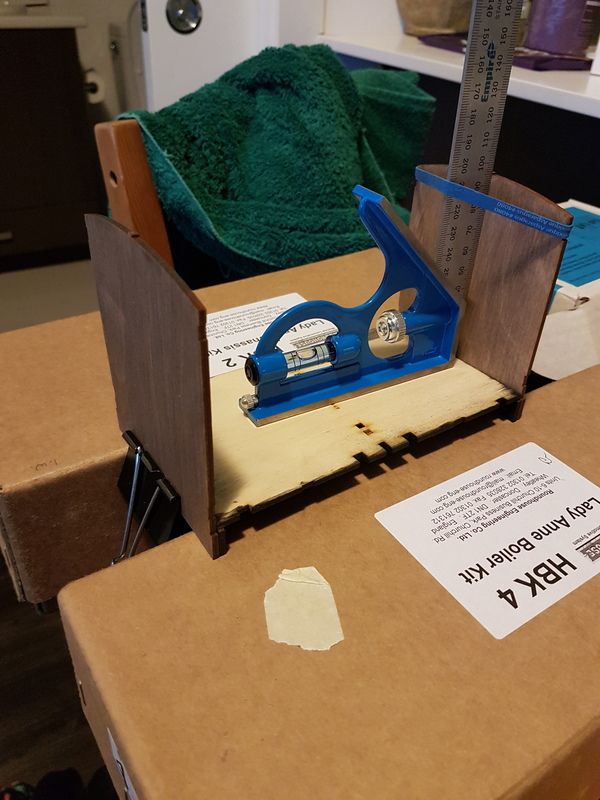
Gluing the ends:
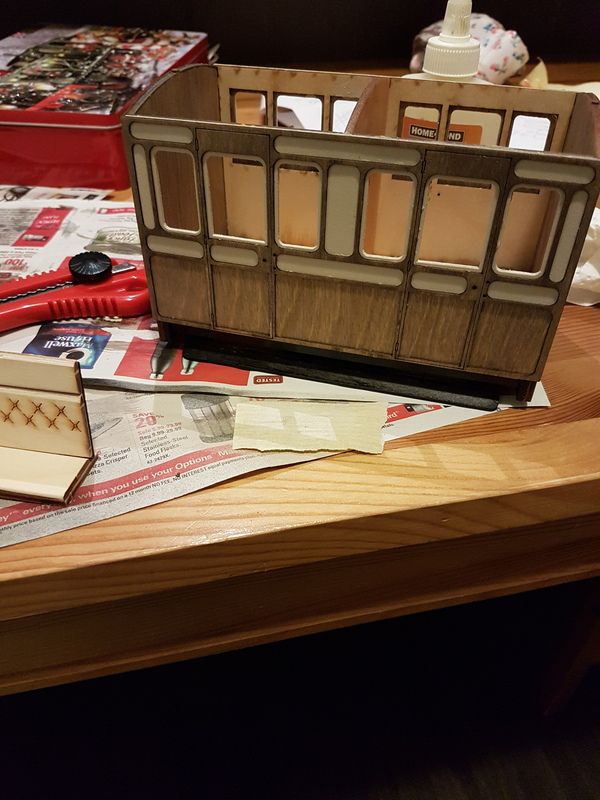
A test fit to see if I wanted to press on with my originally planned two-tone paint scheme:
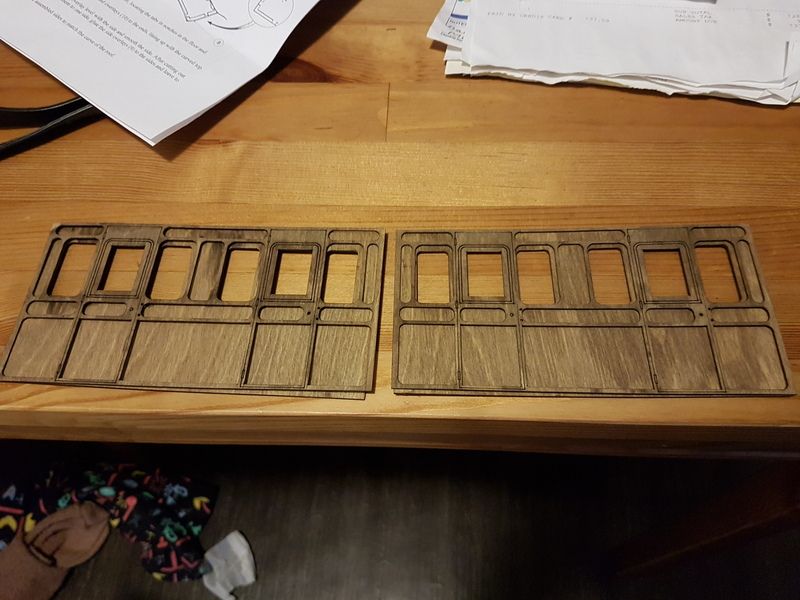
I did:
At this point, there was a bit of a disaster. I glued the painted sides and overlays in place, and then left a weight on top of the whole thing to dry. Unfortunately, the paint was still drying. To the table. Panic to fix the coach (and the table, before my girlfriend came home), and eventually I'm at this stage:
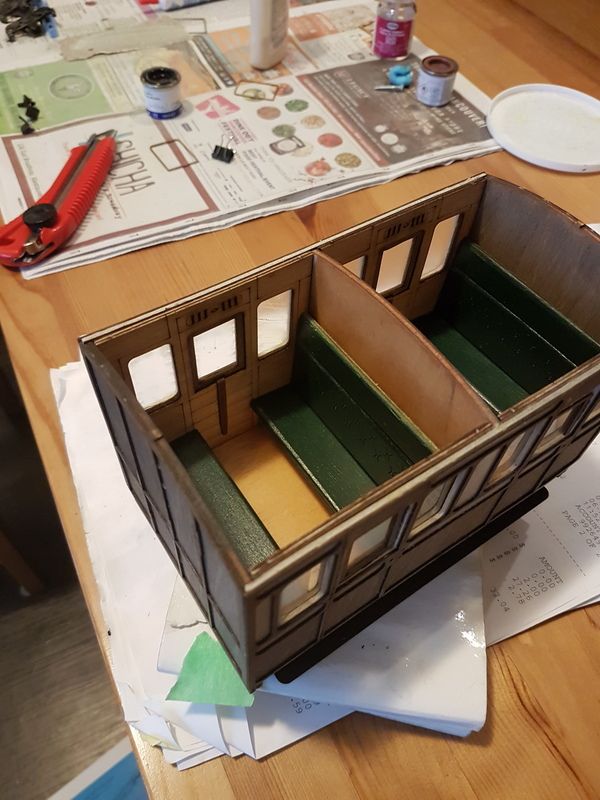
The seats are assembled and the interior panels lacquered.
I just need to figure out what colour I want the upholstery and buy said paint this week. I'm super happy with it, especially as this is my first try at such a thing. It is a bit smaller than he scratchbuilt stock I've built so far, but looking at pictures and videos it seems the Brandbright coaches are a bit on the small side, so hopefully I can justify running with my other stock.
I don't yet have couplings for it, and it is in line to get the wheels from my scratchbuilt tipper wagon once some smaller wheels show up for that. With any luck the loco build starts next weekend...
Posted: Mon Mar 06, 2017 9:49 am
by LNR
Livery is to be based around a huge tin of exterior stain
Good one Ted, that's got to be the best reason I've heard for choosing a livery. Good luck with the build, you seem to be enjoying it, and it looks great so far.
Grant.
Posted: Mon Mar 06, 2017 6:07 pm
by Soar Valley Light
Based on that reason for picking the livery the completed train has to be known as the Seaside Special

I know, I know, I'll get my coat!

Nice work so far, please keep the updates coming

Andrew
Posted: Mon Mar 06, 2017 6:38 pm
by markoteal
And how is the table? and more importantly your girlfriend's view of it?
Posted: Thu Mar 09, 2017 2:23 am
by Keith S
You're in the same boat as me, Ted. Built a locomotive and some rolling stock, including a Brandbright coach, in an apartment with no proper place to run any of it. Burned the dinner-table soldering something (stupidly) and had the burned spot sanded down and re-stained before she came home from work. Now I have bought a house, which has room for a small garden in back, but I haven't got 'round to doing anything here yet.
You'll be pleased to hear the Brandbright coaches look well with Roundhouse engines.
Posted: Thu Mar 09, 2017 3:52 pm
by big-ted
markoteal:123283 wrote:And how is the table? and more importantly your girlfriend's view of it?
It cleaned up ok, although I incurred much eye-rolling! Think I'll pick up a better cutting mat to work on in the future though rather than using newspaper!
Not sure I'll get to start the loco this weekend as I have a pretty busy weekend now, but we'll see.
Posted: Fri Mar 10, 2017 4:49 pm
by sstjc
Buy her a new chopping board of the white plastic variety and while your at it buy one for yourself. Its what I use on my office desk.
Posted: Sat Mar 11, 2017 11:27 pm
by Big Jim
Never a good idea to upset the domestic authorities.
It can severely curtail your modeling opportunities.
Posted: Tue Mar 14, 2017 3:49 am
by big-ted
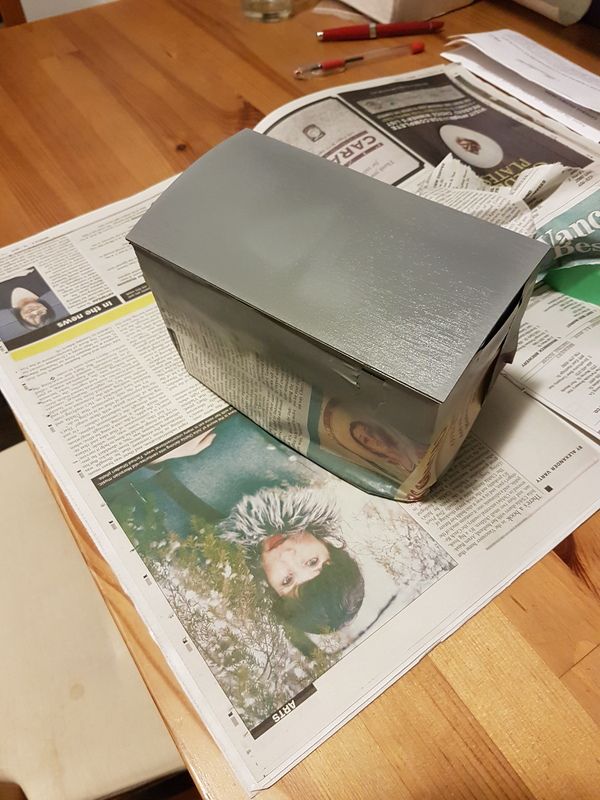
Still working on Newspaper. Busy weekend, but managed to get quite a bit done, despite some setbacks.
Interior painted and fitted:
Roof painted. 5th coat currently drying as I type:
The end steps and axle boxes have been painted black ready to go together. Unfortunately, it seems my 4 wheel coach is missing the end steps and one(!) door handle. For now I will just take these parts from one of the other coaches, but at some point I'll need to re-order, or make some of my own. A bit annoying. I suspect the guy I bought the coaches from was aware of this and neglected to tell me, but ho-hum...
Also, during painting, I managed to flip the lid of a tin of humbrol enamel onto a pair of jeans. I've got the worst of it out but if anyone has any tips on removing enamel paint from fabric I'm all ears. Needless to say, my girlfriend is not seeing the appeal of this hobby I find myself embarking on again...
The other annoying thing that happened is that I didn't realise there was a protective layer on both sides of the glazing. I got all the glass mounted and was a bit disappointed that my nice painted interior was barely visible through the cloudy glass, only to then realise my mistake. I managed to pick the remaining film off from the windows, but in places there's bits stuck around the frames if you look closely. Oh well. Lesson learned for the next one...
Posted: Mon Mar 20, 2017 2:11 am
by big-ted
So, slight hiccup. Coach is complete, save for bolting on the wheels and axleboxes. Turns out the wheels I had set aside for it have 3.2 mm axle-ends, and the Brandbright journals are 2mm ID.
The wheels I have are from USA trains, and they basically tick all the boxes aside from this, being heavy, metal and insulated. Looks like the Brandbright metal wheels aren't insulated. Does anyone do metal insulated wheels with 2 mm axle ends? All my searching is coming back negative.
I guess I could put larger ID journals into the axle boxes, although I already glued the smaller ones in place (doh!)...
Posted: Mon Mar 20, 2017 3:00 am
by artfull dodger
Can you take the correct size drill bit and drill out the bushings to the correct size? Worse case the drilling breaks the glue bond and they come out, then you can install larger bushings. Love the stained look of the coach ,wish I could have found some of those in the states during my 16mm push I was in for a few weeks. If my live steamer doesn't sell, the desire to move it to get another engine might pass and I might have to find some of those coaches. Mike
Posted: Mon Mar 20, 2017 4:51 pm
by big-ted
This thought had occurred to me, but I don't have confidence that my drill would leave behind a smooth surface, especially without a drill press. Looks like GRS sell exactly what I'm after, however, so I shall put an order in with them.
I actually picked these coach kits up from a guy in Texas. I figure shipping from there is going to be darn sight cheaper than shipping across the Atlantic, so I jumped on them.
Just realised I've not put a pic up of the finished body. Will do so when I get home from work.
Posted: Mon Mar 20, 2017 5:25 pm
by artfull dodger
Posted: Mon Mar 20, 2017 6:00 pm
by artfull dodger
I baked the paint in the oven(when the better half was at work) for 1 hour at 180'F. The front lantern is from Regner and available from The Train Department here in the USA, the lantern and its lense are seperate parts btw. The scarriest part of building the kit was drilling and pinning the eccentric crank once the timing was set. I used my air brush compressor to test the chassis on air, and run in on air for a little bit, with injections of oil in the air line every few min. Engine ran flawlessly and put in a good show at the National Garden RR show at Cincy OH before going to the new owner. I wish I knew where she went, would love the change to buy him back at some time. Mike
Posted: Mon Mar 20, 2017 7:02 pm
by big-ted
Hmm. Interesting. Since starting this project I've learned that Canada has some really restrictive laws on what paints can be sold here. Chatting to another guy that has built a Billy kit he said he had used high temp paint on the smoke box, but that he used regular auto paints everywhere else with good success. Obviously, high temp paint in matt black is easy to get, but if I have to use high temp paint on the wrapper (which ought to be the same colour as the body) my colour options are going to be very limited...
Posted: Mon Mar 20, 2017 7:06 pm
by artfull dodger
Look for paints for engine blocks, like the old V8 engines in cars guys like to restore. Usually can find colors like ford blue, chevy orange ect. I used regular paint on the boiler wrapper and it started to fade to a much lighter tone when compared to the body work after a couple of steam ups. I used BBQ grill paint on my smoke box. Mike
Posted: Tue Mar 21, 2017 9:15 am
by LNR
I've used normal auto acrylic on my lady anne kit that I used for the basis of my Hunslet. Its been on there for ten years now, and has not deteriorated at all. My Bagnall has Humbrol enamel over auto matt black acrylic. I use Humbrol and stoving enamel on my smokeboxes too.
Grant.
Posted: Wed Mar 22, 2017 4:30 pm
by big-ted
Finished coach body, awaiting wheels:

And now, this!

Posted: Wed Mar 22, 2017 4:46 pm
by artfull dodger
Looking good!! I used VHT engine paint in a spray can from the local auto parts store (Autozone for me here in the USA) to paint the frames, make sure to mask off the bearings. I used masking tape made by Tamiya, you can find that at any better hobby shop that deals in RC cars/planes. Used for masking the clear bodies when you paint them. Very very very good masking tape that leaves crisp lines and doesn't pull up paint. I also used an etching primer on all the parts I painted other than the smoke box. I baked each coat at 180'F for 1 hour, once cooled I could put another coat if I desired. Mike
Posted: Thu Mar 23, 2017 2:14 am
by LNR
That coach is as pretty as a picture Ted, you should be well pleased with a thoroughly professional job there.
Grant.
PS your cat seems to be taking a rather dim view of things!!!


