Getting a train together, Diesel and Steam!

What is your latest project?
User avatar
Steven.T
Fireman
Fireman
Posts: 410
Joined: Sun Mar 13, 2011 5:56 pm
Location: Stockton

Post by Steven.T » Sun May 06, 2012 4:02 pm

Hmm, haven't updated this thread for a while...
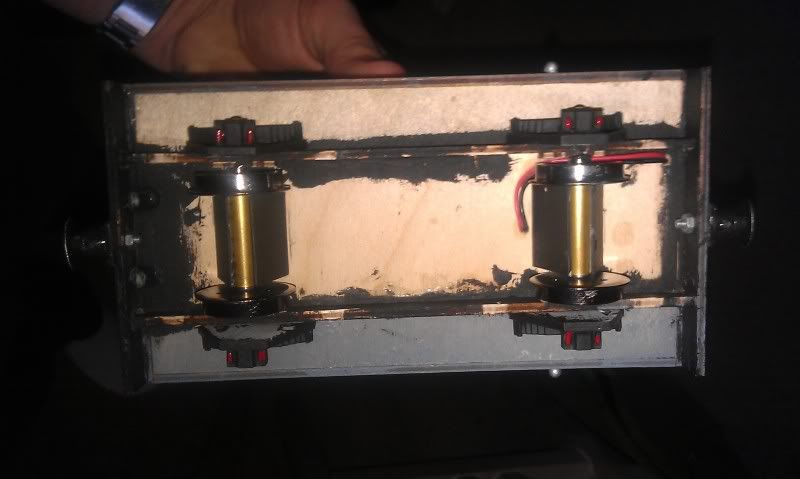
Work on the battery loco has sort of fell wayside due to me getting the steam loco, have to get my priorities right :lol:

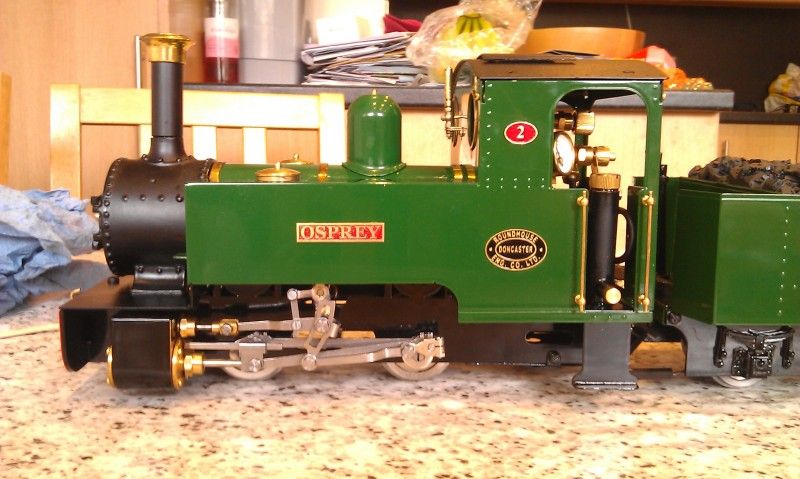
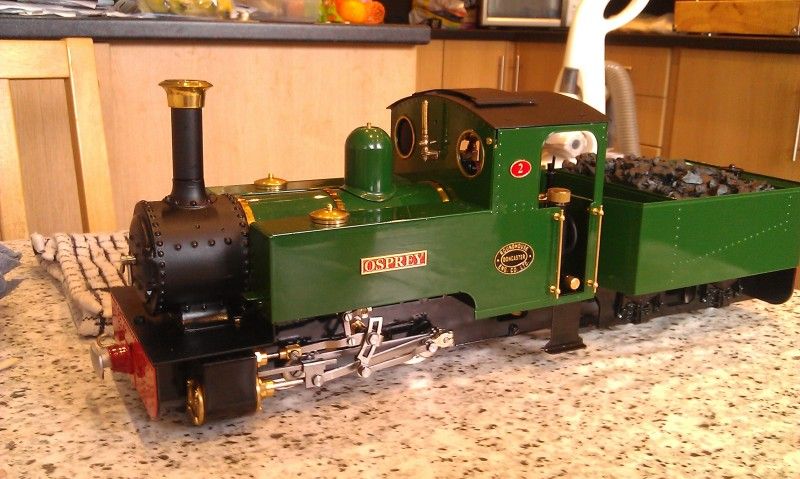
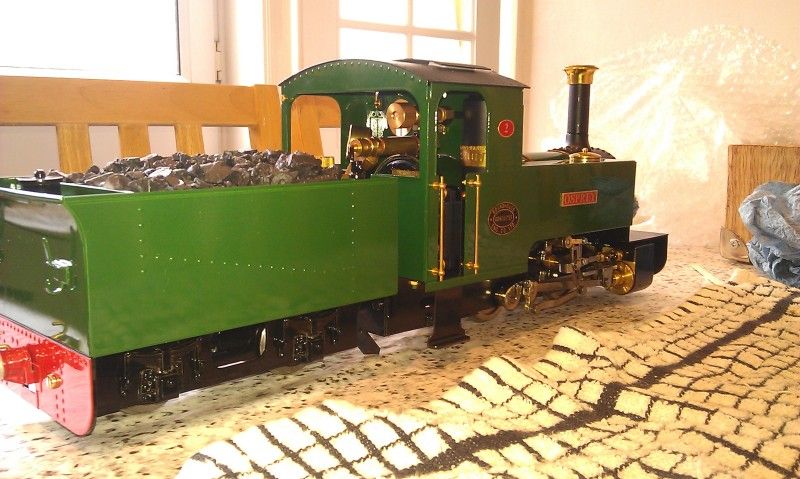
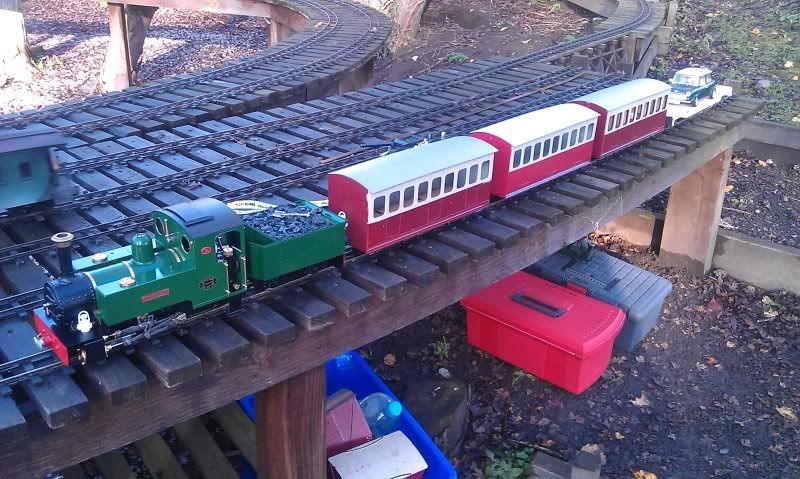
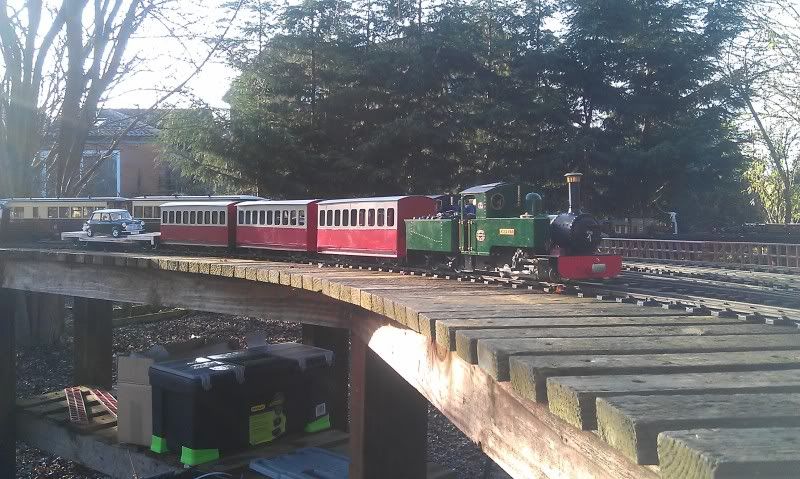
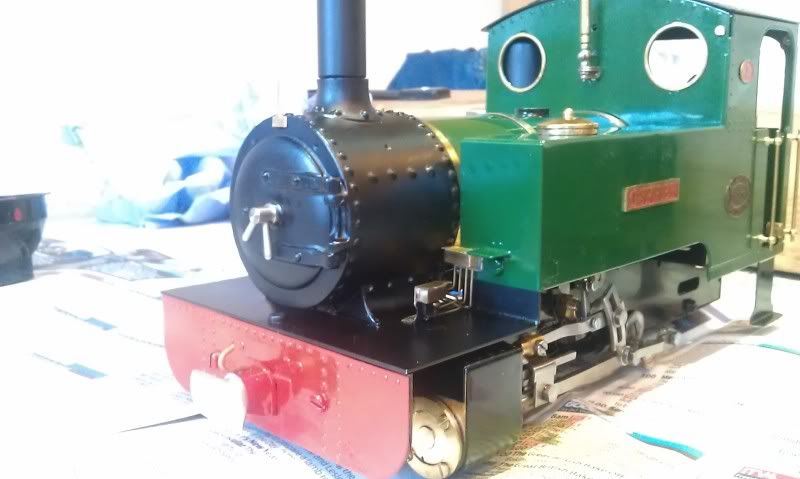
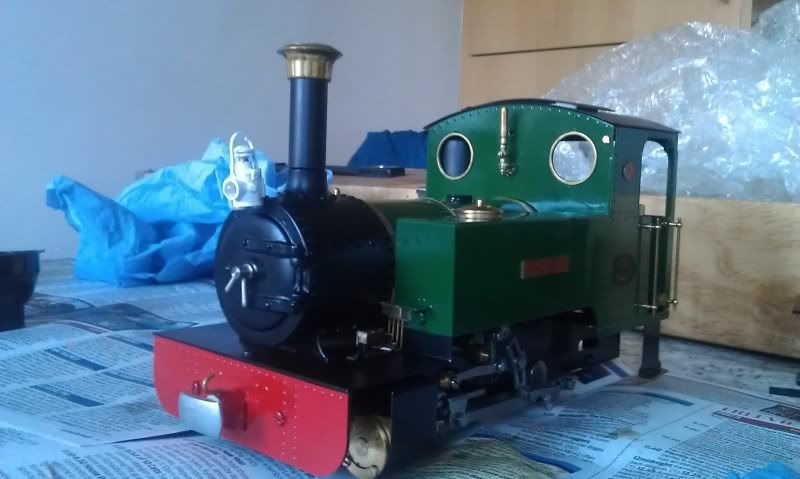
But in the mean time, and as of today, the works name of George has been ditched, in favour of "Osprey", and has gained loco number "2"
Logic behind the name being we visit the Lake district every year, and we make it part of our trip over to go and see the Ospreys at Whinlatter forest, so it means quite a bit to me!

Image

Image

Image

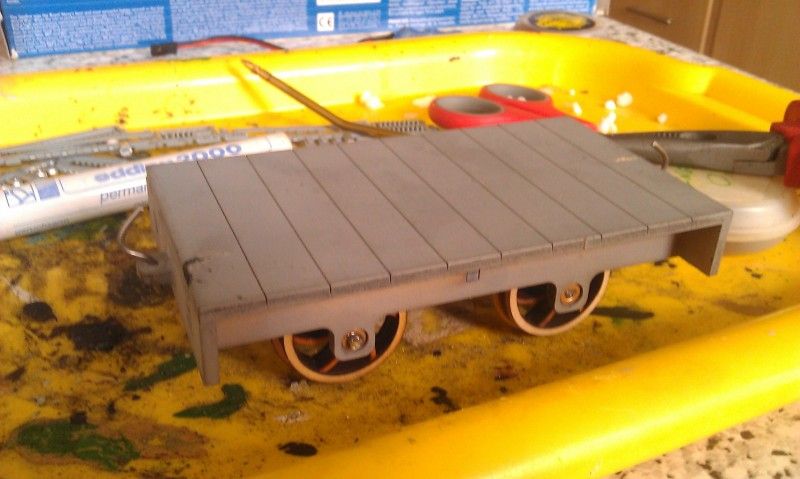
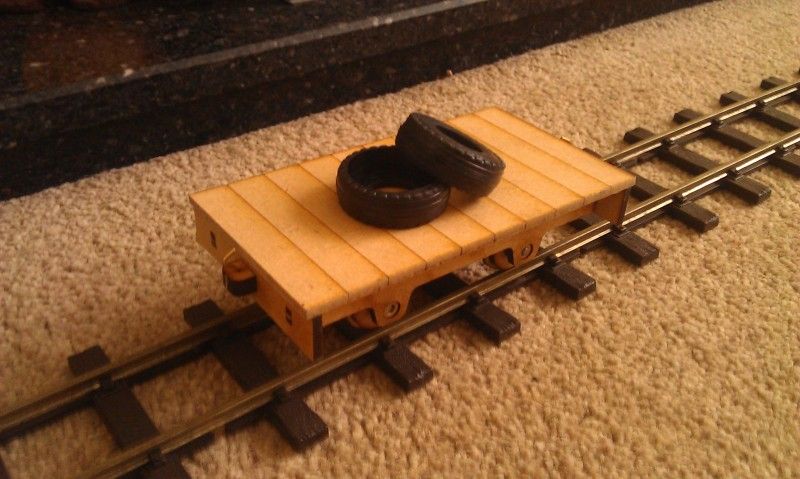
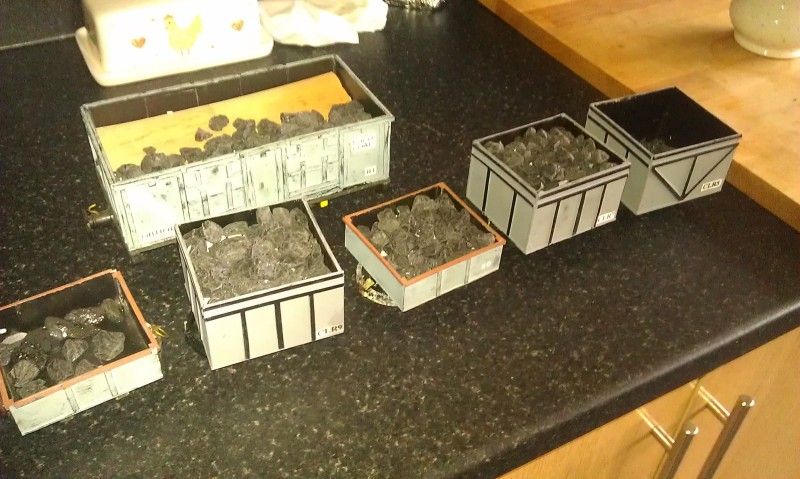
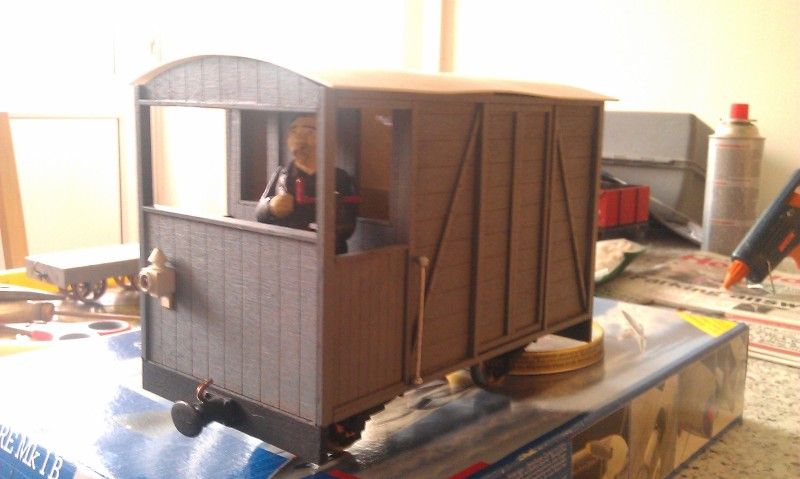
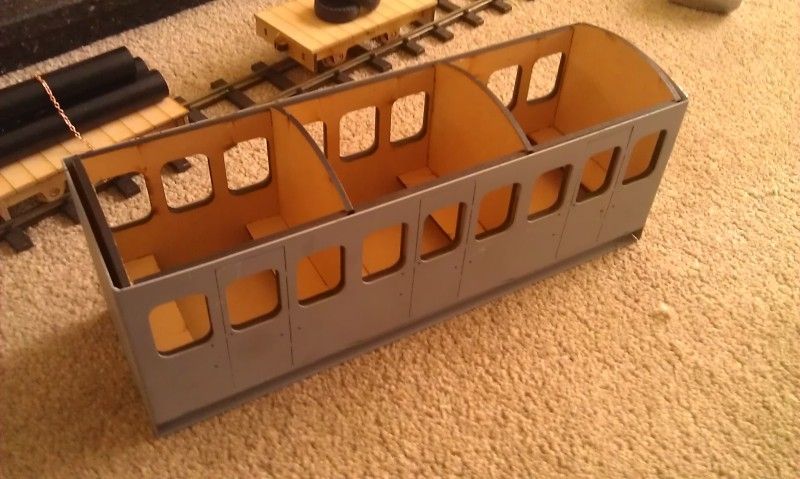
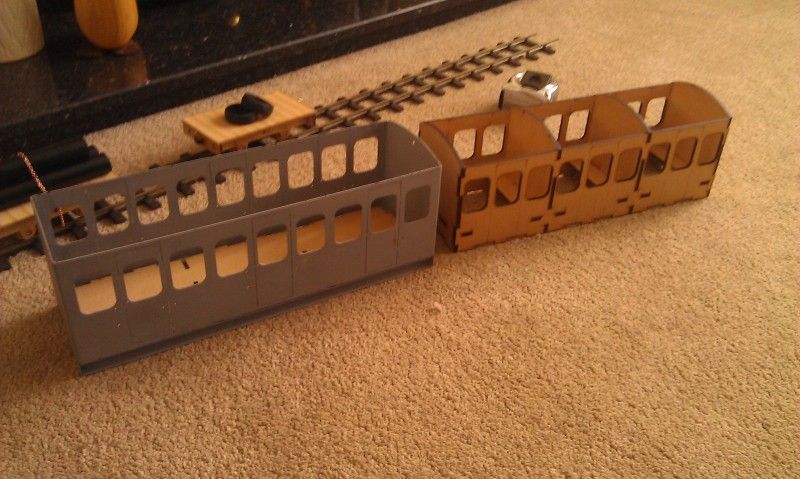
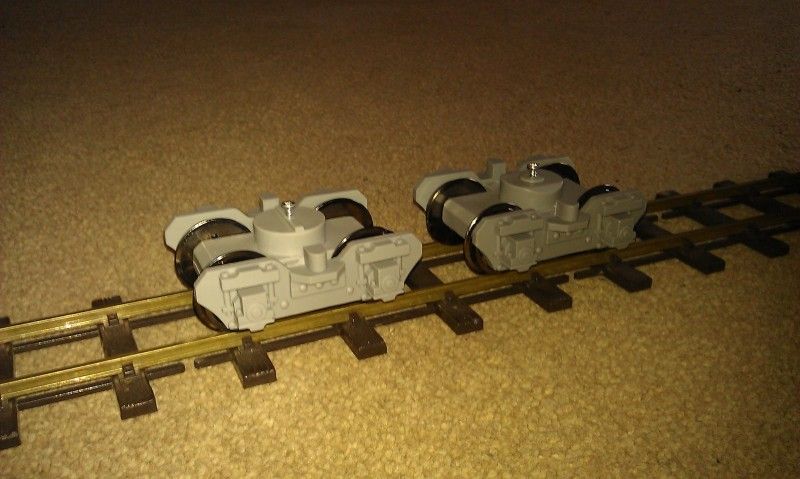
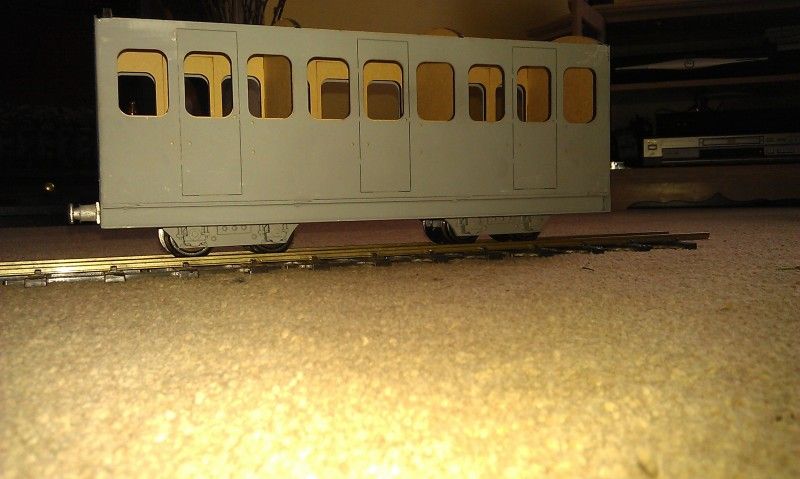
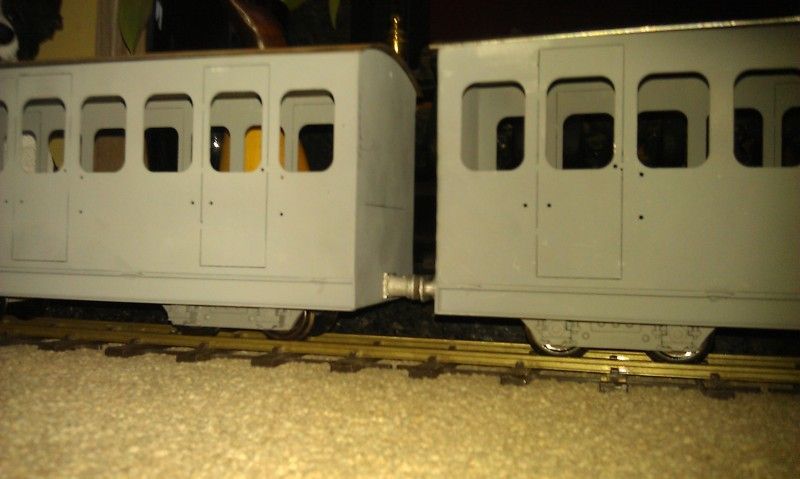
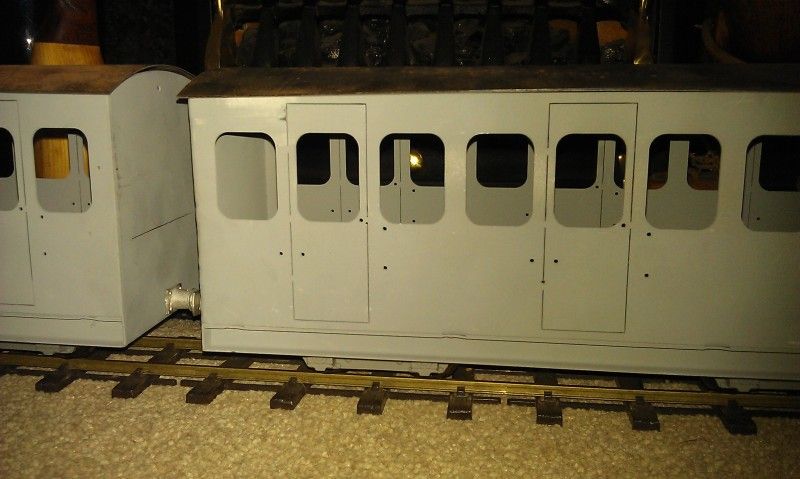
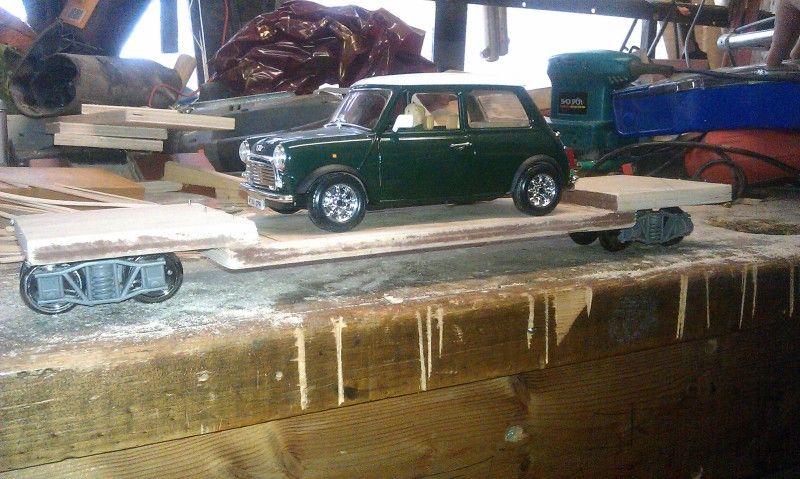
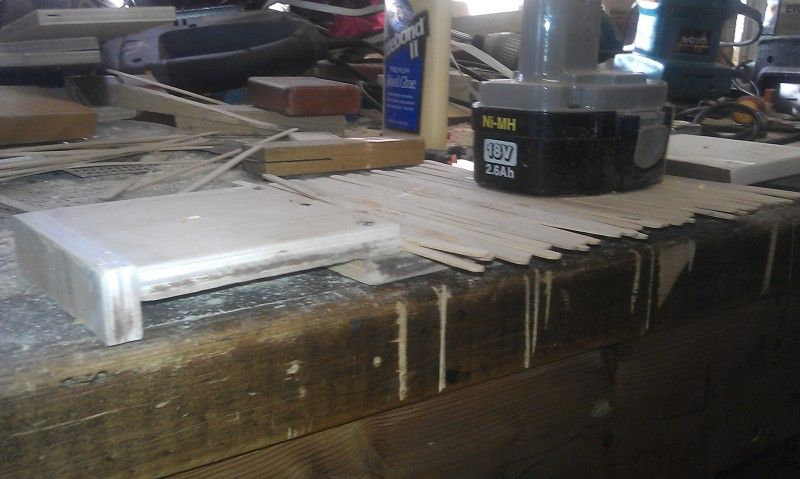
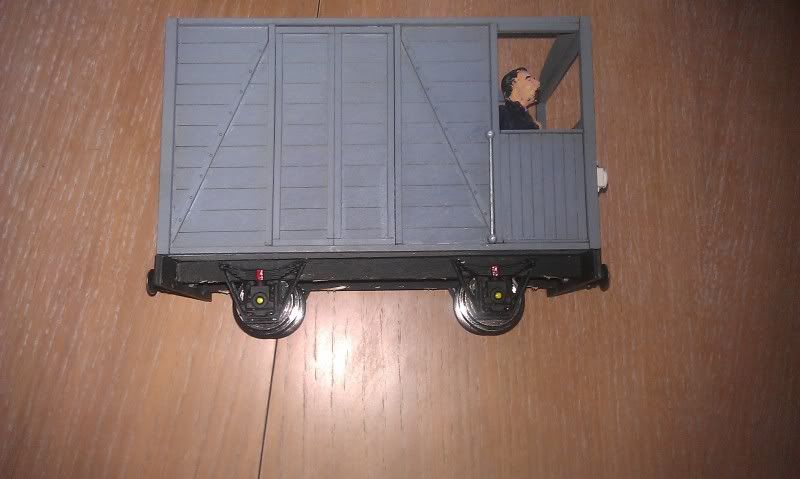
I also received some very neat little wagons and loco bodies of Busted Bricks:
http://mbhh.co.uk/Sale/106small.jpg

Just need to find some wheels to suit and I will have a few more rolling wagons and one or two more electric locos!

That's all for now!

Steven

User avatar
Steven.T
Fireman
Fireman
Posts: 410
Joined: Sun Mar 13, 2011 5:56 pm
Location: Stockton

Post by Steven.T » Sun May 13, 2012 3:14 pm

Been doing some work on all the wagons today, spent a bit of time filling some of them with false coal, generally oiling the axleboxes etc.
Also I have finished one of the flat bed wagons I received from fellow member Busted Bricks:

Attached some wheels:
Image

Cut down some 20mm conduit I had lying around, and tacked it down using some Peco track pins from my N gauge and some fine chain I bought at Harrogate show yesterday:

Image

Image

And just a filler for another wagon, might make some little tools to go on this one too!
Image

The coal loads:
Image

Added a handrail to each side of my Guards van:
Image

And last of all, the new coaches which I bought yesterday at Harrogate for £25 each. Made of a steel outer with a laser cut removable interior, £25 was a steal! Bogies from Swift Sixteen have been ordered along with Buffers from I.P. The weight in these things has to be felt to be believed! I'm thinking of painting them in a sort of blood and custard maybe :)

Image

Image

That's all for now!
Steven

User avatar
Johnnie2sheds
Trainee Fireman
Trainee Fireman
Posts: 162
Joined: Mon May 16, 2011 2:11 pm
Location: The Midlands

Post by Johnnie2sheds » Mon May 14, 2012 6:18 pm

Damn! Theyre nice! didnt see them. Who did you get them from?

User avatar
Steven.T
Fireman
Fireman
Posts: 410
Joined: Sun Mar 13, 2011 5:56 pm
Location: Stockton

Post by Steven.T » Mon May 14, 2012 6:30 pm

A chap on his own little stand called Ken West, got his business card here.
Apparently they are only to test the market with, I think I've cornered 2/3rds of the market, I should have bought the third coach aswell :lol:

User avatar
Keith S
Driver
Driver
Posts: 1634
Joined: Thu Feb 24, 2011 11:44 pm
Location: Canada

Post by Keith S » Mon May 14, 2012 8:07 pm

I would buy one of those right away. Please tell Ken West!

User avatar
LlanpwllBrynwyn
Cleaner
Cleaner
Posts: 67
Joined: Sat Apr 14, 2012 11:47 pm
Location: Staffordshire

Post by LlanpwllBrynwyn » Mon May 14, 2012 8:59 pm

I would too! Having a sturdy base like that would suit everyone. You have a good solid coach that can with little work be put on the track, and it can also be fully detailed both out and in, the insert making this alot easier to work on!

I hope he decides to produce more!
Mr T. Edwards

Director of the Ffestfordd Railway Company

www.youtube.com/user/HurricaneTich

User avatar
Steven.T
Fireman
Fireman
Posts: 410
Joined: Sun Mar 13, 2011 5:56 pm
Location: Stockton

Post by Steven.T » Mon May 14, 2012 10:02 pm

I have his email address on the business card I picked up, I will drop him an email sometime with a link to this page!

User avatar
Steven.T
Fireman
Fireman
Posts: 410
Joined: Sun Mar 13, 2011 5:56 pm
Location: Stockton

Post by Steven.T » Fri May 18, 2012 6:45 pm

Recieved my bogies today from Swift Sixteen for the new coaches, along with the buffers from I.P.

Image

Look very narrow-gauge!:
Image

Both coaches together buffered up:
Image

Image

Just need to find a 1.5mm drill bit to drill the buffers out with...
Cheers,
Steven

User avatar
Steven.T
Fireman
Fireman
Posts: 410
Joined: Sun Mar 13, 2011 5:56 pm
Location: Stockton

Post by Steven.T » Sun May 20, 2012 2:43 pm

Buffers have been drilled out and painted, and bogies painted aswell!

Image

Big improvement I think!

Also painting a little Roundhouse tool box for Osprey:
Image

All for now!
Steven

User avatar
Keith S
Driver
Driver
Posts: 1634
Joined: Thu Feb 24, 2011 11:44 pm
Location: Canada

Post by Keith S » Mon May 21, 2012 7:18 am

Those bogeys look god painted. May I suggest putting a spacer of some kind on the coach body to make it sit a little higher on the bogeys? The way they are now, much of the detail is hidden. I'm not talking about much of a lift..say 2mm. They probably sit a little low compared to your locomotive anyway.

User avatar
Steven.T
Fireman
Fireman
Posts: 410
Joined: Sun Mar 13, 2011 5:56 pm
Location: Stockton

Post by Steven.T » Mon May 21, 2012 5:01 pm

Hi Keith, thanks for the idea about spacers, never thought about that, it would be a good idea, as you say a lot of the detail is hidden, and they do sit fairly low against the loco...

Will have a look see what I can do!
Cheers,
Steven

User avatar
Steven.T
Fireman
Fireman
Posts: 410
Joined: Sun Mar 13, 2011 5:56 pm
Location: Stockton

Post by Steven.T » Sat Oct 20, 2012 4:11 pm

The coaches Have had a coat of paint since I last updated, and I have aquired another two of the same make, one which is going away for Christmas!
Image

In other news, today I started building a low loader for my Mini. Using Swift Sixteen Arch bar bogies, I have made the base and started the planking today. I might paint the bogies tomorrow and finish the planking off.

Basic structure:
Image

With bogies and Mini in place:
Image

Planking started:
Image

User avatar
Keith S
Driver
Driver
Posts: 1634
Joined: Thu Feb 24, 2011 11:44 pm
Location: Canada

Post by Keith S » Sat Oct 20, 2012 5:19 pm

Those coaches look really good with your engine. Did you ever find out if he was going to manufacture them for sale? I would like one or two myself if they were ever to become available. I love the steel shell with the wood inserts.

User avatar
Steven.T
Fireman
Fireman
Posts: 410
Joined: Sun Mar 13, 2011 5:56 pm
Location: Stockton

Post by Steven.T » Sat Oct 20, 2012 7:02 pm

Thanks Keith, I sent the guy an email but he never got back to me!
I just had sheer good luck at the Elsecar show, I can't remember the trader, but there was 4 coaches, two like mine and two goods type. I ended up buying the two passenger ones, however they don't have any wooden inserts which is a shame!

User avatar
Steven.T
Fireman
Fireman
Posts: 410
Joined: Sun Mar 13, 2011 5:56 pm
Location: Stockton

Post by Steven.T » Sat Nov 24, 2012 9:33 pm

Some pics of the last running day with the 3 coaches and the Mini's low loader:

Image

I quite like this pic!
Image

User avatar
Steven.T
Fireman
Fireman
Posts: 410
Joined: Sun Mar 13, 2011 5:56 pm
Location: Stockton

Post by Steven.T » Sun Dec 02, 2012 2:24 pm

Having had some problems with the Axleboxes on my I.P engineering guards van recently, namely that of the axleboxes collapsing due to them only being made of wood (I think they are in white-metal now!) I have had to get some new ones.
Now, I had a choice to go for conventional axleboxes (like the whitemetal ones I.P. do) or go for some Swift Sixteen ones. Going on the success I've had recently with the Swift Sixteen bogies, I thought I'd give their axleboxes a try:

Image

I couldn't be bothered to paint underneath the wagon, after all, no one ever sees it, apart from now :lol:

Image

Have to say I'm very pleased with them. They run so smoothly aswell, I can't see these collapsing anytime soon!
That's all for now!
Cheers,
Steven.

User avatar
Keith S
Driver
Driver
Posts: 1634
Joined: Thu Feb 24, 2011 11:44 pm
Location: Canada

Post by Keith S » Tue Dec 04, 2012 12:16 am

Those look like they will do the trick.

God, I'm envious of your green engine and red coaches! I like my red "Billy" with its motley assortment of wagons, but I really like your train. It looks just like a narrow gauge train should, to me at least. The proportions are perfect.

User avatar
Steven.T
Fireman
Fireman
Posts: 410
Joined: Sun Mar 13, 2011 5:56 pm
Location: Stockton

Post by Steven.T » Tue Dec 04, 2012 8:19 pm

Thanks Keith, there's nothing more narrowgauge than a rake of random wagons though!

User avatar
Steven.T
Fireman
Fireman
Posts: 410
Joined: Sun Mar 13, 2011 5:56 pm
Location: Stockton

Post by Steven.T » Tue Jan 01, 2013 4:13 pm

Happy New year everyone!
Spent some time today on Osprey, gave it a general clean up, bit of spit and polish! Still need to do the brass parts...
Anyway, I've also fitted the second lubricator sets I bought at Elsecar, I've stuck these on with superglue, should be ok I think:

Image

Also added a lamp Iron, again with the superglue, havn't got the confidence to drill something so expensive (the loco, not the bracket! :lol: )

Image


And also over the Holidays, My Uncle was given a couple of Modeltown buildings which he asked me to build and paint for him. I didn't take any photos of the cottage, but the signal box came out decent enough!

Image

Image

Image

Image

That's all for now folks!
Steven

User avatar
Keith S
Driver
Driver
Posts: 1634
Joined: Thu Feb 24, 2011 11:44 pm
Location: Canada

Post by Keith S » Sun Jan 06, 2013 8:45 pm

The locomotive looks great. I think you're going to lose your lamp down the tracks, however. I drilled the smokebox on mine, but the bracket was a little loose so I also used super-glue. It didn't take long for it to get loose again. It's not really noticeable so I haven't bothered to tighten it but the glue sure didn't last long.

Post Reply

Who is online

Users browsing this forum: No registered users and 0 guests