The Apple Valley Railway (7 1/4" gauge)

A place for the discussion of garden railways and any garden style/scale portable and/or indoor layouts
Nomis
Fireman
Fireman
Posts: 330
Joined: Wed Mar 02, 2011 9:04 am
Location: Cornwall

Post by Nomis » Sat May 07, 2011 7:50 pm

Just a brief update...

..been working on the curved embankment:

Image

Image

(and yes i did get my thumb over the lens :oops: )

The timber wall is made from reject scaffold planks (obtained for free). It all looks pretty good to me 8)

User avatar
Dr. Bond of the DVLR
Retired Director
Retired Director
Posts: 4485
Joined: Tue Jun 09, 2009 9:43 pm
Location: Suffolk
Contact:

Post by Dr. Bond of the DVLR » Sat May 07, 2011 9:18 pm

Excellent, is it a trick of the camera with the large looking gradient off that curve?
Image
The railway which people forgot
(to build)

mhlr
Retired Director
Retired Director
Posts: 4336
Joined: Sun Oct 21, 2007 8:16 pm
Location: Shropshire, England

Post by mhlr » Sat May 07, 2011 10:48 pm

Wow that looks Tidy! Nice work :thumbright:
Image

Nomis
Fireman
Fireman
Posts: 330
Joined: Wed Mar 02, 2011 9:04 am
Location: Cornwall

Post by Nomis » Sat May 07, 2011 11:40 pm

Thanks, I love using scaffold planks for making things (especially when they are free!). I don't know what type of timber they are cut from, but it's very easy to cut - and has plenty of strength.

There is a dip at the midpoint of the curve that I need to sort out - it's not as bad as it looks in the pics. When I joined the loop up there was about a 2" height difference to compensate for....

Nomis
Fireman
Fireman
Posts: 330
Joined: Wed Mar 02, 2011 9:04 am
Location: Cornwall

Post by Nomis » Fri Aug 12, 2011 4:54 pm

Update time 8)

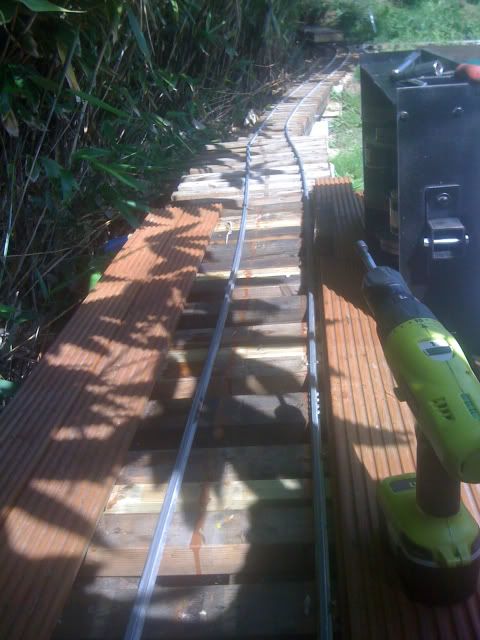
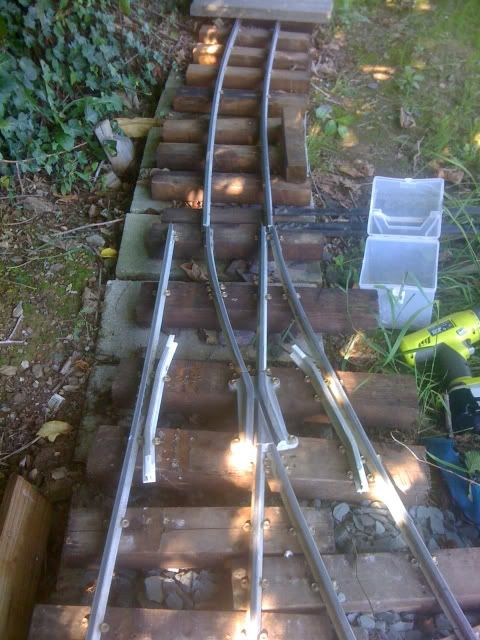
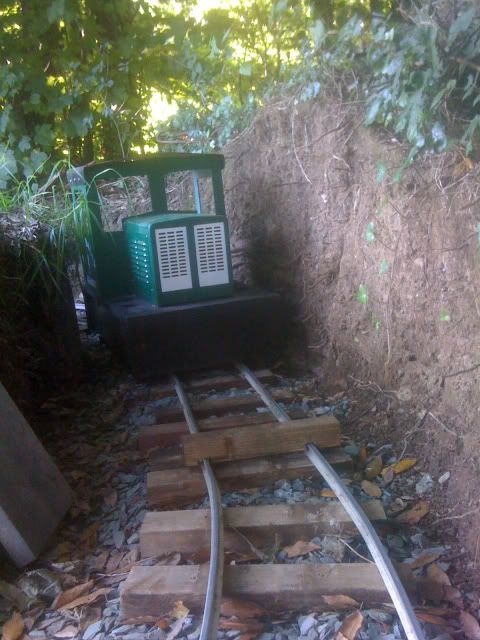
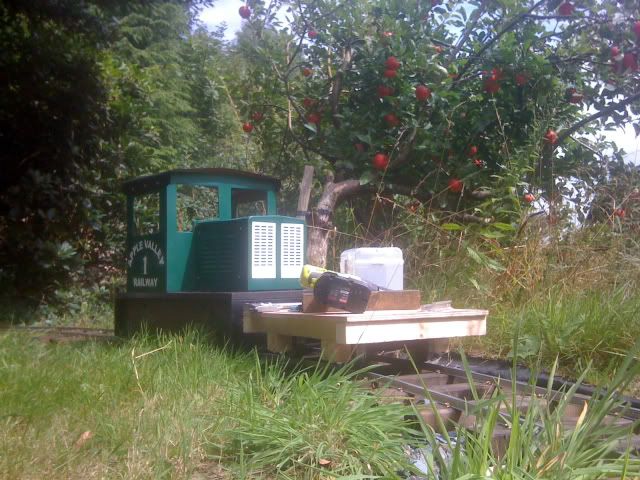
The railway has been gradually progressing, and blending into the garden over the last couple of months. We have had a few bbq's with friends, so the railway has had some testing.

I have found that the bogie wagon is not stable enough for "average" passengers. I am used to it, so have no problems, but there have been several derailments with other people riding :?

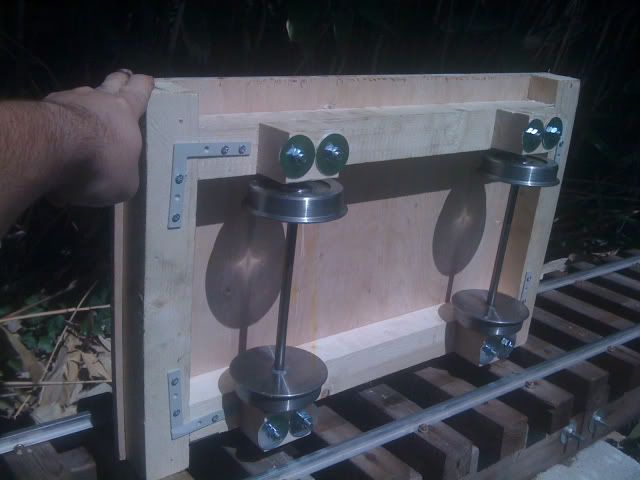
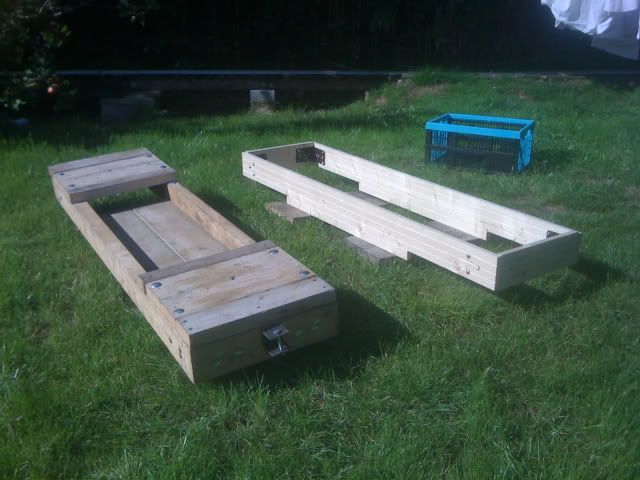
I will be improving the bogie mounting arrangements to help with this problem, but I have also been working on a much more heavy duty passenger carriage.

Image

Image

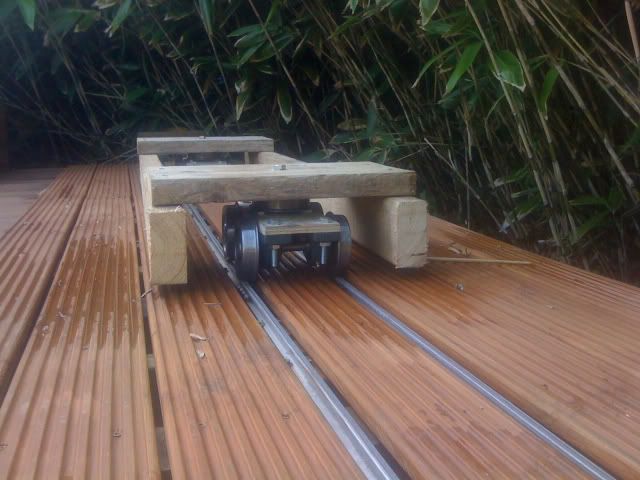
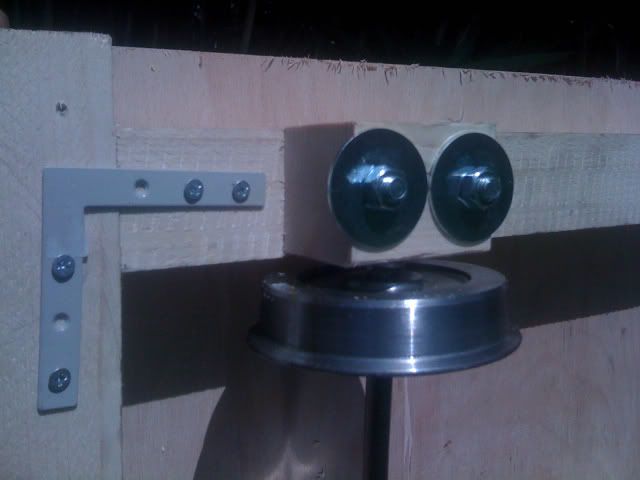
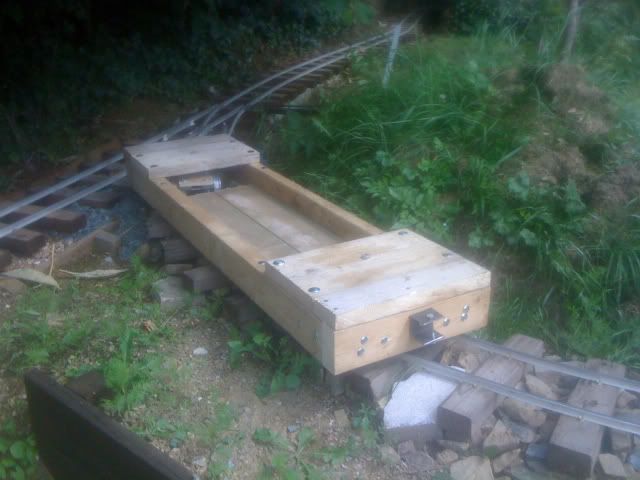
The idea is to get as much weight low down as possible. In addition, the chassis rails are just above rail level - making it impossible for the carriage to be tipped up when passengers climb on / off.

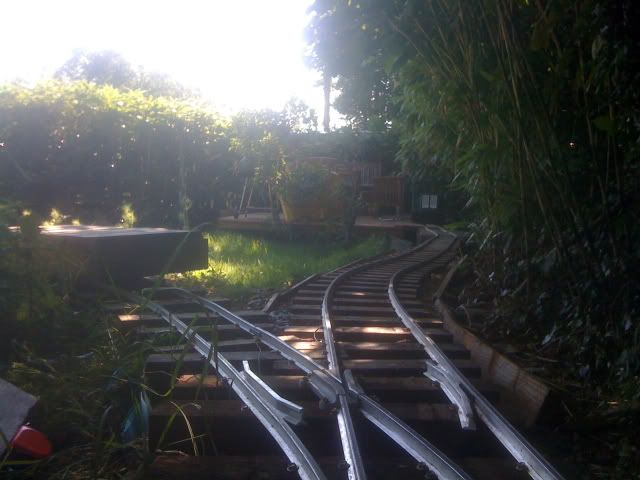
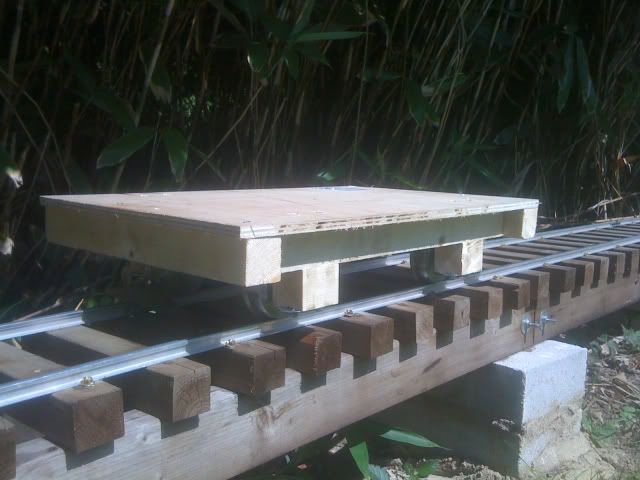
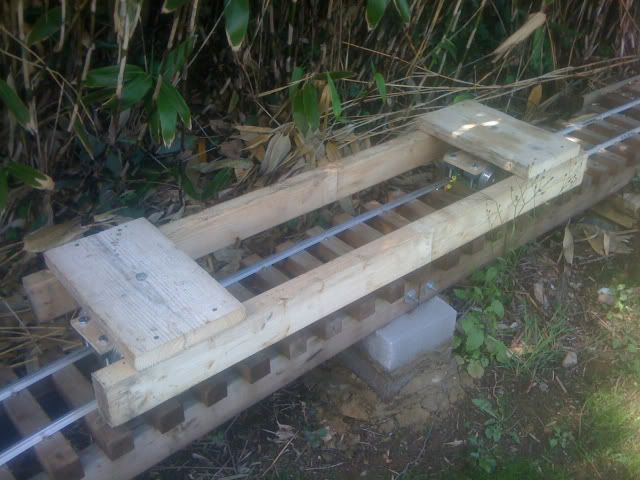
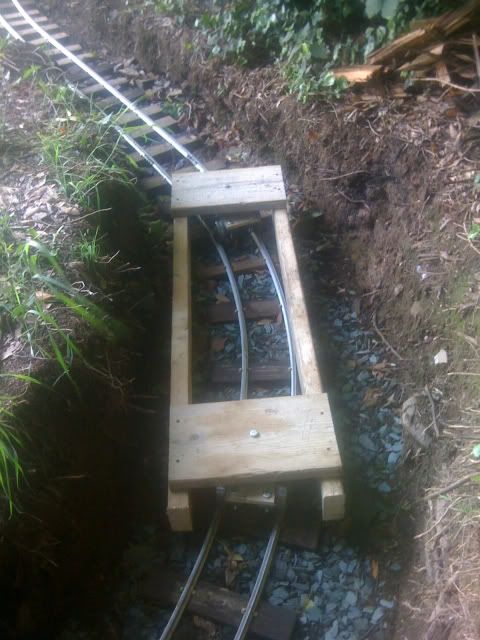
The new carriage is over 5' long, but can still squeeze around my tight curves (about 7' radius at the worst point :shock: ):

Image

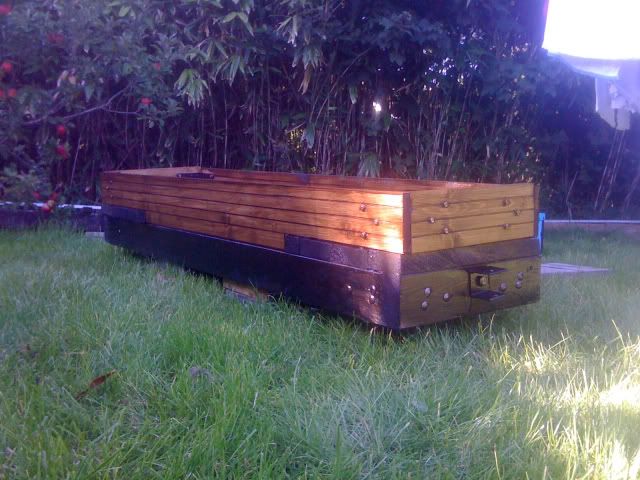
I specifically didn't want to go for a sit astride design, as I was concerned about passengers feet catching lineside objects.

With a floor and bufferbeams added it looks like this:

Image

Image

Image

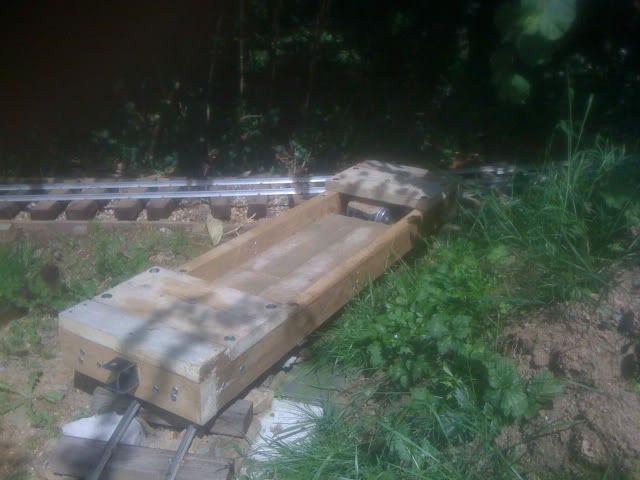
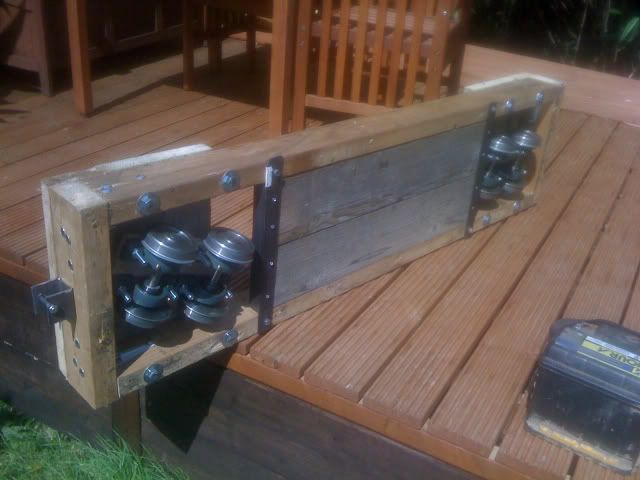
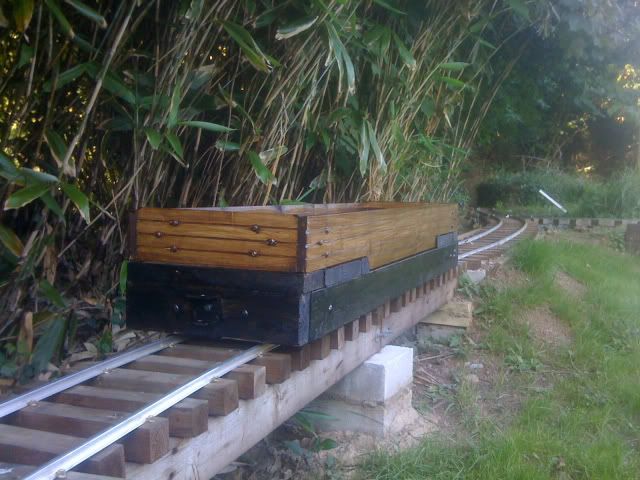
The coach is pretty heavy, and rides very nicely.
Next step will be to add some proper seats 8)

Happily, I know know that the loco can haul two bogie wagons, with two adults & a child on board, up the steepest gradient without any trouble - I am looking forward to some proper testing....


I have also started to build an engine / stock shed off the end of the decking:

Image

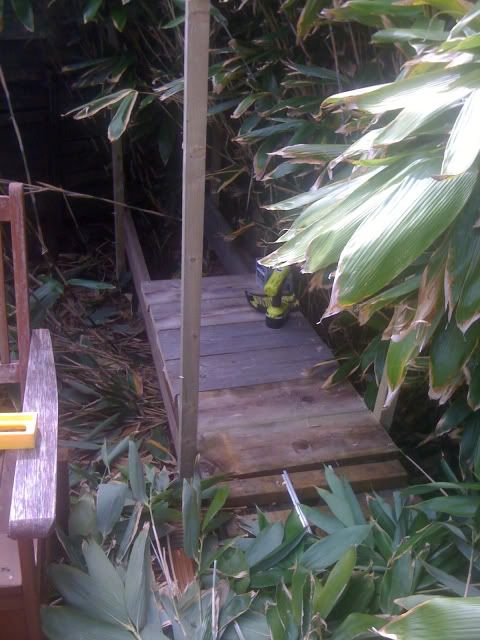
As the decking is about 2' off the ground, the shed is supported on metposts, and is largely built from discarded scaffold planks (my favourite building material ;) ).

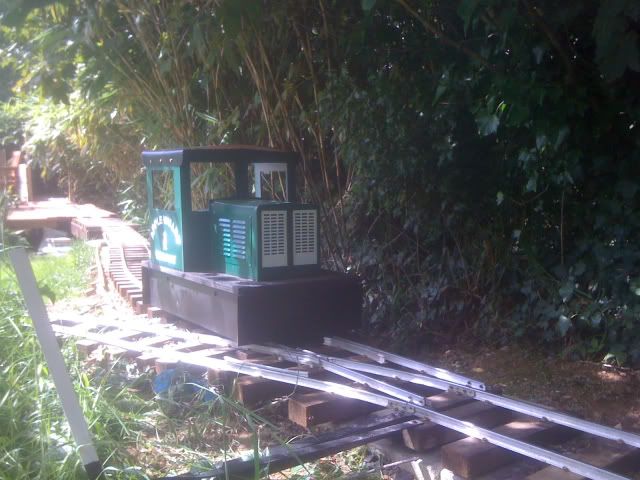
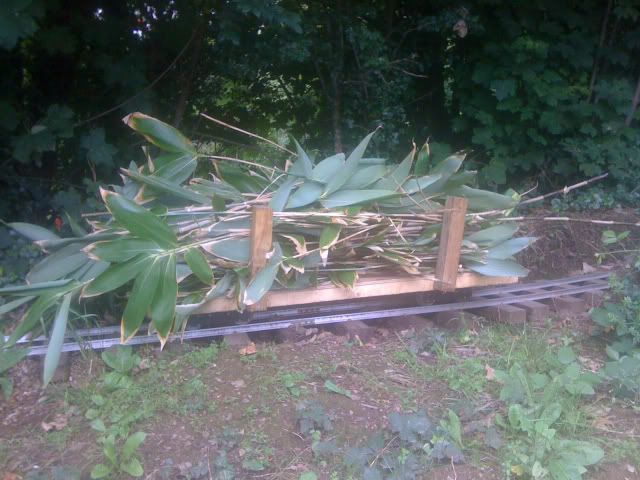
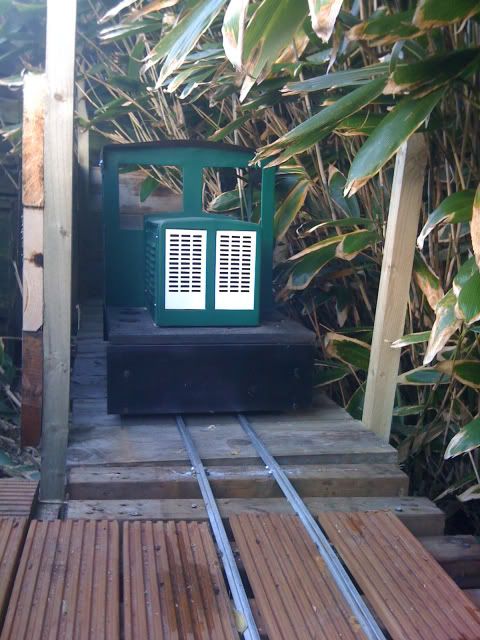
Bamboo cleared from the site was transported by rail, naturally:

Image

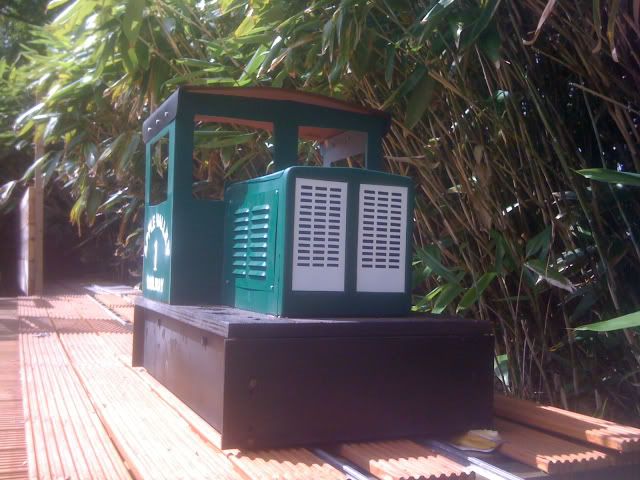
Number 1 tries the partly completed shed for size:

Image


Current projects are:
- Complete stock shed
- Complete passenger carriage
- Build drivers truck
- Improve bogie wagon

After that lot, I need to finish detailing the loco, build a weedkiller tank car, build 2x level crossings, and I am quite tempted to build a railtruck....

User avatar
Dr. Bond of the DVLR
Retired Director
Retired Director
Posts: 4485
Joined: Tue Jun 09, 2009 9:43 pm
Location: Suffolk
Contact:

Post by Dr. Bond of the DVLR » Fri Aug 12, 2011 5:01 pm

Excellent! I do like the way everything is being done to suit the needs of the railway. I'll have my bogie carriage finished as well soon and need to think of a driving truck. Where do you get your wheels/axles and bearings from?
Image
The railway which people forgot
(to build)

Nomis
Fireman
Fireman
Posts: 330
Joined: Wed Mar 02, 2011 9:04 am
Location: Cornwall

Post by Nomis » Fri Aug 12, 2011 6:23 pm

Wheels are from ride on railways, bearings are from ebay ;)

Heywood style minimum gauge principles apply for rolling stock design, I have been looking closely at some of the equipment on the driving creek railway for inspiration.

It really is amazing how effectively small railways can move large loads. The railway already has 1:30 gradients and 7' radius curves, none of the rolling stock is sprung, and yet trains still roll around smoothly carrying vastly out of scale loads.

I am looking forward to trying the loco on 24v, at a track with space to see what it can really do ;)


I have been thinking of ways to get some steam on the line, but funds are tight due to a new VW project.....

mhlr
Retired Director
Retired Director
Posts: 4336
Joined: Sun Oct 21, 2007 8:16 pm
Location: Shropshire, England

Post by mhlr » Fri Aug 12, 2011 10:16 pm

Excellent, really love the style and everything built on site.
I could bring Bluebell up now she's all fixed so you get steam on the line. But I'm not leaving it there. :lol: :lol:
Image

Nomis
Fireman
Fireman
Posts: 330
Joined: Wed Mar 02, 2011 9:04 am
Location: Cornwall

Post by Nomis » Sun Aug 14, 2011 11:27 am

That would be great!
It would be very interesting to see how a steamer handles the curves / gradients. I have been dreaming up plans fir an engine using one of the Stuart marine engines (with chain drive). A bit like an oversized regner 8)

I will let you know when I have my driving truck built....

mhlr
Retired Director
Retired Director
Posts: 4336
Joined: Sun Oct 21, 2007 8:16 pm
Location: Shropshire, England

Post by mhlr » Sun Aug 14, 2011 9:56 pm

Nomis:57571 wrote:That would be great!
It would be very interesting to see how a steamer handles the curves / gradients. I have been dreaming up plans fir an engine using one of the Stuart marine engines (with chain drive). A bit like an oversized regner  8)

I will let you know when I have my driving truck built....
Ok cool! And that sounds like a plan. I think I've seen something similar on the net somewhere, if I come across it again I'll put it up on here.
Image

Nomis
Fireman
Fireman
Posts: 330
Joined: Wed Mar 02, 2011 9:04 am
Location: Cornwall

Post by Nomis » Sun Aug 14, 2011 10:26 pm

MORI, builder of the Akubi Lightweight Railway did something similar:

http://www.ne.jp/asahi/beat/non/loco/locoM7/index2.html
http://www.ne.jp/asahi/beat/non/loco/locoM8/index2.html

As did David Wegmuller:

http://wegmuller.org/v-web/gallery/maximod


(from Japan, to California, to Cornwall, all in one post - how international!)

mhlr
Retired Director
Retired Director
Posts: 4336
Joined: Sun Oct 21, 2007 8:16 pm
Location: Shropshire, England

Post by mhlr » Sun Aug 14, 2011 10:30 pm

Ah I think that second link was probably it! :D
Image

Nomis
Fireman
Fireman
Posts: 330
Joined: Wed Mar 02, 2011 9:04 am
Location: Cornwall

Post by Nomis » Mon Aug 15, 2011 9:51 pm

I have been in contact with MORI, I asked him about how the tram loco performed. He said that the loco was a bit underpowered - but then his is only a single cylinder.

Model engineer ran a build on a live steam sentinel that used a Stuart D10 back in the day. There are some pics on the station road steam site:

http://www.stationroadsteam.com/archive/1903.htm
http://www.stationroadsteam.com/stock%2 ... /index.htm

Got started on building the driving truck this evening...

Nomis
Fireman
Fireman
Posts: 330
Joined: Wed Mar 02, 2011 9:04 am
Location: Cornwall

Post by Nomis » Sat Aug 20, 2011 7:53 pm

ALL CHANGE IN THE APPLE VALLEY:

After several near miss accidents due to friends / visitors struggling to balance on the 5" gauge stock, I have made the decision to go back up to 7 1/4" gauge.

The main reason for going with 5" was the fact the steam locos are so much cheaper - on the other hand 7 1/4" should be far more stable, will allow for endless future expansion (with the right space), and is well supported by the 7 1/4" society.

I just don't want the worry of a possible accident / injury to a visitor (especially a child :? ). Hopefully the wider gauge should make things so stable that any risk should practically nil.

My diesel loco was always "designed" to be suitable for either 5" or 7 1/4". So the wheelsets were removed for conversion:

Image

A before & after comparison:

Image

All refitted and ready to be re-railed:

Image

Re-gauging the track through the decking:

Image

And the point:

Image

A view back down the line, things are starting to look bedded in now:

Image

No 1 tests the re-aligned track through the cutting:

Image

I have taken Friday & Monday off work this weekend, so there should be plenty more progress yet...

ninge
Cleaner
Cleaner
Posts: 82
Joined: Fri Aug 20, 2010 10:54 am
Location: West Midlands

Post by ninge » Mon Aug 22, 2011 1:41 pm

crikey - big change! interested to see the results :D

User avatar
James-Buzz
Trainee Fireman
Trainee Fireman
Posts: 149
Joined: Sat Feb 19, 2011 7:41 pm
Location: Dunstable - UK

Post by James-Buzz » Mon Aug 22, 2011 9:24 pm

If your considering running steam on your line now its 7 1/4" just watch the spacing of your sleepers as the rail your using is soft.
James of Dunstable.

Nomis
Fireman
Fireman
Posts: 330
Joined: Wed Mar 02, 2011 9:04 am
Location: Cornwall

Post by Nomis » Thu Aug 25, 2011 9:35 pm

There wont be any Tinkerbells or Romulus(s) running in the garden any time soon! Any steam loco that runs on my track will have to be very small (and light).

I have got the four wheel truck to a point where it can be ridden and used for track testing:

Image

Image

Image

It's just the right size for a tool wagon:

Image

The wheelbase on this one is 13", it's as long as I would want to go with the tight curves (the loco is only 12"). There is a really big difference in stability - you would have to try really hard to get it to tip over. Being a rigid chassis it is good at finding any twists in the track :? I have pretty much got it all adjusted now though.

I also got a few more pictures in the recent sunshine:

Image

Image

Image

Current jobs are:

- Finish rolling stock shed
- Re-gauge and finish passenger wagon
- Weld loco wheels and sprockets to axles

Nomis
Fireman
Fireman
Posts: 330
Joined: Wed Mar 02, 2011 9:04 am
Location: Cornwall

Post by Nomis » Mon Aug 29, 2011 9:29 pm

Been working on the passenger wagon today:

Image

Image

Image

I'm pretty happy with how its turning out, still got to regauge the bogies, and make a pair of padded seats.

User avatar
LMS-Jools
Driver
Driver
Posts: 1325
Joined: Thu Sep 25, 2008 9:24 pm
Location: Northwest UK

Post by LMS-Jools » Tue Aug 30, 2011 5:13 pm

Looking Nice, very nice. :)

User avatar
andysleigh
Driver
Driver
Posts: 1362
Joined: Thu Oct 18, 2007 6:21 pm
Location: Guildford
Contact:

Post by andysleigh » Tue Aug 30, 2011 6:56 pm

cool stuff!
Image

Post Reply

Who is online

Users browsing this forum: No registered users and 1 guest