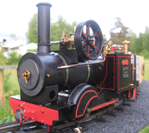
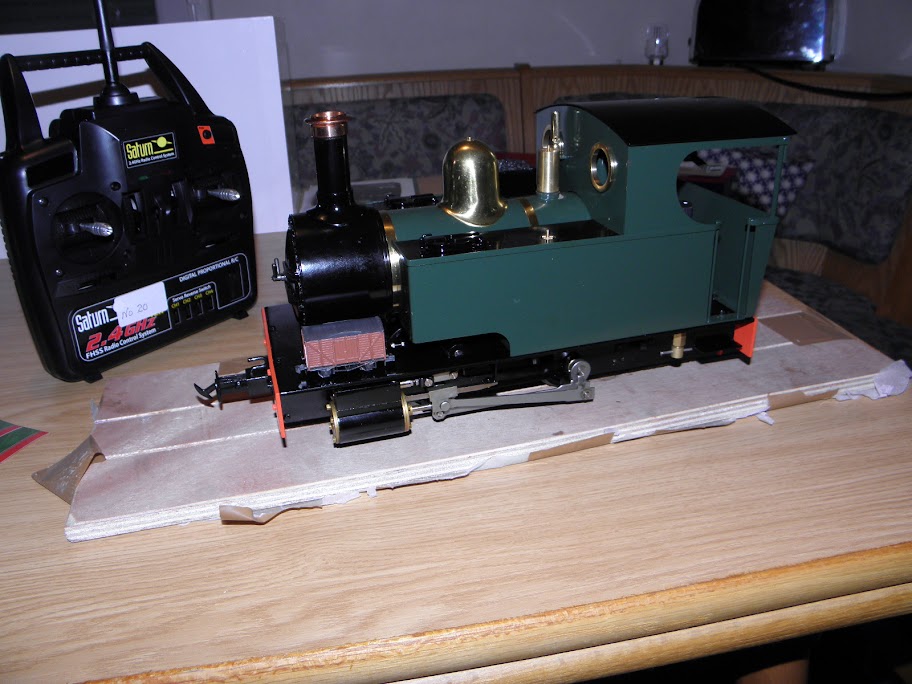
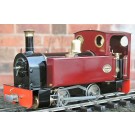
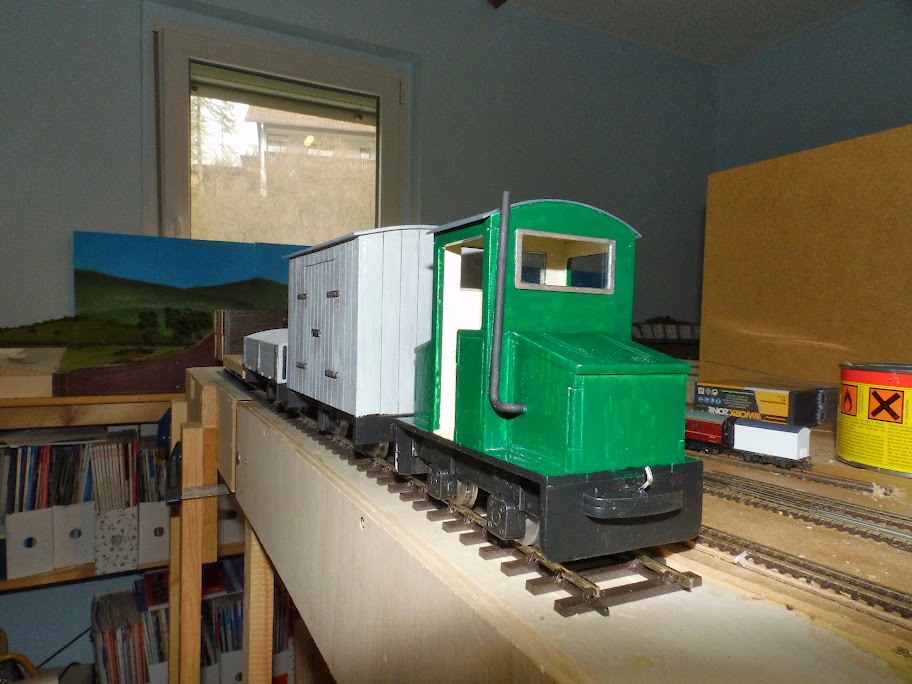
my name is Markus and I'm from Germany. I'm a nurse in a psychiatric hospital. Last year after a house move I decided to build a garden railway. I purchased an Accucraft Ragleth with radio control.
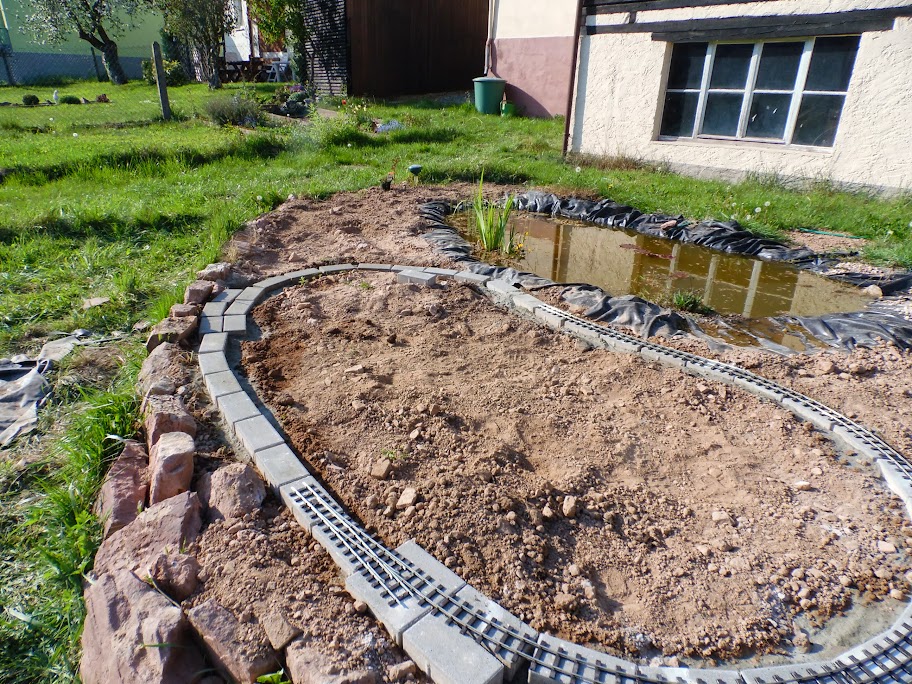
Today I will show you the area in which I plan to build the first part of my garden railway
I started with the digging of a garden pond which will be surrounded by the railway.
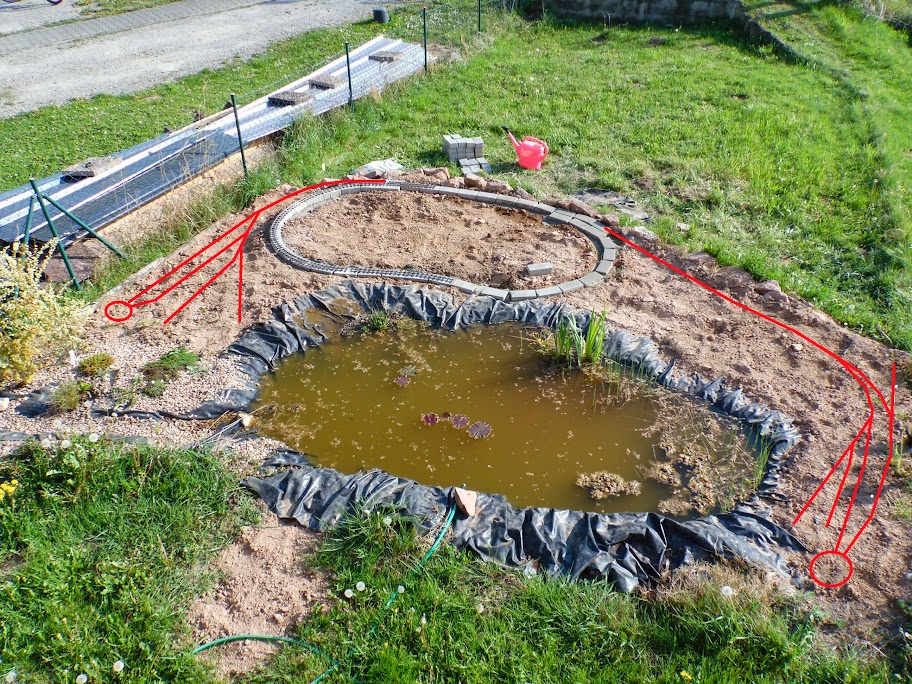
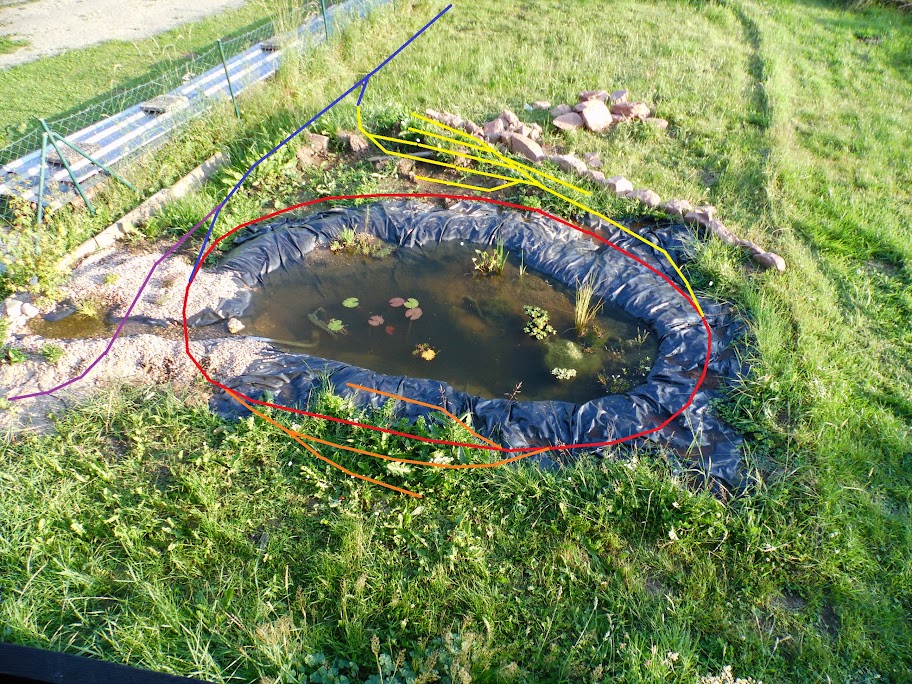
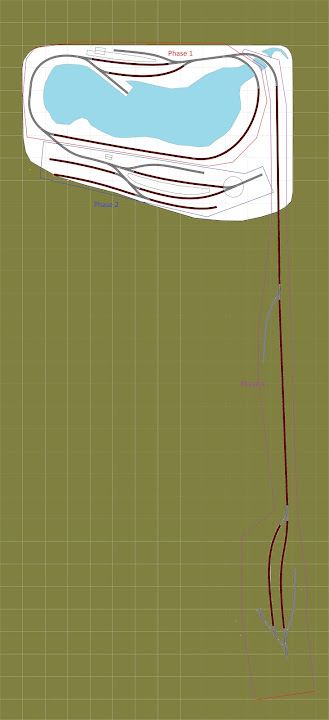
The red line shows phase 1, a simple oval of track around the pond.
Phase 2 is the orange line, which will be a small passing station with a harbour track and a goods shed track.
Phase 3 is shown by the yellow line, a second station. First a branchline terminus, but with the completition of phase 4 ist will be a through station.
Phase 4 is shown by the blue line and will lead the railway to one or two further station which will be build in the future.
Phase 5 which ist the violett line on the left, will be a short branchline, which serves a small industrie e.g. a mine or a gravel pit.
For comparison my first trackplan which show some difference to the now planned version.
Markus