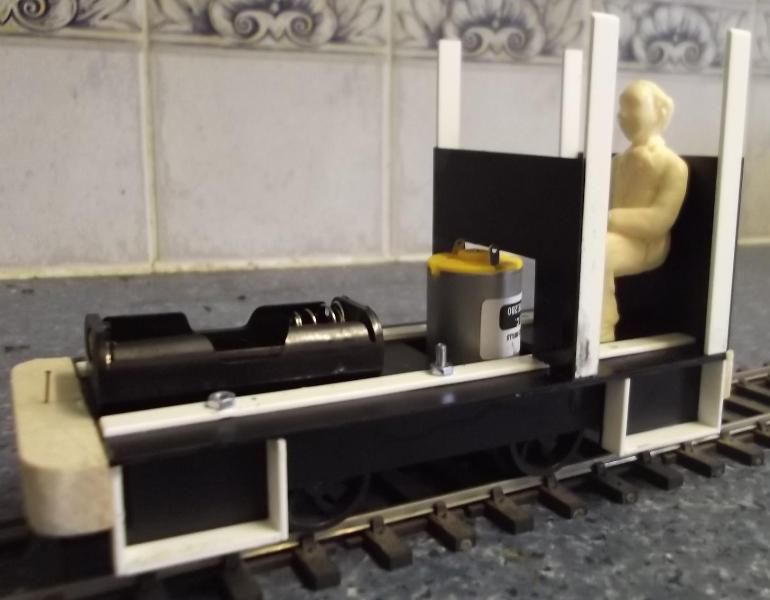
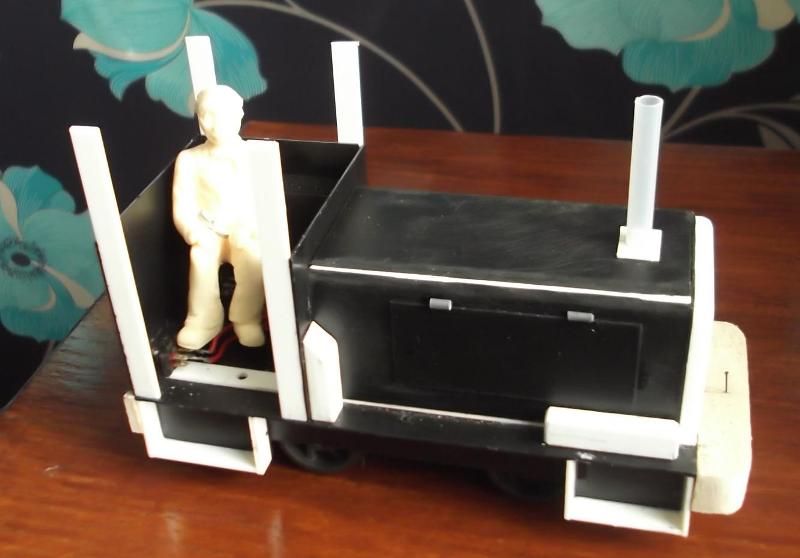
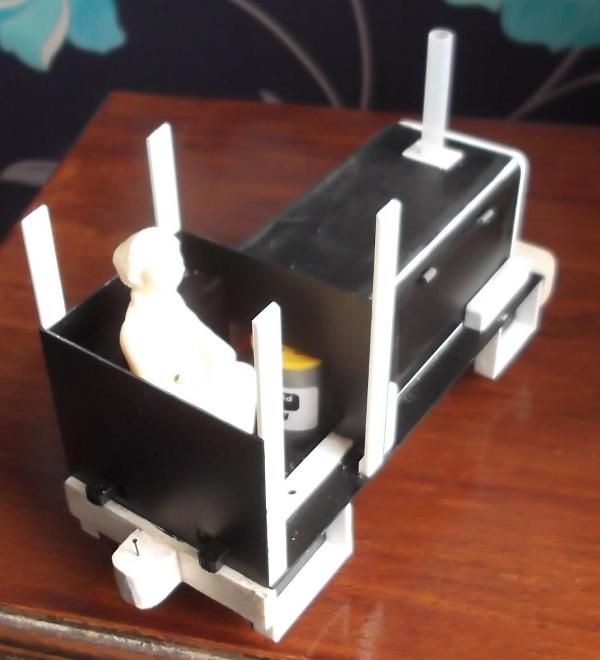
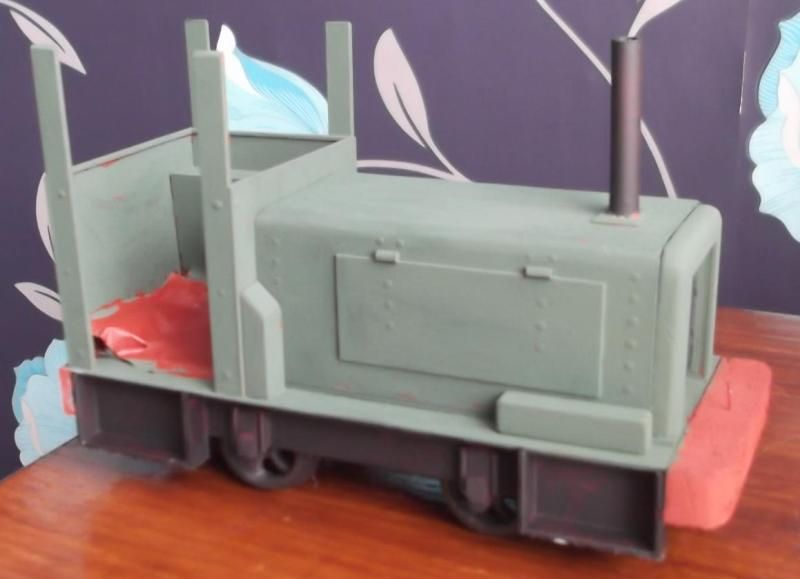
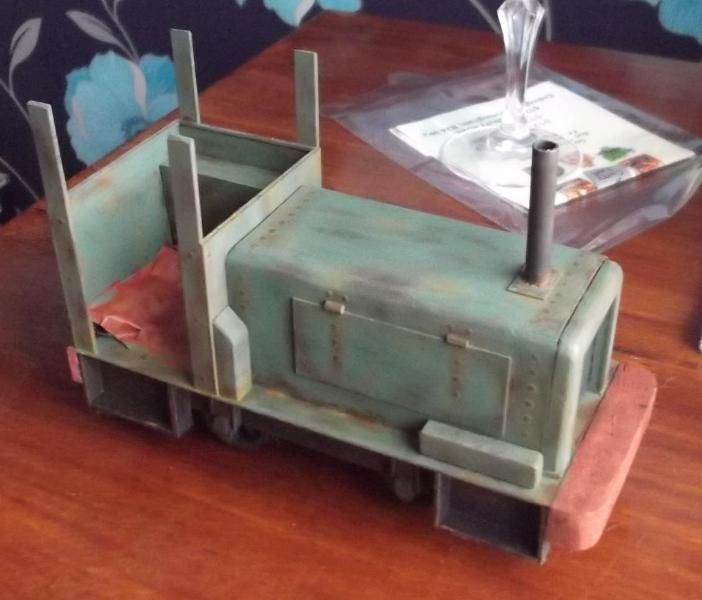
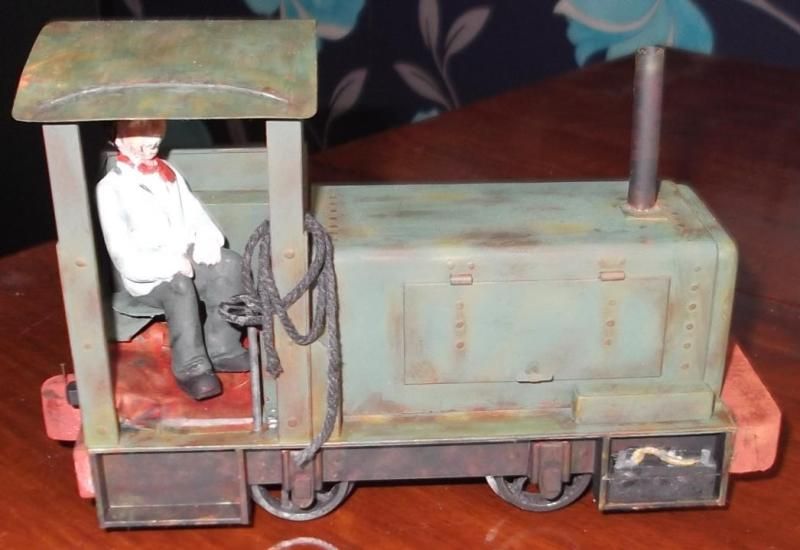
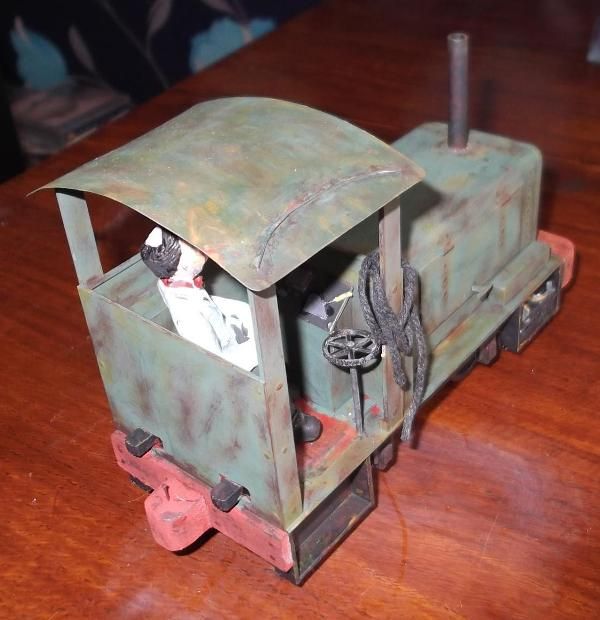
Based upon the AnDel chassis this is as far as I've got.
The plan (such as it is) is to have most of the bodywork bolted to the chassis with a simple lift off bonnet to allow access to the batteries. Going for a simple open cab with roof bodged on so that I don't have to worry about glazing and window fittings (I find it always a good idea to make the first attempt at anything as simple as possible to keep spirits and enthusiasm up).
The on/off and direction switches are going to be inside the back of the cab with their levers sticking through the rear bulkhead for operation from the outside - may disguise them as lamps. No proper speed controller but may rig up a DPDT under the bonnet to allow it to run off one battery or two.
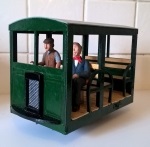
Not too sure about the driver's seat - do I mount it as shown with the driver facing forwards, or do I blank off one side of the cab and have the driver sat transverse?
Also I'm wondering if the step at the front is a bit superfluous - should I turn it into a tool box or some such?
Wiring next I think...and then the tricky task of the bonnet and shaping a nice curved top.
Any views or advice more than welcome!