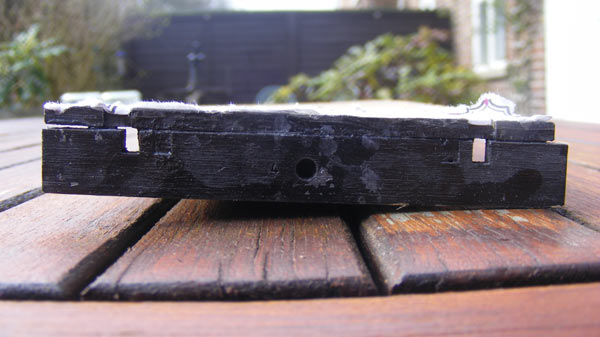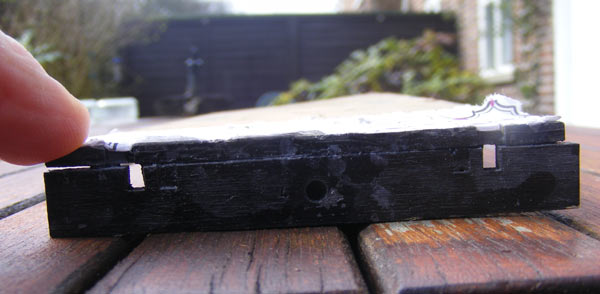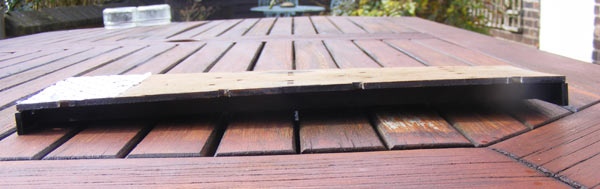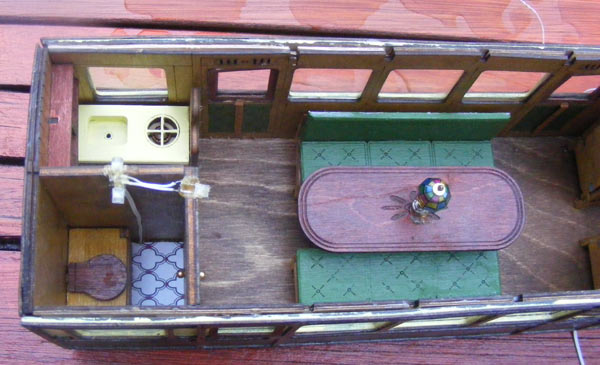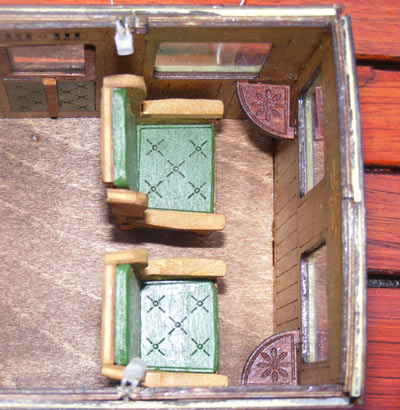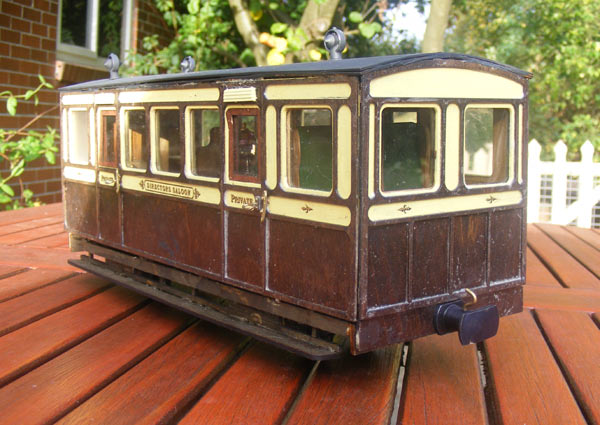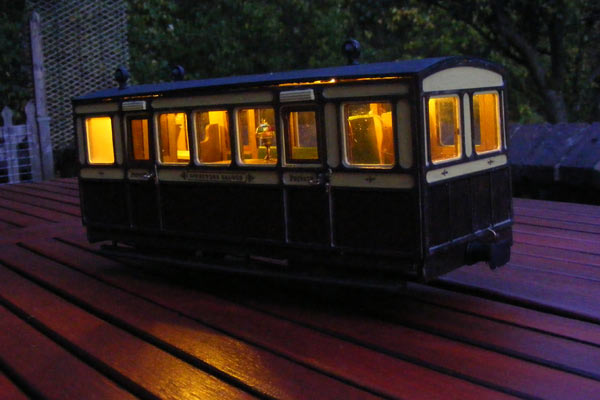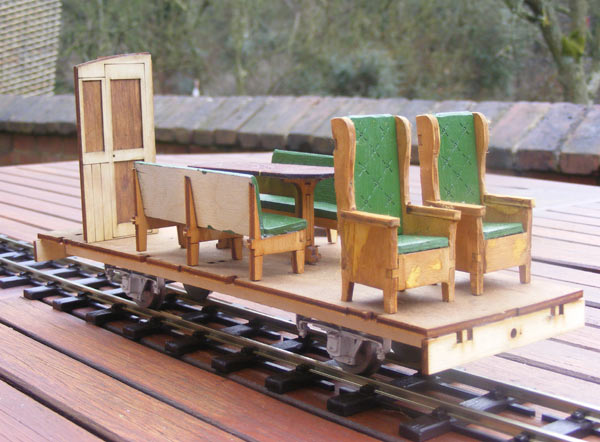
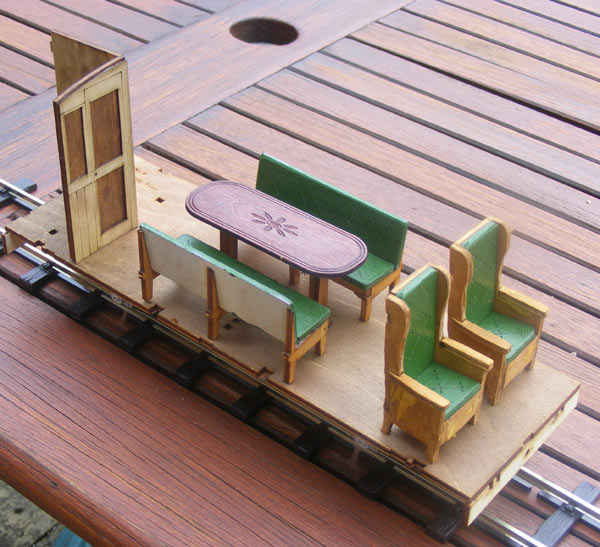
The pictures show the progress so far - more-or-less all the parts have been stained or painted - only the seats, table and underframe have been glued together - the parts (and the toilet bulkhead) haven't been glued to the floor yet, as the next job is to spray paint the underside - easier when there's nothing attached to it!
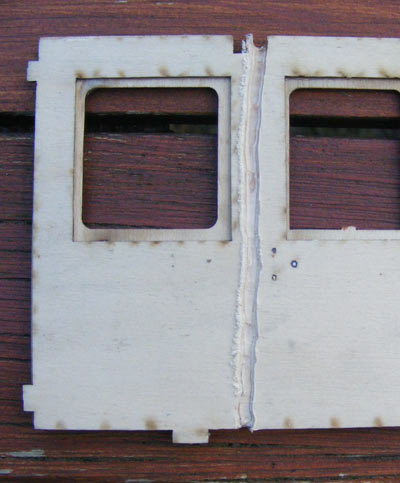
Some of the layers that make up the ends are currently "going off" between two sheets of plate glass in the workshop.