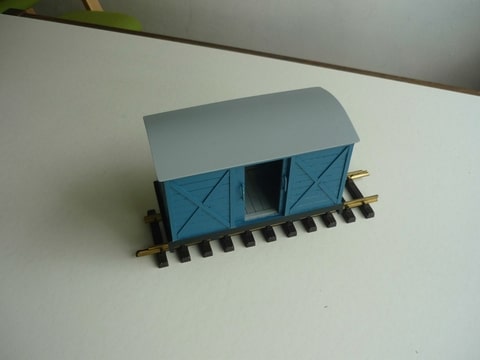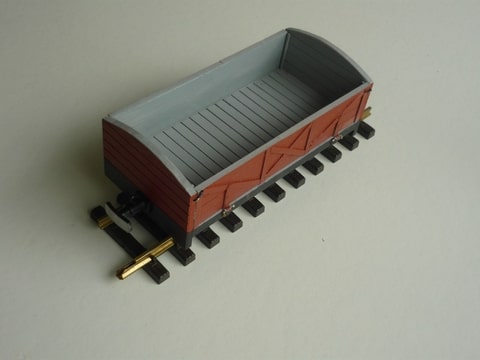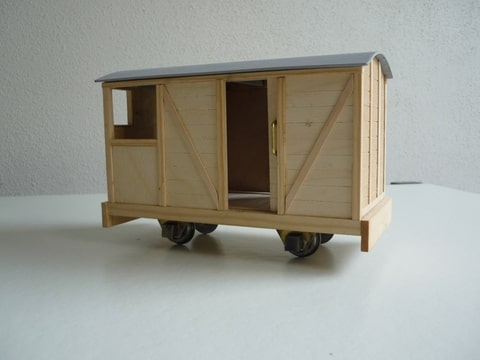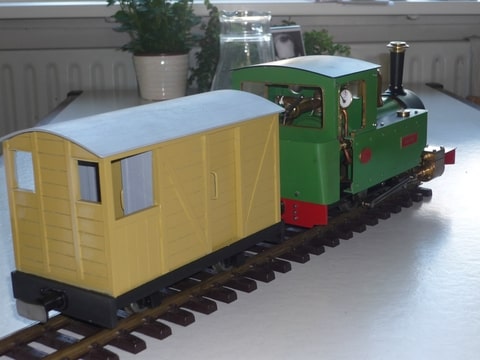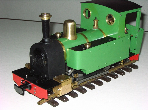

Yesterday I introduced myself. Now I 'd like to show you the goods stock I am building.
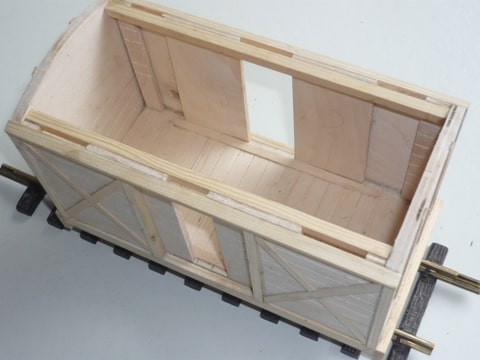
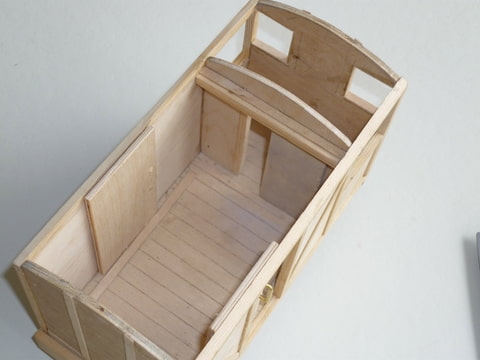
The base of the wagons is 6mm ply, the sides and doors are 3,5mm ply and the roof is 1,5 mm ply. I scribed the planking with a nail.
I turned the wheels of mild steel, the axles of silver steel. The gauge can be adapted to either 32mm or 45 mm.
Buffers are of mild steel.
There is one more wagon to come!
Greetings,
Erik