Here is a link to a "buy it now" for the motors:
http://cgi.ebay.co.uk/Electric-Motor-25 ... 2561ef6e20
If you want to go for a smaller loco, I would suggest using one motor, with a lower gear ratio (perhaps nearer 20:1).
Mhlr;
Thanks for the offer, all of my G scale stock is fixed at 45mm though. Where do you run your Polly?
Made-in-england;
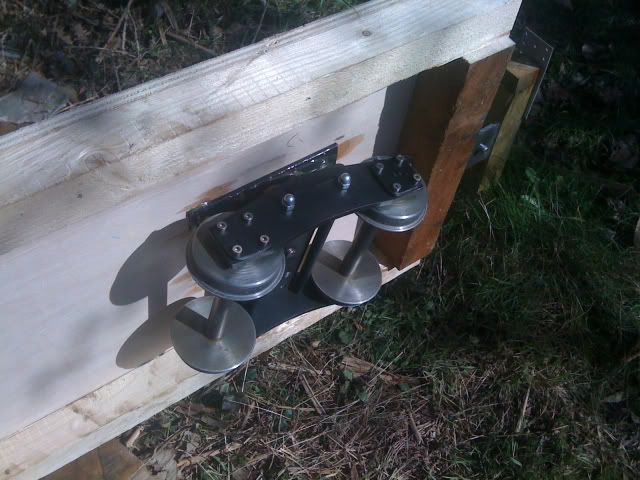
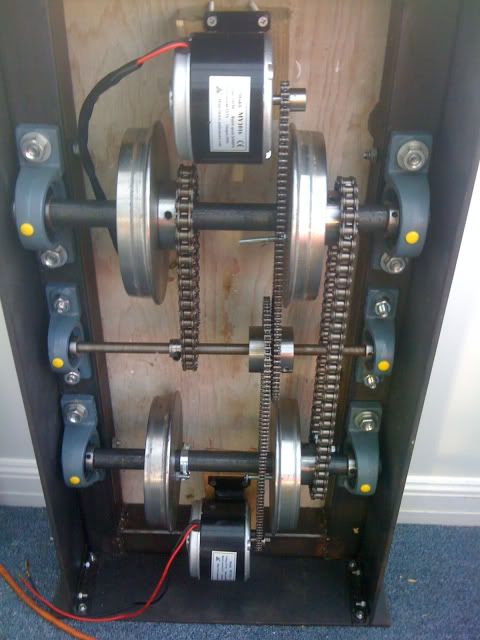
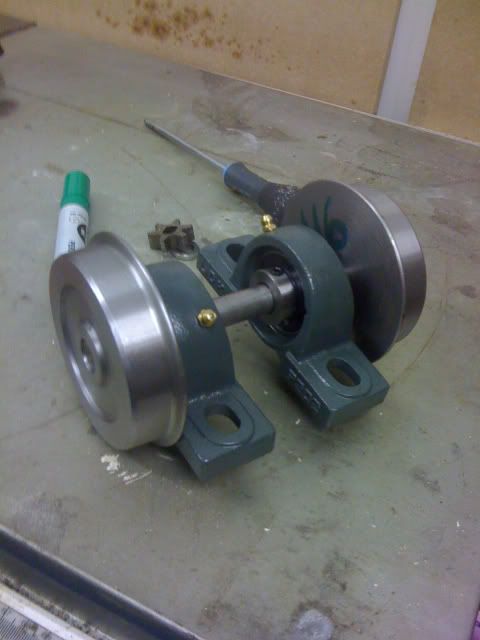
The wheels are bolted to the drive sprockets, which clamp to the axles using grub screws:
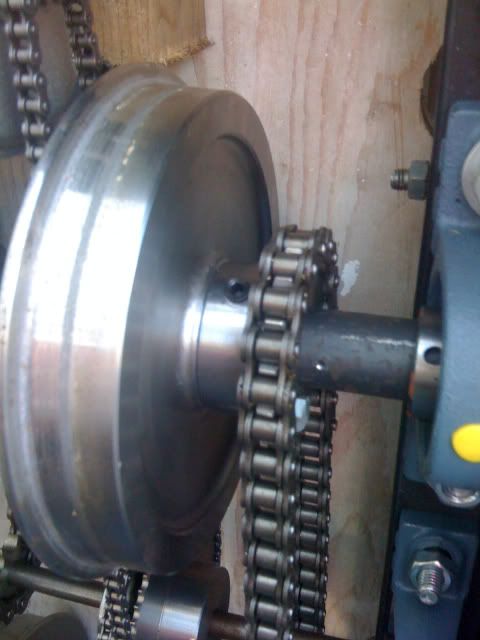
I would definately buy the wheels in. Paul at ride on railways, currently has a stock of 4" diameter wheels for £7 each! (I have already had 16 of them from him
Pauly;
I know what you mean about model engineers
The garden railway scene has had a real resurgence over the last 10 years or so - mostly through the efforts of a few outgoing people, willing to encourage new people and ideas. The bigger stuff doesn't seem to have really had this yet.
There are a few people out there though, have a look here http://www.5inchrail.com/sites.html for a directory of VERY interesting 5" gauge websites, and if you want some proper inspiration, the Akubi Light Railway in Japan http://www.ne.jp/asahi/beat/non/loco/loco0e.html has an excellent website, absolutely full of interesting stuff (cardboard for 5" loco bodywork anyone?!).
P.S.
I take no responsibility for the hours of your life that will be absorbed by clicking in the above links