The Apple Valley Railway (7 1/4" gauge)
This thread will be the story of the construction of my 5" gauge garden railway.
I started this over on the G scale central forum (for reasons that will become clear), but as it says "any scale, any gauge" up there ^^^, perhaps this site will be more appropriate :)
Last Summer, my wife and I bought our first house.
After years of living in a variety of rented houses, some with temporary G scale railways, I immediately started to scope out the garden for railway building.
In fact, the garden was the main reason that we bought the house. It is a large corner plot, that had been well planted out with shrubs & fruit trees. Years of neglect had resulted in a thick jungle to hack through!
Some parts of the garden had some interesting blockwork hidden in the undergrowth:
Turns out that the husband of the previous owner was a model railway enthusiast, and had "a train in the garden" according to the neighbours! :shock:
Thanks for the welcome
This is a real DIY project of a miniature railway - no well equipped workshop, or expensive off the shelf rolling stock here.....
So,
After much jungle clearance (and swearing at pampus grasses), I had a clear area to start railway building.
Initially i began with a G scale line:
The above pictures take the project up to last autumn / winter (approx 4 months from moving in to the house).
A drivers eye video of a ride around the line:
http://www.youtube.com/watch?v=TBj11p71RRA
And a ride behind my live steam "Ruby":
http://www.youtube.com/watch?v=xEUIQjDe9kQ
In the winter, the snow came:
http://www.youtube.com/watch?v=TBj11p71RRA
And a ride behind my live steam "Ruby":
http://www.youtube.com/watch?v=xEUIQjDe9kQ
In the winter, the snow came:
After much thought, and measurement around the garden, I figured that something a little more ambitious was needed.
Some time spent on various miniature railways suppliers site, and ebay trawling, gave me some ideas.
So I started on the construction of a loco:
The bearings are all self aligning pillow blocks (25mm bore), bought straight off of ebay. The axles are 25mm black steel bar, bought from my local steel stockist (steeltech, Tavistock), cut to length for me.
The chassis has an inner frame of 50mm box section, with an outer chassis of 6mm plate. The inner frame is welded (by me, with a DIY quality MIG welder), the outer chassis is bolted together with small sections of angle.
All of the steel plate was cut to size by Steeltech.
The cost for all the steel, including cutting & VAT was £60.
Things are a big bigger than G scale!
The chassis is approx 30" long by 18" wide, and it is already HEAVY!
The loco will be a 1/5 scale model, inspired by this Whitcombe (as running on the Kauai Plantation Railway in Hawaii:
Wheels were a bit of an expensive extravagance, £120 for 4.
I bought them from PNP railways http://www.pnp-railways.co.uk/
They are 6" diameter, and are CNC machined steel.
I fabricated a simple coupling from 50mm box & a bit of flat strip:
First test of the rolling chassis:
This was my first attempt at the drivetrain:
The motor is a 280W 24V DC unit, intended for use in electric scooters (ebay £30 new).
The transmission is by chain & sprocket, via an idler shaft. Total gear reduction is 13:1.
All of the sprockets, chain, chain links etc were all new from ebay (each sprocket was approx £3 - £6).
The sprockets were supplied with a pilot hole drilled to about 10mm, so needed drilling out to suit my axles. I also drilled and tapped the bosses to take grub screws to lock the sprockets to the shafts.
More loco progress shortly....
The overall plan for the railway is this:
Construction begins!
The above pic is in the area at the far left of the diagram.
The garden drops down in this area, even with a 1:50 gradient, a elevated section of track was needed.
Concrete block piers support (full size) railways sleepers to make an extremely solid foundation.
Building materials from travis perkins, sleepers from my local salvage yard (£20 each). Rail is 16mm tall alloy from Maxitrak http://www.maxitrak.co.uk/ and cost about £9 for each 8' length.
My Dad works at our local college, and keeps me supplied with scrap timber in all sorts of odd lengths - perfect for chopping down into sleepers
On this section, the sleepers are 2" x 3" x 24".
Cost for an 8' track section is therefore under £20 (plus some time / effort). That's about £7.50 per yard
Building in this scale is heavy work for my poor car!
A few weeks later, I had to pay to have a new clutch fitted - can't think why
The track continues to grow:
I decided to add a 16' bridge section:
The decking is also coming along nicely:
I also decided to build a simple "work truck" to help with construction:
The wheelsets came from ride on railways http://www.rideonrailways.co.uk/ and were a bit of a bargain at £30 each.
A view down the line:
At this point I was planning on going with 7 1/4" gauge (to give a 3' prototype).
I took the loco chassis to a friends 5" gauge railway for some testing:
It hauled me along fine, and at a good speed. However, a 1:100 gradient made it slow somewhat, so I decided to upgrade to twim motors (560W total).
For the ground level track, I used the same basic construction as on the G scale:
Testing the practicality of a sub 10' radius curve:
A view of phase A, note the position of the G scale track:
-
- Driver
- Posts: 4650
- Joined: Wed Dec 30, 2009 2:27 pm
- Location: Forgotten Realms
- Contact:
After much thought, I decided that sooner or later I will want a steam loco.
Now in 7 1/4", this means spending a minimum of £4000, but small 5" gauge engines can be had for less that £2000 - close to G sclae money ;)
A quick look at the cost of castings & drawings (not to mention all the necessary machine tools) shows that building your own loco is NOT a cheap option. However, model engineers tend to be an ambitious bunch, and after completing that modest tank engine often move onto more glamorous projects.
Companies like station road steam http://www.stationroadsteam.com/ and maxitrak http://www.maxitrak.co.uk/secondhand.asp list second hand locos, often supplied steam tested and having been mechanically checked over.
Anyway, I decided that 5" was the way to go so I regauged the track that was already down:
Well spottedI spy two bugs!!!!
I have recently sold the baja bug though.
The orange one, is my wife's '71 GT beetle.
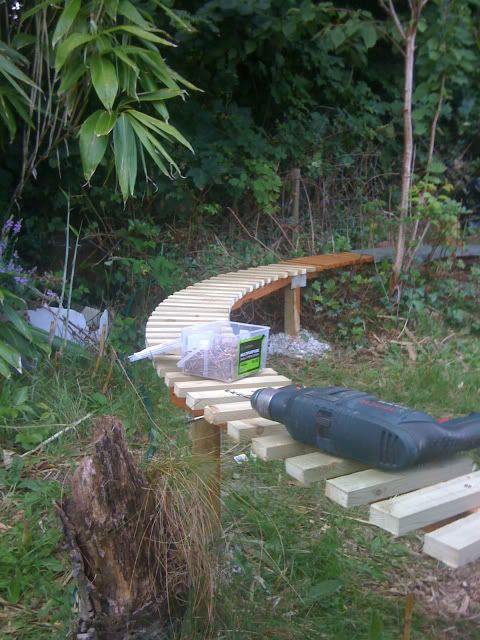
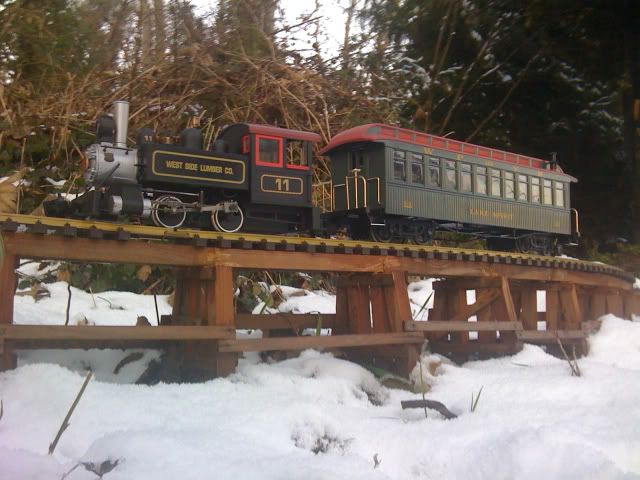
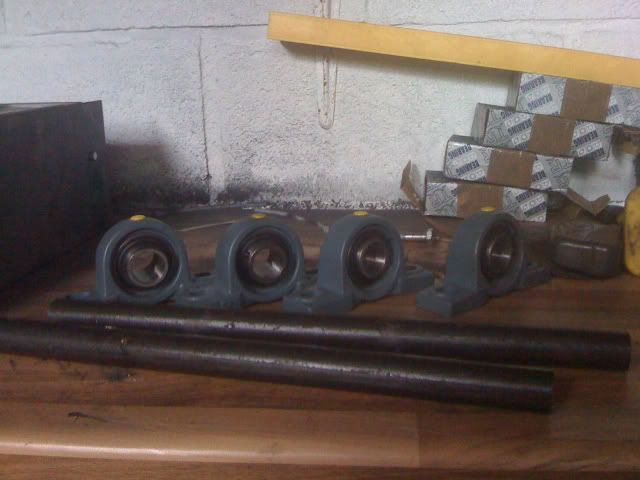
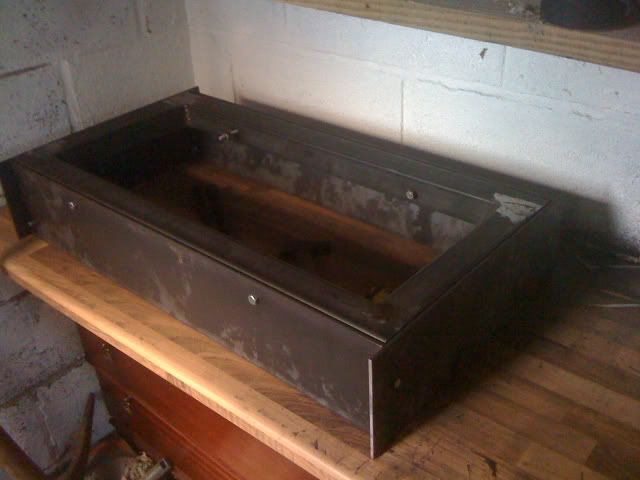
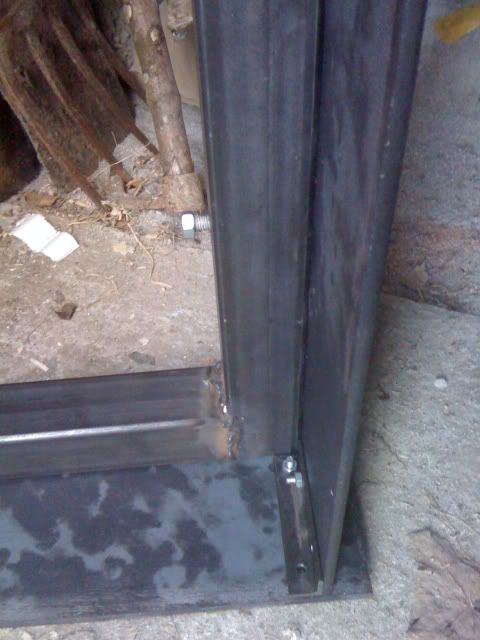
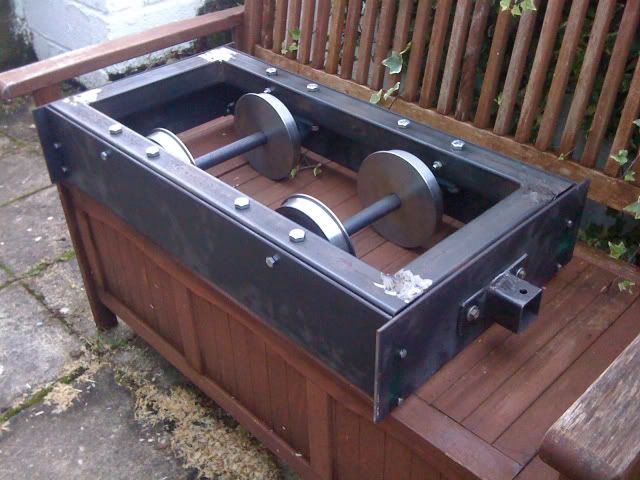
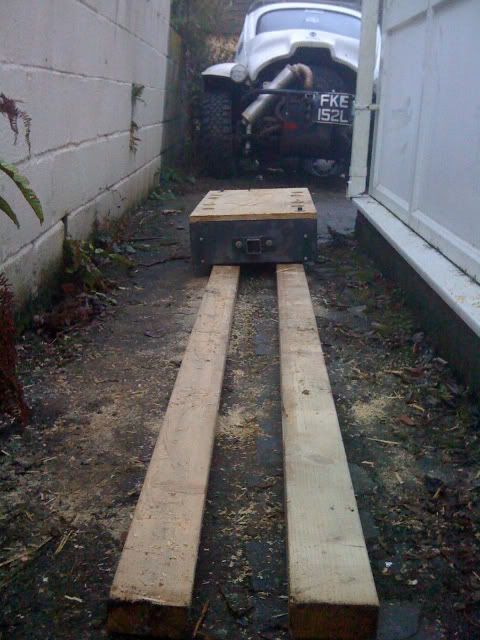
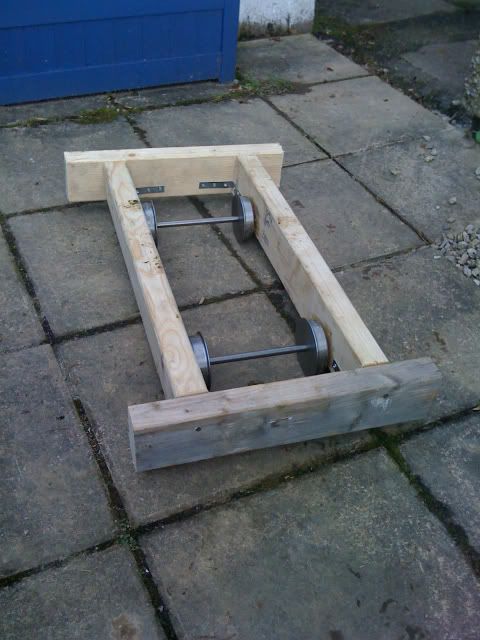
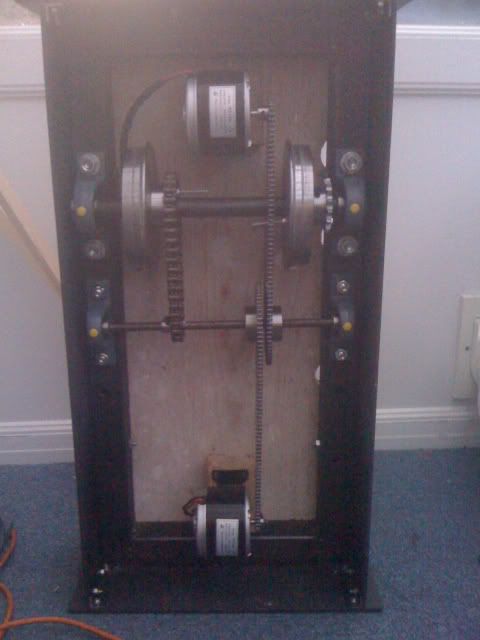
I have started to construct the bodyshell for the loco:
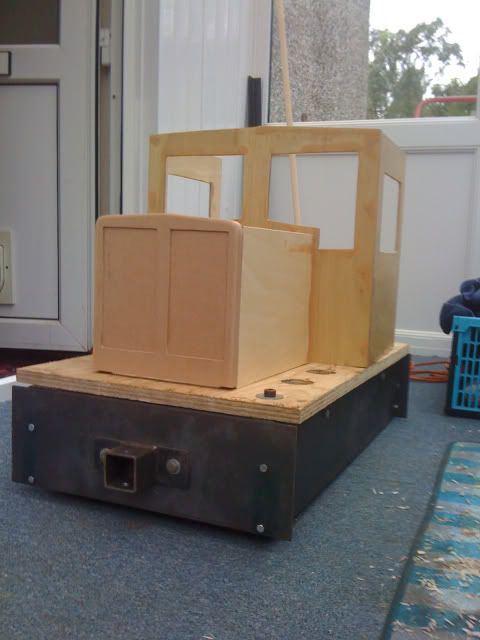
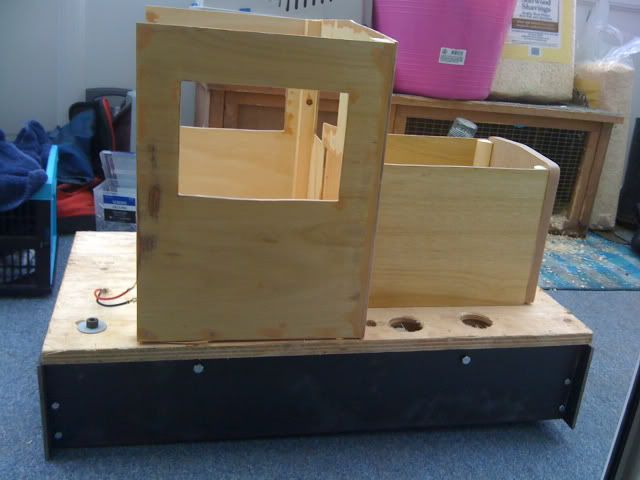
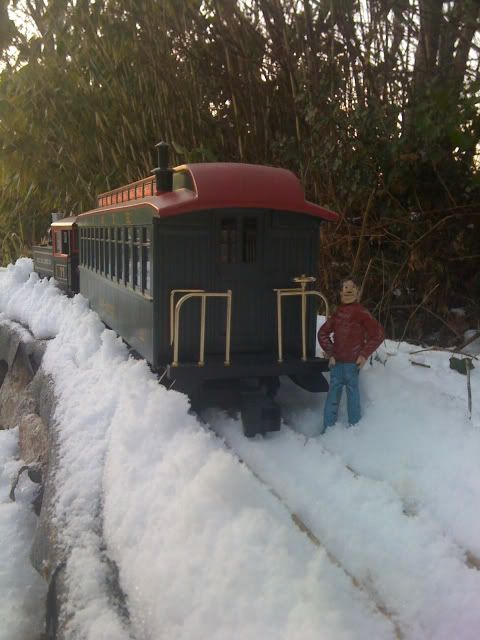
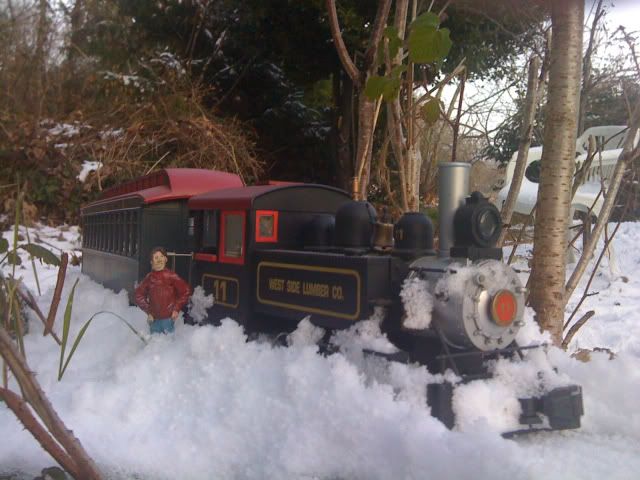
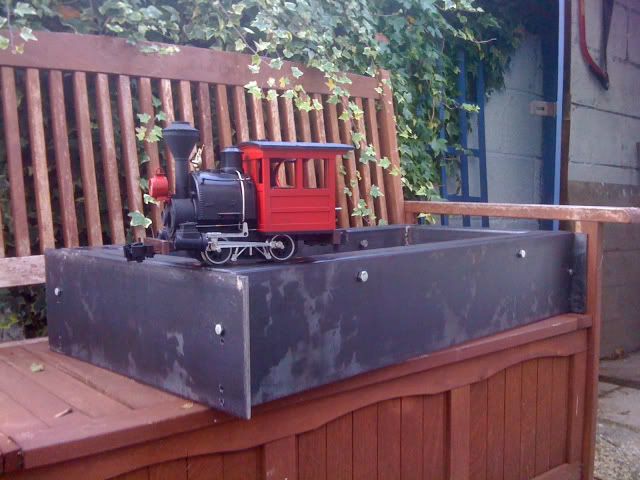
The finished loco stands approx 2' above rail level.
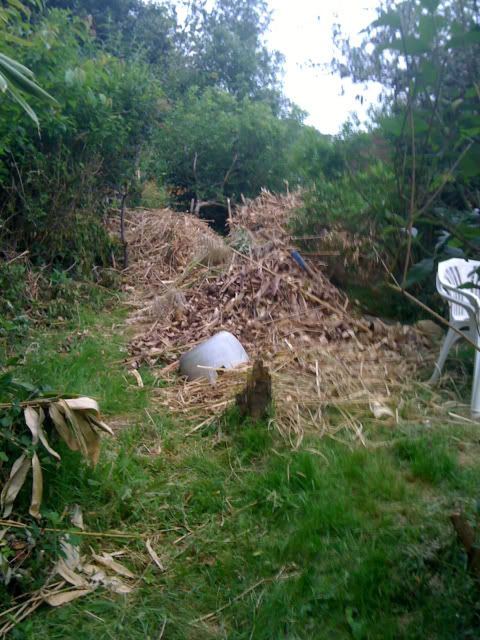
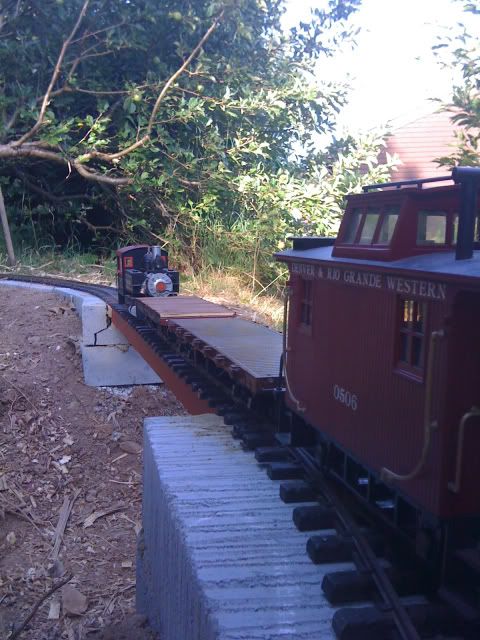
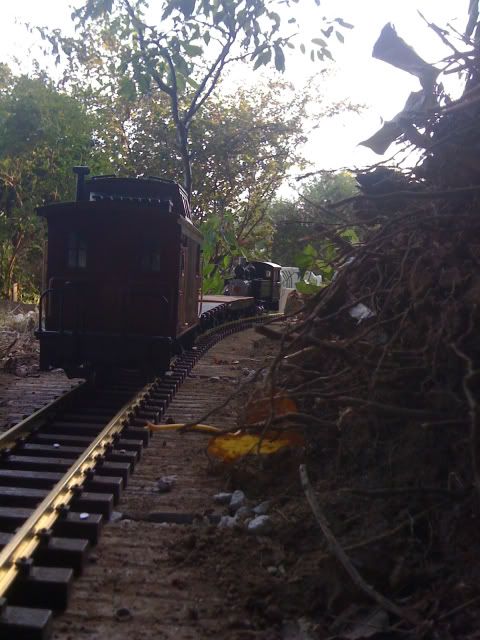
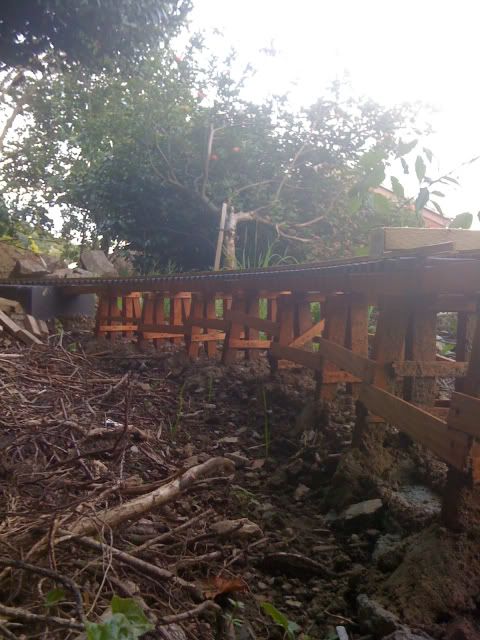
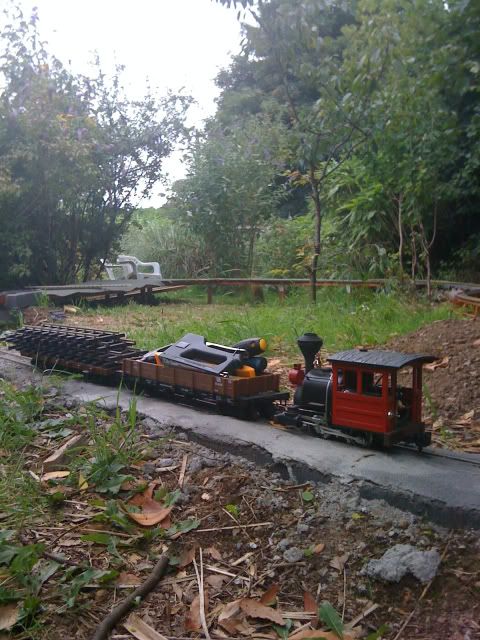
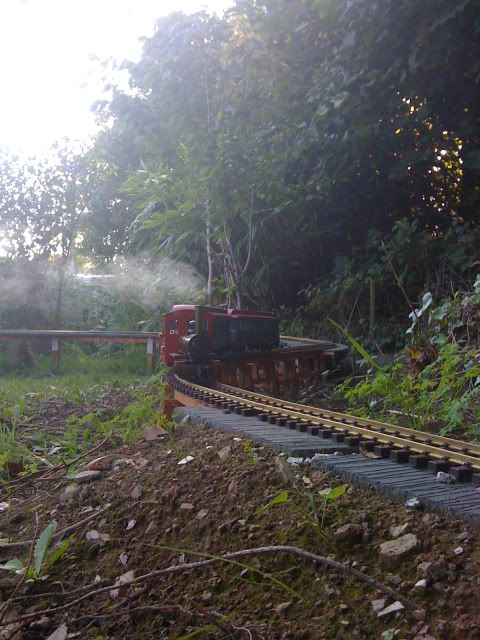
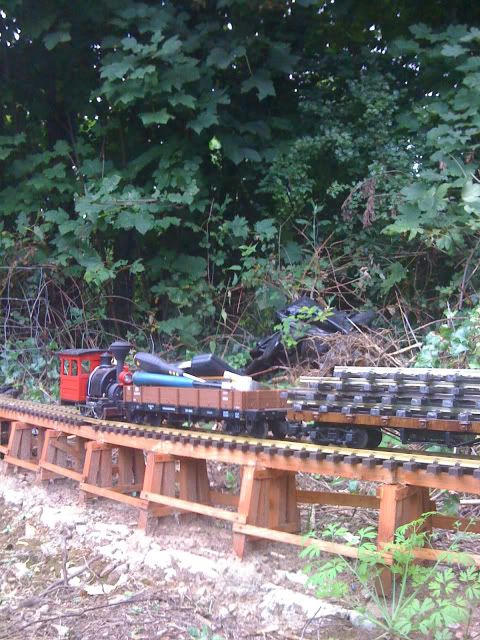
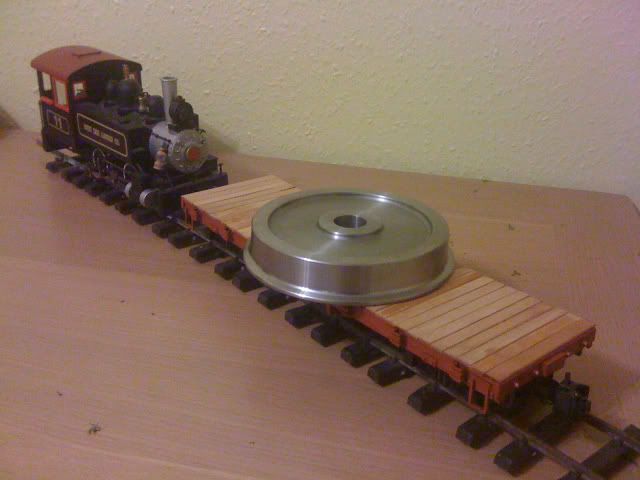
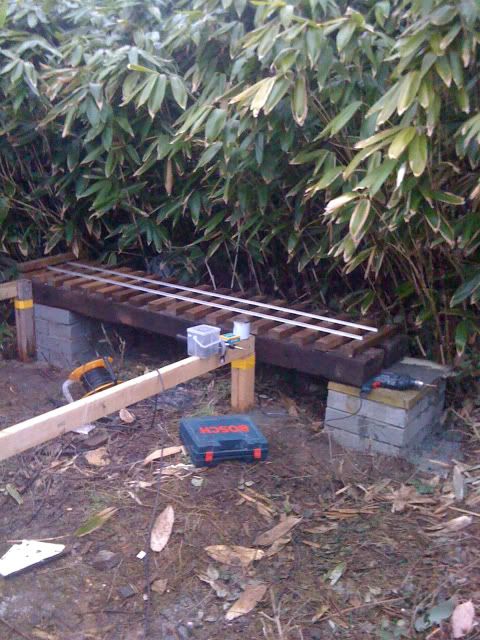
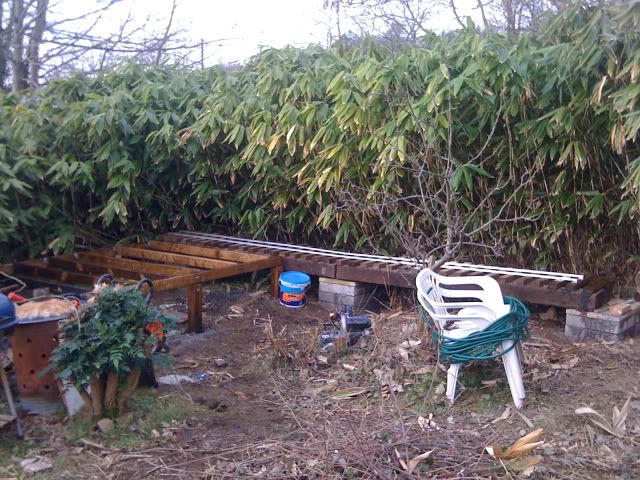
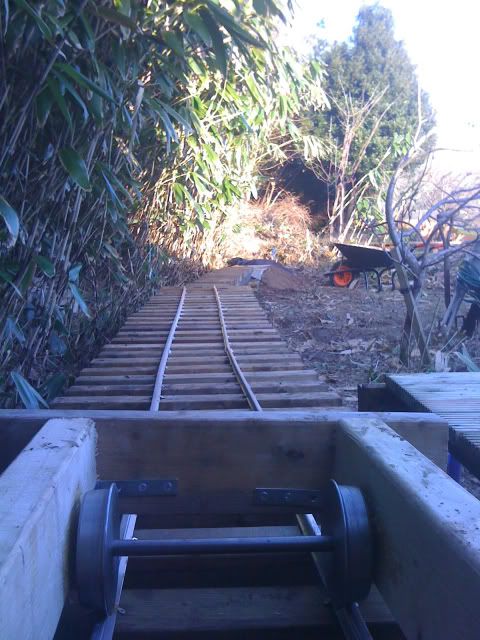
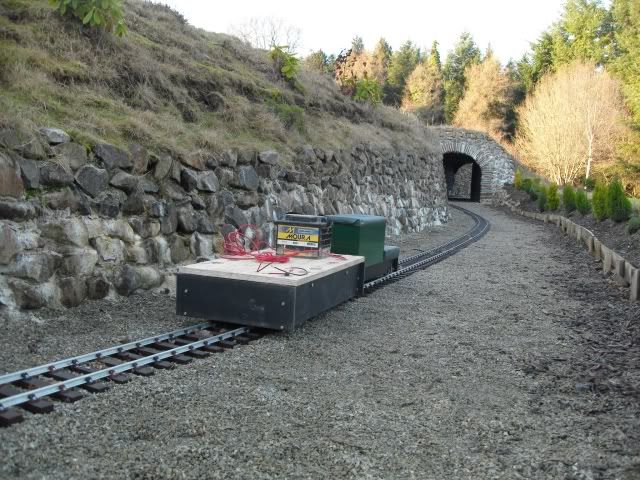
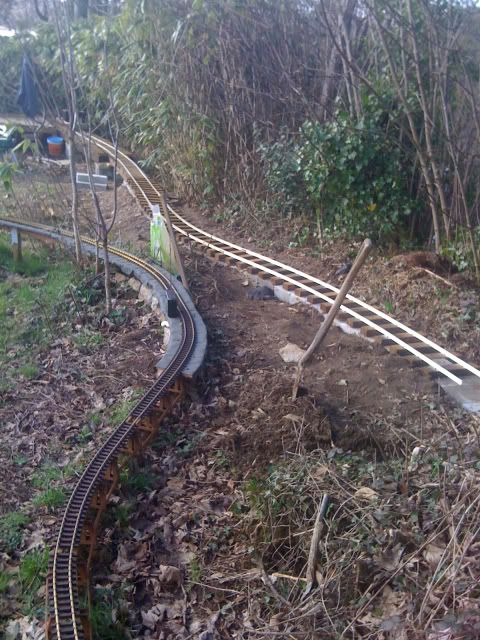
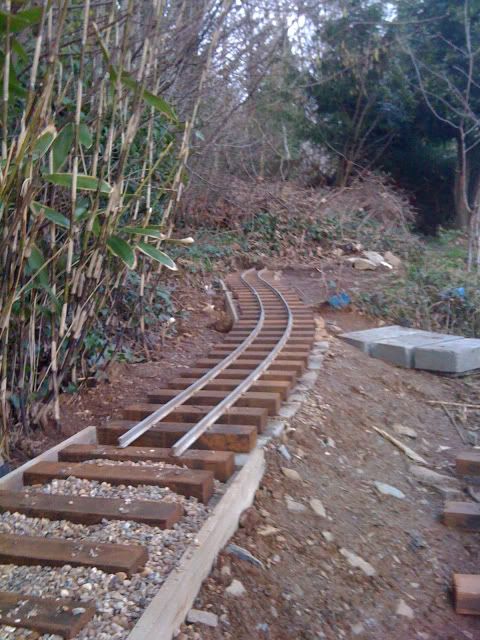
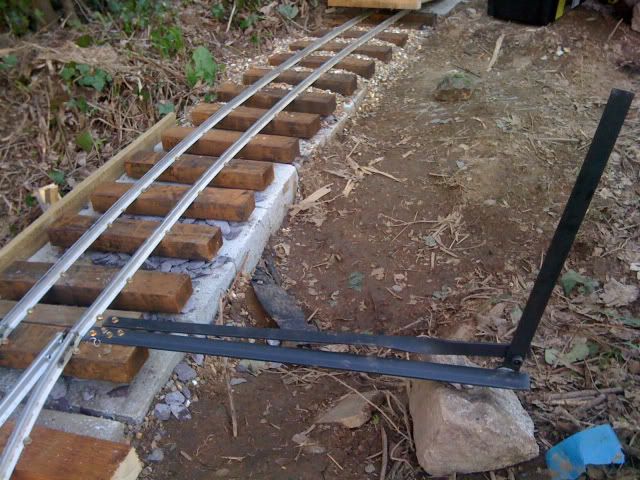
Last train on the G scale track:
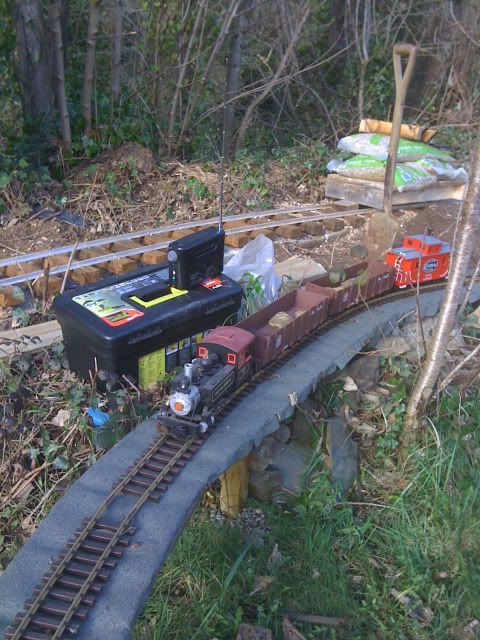
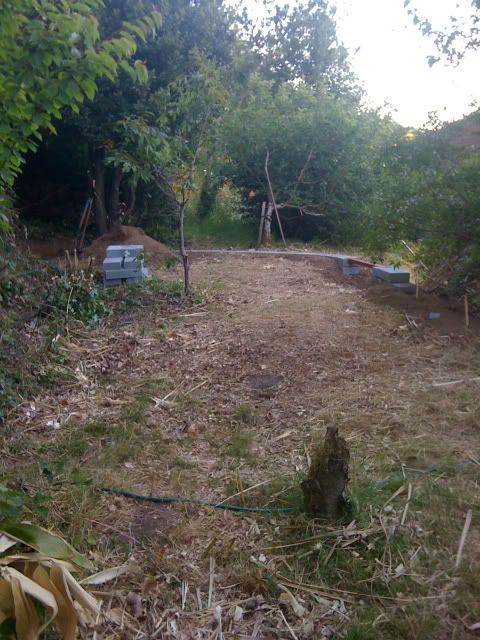
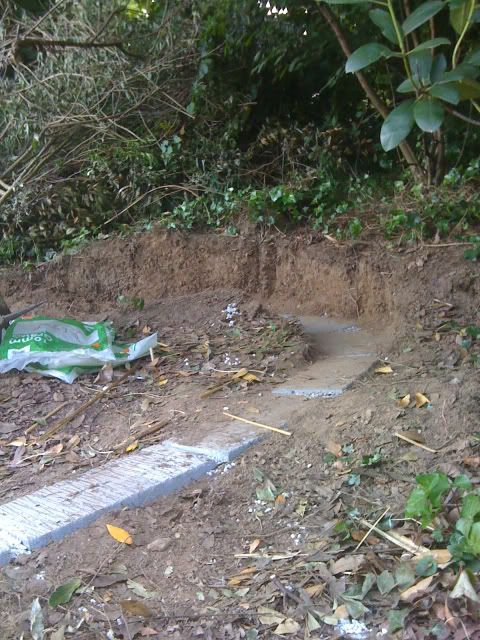
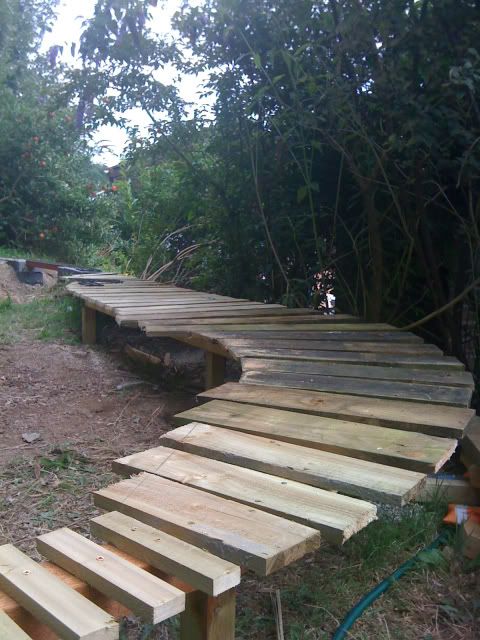
I have had to remove the G scale track to allow for the 5" trackbed to continue.
Which required a point to be built.
Point kits are available from maxitrak, rideonrailways, and the miniature railway supply co http://www.miniaturerailwaysupply.com/
However, they are very expensive due to the time it takes to set them up just so.
I have upgraded to 21mm alloy rail (from the miniature railway supply co) for a more "narrow gauge" look.
They also sell their point components separately, so I ordered a 1:3 1/2 angle cast alloy frog. and started to research point designs.
I decided to construct a stub point, quite common on the american narrow gauge, and much easier to build as there are no point blades to machine
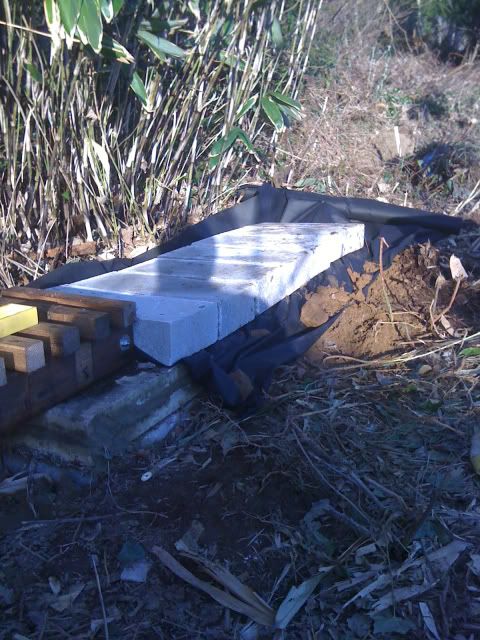
Step 1:
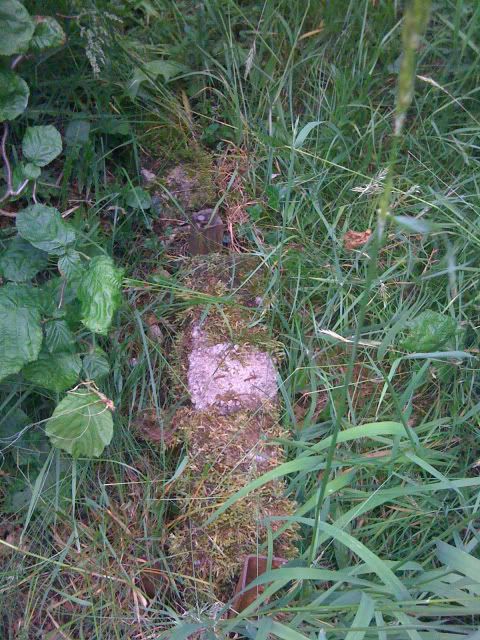
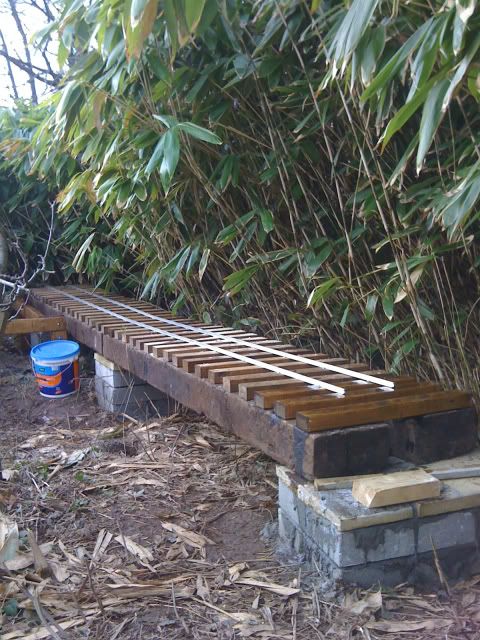
Decide where you want the point to be, this needs to be flat, and preferably straight:
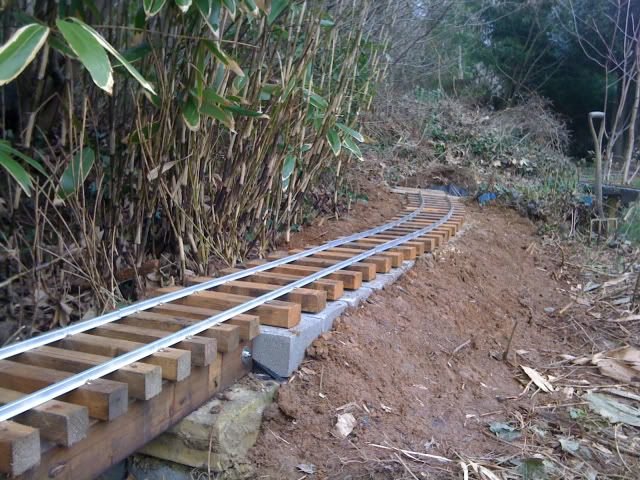
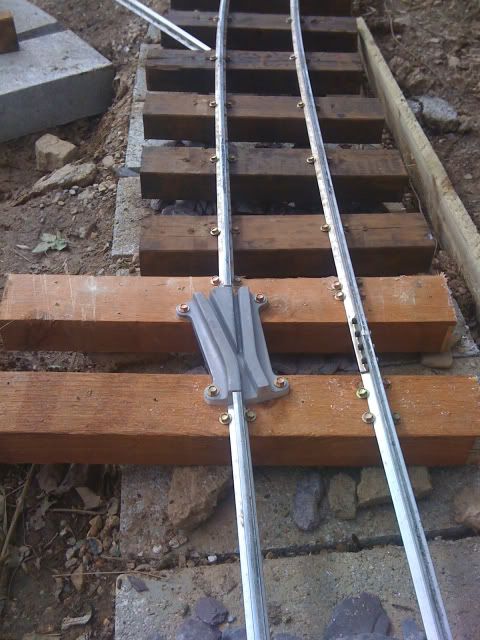
Step 2:
Insert frog, and arrange sleepers to suit:
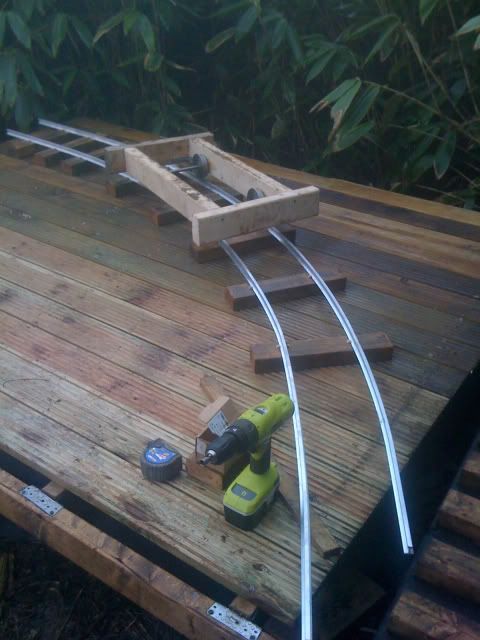
Step 3:
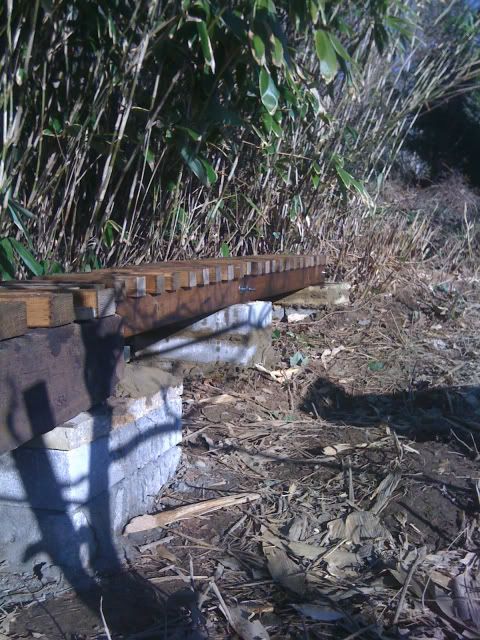
Cut the first of the diverging rails to length, and bend to suit (over your knee). Screw into place:
NOTE: Up to now, the other rail has not been disturbed or cut, helping to maintain alignment.
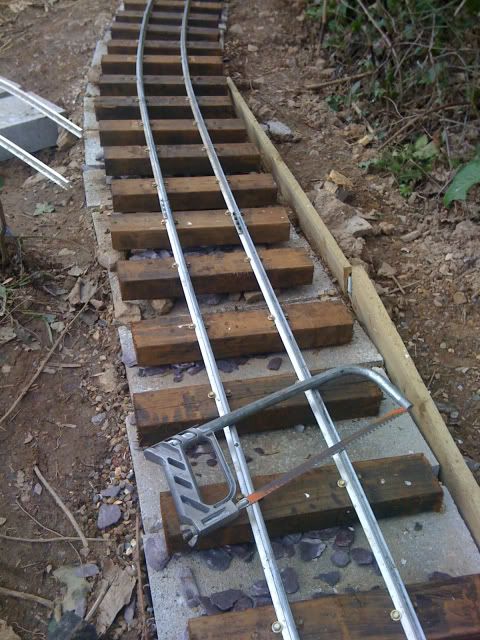
Step 4:
Cut through both running rails, taking care to make the cuts parallel:
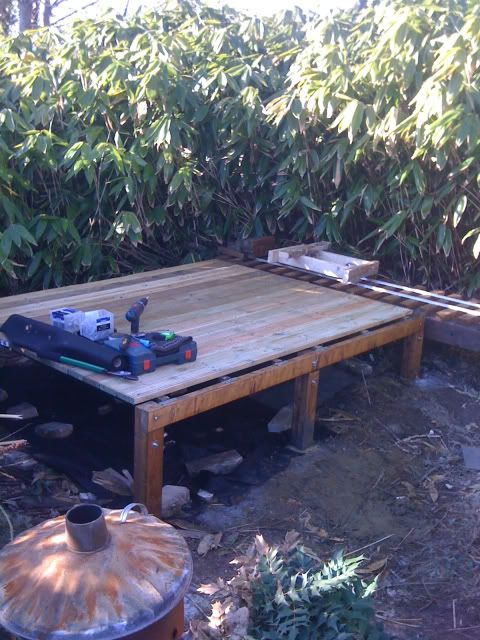
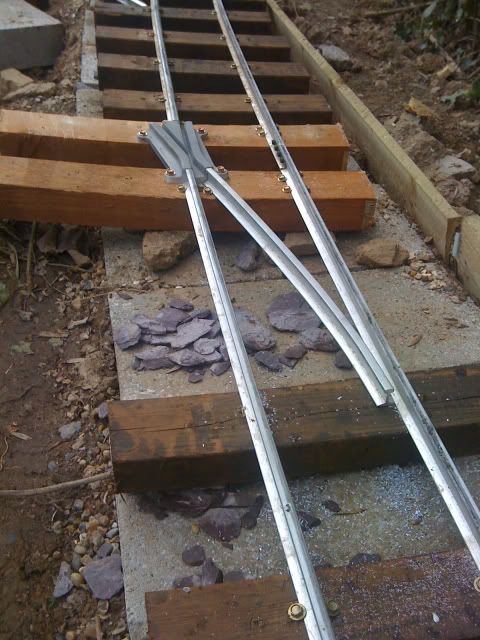
Step 5:
Add the second diverging rail, and screw everything down tight. Add check rails to suit:
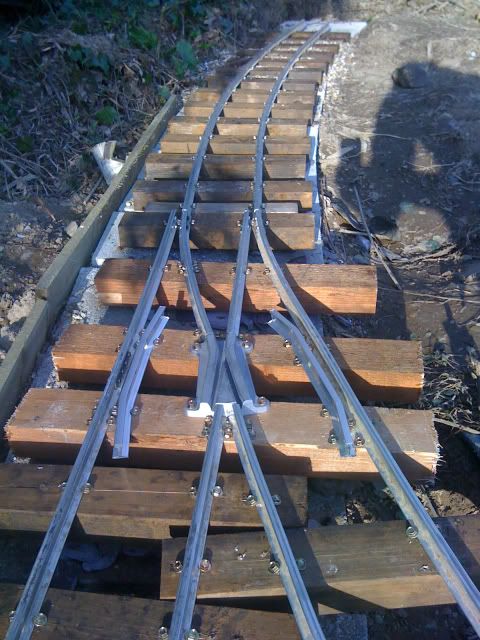
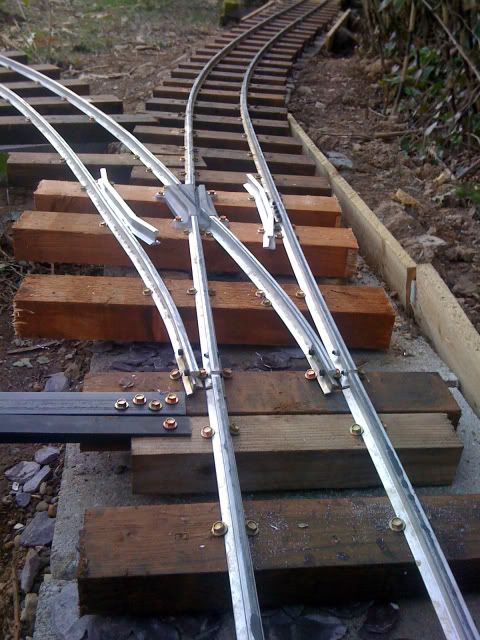
To make things clear,
Points set to the left:
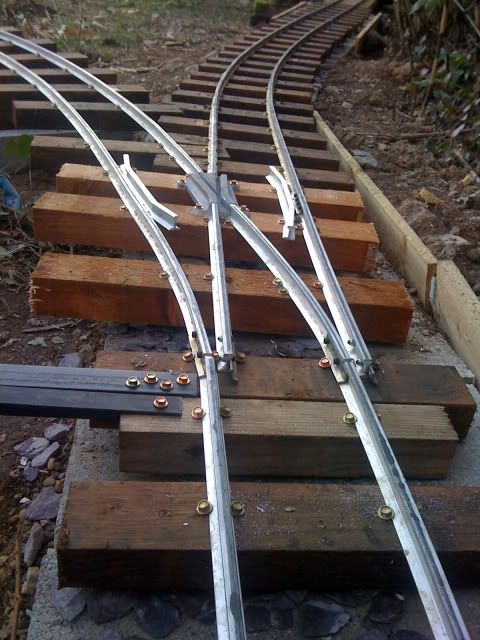
Points set to the right:
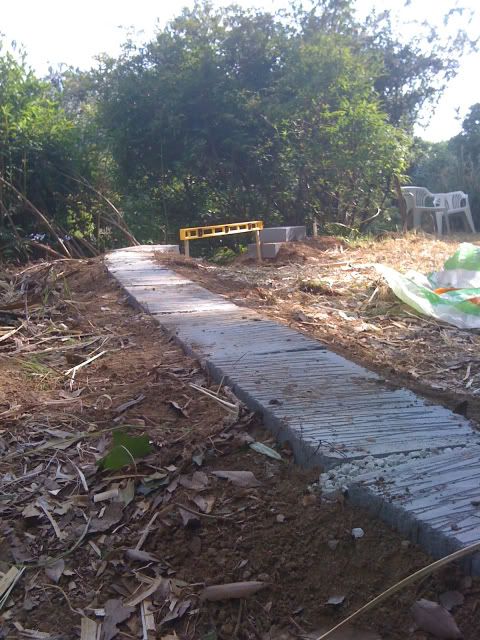
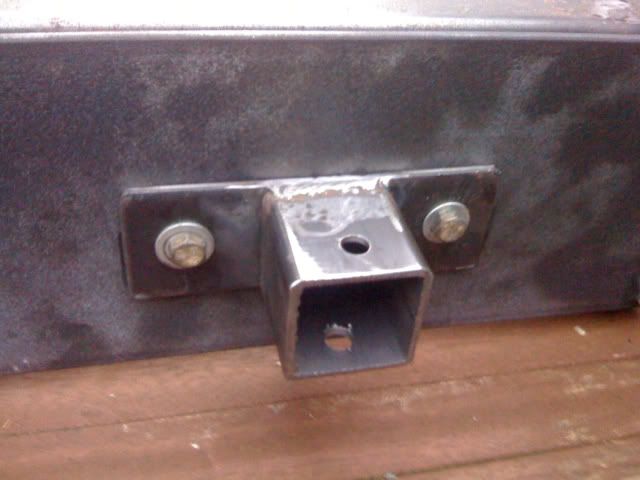
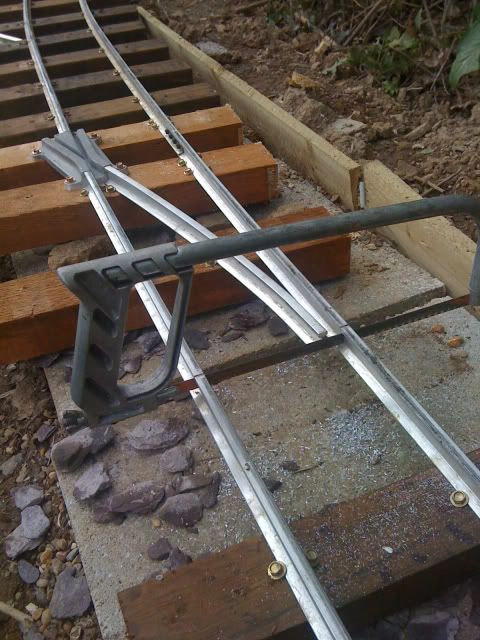
To finish off, I made up a simple lever mechanism from some spare angle & strip that I had to hand.
Which pretty much brings things up to date
-
- Driver
- Posts: 4650
- Joined: Wed Dec 30, 2009 2:27 pm
- Location: Forgotten Realms
- Contact:
Just to tempt you more,
2x 8' long alloy rail = £18
2x 8' lengths of 3x2" timber (enough for 12 sleepers) = £10
Box of 100 M6x25mm coach screws = £2.50
Total = £30.50
If you space the sleepers 4" apart, that is enough to build an 8' track panel.
That works out at under £11.50 per yard - pretty much the same as G scale.
Ground works are pretty similar too.......
Having said that, if you really must have an A4 pacific, or a K37 the gauge 1 or G scale might be a better idea
AHHH another refugee from GSC I see, this is a great forum.
I once yearned for a ride on railway and began saving up for a loco but after a rather unpleasent experiance at the local model engineering/ride on railway club (laughed at for asking simple questions, noses turned up and being told that they had their own way of doing things when I offered to help with anything) I turned my back on ride on scales and built my 45mm WLR
I hear the engineering club is now desperate for new members because the old snotty b*****ds are all dying off, well thats what you get isnt it for being a tosser!
A steam propelled life-style.
Hello from....... CORNWALL! AHAR, another Cornwall member, we lack those! I run 32mm, plus I have a 5" Polly 2! So if you have anything regaugeable, feel free to pop down and have a run on the MHLR!
www.mhlr.webs.com
www.mhlr.webs.com
-
- Trainee Driver
- Posts: 826
- Joined: Tue May 13, 2008 4:22 pm
Welcome!
Just interested, im building a 5" loco pretty much the same way as you are. Wondering if you would mind linking me to the motors on fleabay? I was going to construct my wheels myself but as I dont actually know what im doing will probably end up buying them!
How did you hold yours to the axel?
Will
Just interested, im building a 5" loco pretty much the same way as you are. Wondering if you would mind linking me to the motors on fleabay? I was going to construct my wheels myself but as I dont actually know what im doing will probably end up buying them!
How did you hold yours to the axel?
Will
Passengers are reminded not to tease the engines
Who is online
Users browsing this forum: No registered users and 0 guests