

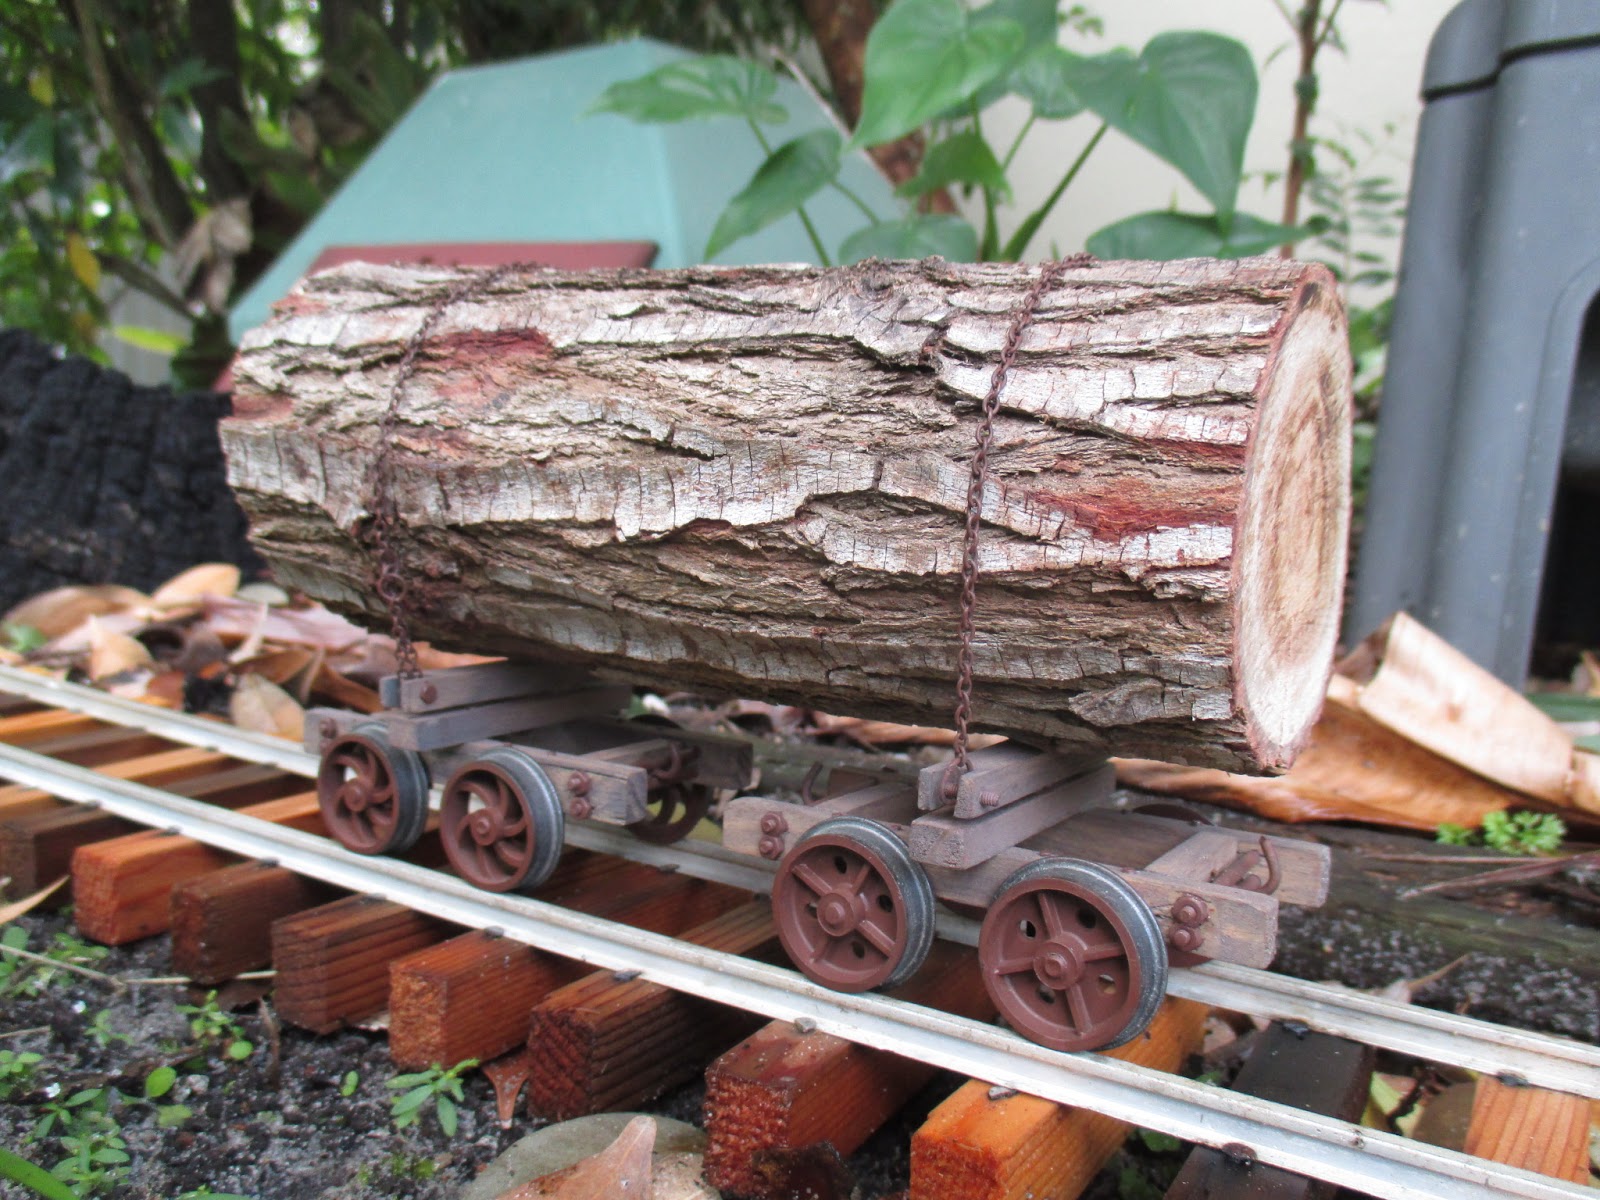
I started these freelance timber bolsters sometime in 2017, and work continued sporadically until their recent completion. I never bothered to document the builds, as they were mostly made up as I went, and I'd no idea if they'd even run at all.
They're not based on any particular prototype, but I did draw a lot of characteristics from some far superior modeling, by GTB of this forum, and from JR in Tawa on the Garden Railway Club website, respectively:https://www.youtube.com/watch?v=rLTv1KBbWOo
The frames are pine from a couple of broken-up dish racks from the local cheap shop; dyed in my usual way, by soaking in a mixture of alcohol, a little meths, and cheap acrylic paint. The logs are from the "veneer" of remaining bushland over the back fence, cut from newly-fallen or trimmed branches.
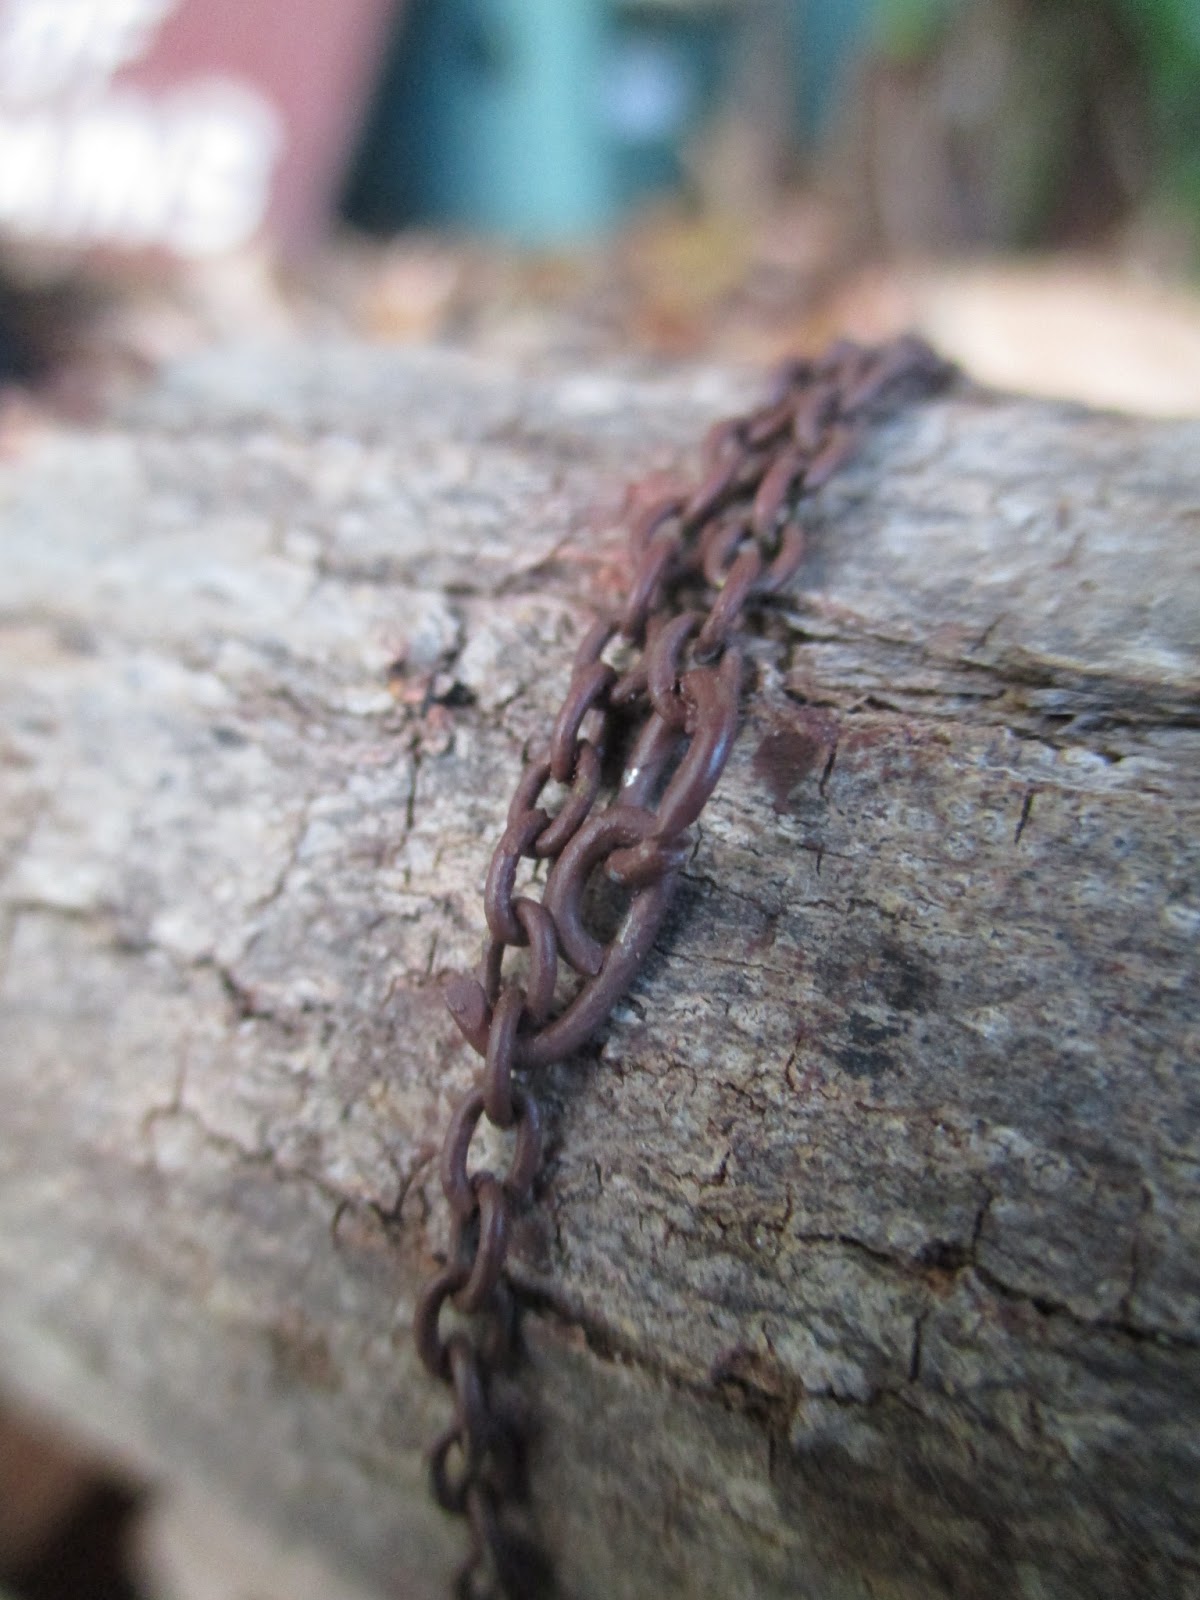
Chain is brass stuff from Evilbay.
Couplings are picture hooks cut down, reshaped slightly, blackened and painted. A pair of 6-link chains, and a pair of 1.5mm sheet steel drawbars were made to couple these together.
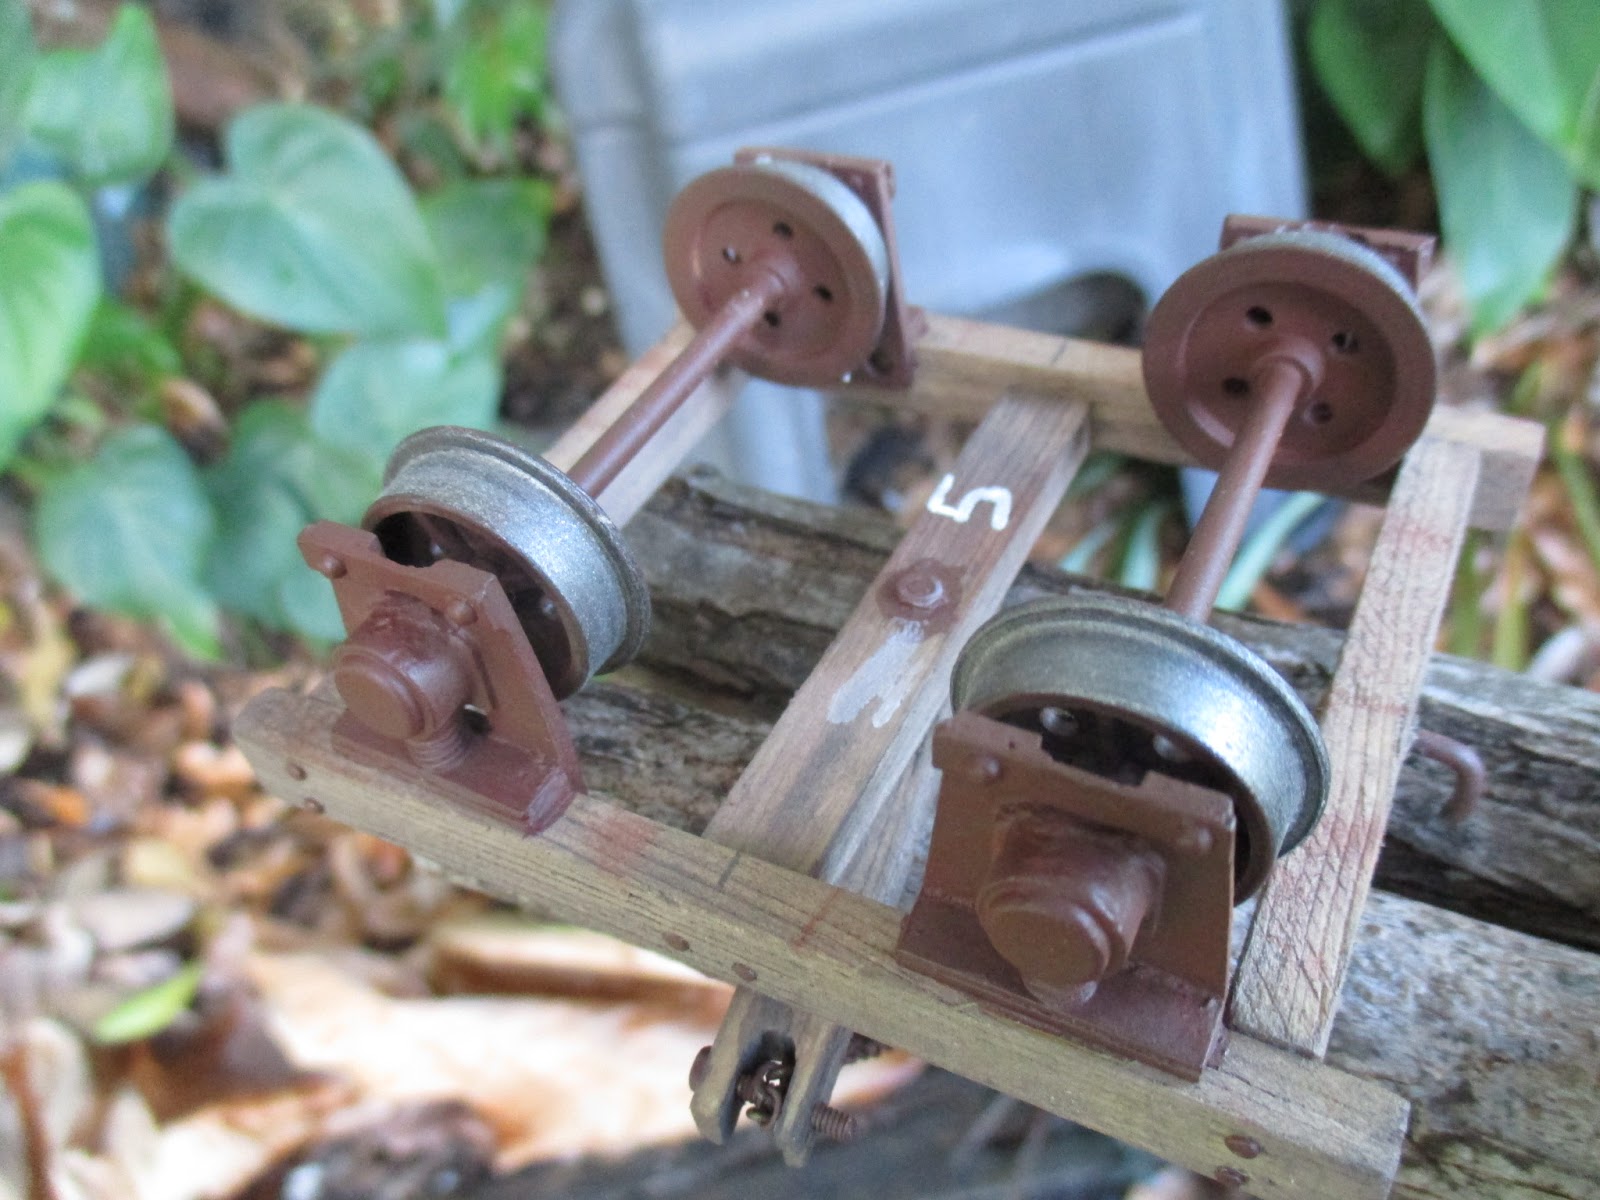
The tie bars were a pain to make and fit. They're 2mm brass wire, with the ends threaded M2; all a bit overscale. The alignment of holes for them isn't great either. But, this being timber tramway rollingstock, I could get away with far worse..
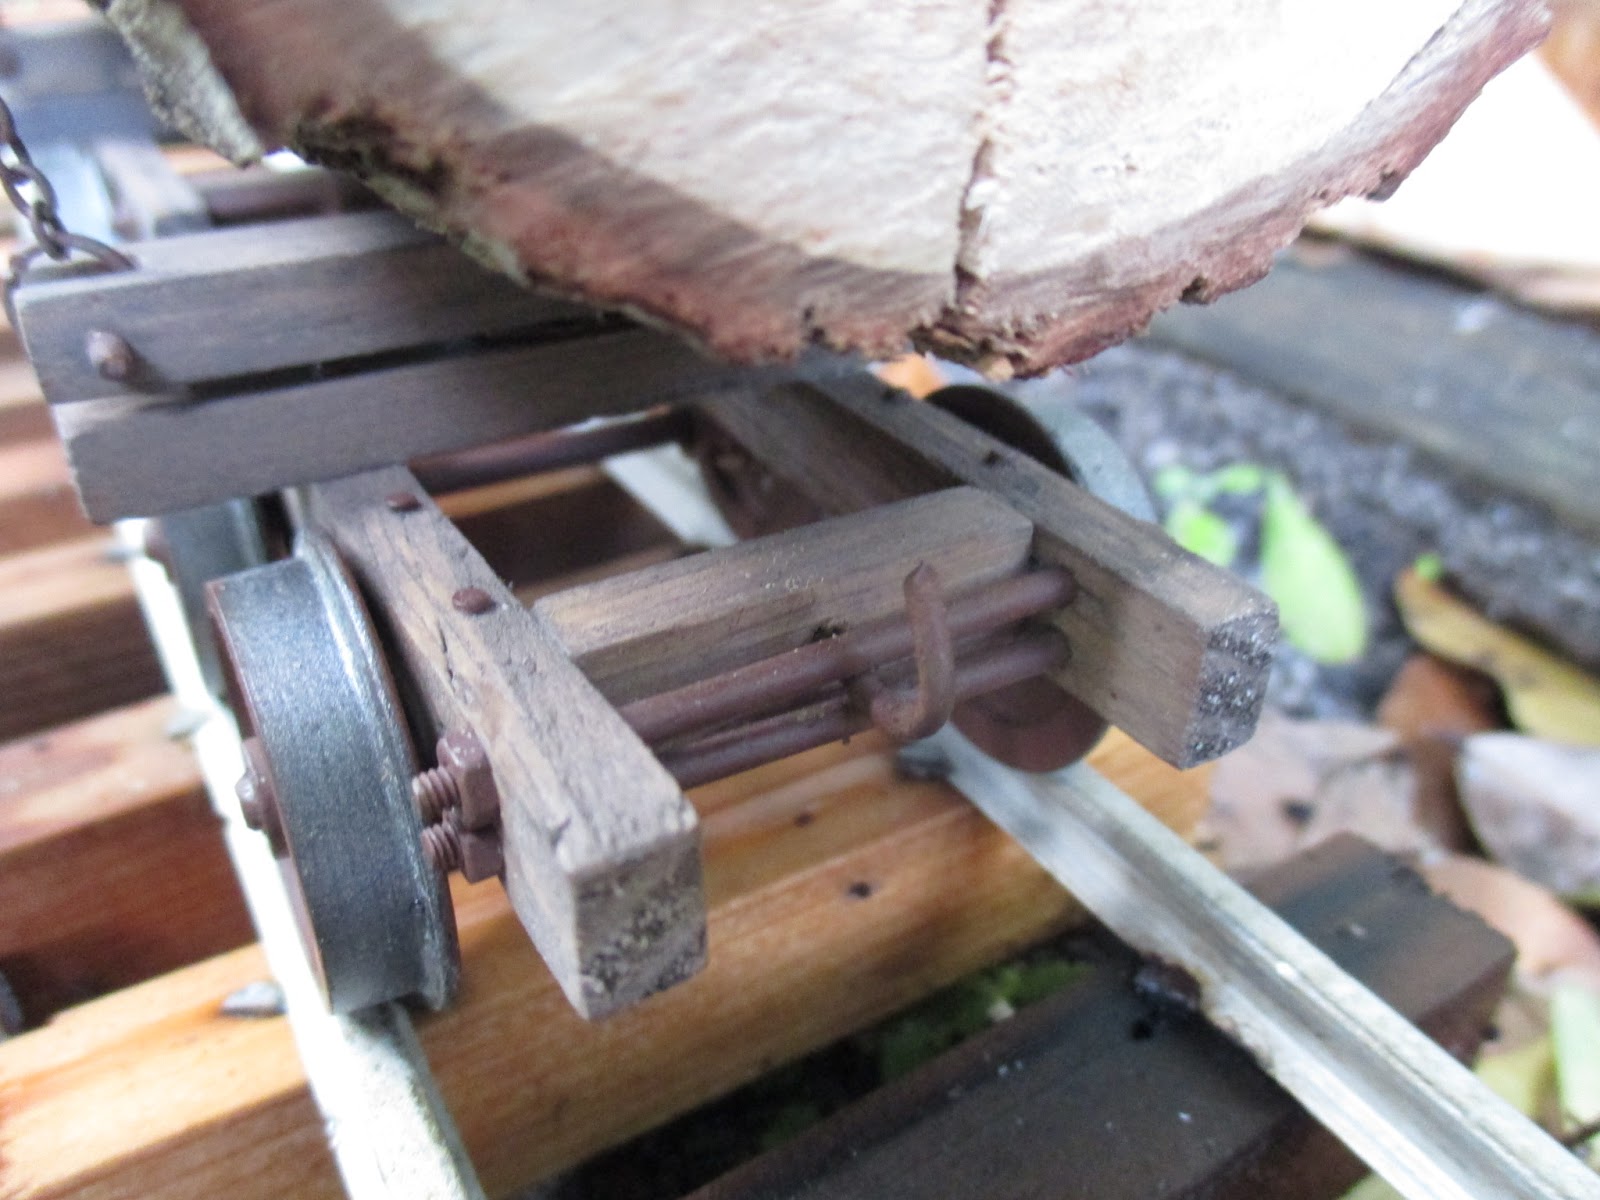
For the pivot assemblies, I copied JR in Tawa's excellent design, and they work quite well. The design can be found here: http://www.gardenrailwayclub.com/fiddle ... r-thursday
The dummy coach-bolt heads are just cut-down HO track nails.
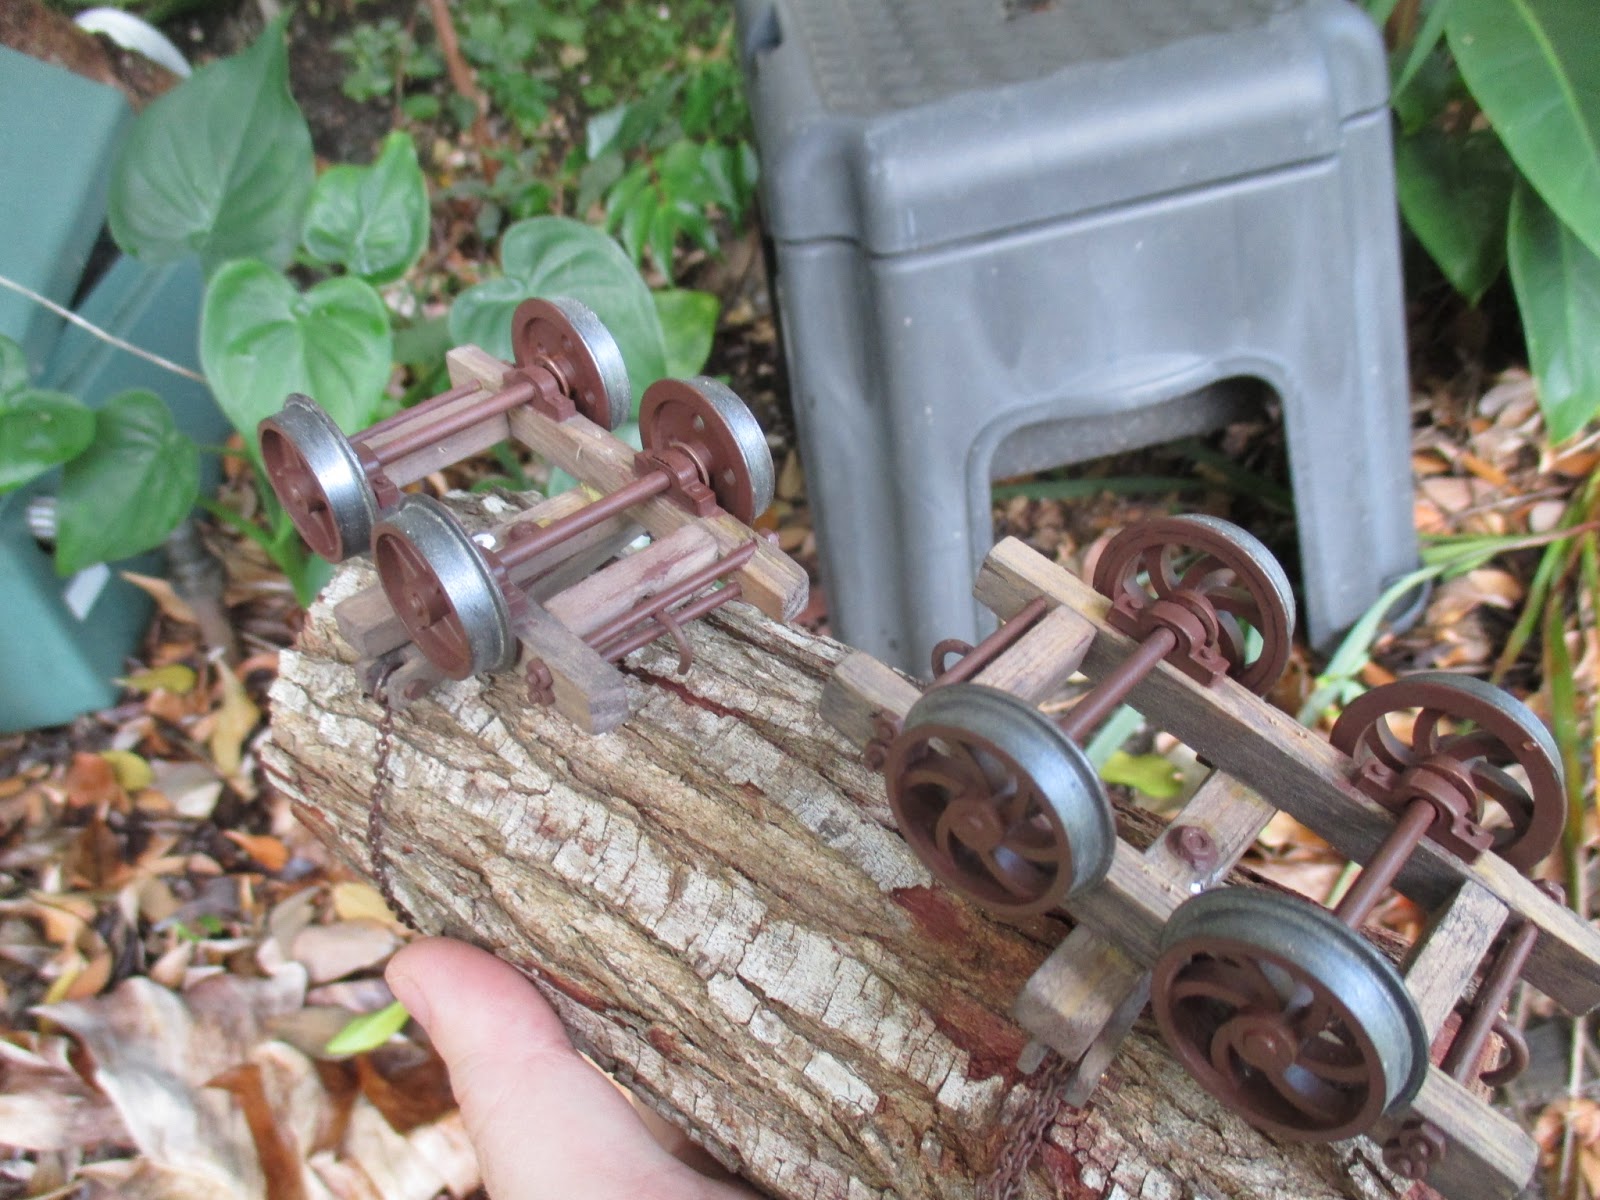
The wheelsets are 24mm Binnies, with their 3mm axles running in laser-cut acrylic axleboxes from Harecroft. I don't know how the acrylic might hold up over time, but they've been lightly lubricated with 20-50 engine oil, thinned (so it more readily wicks into the bearings) with a few drops of 3-in-1.
The axleboxes were drilled through prior to gluing to the frames, then track nails fitted in the drilled holes, to reinforce the glued joints.
The "metalwork" is represented by Tamiya's Nato Brown, with weathering powders applied over it. Makes for a quick and easy, yet surprisingly realistic finish. Unfortunately, the subsequent protective clearcoat has obscured any trace of powders. So I'll have to (at some point) reapply the powders much more heavily..
The running surfaces of each wheel was painted with Tamiya's Gunmetal, which I'm sure will wear off in short order. For now however, it looks quite reasonable to my eye. I can't justify the expense, but Slaters wheels with their stainless tyres, would've been a better-looking solution.

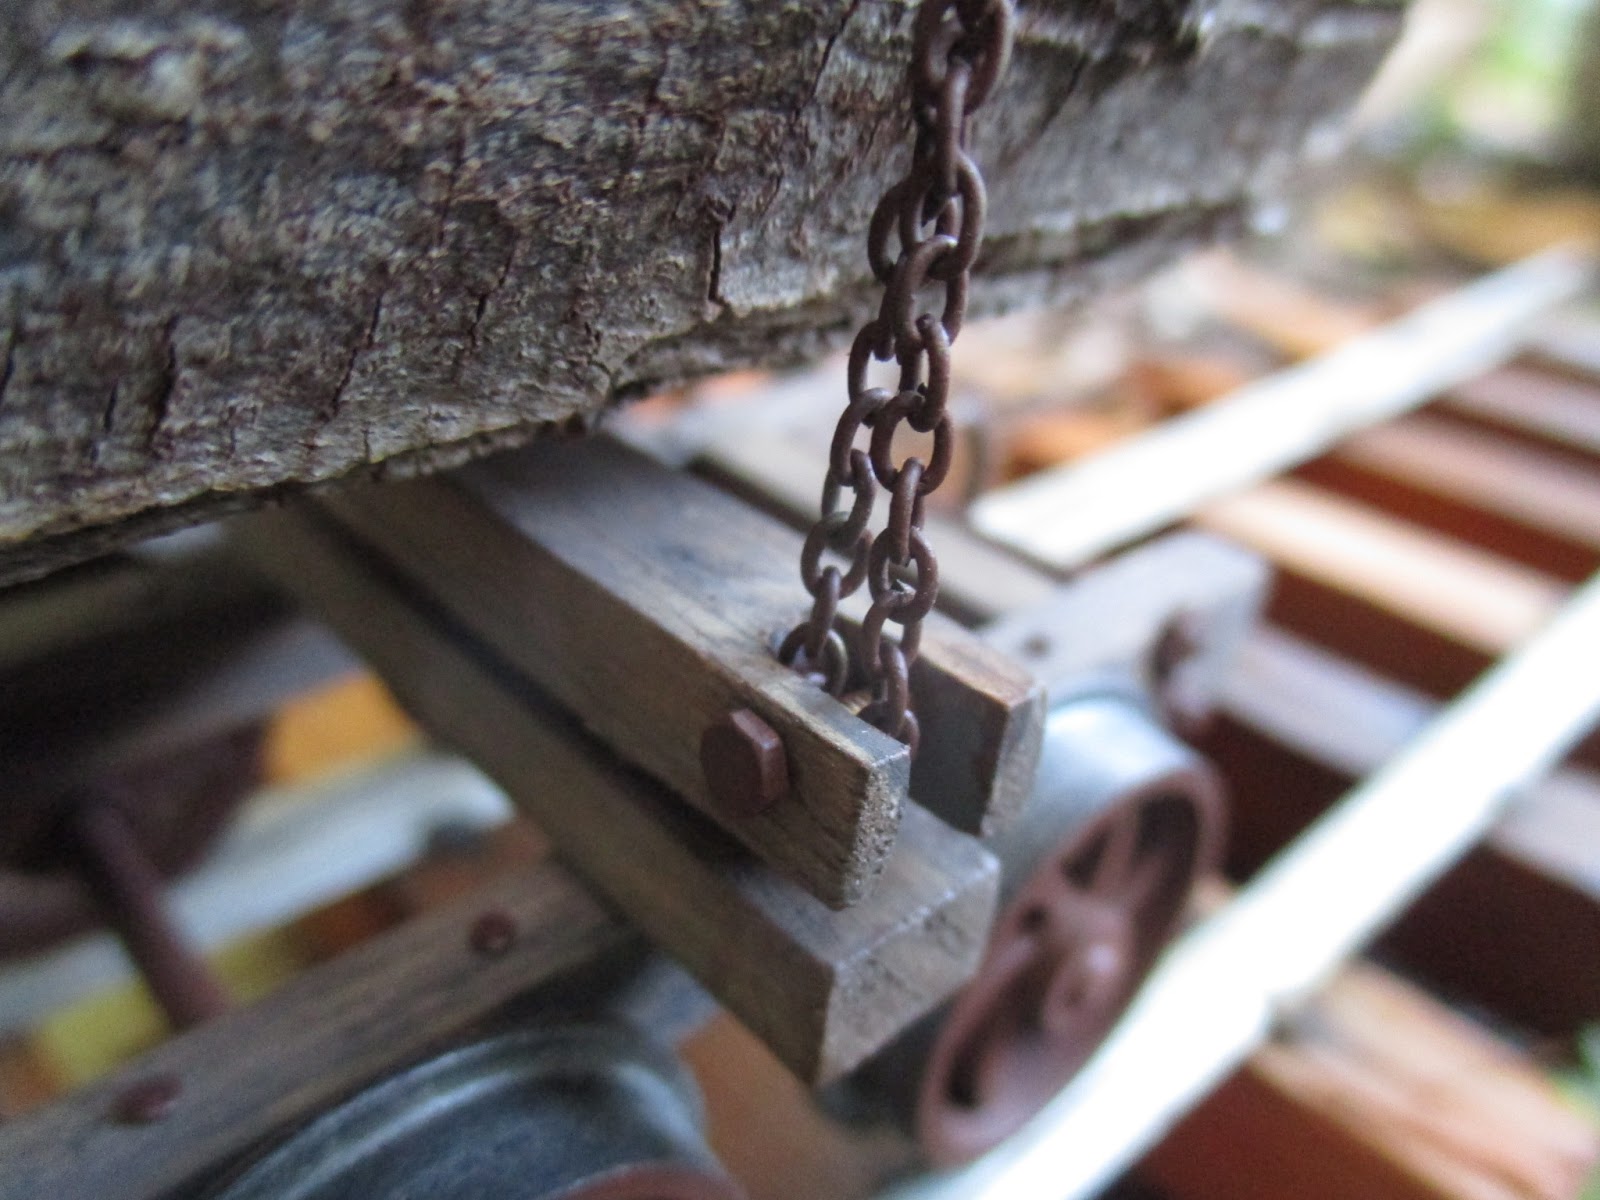
The chains are retained by loops bent from floral wire, held captive by M2 hex bolts at the ends of each bolster. The bolt holes in the bolsters were drilled slightly undersized, and the bolts screwed in, to form a crude thread in the wood by force. This way, the bolts can be unscrewed and the chains removed, on the very rare occasion I may want to remove the logs.
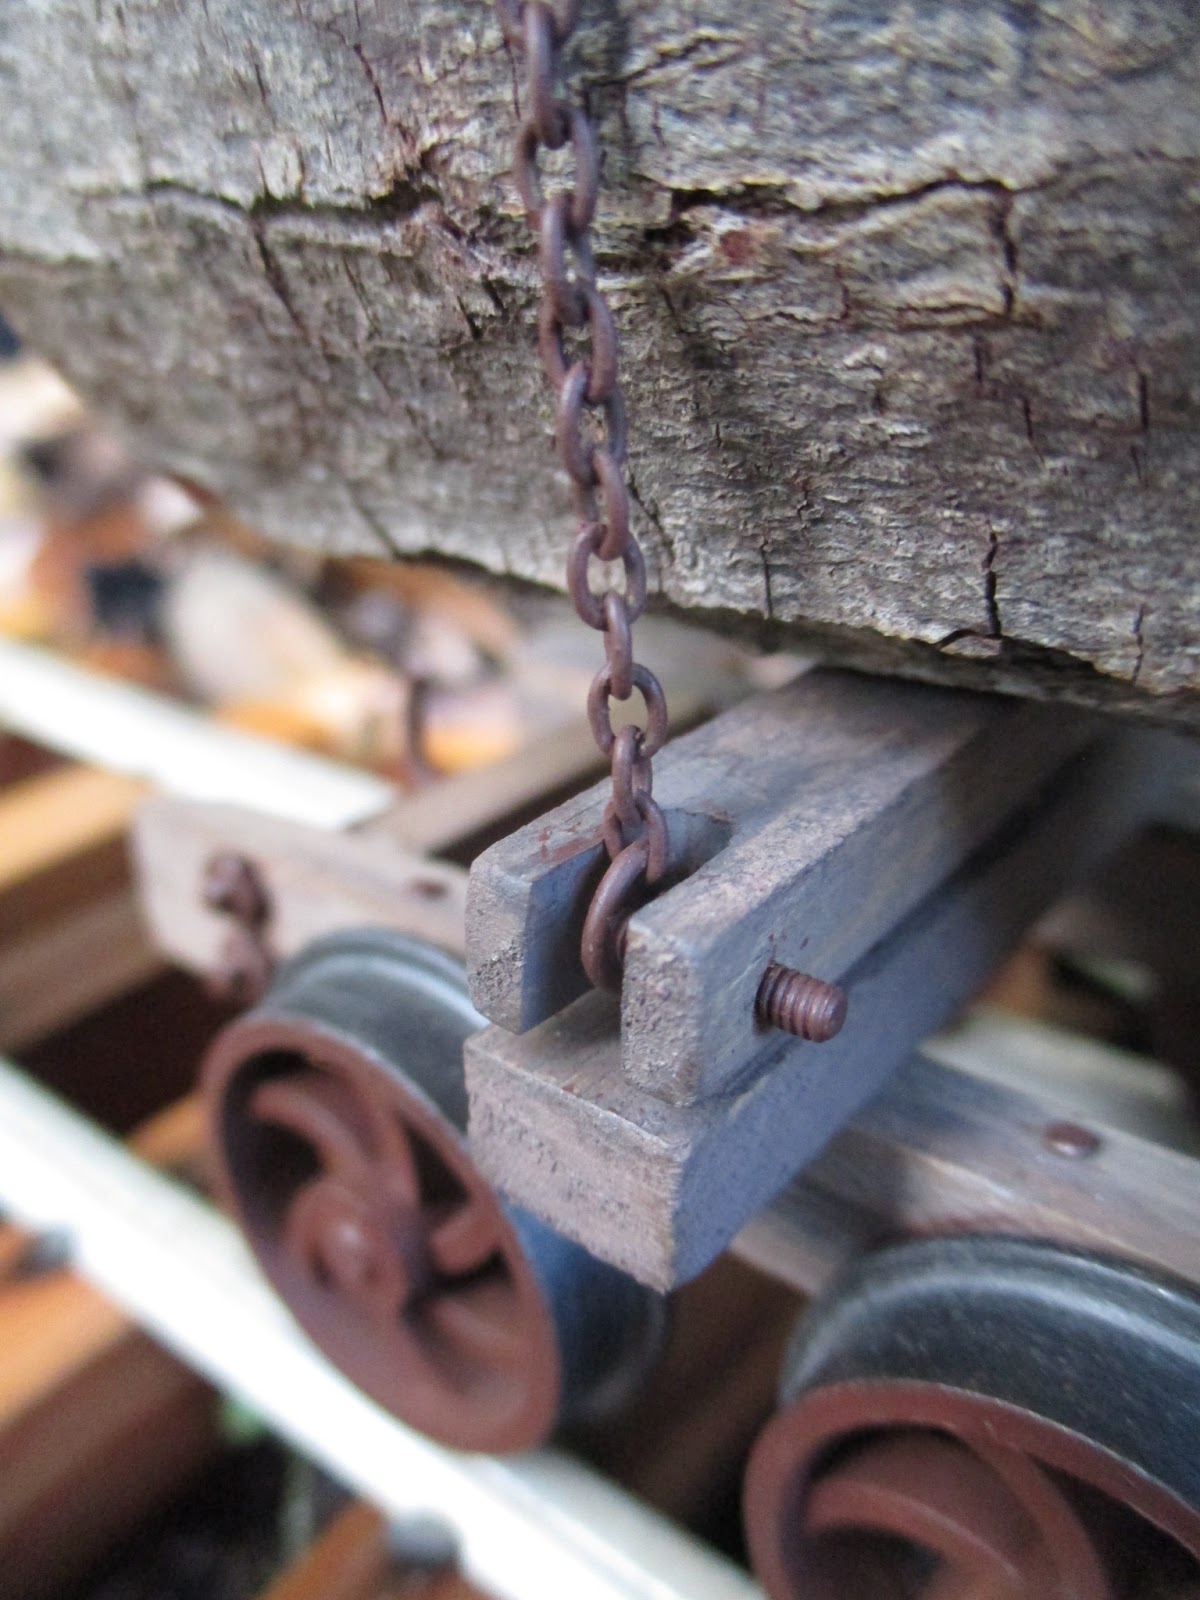
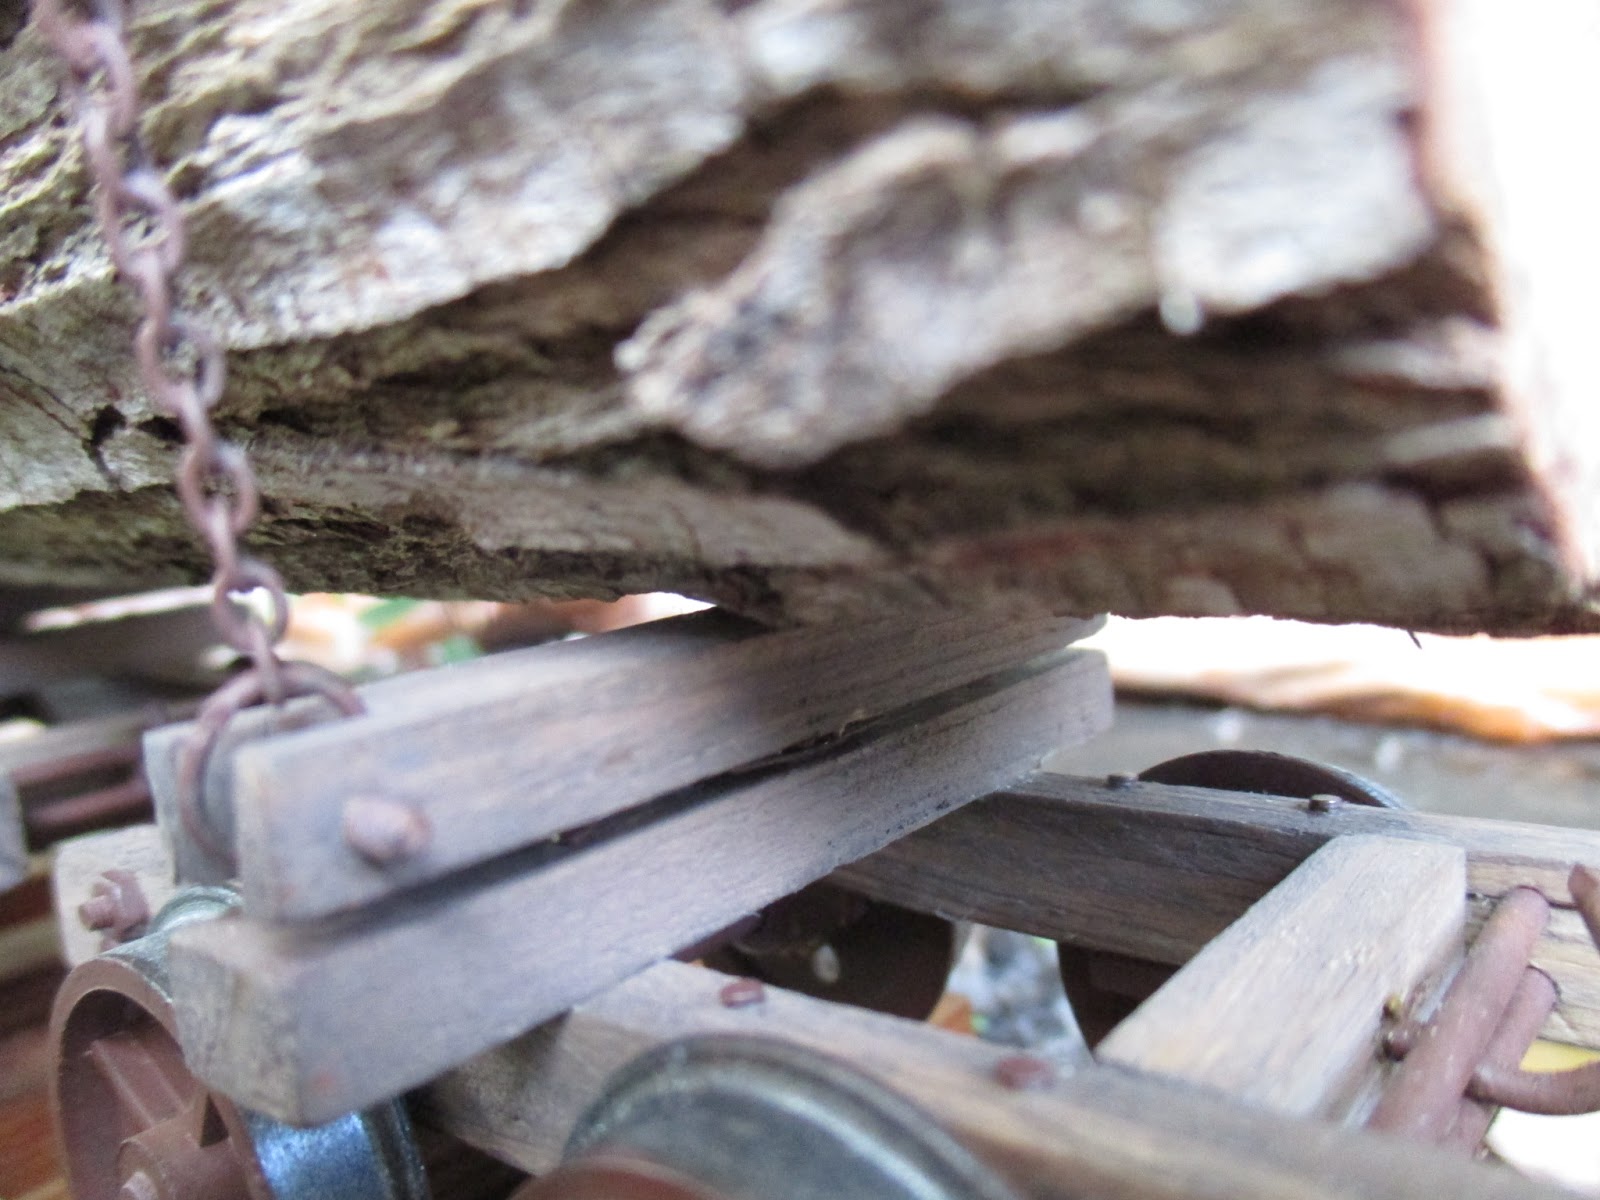
On the opposite end of the bolster, the chain loops around another bolt, and doubles back on itself.
A crude "6" shaped hook is fitted to the end of each chain, and hooks back into itself. This has to be done with a pair of needle-nose pliers, taking care not to overstretch and break the chain or bolsters. It's every bit as much of a pain as it sounds. Because of this, I don't intend to remove the logs anytime soon, but I do want to retain the ability to do so.
For the third bolster set, I wanted some variation - and to use up some spare IP Engineering whitemetal "Hudson" axleboxes. Wheels are 20mm Binnies.
I've painted numbers under each bolster for easy identification.
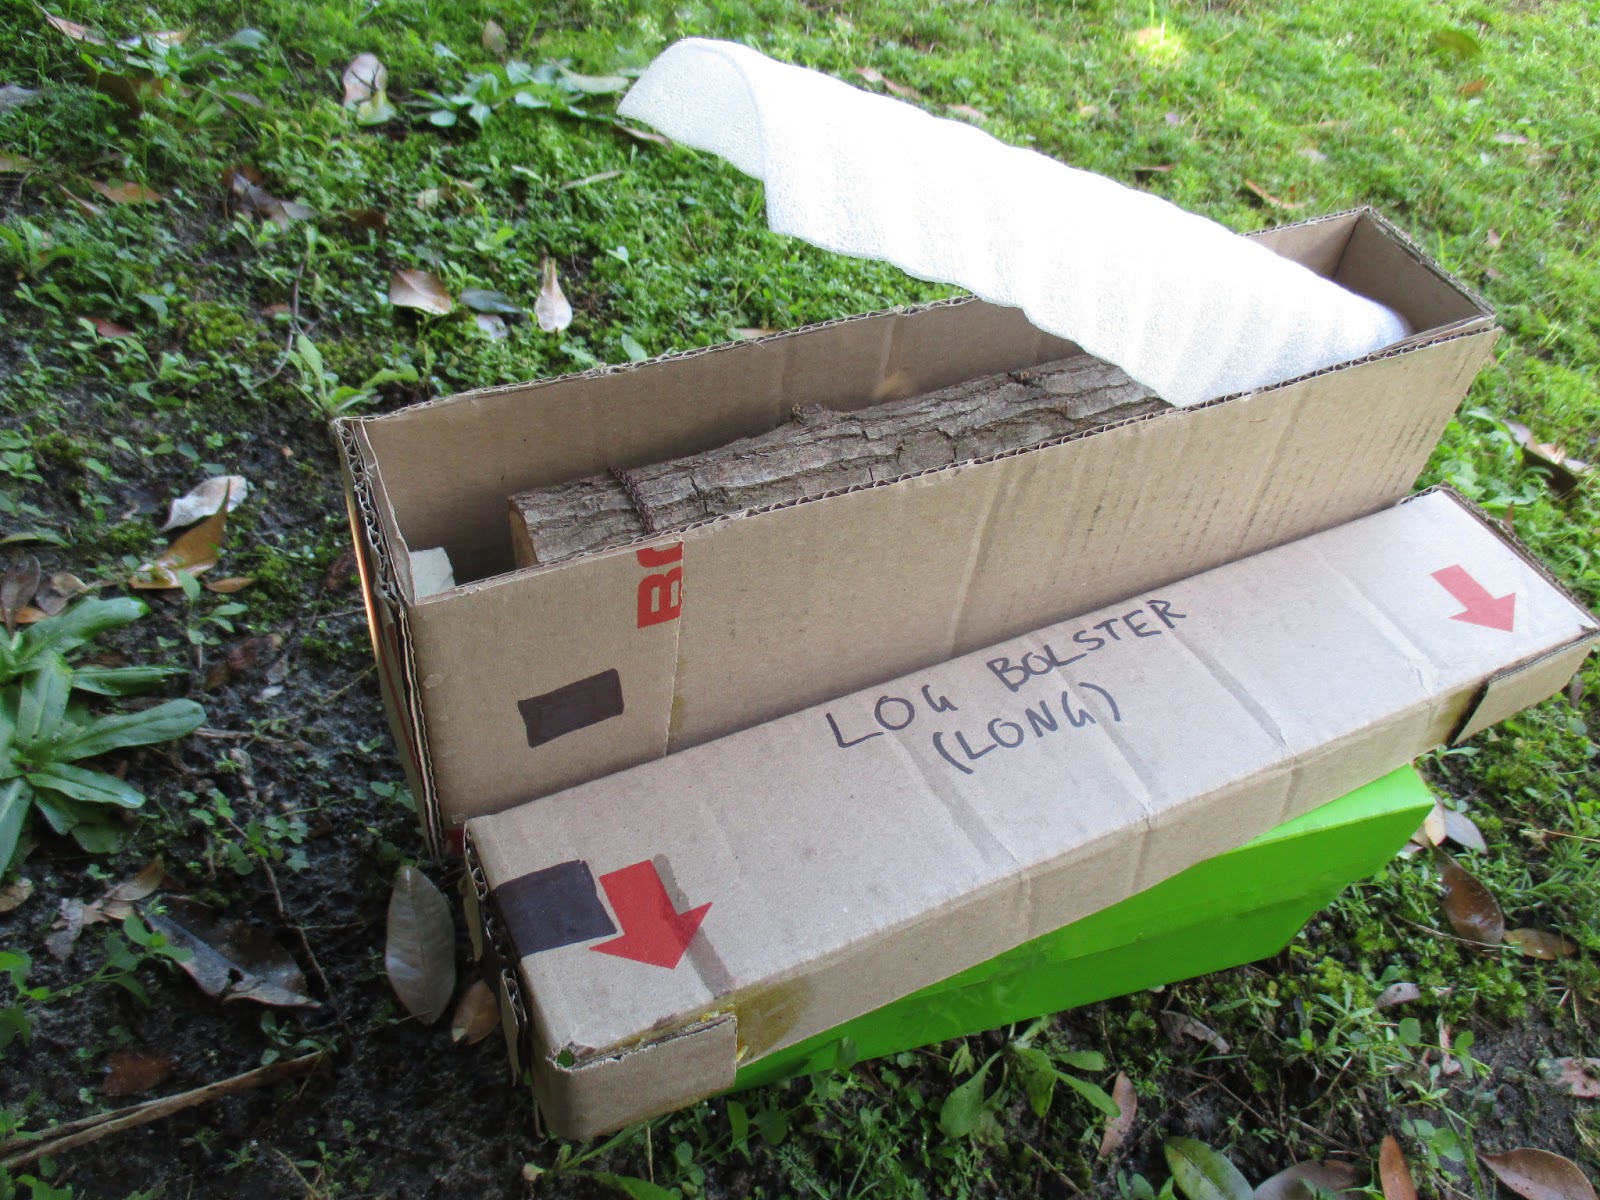
In a few years time when I can eventually build a permanent line, I plan on never taking locos or wagons off the track unless maintenance or repairs are needed; Instead, building secure, lockup storage sidings in an easily-monitored place. For now however, these wagons need protection for storage, and visits to other railways. Shoe boxes and the like, are usually perfect for this.
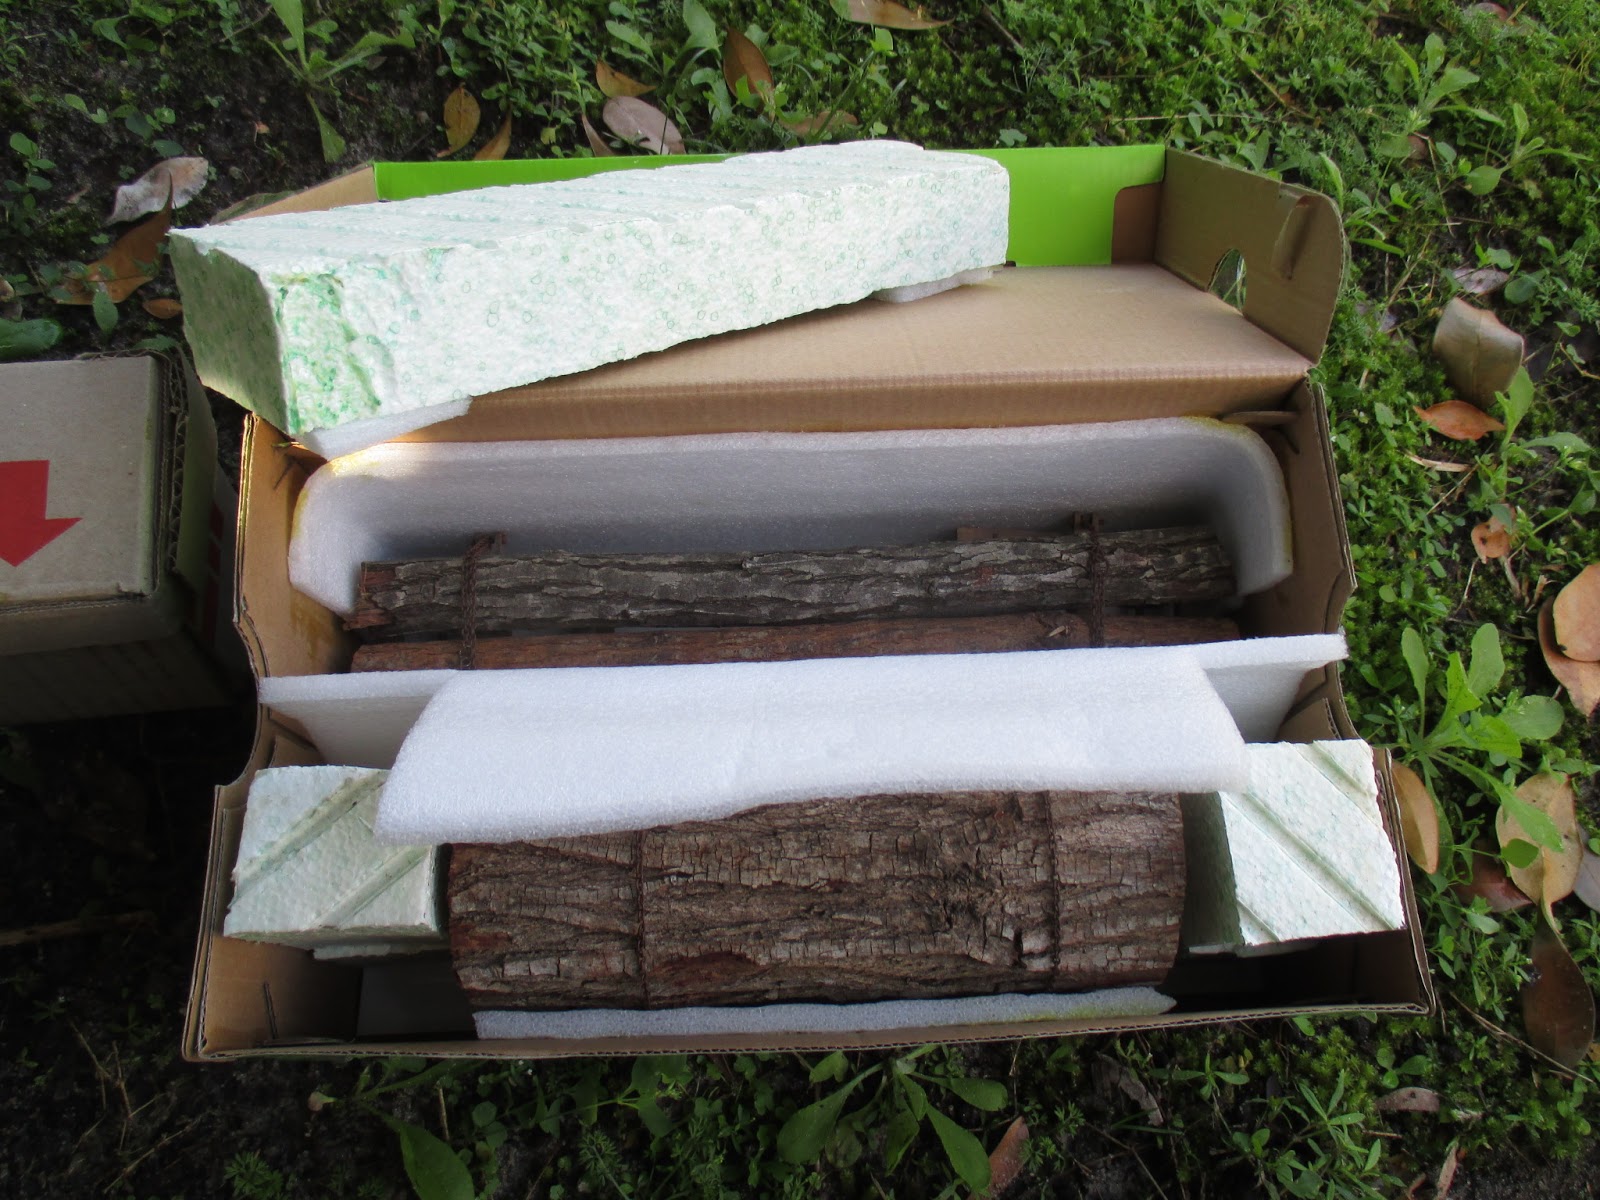
Sometimes it's easier to make a box to fit. The black permanent marker rectangles are because this dodgy lid only fits one way around. These boxes look awful, and although I did think of making nicer ones from foamboard, the cardboard does it's job well enough. That's all that really matters.
16/06/2019
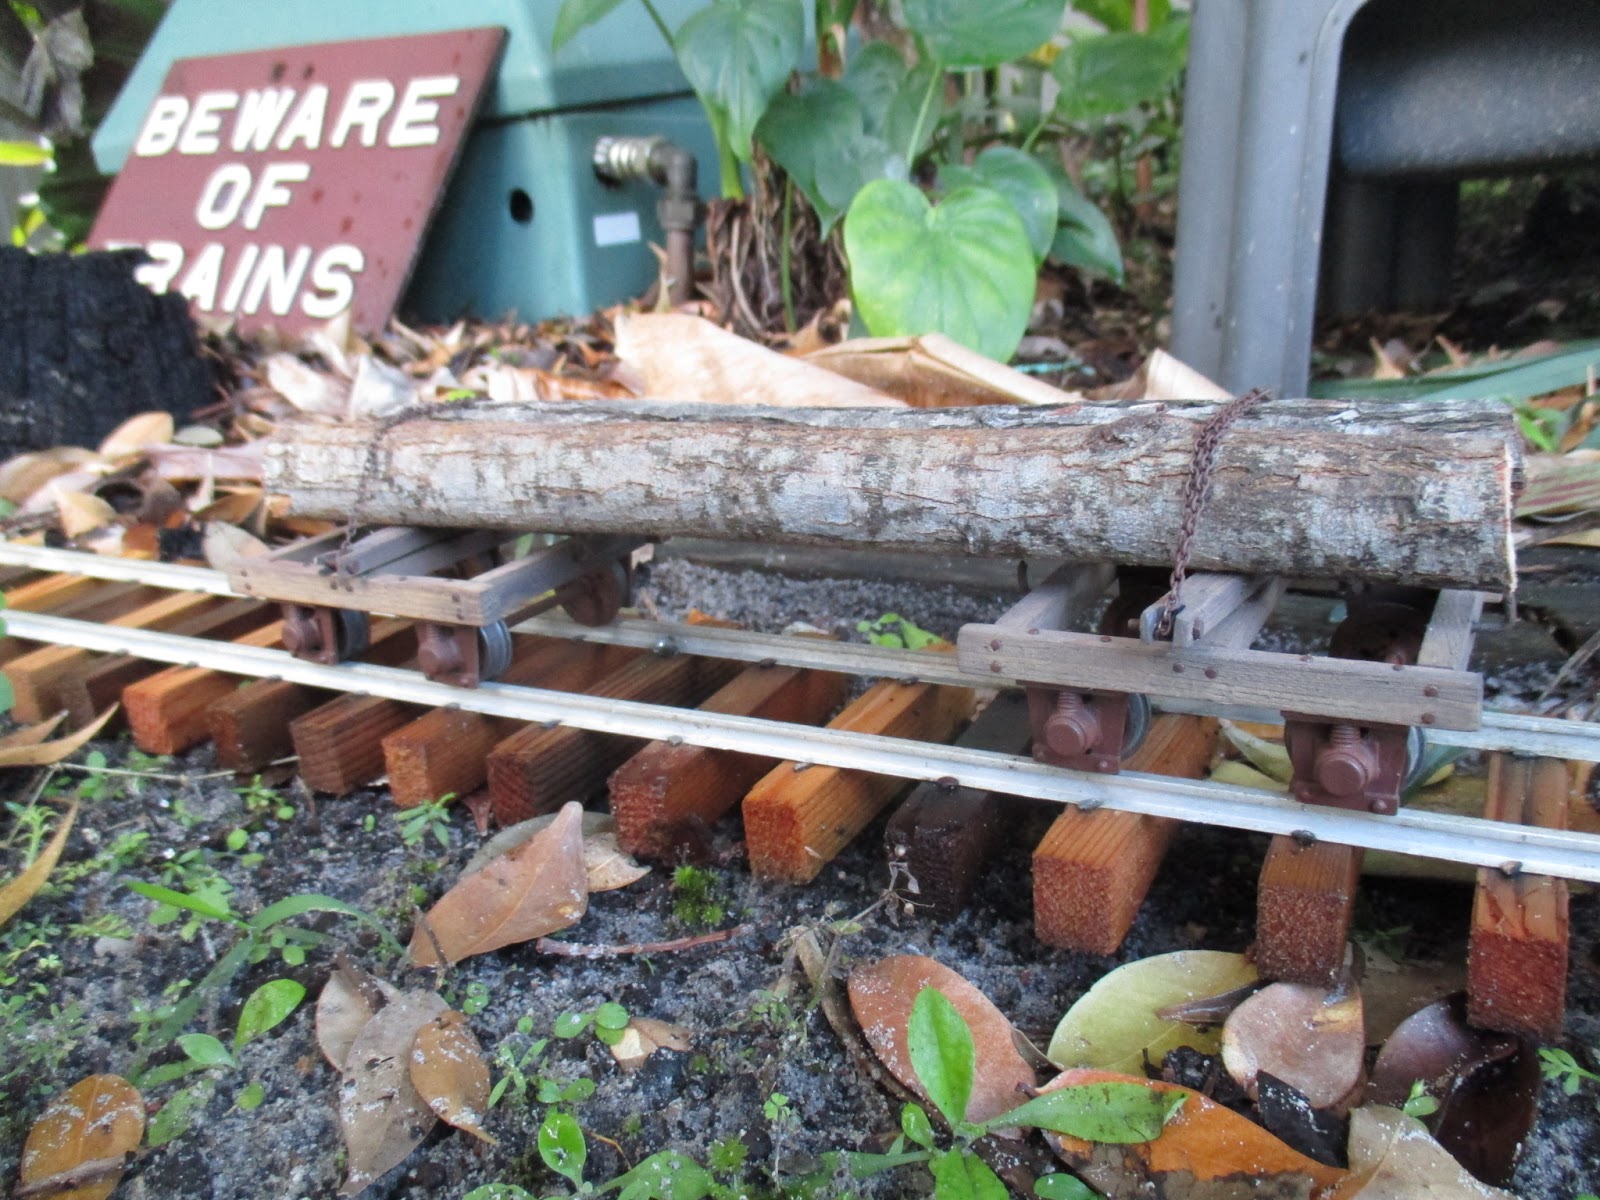
Test running the bolsters on some temporarily plonked-down track. The little Malcolm Moore struggles a bit with these, but they roll well enough. They'll usually be pulled with an LGB Stainz anyway.

Surprisingly, they run well, even over ruined track that some idiot stepped on. That idiot may well have been me, for all I know. I think their good running is mainly down to that ingenious pivot design.

Although I'm very happy with these and would love to have more, I sure as hell don't want to build them - too fiddly.
Instead, I think I'll compliment these with some more Mapleton-style flat wagons..


