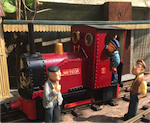

After a long hiatus from garden railways, things have just been given a kickstart in the way of a loco kit I ordered about 12 months ago. DJB announced their coal fired saddle tank kit back at the Peterborough show in 2016 and I thought it was a lovely little engine - I'd always wanted a coal fired loco to complete my fleet for now and and this was my go time. I decided to go into kit form as it was A) Cheaper and B) More satisfactory when the loco was completed. It arrived last week and construction began in earnest.
The chassis was purchased separately through my work, Derails, who conveniently are a Roundhouse dealer. This arrived a few months ago and a trial assembly of it was done before it was disassembled to await the rest of the kit, as a DJB axle-driven water pump and separate exhaust T's had to be fitted during the build. The frames had to be sent off to Paul at DJB so he could modify them slightly to accommodate the ashpan, a couple of frame spacers were moved for this purpose.
The rest of the kit arrived and was laid out in the man cave-come-workshop:
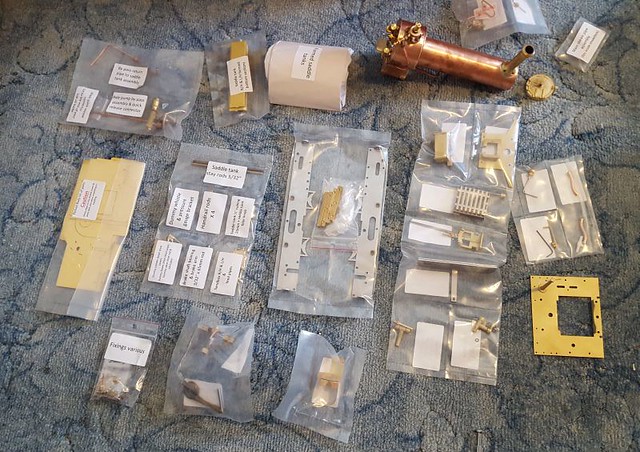
1 - Parts by Derails Models, on Flickr
First things first, a dry run of some of the major components was carried out, this also gave a little flavour of how the engine would look. Here it is minus valve gear, saddle tank, cab sheets and paint....
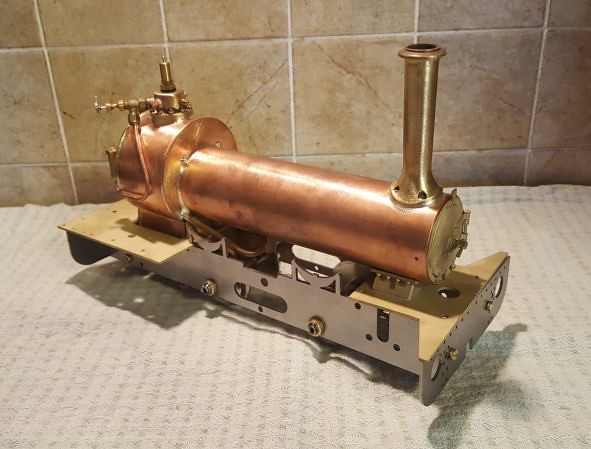
2 - Dry Run by Derails Models, on Flickr
Once re-arranged back into parts, the chassis and associated parts were primered, ready for painting. The chassis would later be disassembled so the buffer beams could be painted red with rivet detail, and the frames painted into satin black. Still undecided on loco colour.
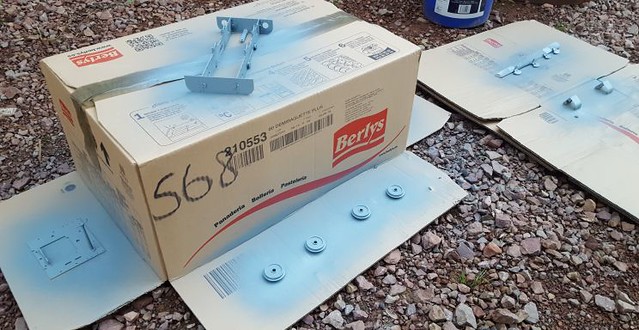
3 - Primer Chassis by Derails Models, on Flickr
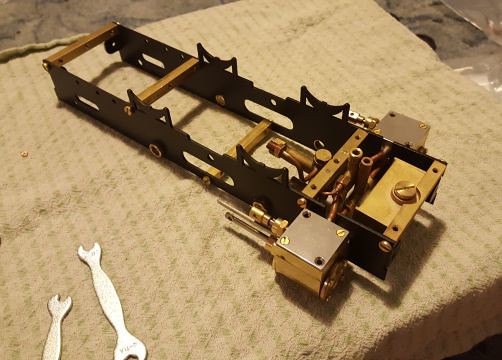
With the frames now sanded, primed then top coated in satin black, proper construction could start. This started with the fitting of the cylinders, steam tee and exhaust tee:
Frames by Derails Models, on Flickr
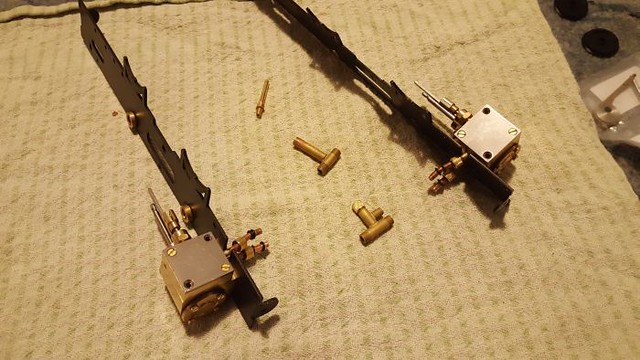
With the tees in the middle, the fitting of the deadleg lubricator (big box on the right) and axle pump assembly (pipes on the left) commenced - the wheels, axle pump eccentric and strap will be fitted when I can find my 6BA Allen key, which is conveniently the only one missing from my set, and is required for fitting the axle pump eccentric onto the axle........
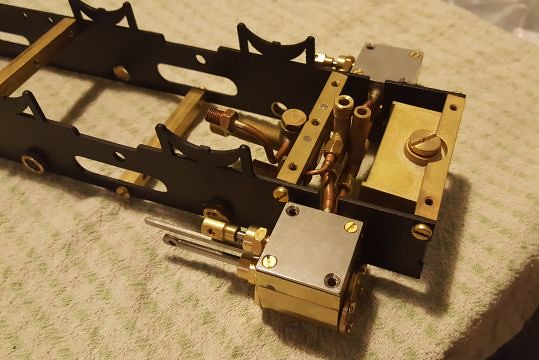
Front End by Derails Models, on Flickr
Chassis Full 2 by Derails Models, on Flickr
And this concludes part one! So far all nice an simple - next up, bufferbeam detailing and painting before moving onto the valve gear, watch this space...