
For a while, something had been bugging me about my IoM-esque loco 'Vixen'. The motion - specifically the slide bars section.
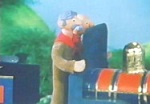
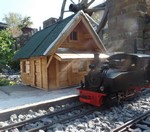
On the prototype, it's double bars with an 'I' sliding back and forth between them:

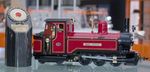
whereas my loco was fitted with a much more basic section:
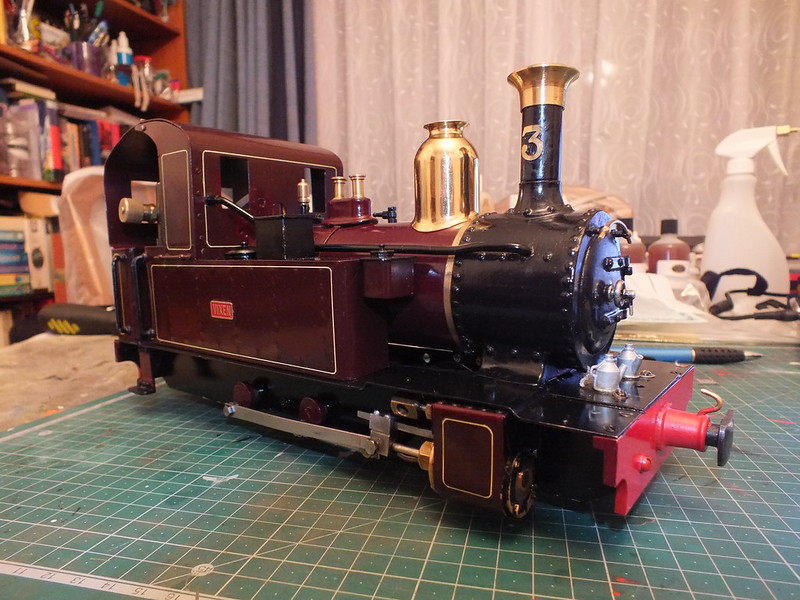
Now, I had had a think and found that almost all modern Roundhouse locos had the same cylinders - the humble Millie has the same as the mighty Vale of Rheidol! So, surely, motion parts should be to a degree, interchangeable?
I was able to order a set of "Karen" slidebars and motion heads from Roundhouse, and was able to pick them up in person when I went to Doncaster for other, more prominent reasons.
 Having got them home, Sunday 12th March after running at the Paddock, I decided to nip this irk in the bud.
 The Start: Basic motion. Works well on smaller engines but on a larger 2-4-0 or 0-6-0 looks a little...simplistic.
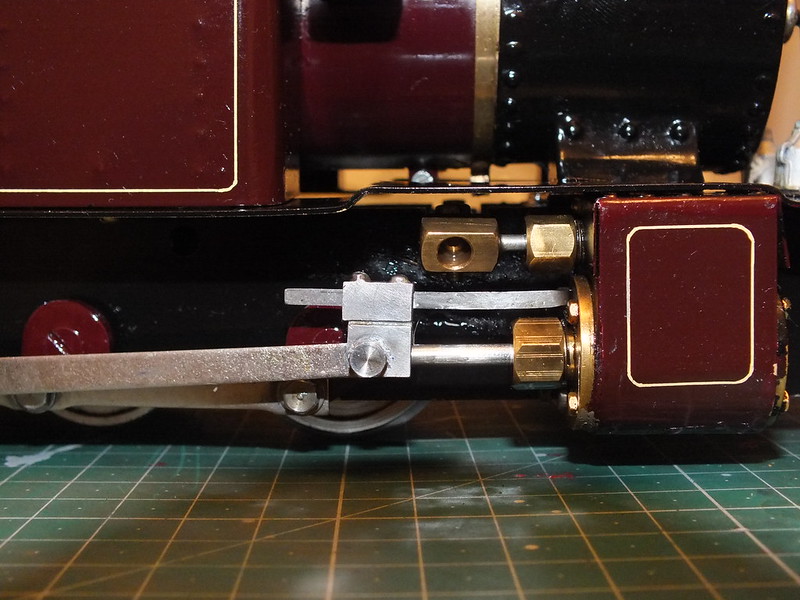
The Crosshead is held on with a threaded hex bolt - so gently unscrew this - lefty loosey.
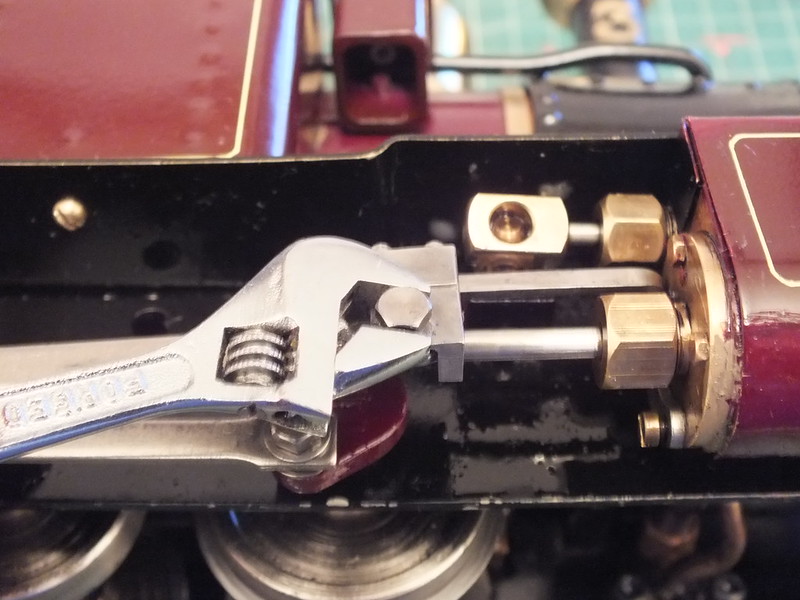
Undone. You can see the hexhead bolt holds the crosshead to the pushing con-rod and to the cylinder piston.
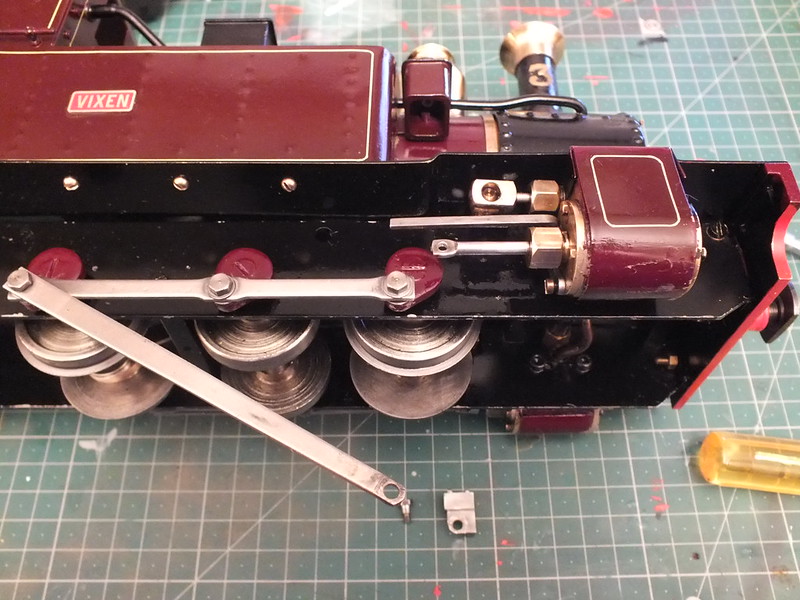
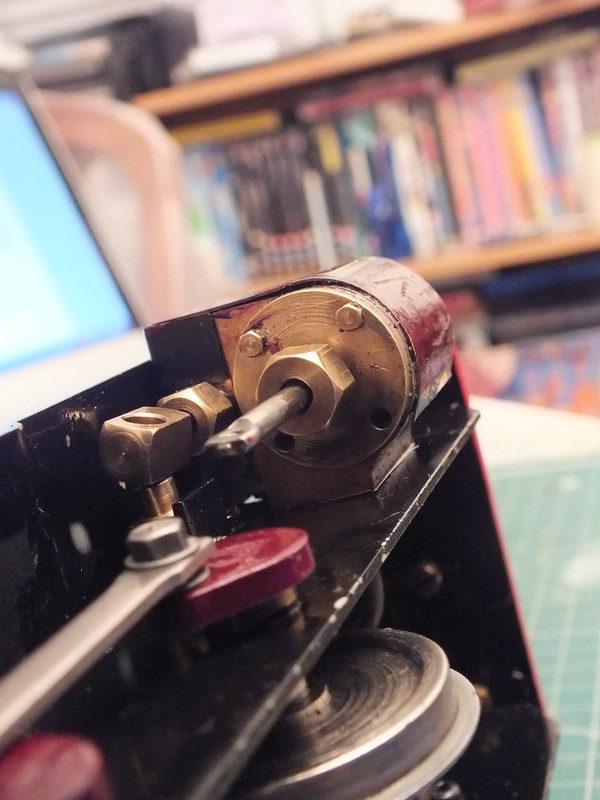
Roundhouse cylinder. You can see the slide bar is held on by it being folded, and the folded part a curved section which then bolts into the actual cylinder.
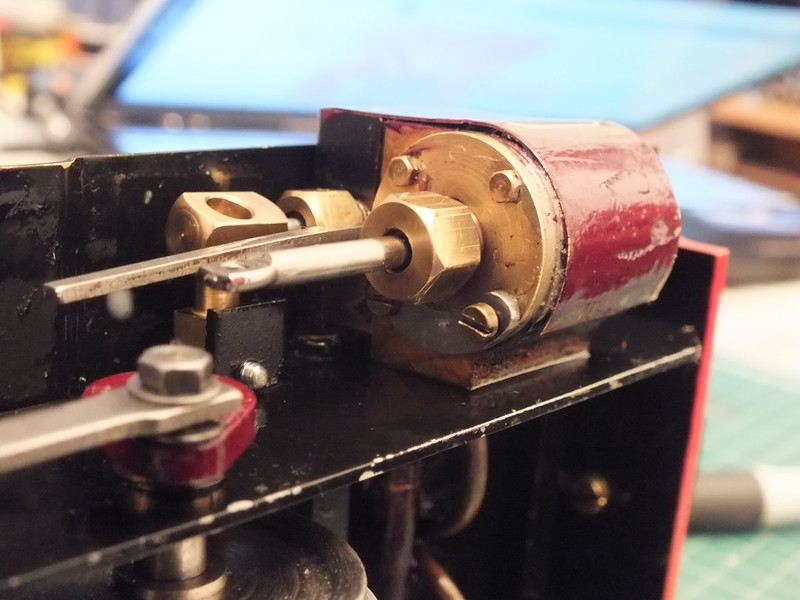
Gently and carefully unscrew these two small bolts. Use a thin, long screwdriver - thin means its flat head can get into the bolthead slots, and long means you can insert it between the tricky motion to get at said bolts.
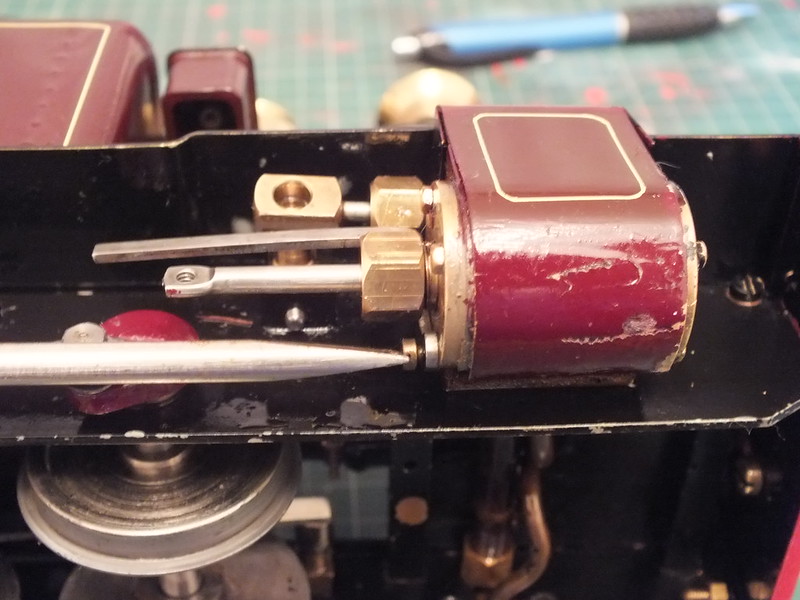
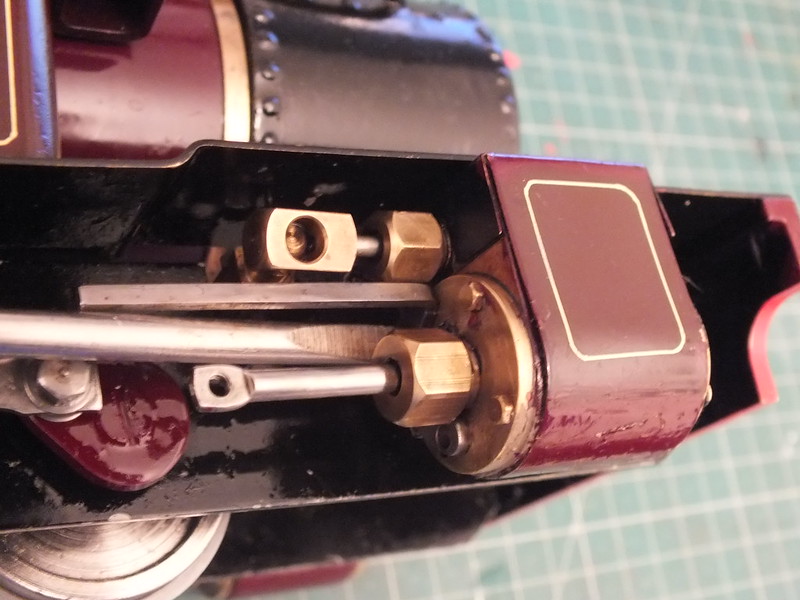
You can now see where the two bolts were. With these loosened off, the slidebar bracket is free of the cylinder.
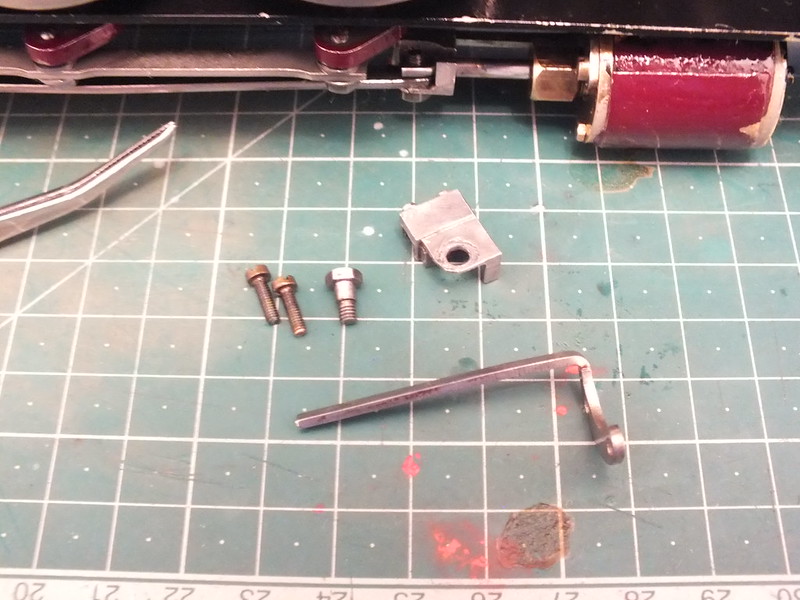
A parts recap shot - two threaded bolts that went into the cylinder, which held the slide bar in place, the crosshead hex-headed bolt, the cross head piece, and the slidebar itself. The slidebar's folded section is now clearly visible - this folded and curved section is what sits on the cylinder, being held in place by the two small bolts.
Here we have a)the old, shorter and single bar slidebar and b)the new, longer, double barred slidebar section. This clearly shows the curved section which fits against the cylinders - the two holes being where the bolts go through and into the cylinder, as detailed above, to hold the slidebars firmly in place.
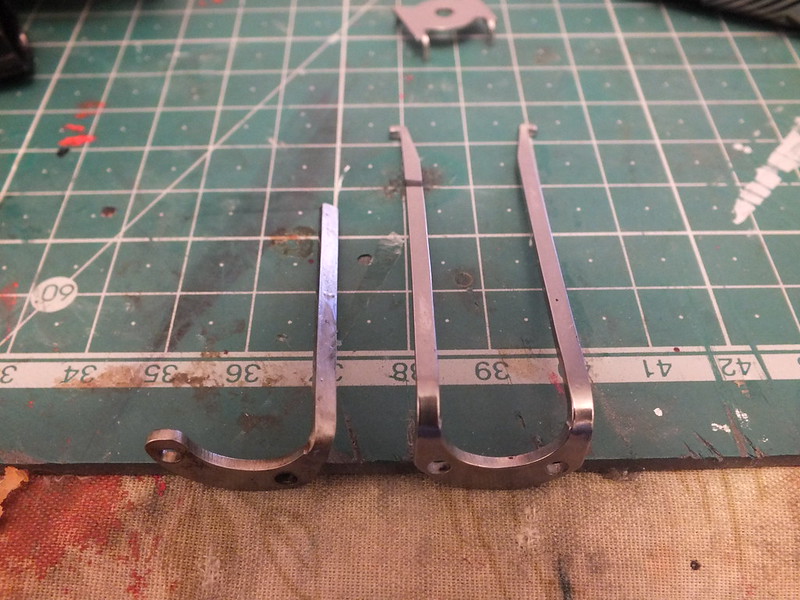
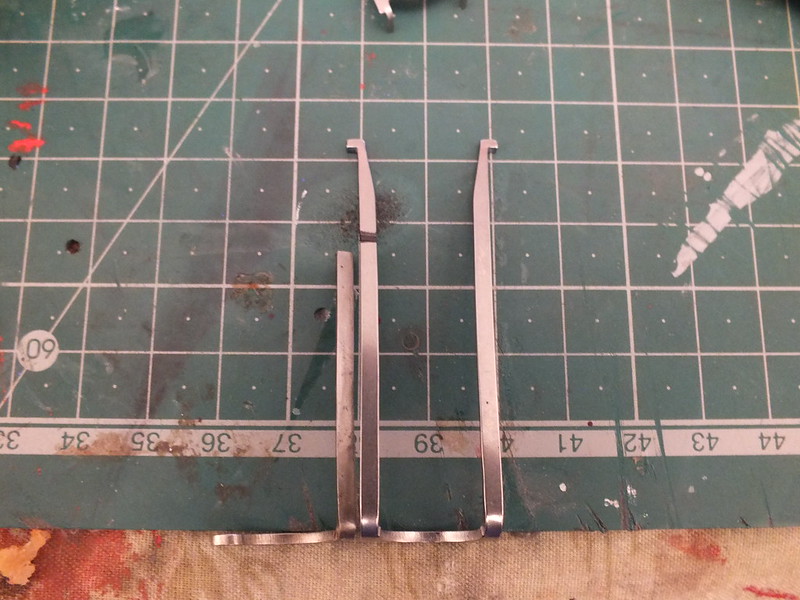
The same two slidebar parts from above. You'll notice that I have marked the longer slidebar as I intend to cut this to the same length as the old single-bar part in order to fit it to 'Vixen'.
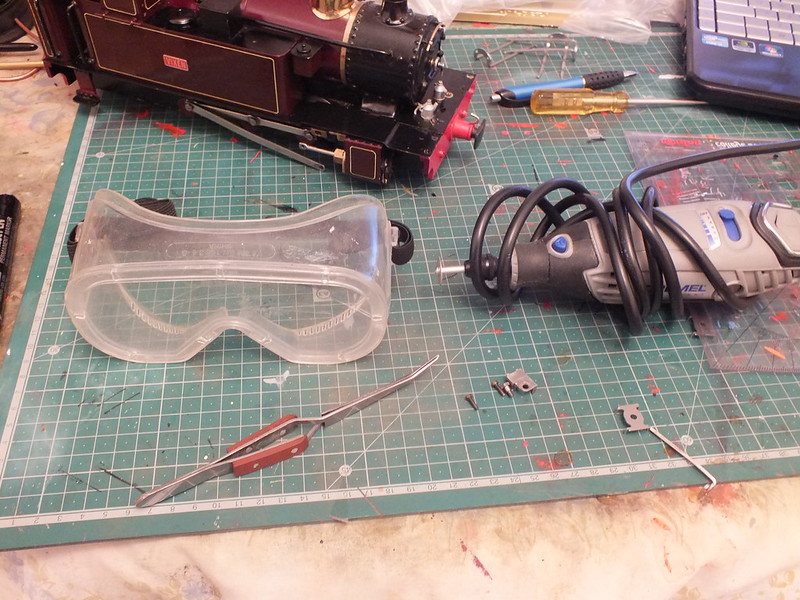
Safety First! I'm going to be using my dremel to cut through the metal of the longer slide bar. I have a diamond cutting blade ready. I have planned the positioning of the pieces and my dremel so that my hands will not slip. I will also be wearing safety goggles so that little minute shards of metal will not fly into my eyes.
In the right of the pic you can see the old crosshead and the new 'I' style crosshead.
Let's get cutting. Dremel in my more mobile right hand - and my left hand, gripping very tightly a pair of pliers holding the crosshead part to be shortened. I had the crosshead held in a pair of pliers so that a)the flat of the pliers grip would hold the crosshead firmly in place against the intense rotation of the dremel blade and b)if the crosshead slipped, my fingers would not be injured either by said crosshead or worse, the blade slipping towards my hand. Furthermore, when you cut metal like so it gets VERY hot!. Always use something as an extension to hold your item to be cut - never bare hands alone. Pliers, or a vice is a good idea.
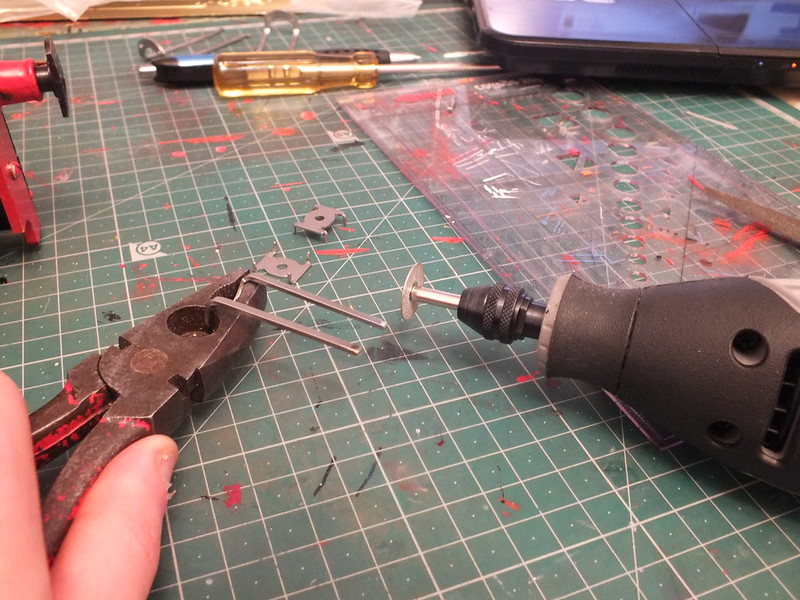
Slowly getting there. When cutting, as the first time, I used the mistake of using a small circular blade. I then discovered a larger blade - just one step up - made for a more rapid cut and was more effective. With the crosshead bars now cut to size, the cut ends are roughand will need filing / buffing down to remove the sharp jags and edges. My diamond blades can do this as the diamond surface is all across the head of said blades.
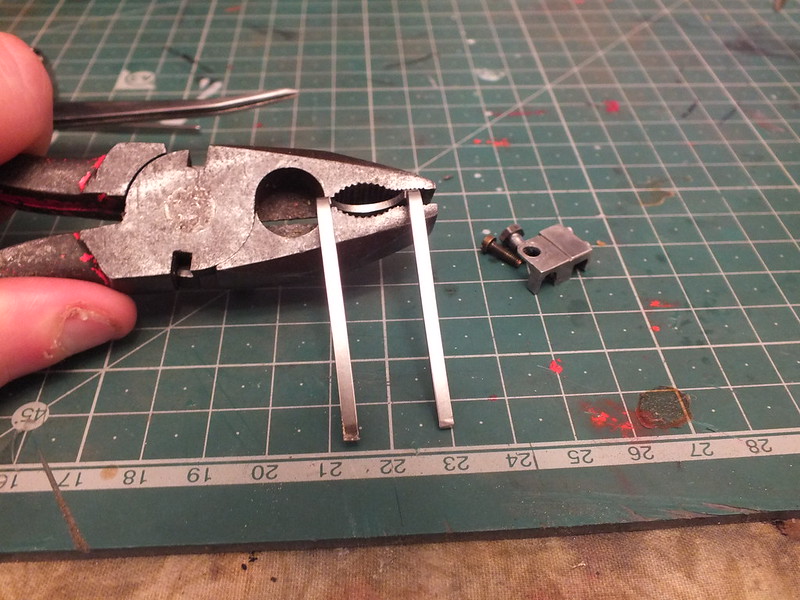
Now cut to size and smoothed off to remove any burring, the piece is ready to fit. Leave it a few moments after the last cutting to let it cool down - it will be hot!
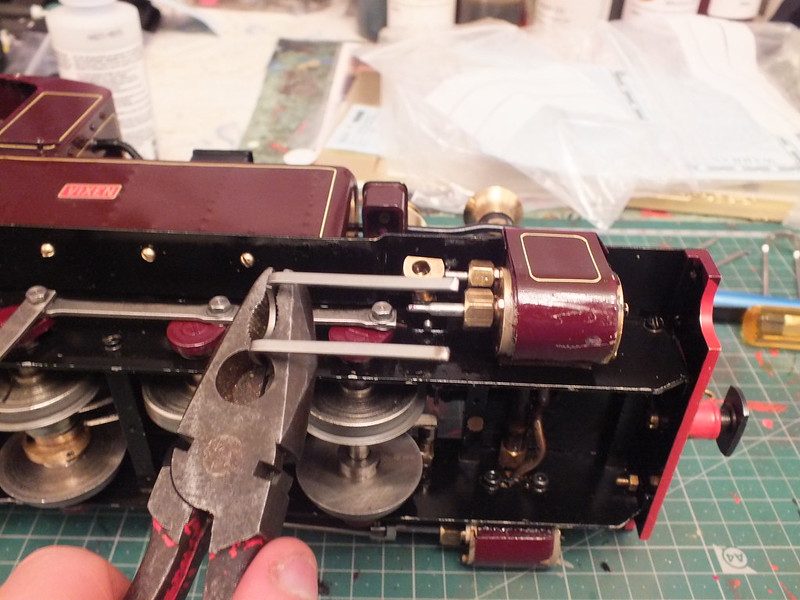
The new slidebar is fitted. It sits on the rear of the cylinder where the old slide bar was sat, with the small bolts being screwed back into the cylinders, through the slidebar's two small holes, to hold the slidebar piece in place. The large hexhead nut then goes through the new crosshead and attached the new 'I' style crosshead to the conrod and piston as the old unit did.
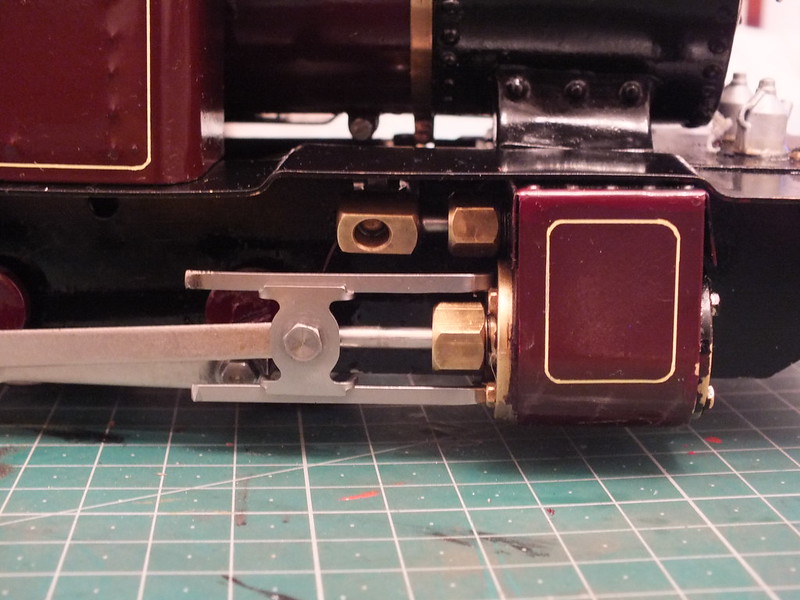
Job done on the right hand side. The new motion looks so much better than the old simple gear.
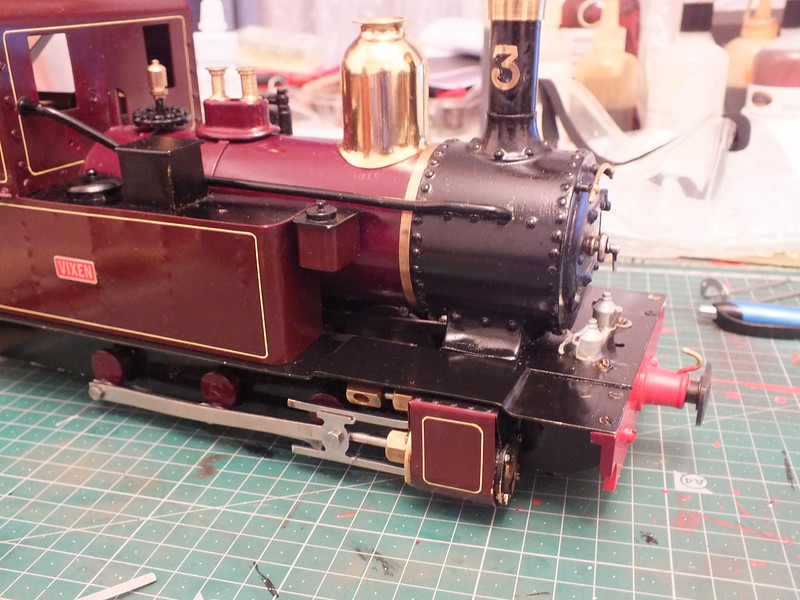
Same process for the left hand side. Job finished - maybe an hour's work tops - and the loco now looks a lot more prototypical

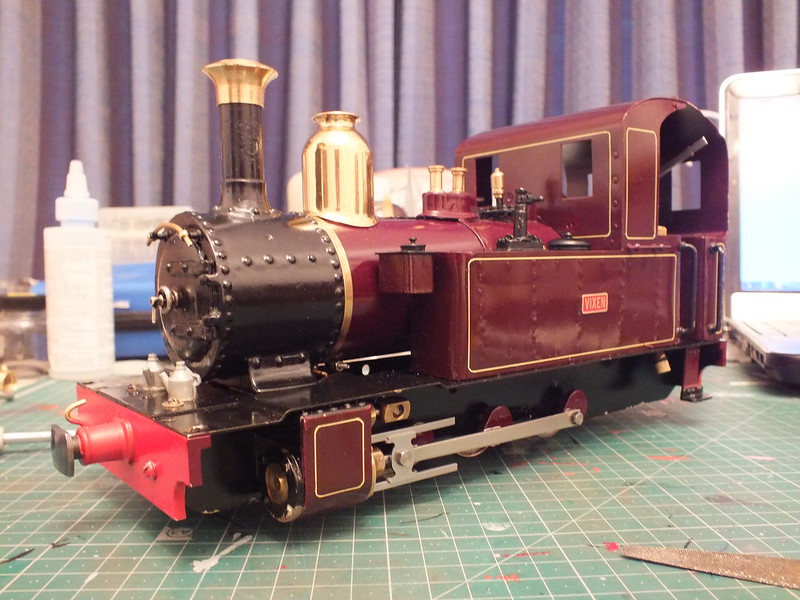
For an hour's work and the swapping of some simple parts, it's quite something how it drastically improves the appearance of one's loco.