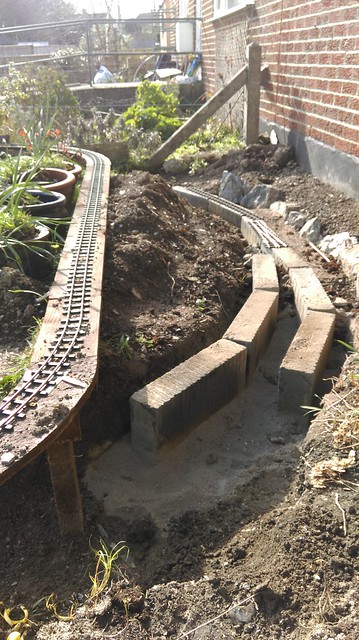
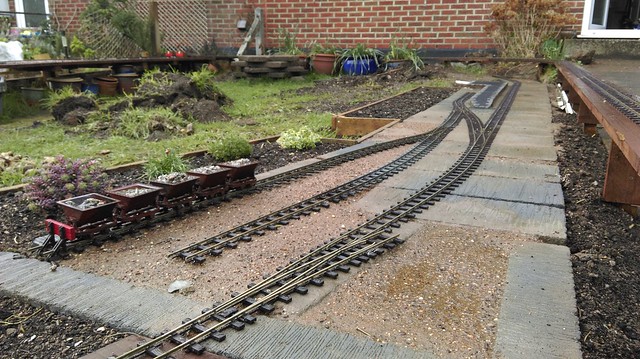
I am new to the forums and the hobby but after many years of planning I am underway. I built a temporary railway last year to run my locos and and now underway with the permanent version.
I hope this is of interest to you, I found a lot of ideas from reading posts here.
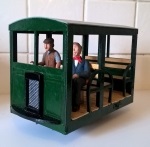
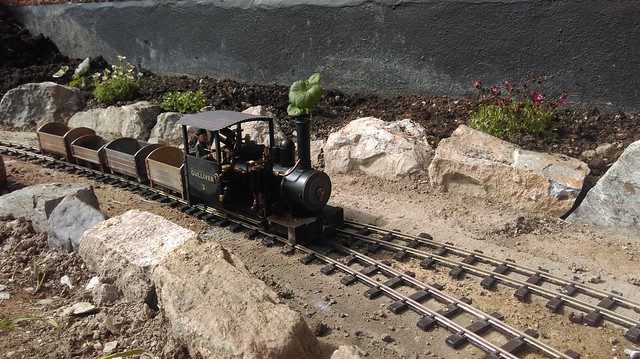
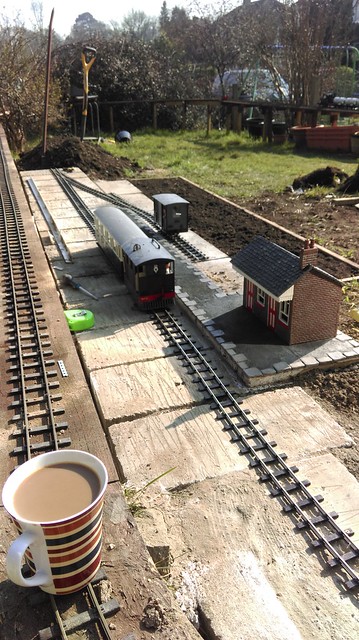
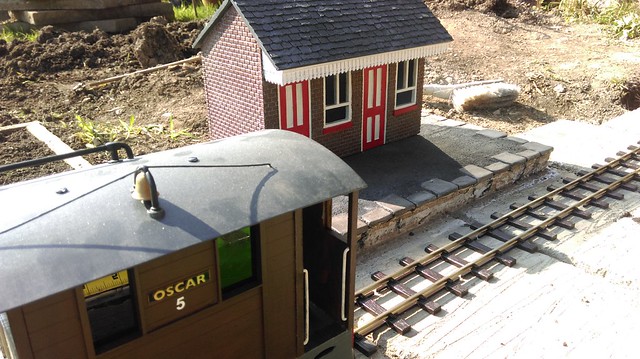
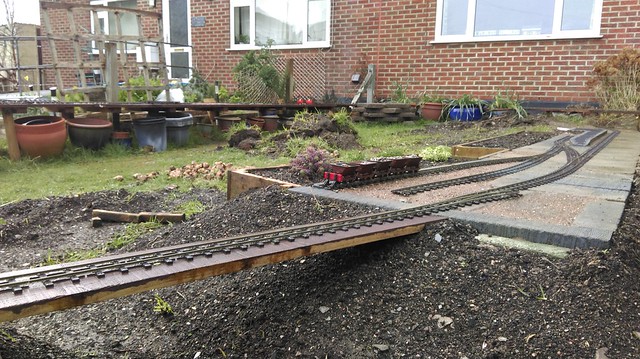
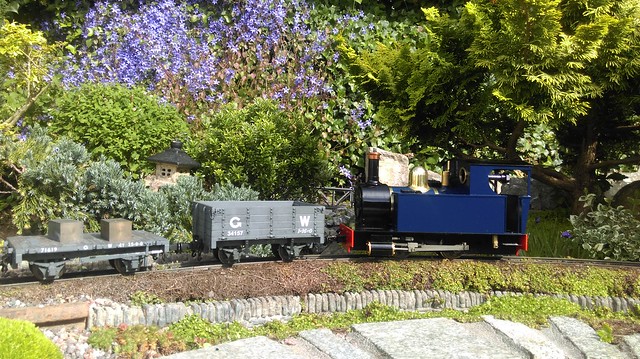
This is the pic of my station with the first platform complete and the tram testing clearances. There will be a second platform on the left.
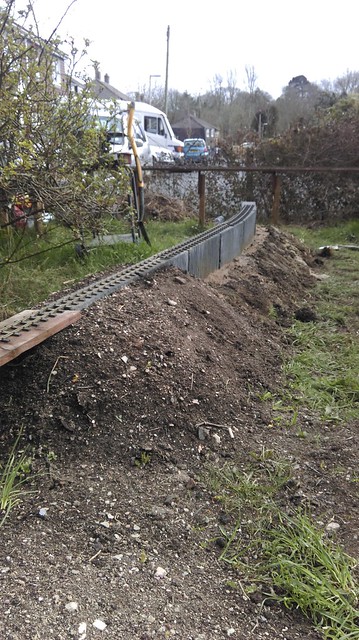
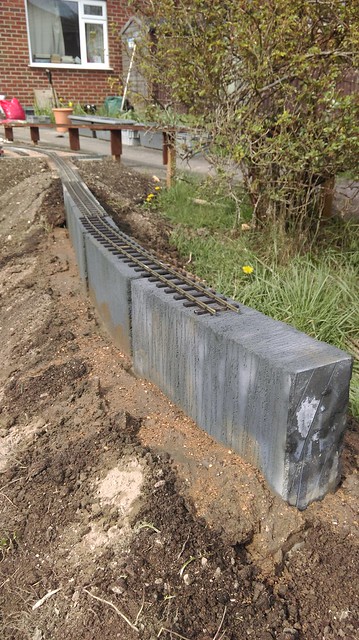
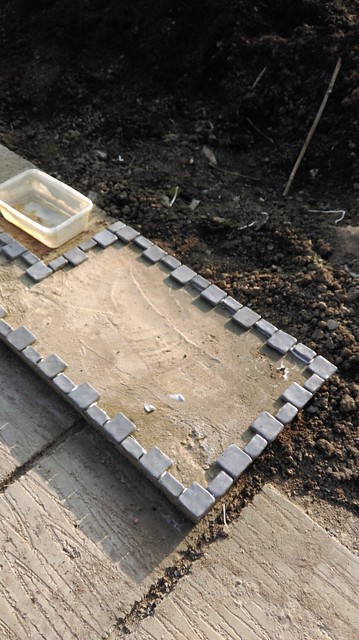
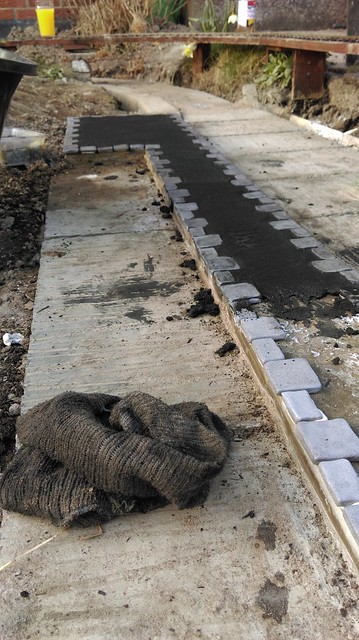
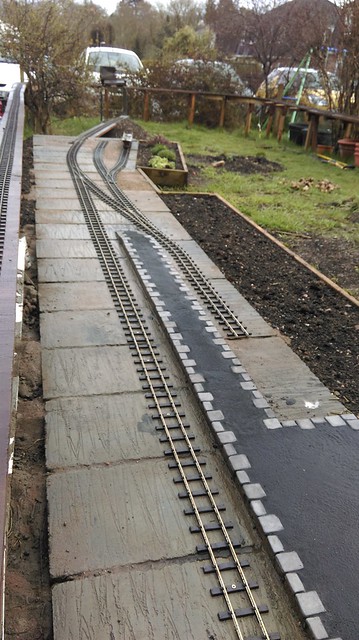
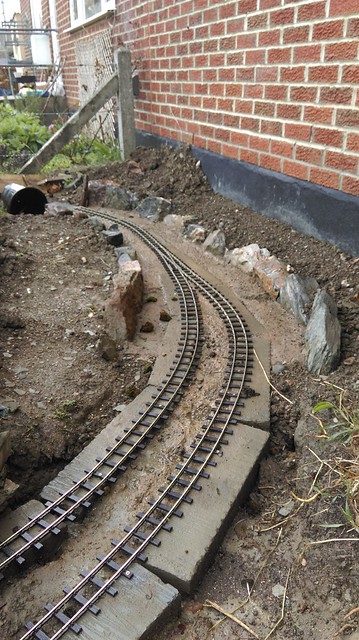
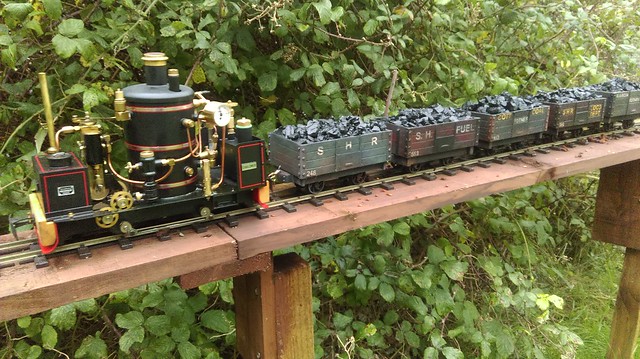
I built the platform using concrete reinforced with wire mesh. The edge slabs were glued on with no more nails ( I made clay masters for these then cast lots of them in resin, then sprayed and varnished) the surface is dyed mortar mix. The track on the wooden planks is my temporary line which is now about 10 days away from being removed.


 [/url]
 [/url]
 [/url]
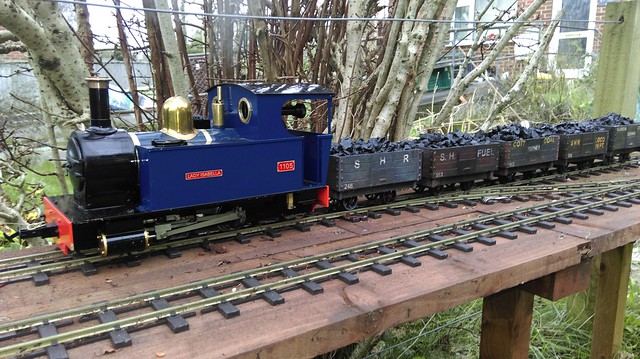 [/url]