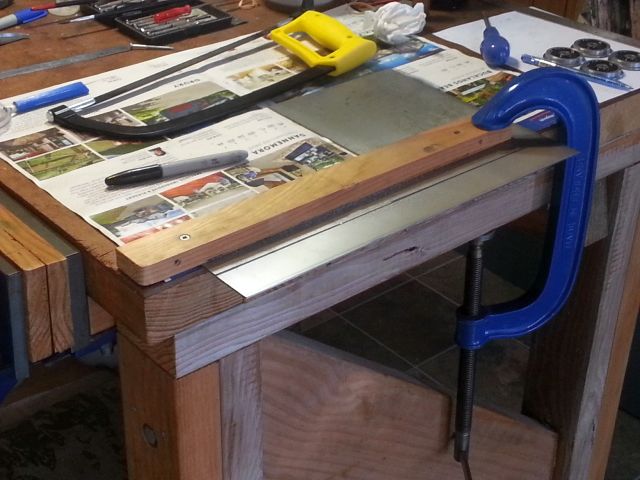
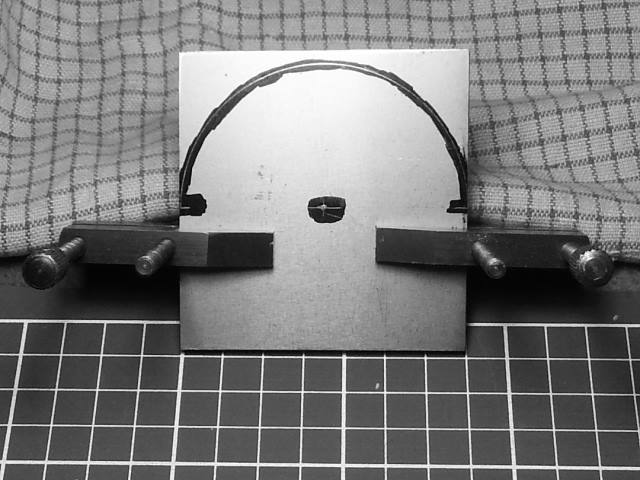
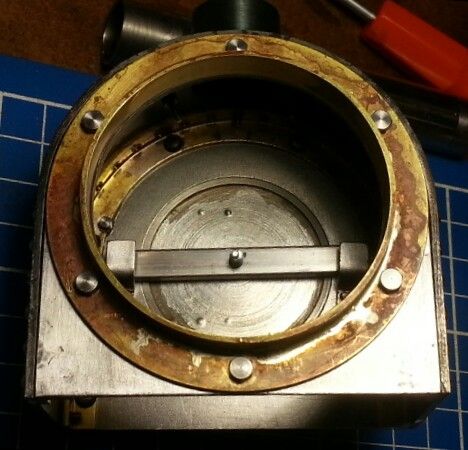
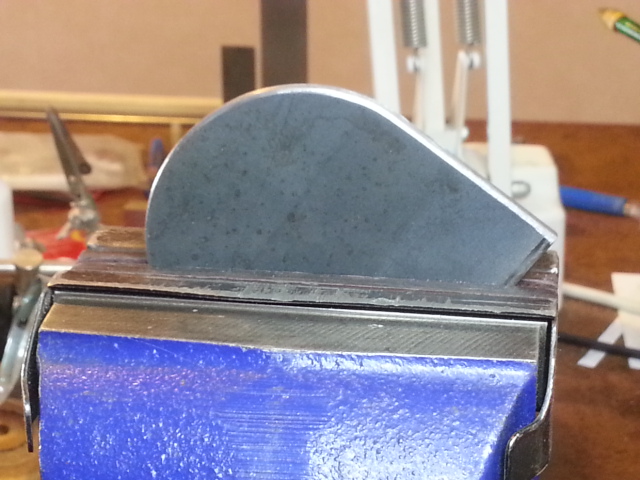
It's hard work with a hacksaw. Filing the edges flat was aided with a long straight edge and sighting through.
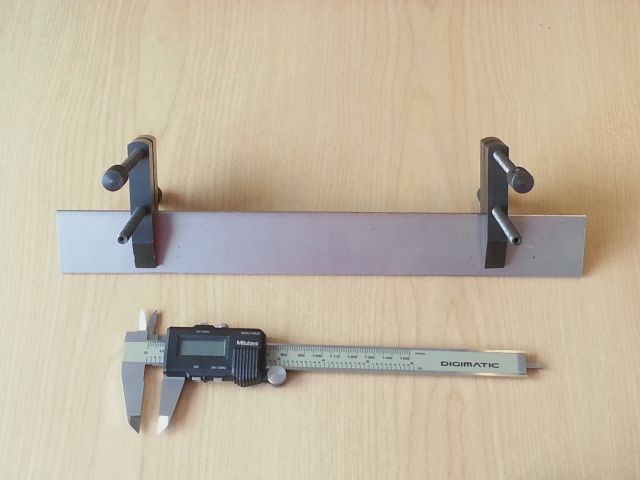
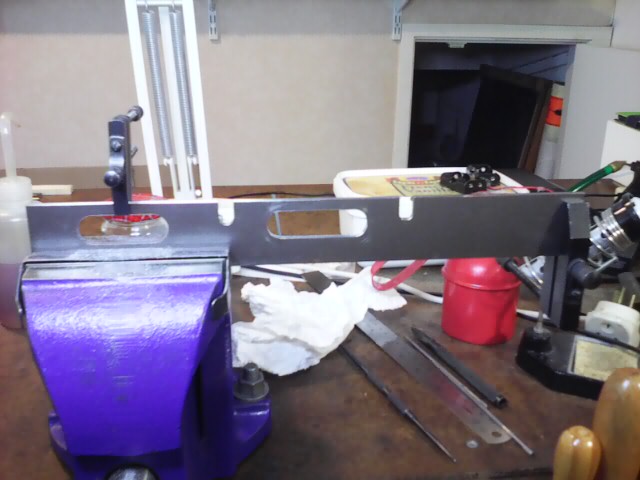
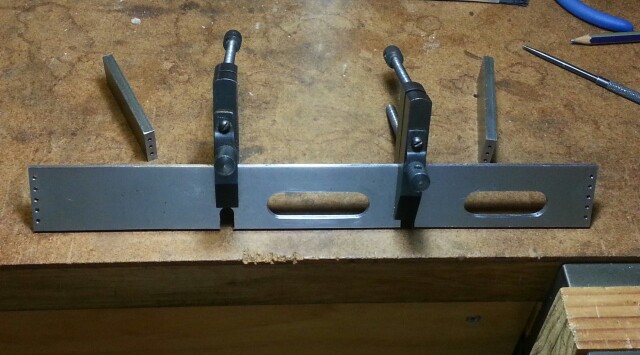
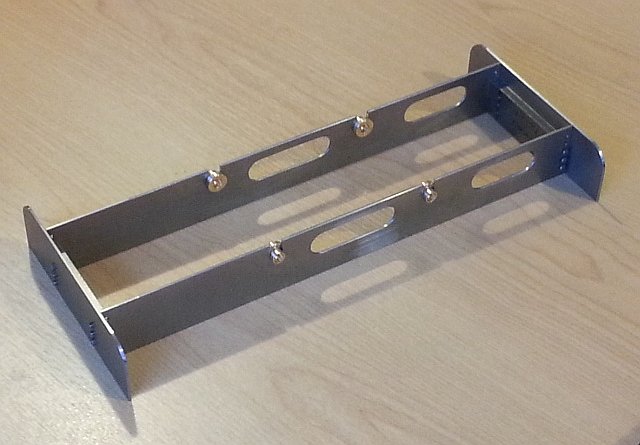
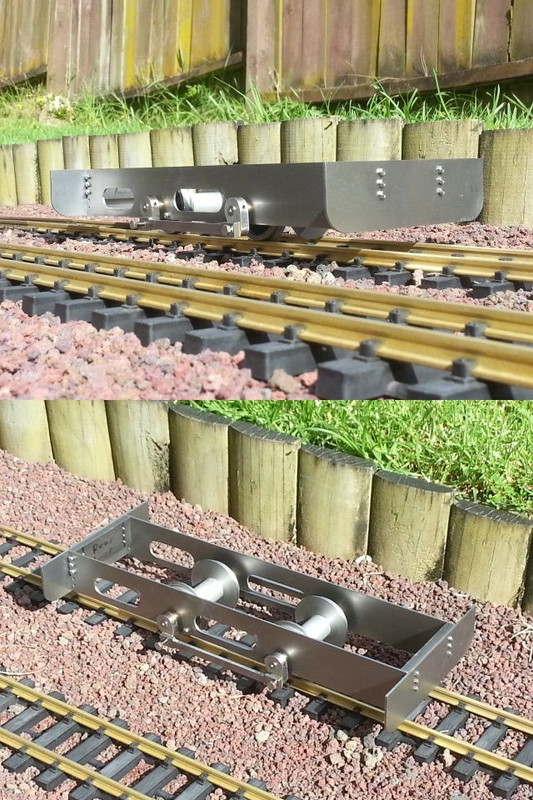
Here's the frame blanks cut to length


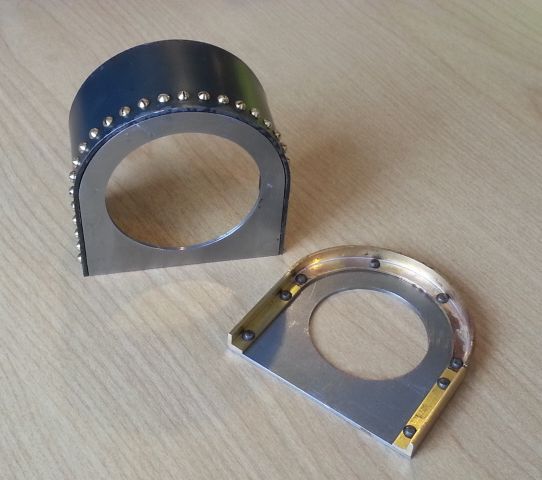
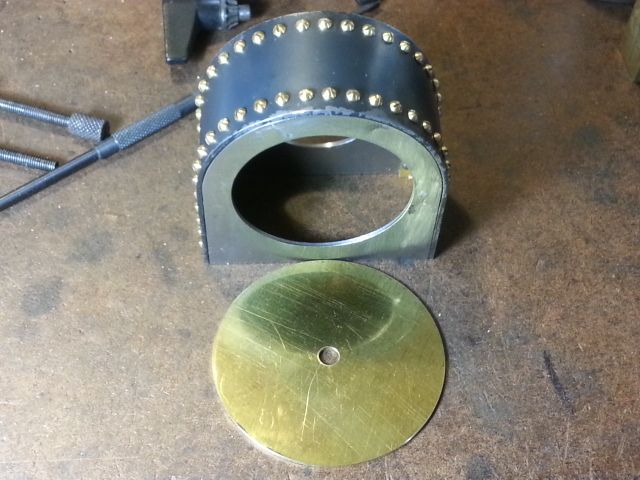
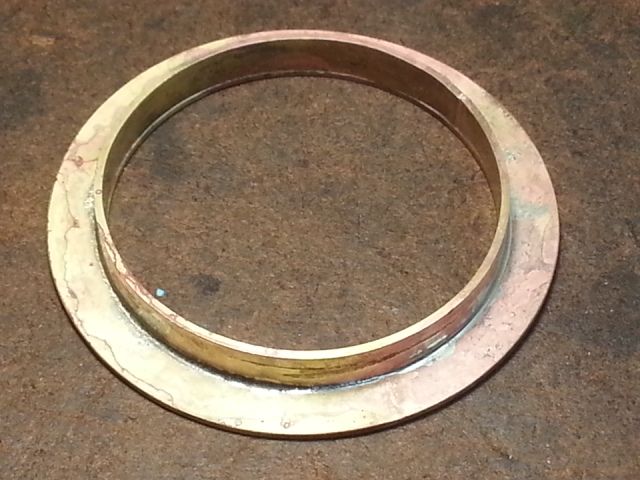
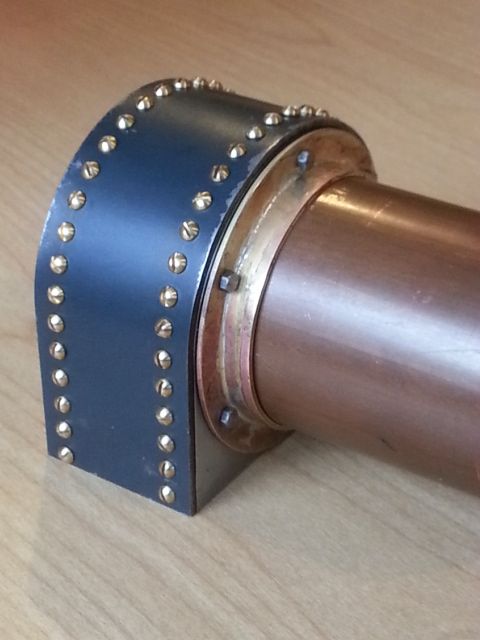
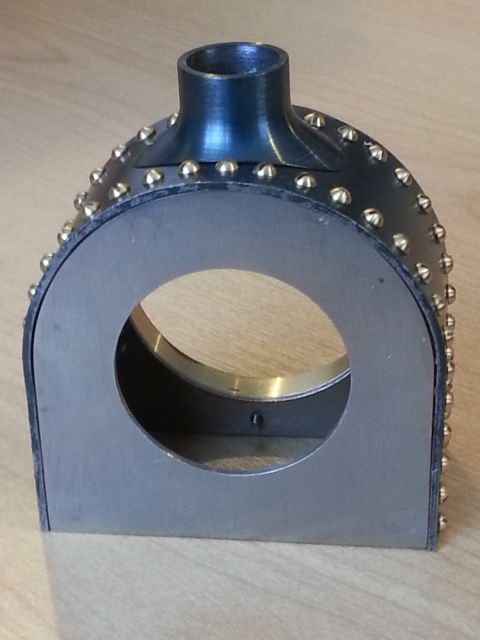
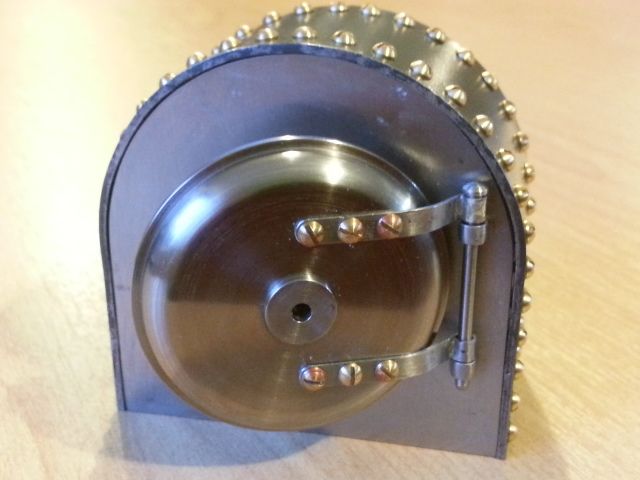
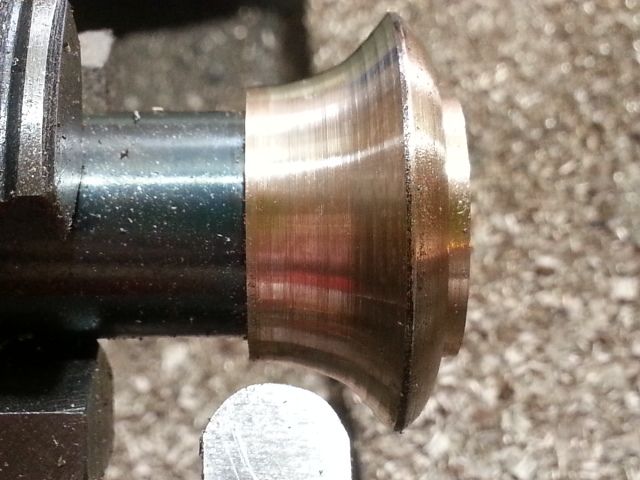
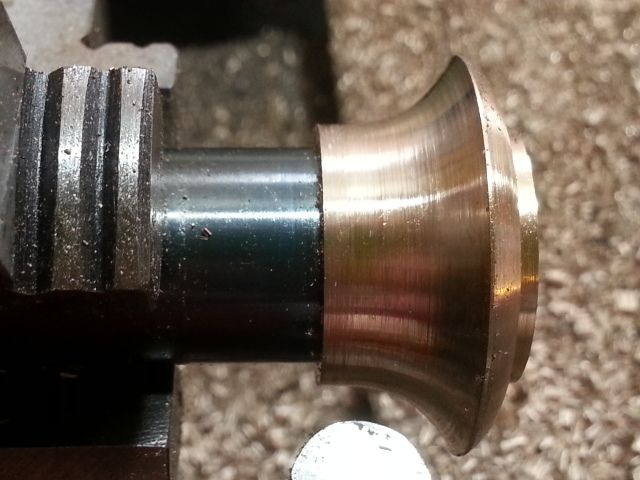
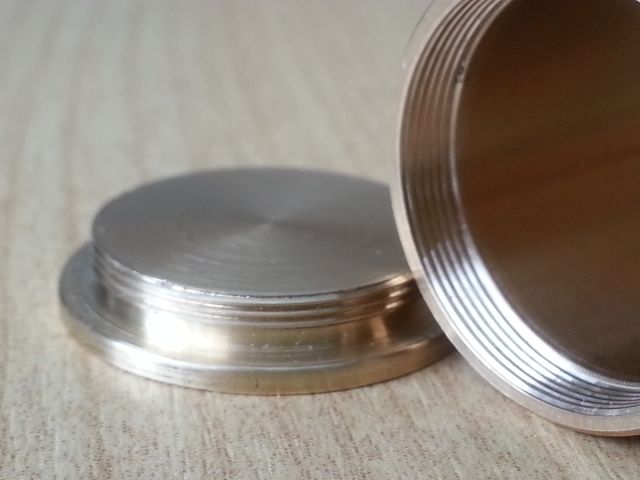
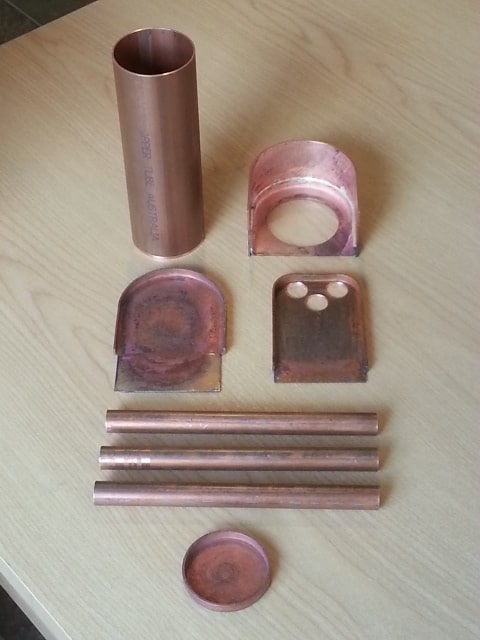
Thank you Keith!Keith S:118494 wrote:It certainly is a pleasure to see the work in progress. It looks like a fine job so far. I am particularly impressed with the boiler/smokebox flange.

Thank you!philipy:118509 wrote:Dave,
The big problem with your work is that I ran out of superlatives long ago! As always, I'm in awe.


Thank you!robyholmes:118836 wrote:Fantastic! Love seeing your work.

Users browsing this forum: No registered users and 0 guests


