So to the magnets and reed switch.
Firstly I created a solid disc with 4 holes in its side, and printed it in two halves - so I could add it without dismantling anything. It is glued to the axle using "super glue" - and magnets are glued into the 4 holes. Not my favourite glue but the easy solution to the problem again:

- IMG_2663.JPG (1.76 MiB) Viewed 3005 times
I admit I have had lots of problems with reed switches. I have made a printed container to hold the reed switch , with holes for the wires to protrude upwards into the loco. Wires were soldered to the switch - without bending the switches leads.The reed switches seem really delicate - this is my sixth attempt and involved minimising the forces applied to the switch and its leads:
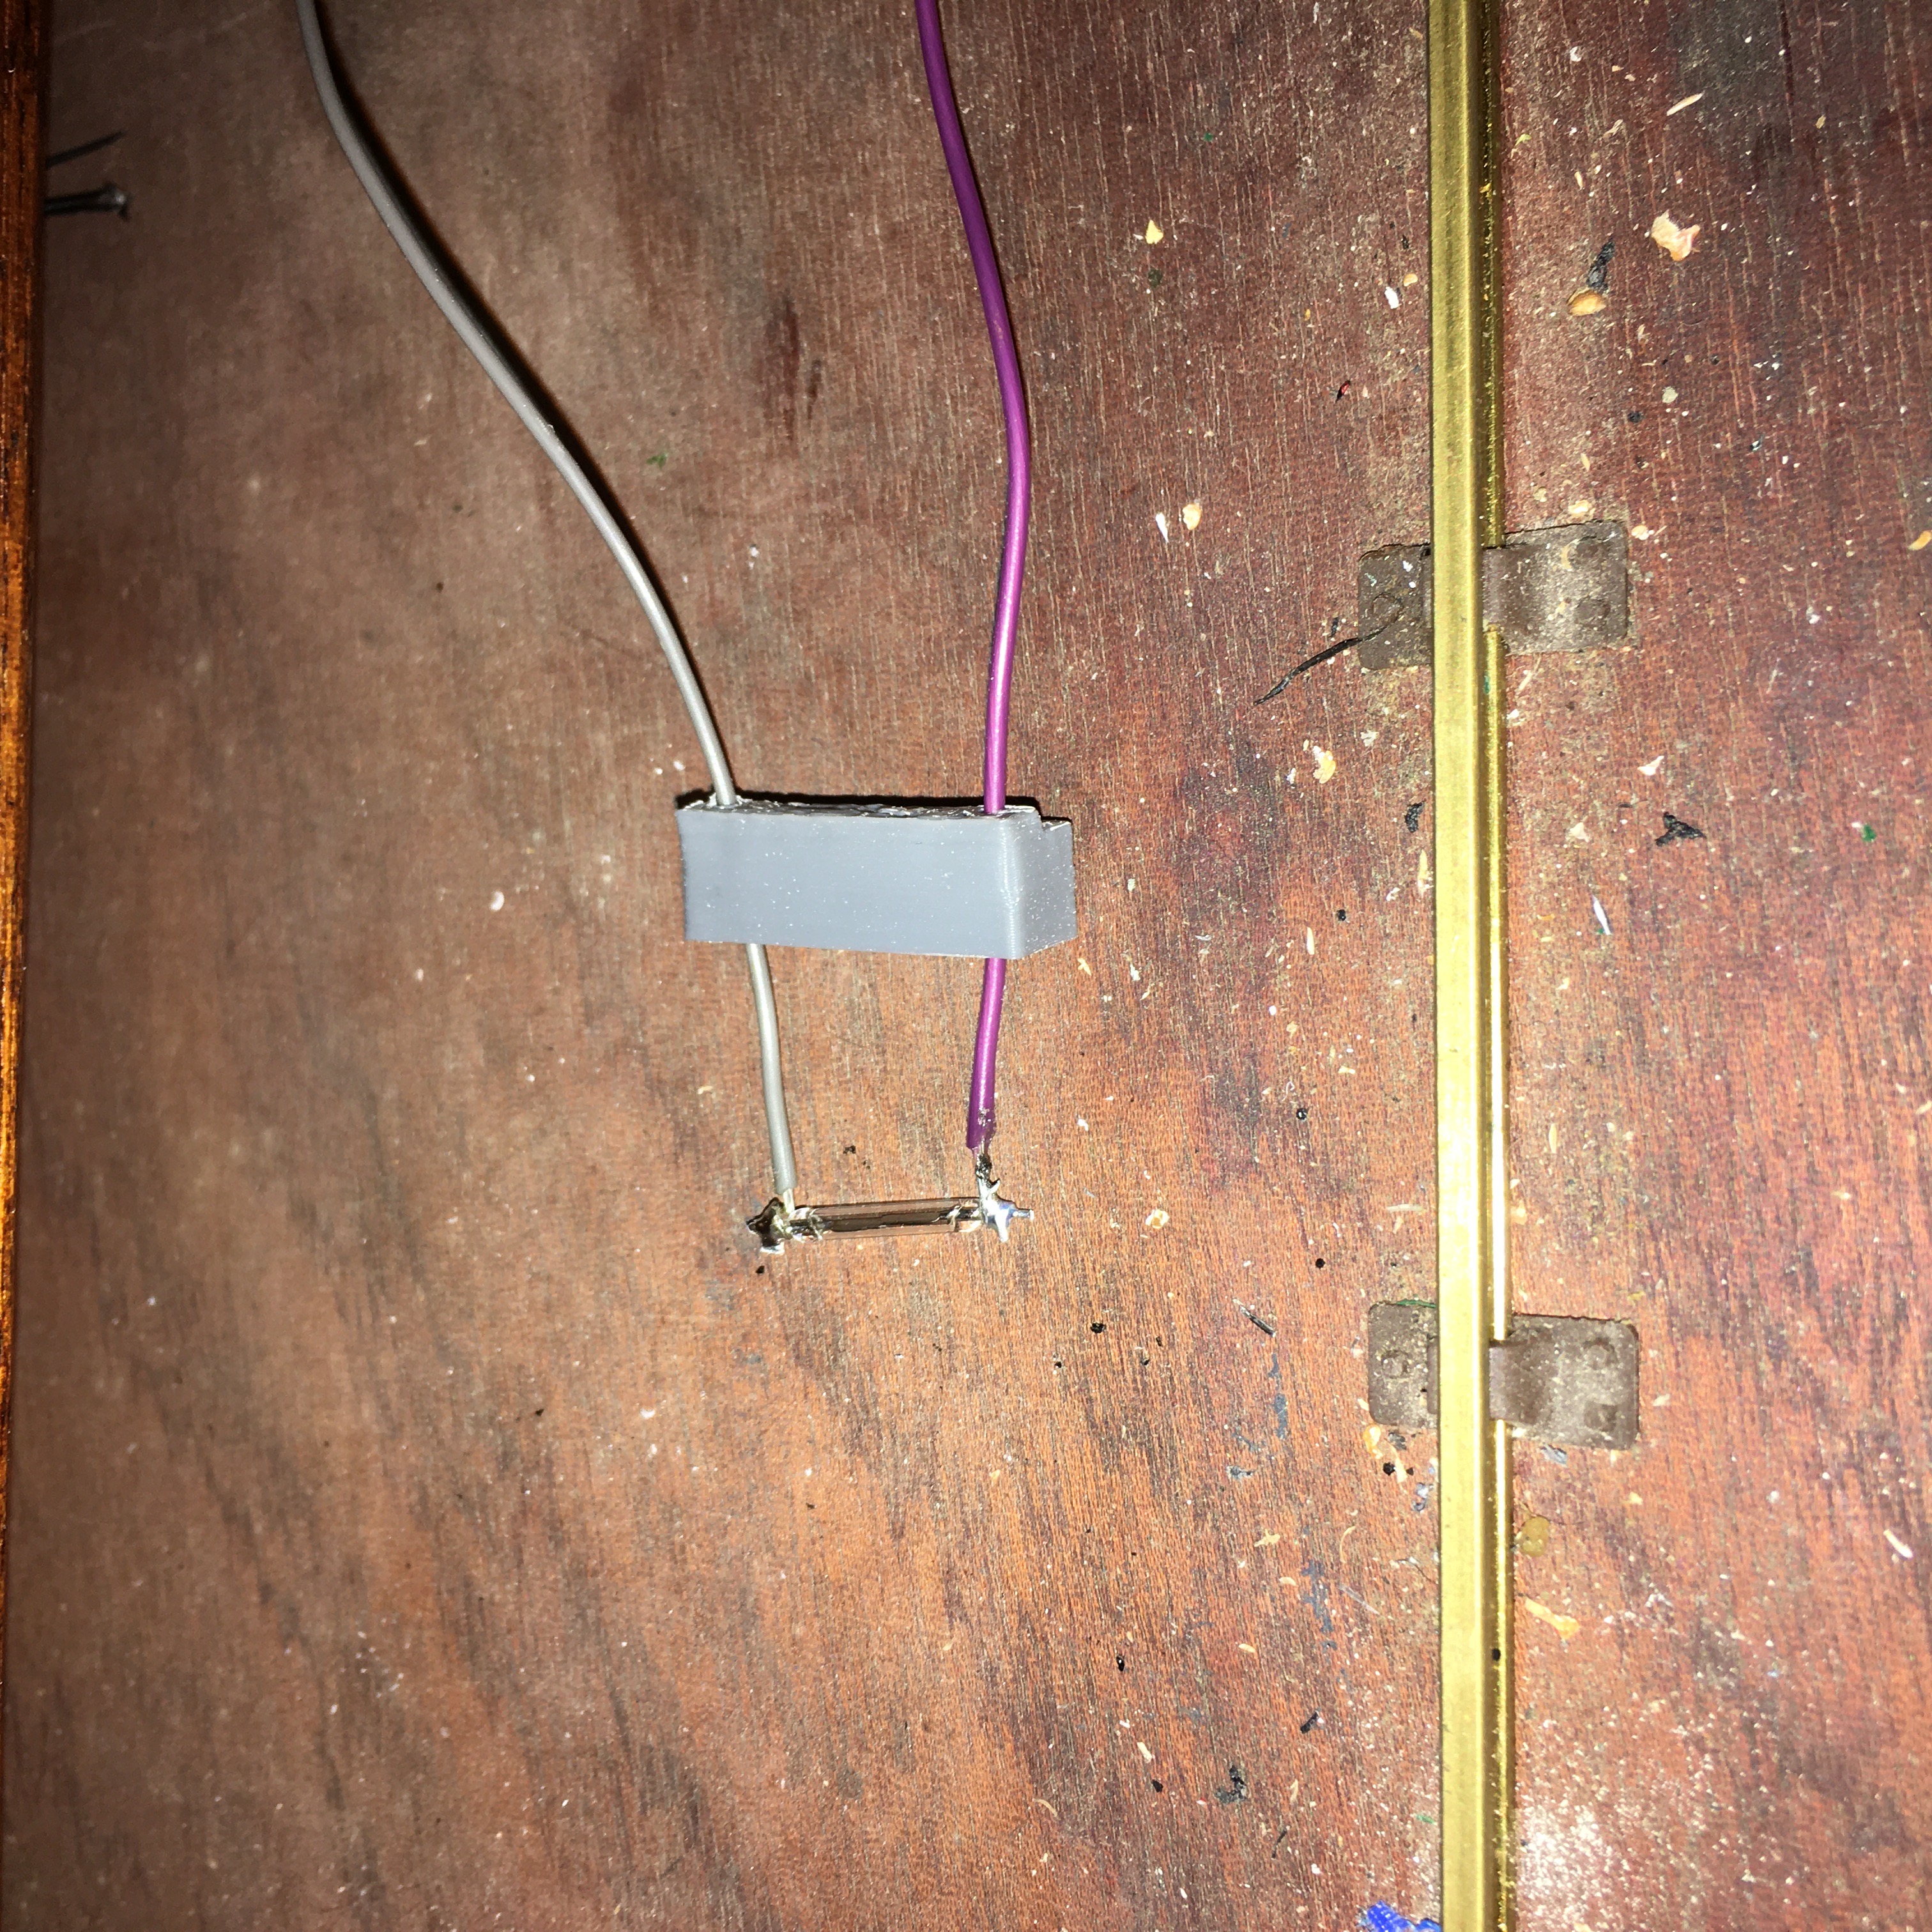
- IMG_2661.JPG (2.76 MiB) Viewed 3005 times
I cut the leads short and gently pulled the leads to lift the switch into its housing:
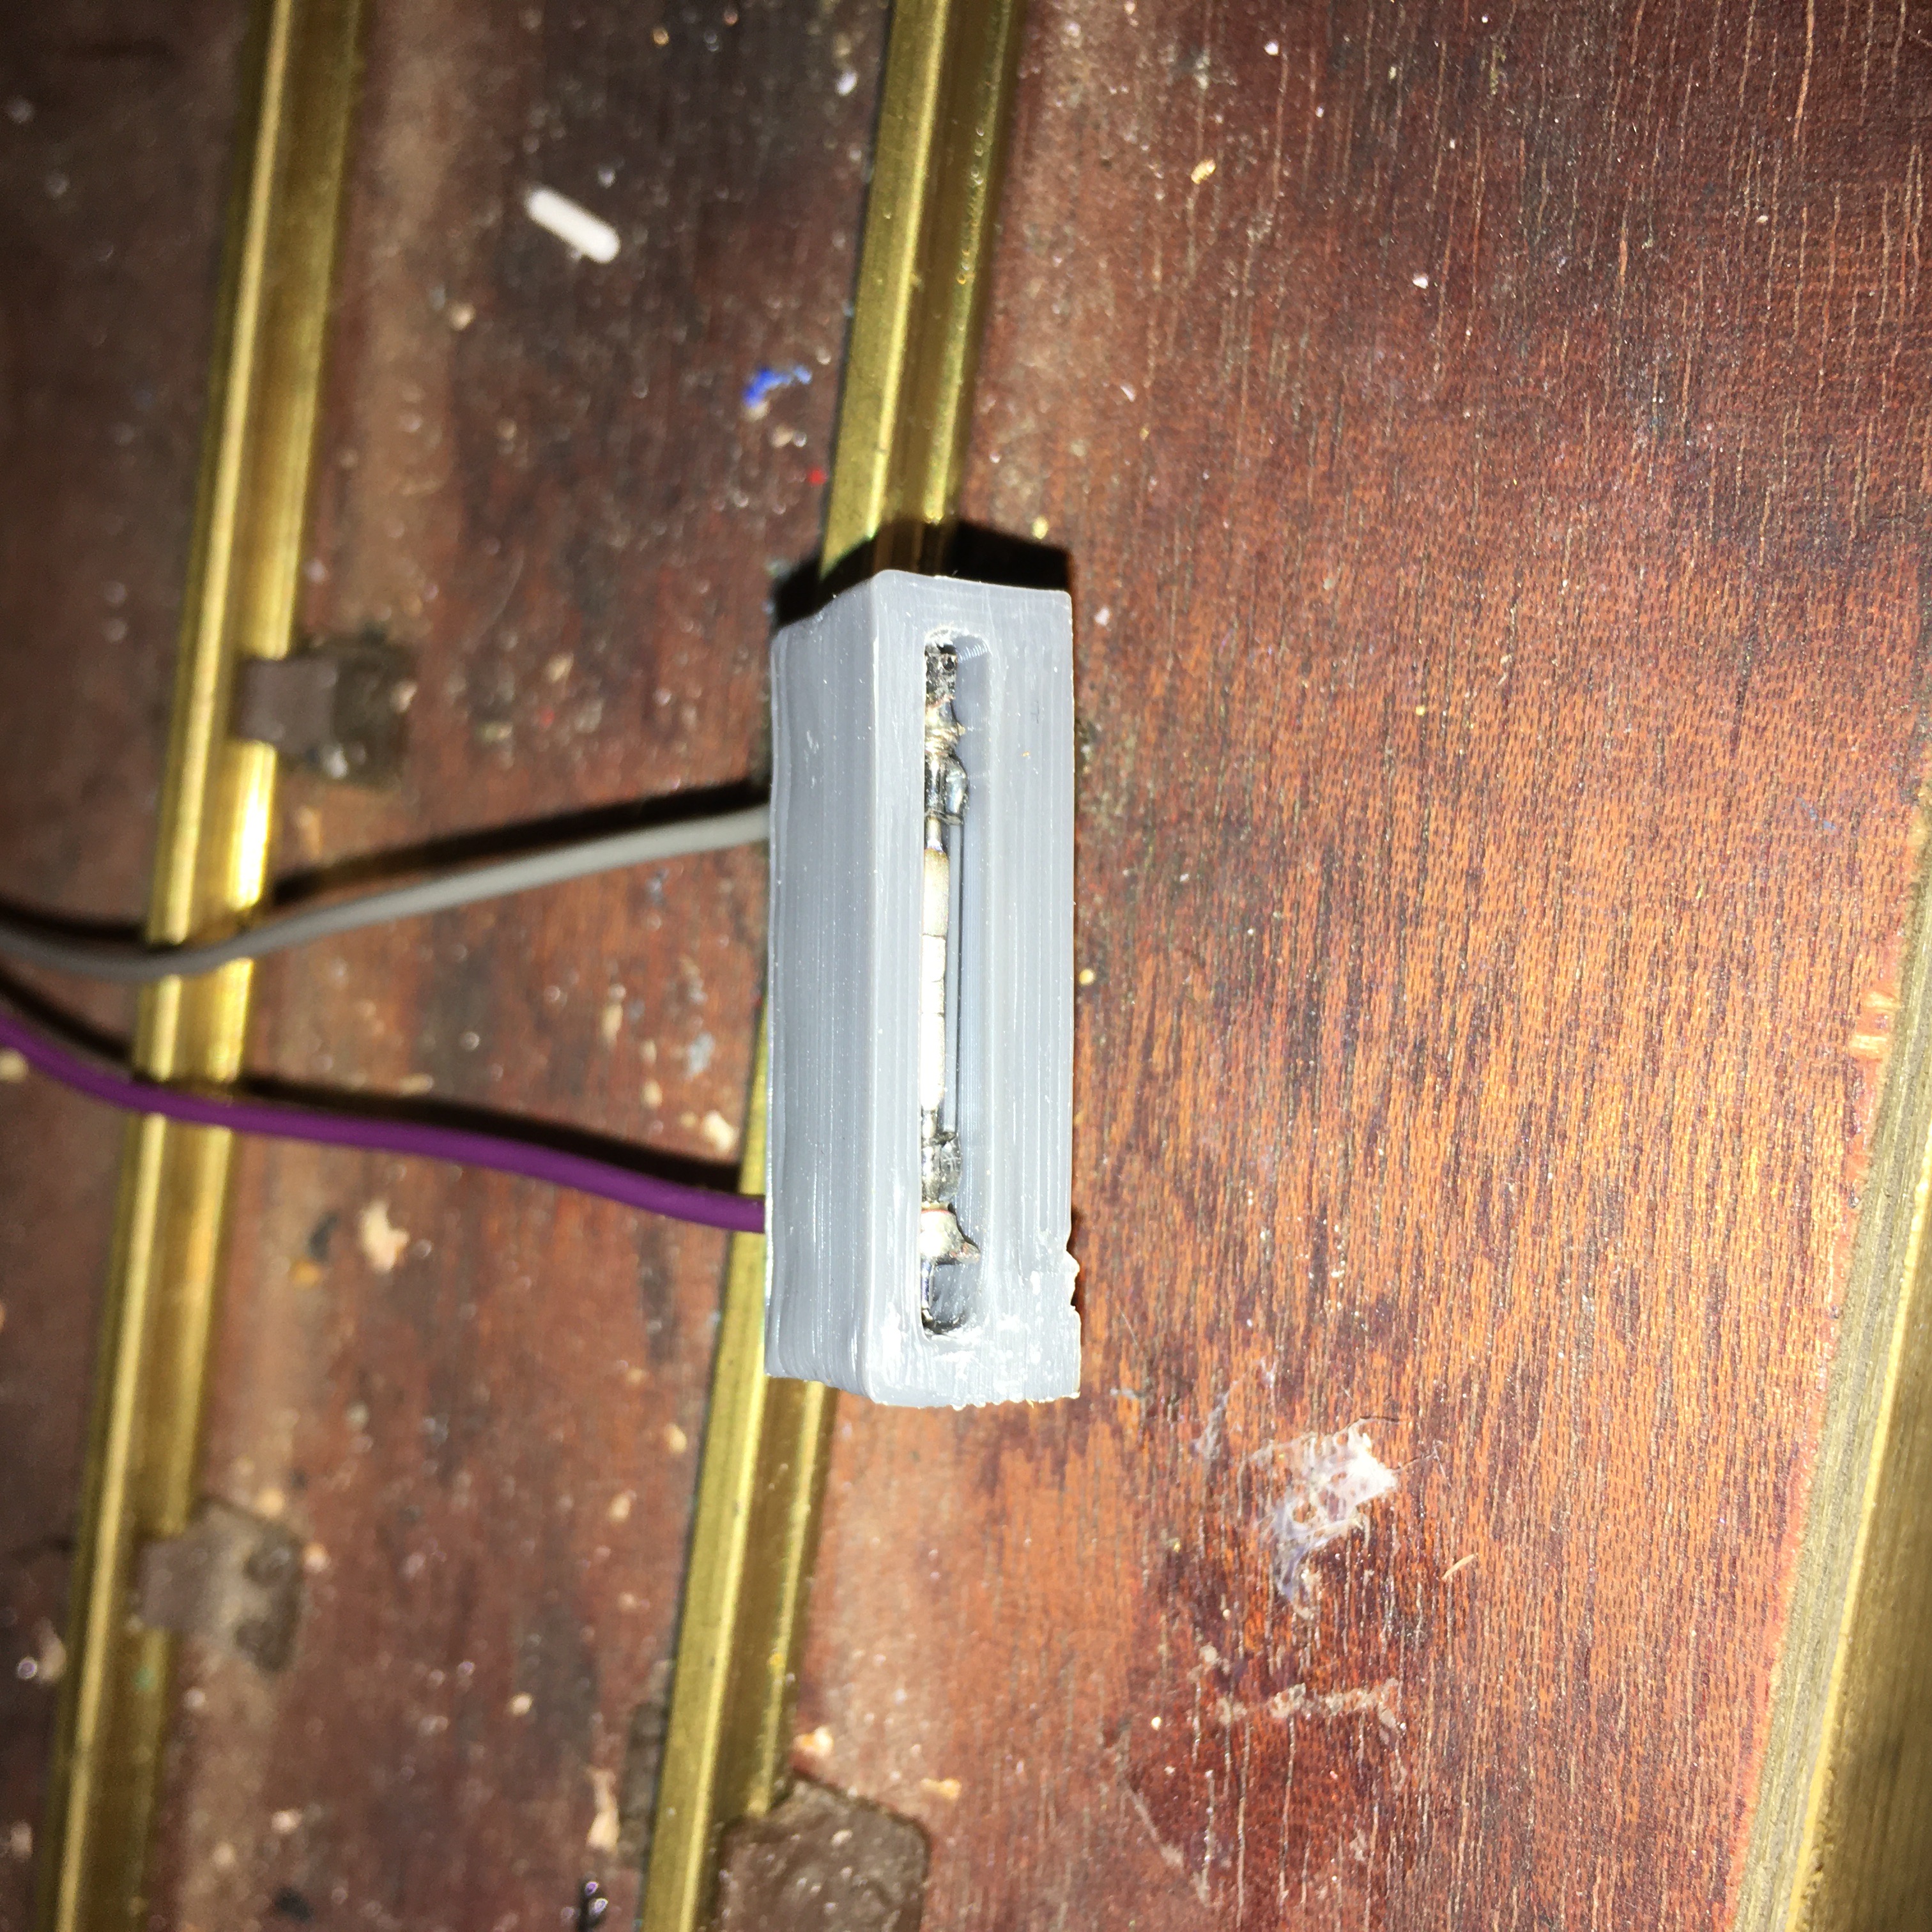
- IMG_2662.JPG (2.25 MiB) Viewed 3005 times
It is now glued to the bottom of the chassis, close to but clear of the magnet disk:

- IMG_2664.JPG (1.69 MiB) Viewed 3005 times
I have wired it to the sound card and the card programmed it to operate off the reed switch input.
So far that has survived the best part of a week of trials.
Trevor


