So.... during 'Lock-down' what is there to do?
I thought I might do a little experiment comparing some similar kits from various manufacturers and decided to use Ffestiniog Bug Boxes as an example.
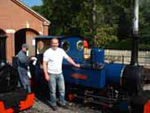
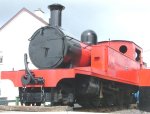
For those who might not be familiar, here's one I made earlier.....

- IMG_5942.JPG (147.72 KiB) Viewed 5690 times
This is a scratch-build of one of the seven different designs currently in service on the FR in various guises. The originals date from the early 1860's and were the first passenger coaches built.
I checked out the manufacturer's sites and bought from three to begin with, although not identical vehicles they are representative of the type.
I am not comparing models for accuracy of scale or prototype detail against the original, rather for material use, manufacturing quality, method of construction, and overall appearance. Also for value for money.
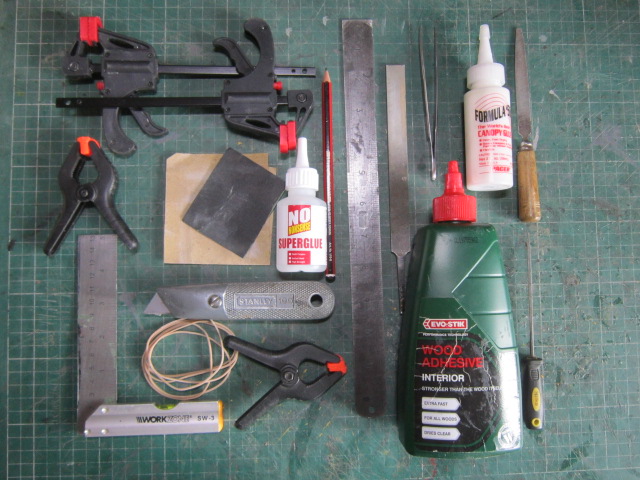
For all of the models a basic tool set is required, additional aids make life easier and will be mentioned as they are used.
The basics.....
- IMG_7232.JPG (131.62 KiB) Viewed 5690 times
.
First build is..... I.P Engineering, Ffestiniog Railway, First Class, No 2, Passenger Carriage.
Premier Range Kit, ... Price £54.00 (incl. postage).
The kit arrived within days of ordering and arrived in a cushioned package and tightly sealed in a plastic bag. On opening my immediate reaction was that the plywood parts felt damp to the touch. After leaving them out to dry for several hours I discovered they had twisted and curled....

- IMG_7189.JPG (114.22 KiB) Viewed 5690 times

- IMG_7190.JPG (93.66 KiB) Viewed 5690 times
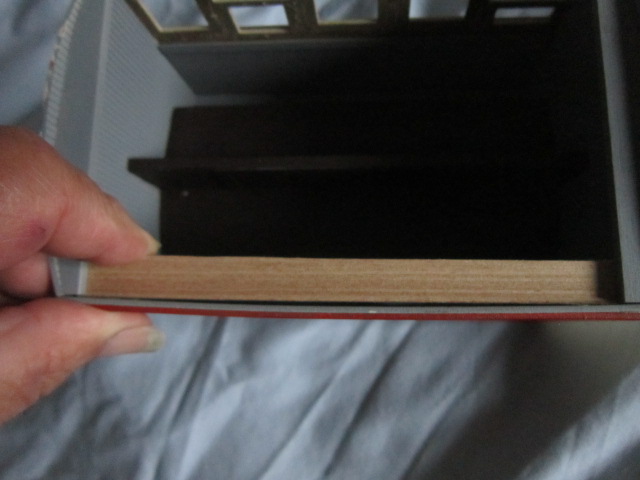
After speaking with Ivan he offered a replacement kit or refund which would have require me to go to the Post Office and pay postage... something I was not prepared to do under the circumstances. I asked for a replacement roof panel which had a 92mm split along the grain of the veneer (not ply), but that hasn't materialised up to the present time.
The panels were dampened, steam ironed and left under glass sheets for several days and I began the build following the instructions.
My first impression was that parts of the floor and seating panels are not tightly fitted at their connecting areas and it is necessary to support sections to ensure they set squarely. If this isn't achieved nothing else will fit.
The chassis is very basic with no detail. Again it must be set perfectly to make the metal wheels turn smoothly in the brass bearings supplied.....

- IMG_7214.JPG (108.32 KiB) Viewed 5690 times
I fitted an additional spacer (not supplied) in order to keep the thin ply from bowing in at the centre.
Even after all my work to flatten the sides they still show signs of distortion so an additional bracing panel has been glued below the windows and a strip (neither supplied) at the top above the windows...
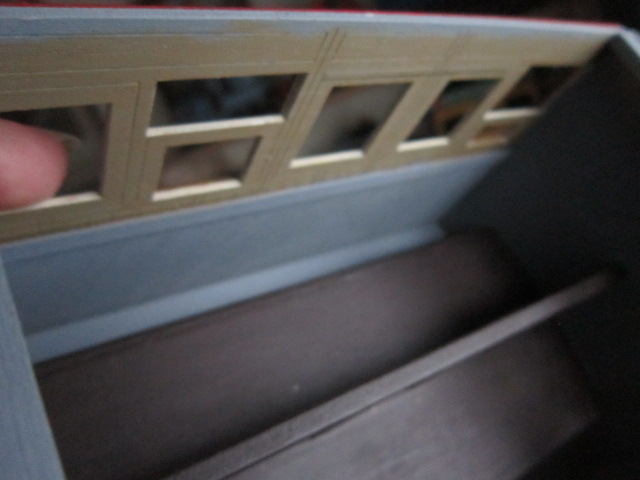
- IMG_7226.JPG (75.8 KiB) Viewed 5690 times
- IMG_7225.JPG (77.25 KiB) Viewed 5690 times
More to follow....
The best things in life are free.... so why am I doing this?