The final part of the Jerry Irwin build....
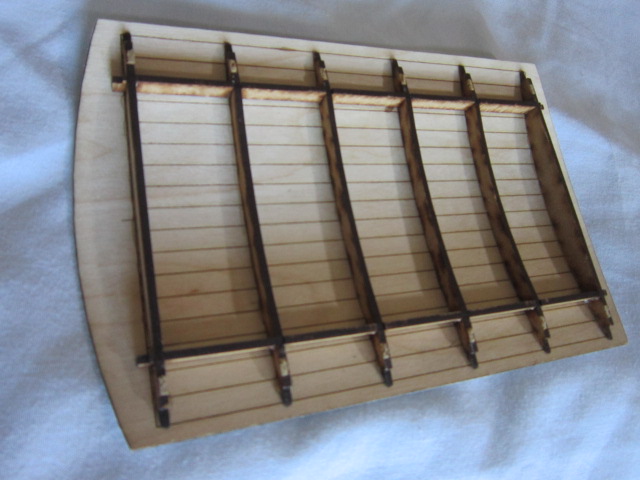
Putting the sides together couldn't be easier or more accurate as there are templates included to ensure everything lines up precisely.
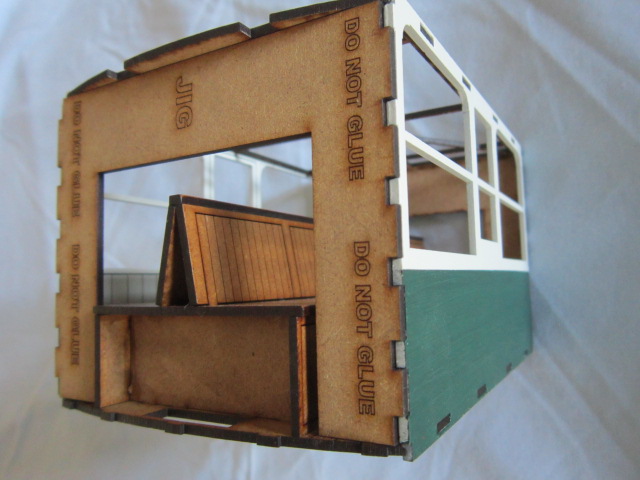
- IMG_7283.JPG (96.3 KiB) Viewed 5589 times
I prefer to paint the sides, ends and overlays before assembly, this makes for a tidier finish....
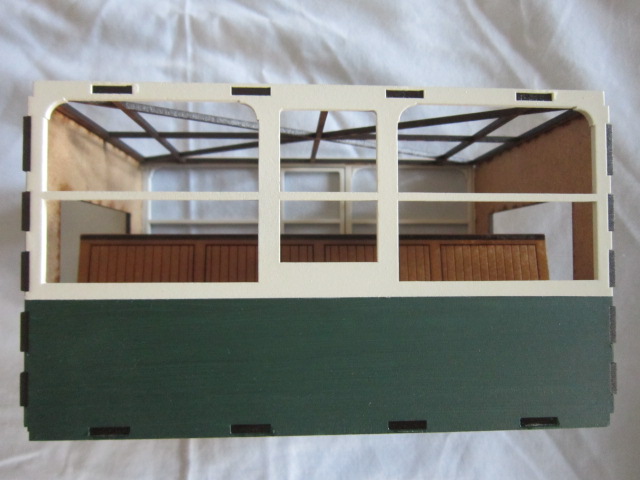
- IMG_7285.JPG (87.76 KiB) Viewed 5589 times
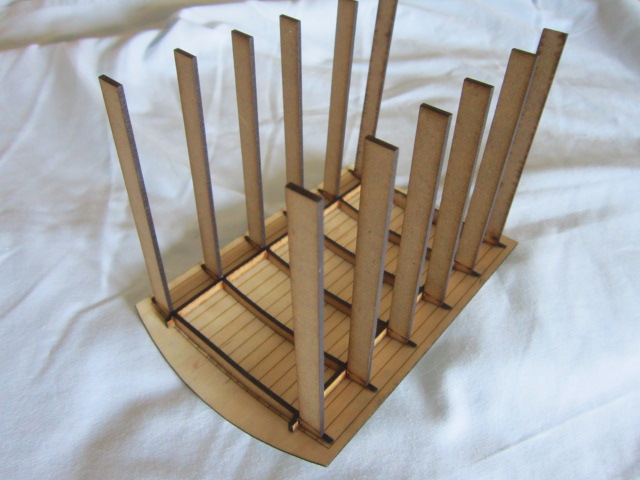
The whole thing is 'dry assembled' at this stage with no glue applied, the top is reinforced with another jig (part of which is removed later) to keep everything square....
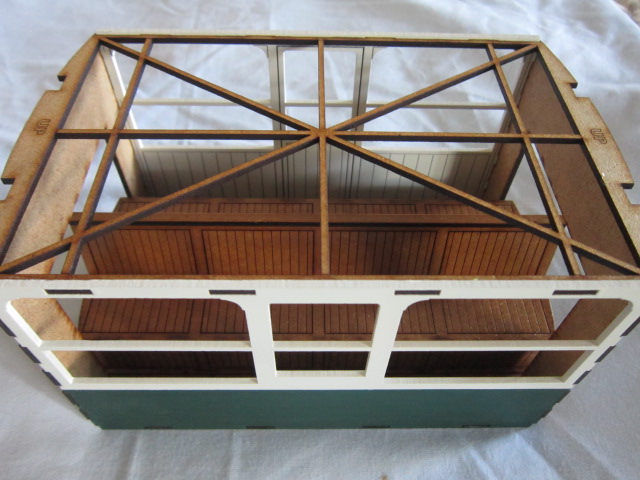
- IMG_7284.JPG (115.46 KiB) Viewed 5589 times
Elastic bands are now used to hold the structure together while superglue is used to lock the parts together.
Following removal of the end jigs, the curved end panels (which are also pre-painted) are glued in place with elastic bands to hold them...
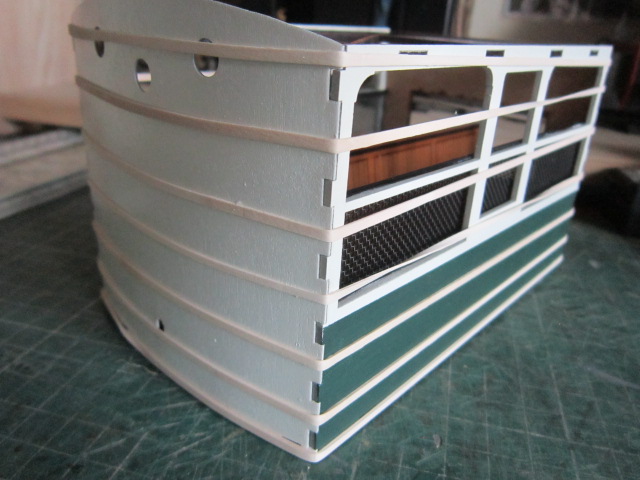
- IMG_7292.JPG (103.88 KiB) Viewed 5589 times
I chose to fit side screens using 2.5mm plastic tube (sliced open) with wire mesh slid in the grooves...

- IMG_7287.JPG (131.1 KiB) Viewed 5589 times
The roof is assembled with yet more jigs which are simple to use and form an independent and removable roof when finished....
- IMG_7301.JPG (100.82 KiB) Viewed 5589 times
- IMG_7302.JPG (95.82 KiB) Viewed 5589 times
And finally, the finished coach....
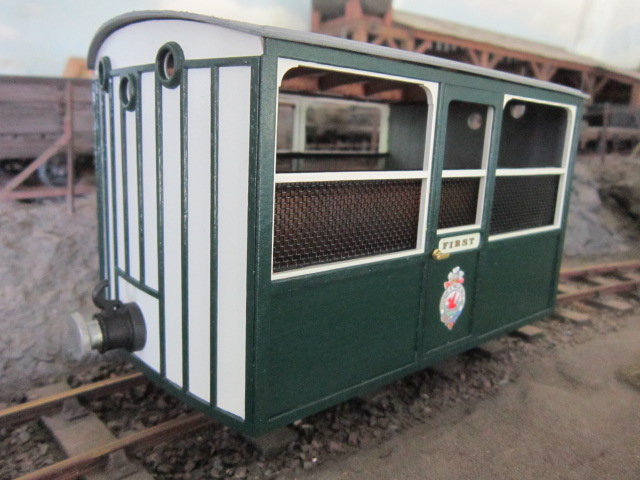
- IMG_7303.JPG (110.4 KiB) Viewed 5589 times

- IMG_7304.JPG (103.85 KiB) Viewed 5589 times
So, how do I rate this kit?
Just wonderful! I have no issue with the choice of MDF as I never use my stock in wet weather, although I left a piece of the material floating in water for two hours with no appreciable effect. It takes paint far better than ply and gives a far superior finish.
All of the parts are so well cut there is no movement between joints. The cut parts are completely removed from surrounding material. The jigs are included in the kit and make it so much more accurate and easier to assemble. Interior detail is complete right down to planking on the seats and even floorboards with fixing bolt heads visible.
Running characteristics are so much freer and smoother than any other kit, or scratch-build, I have ever made.
Jerry Irwin is certainly the 'Kit-Master' in my opinion, his kits are far superior to any others and extremely good value for money.
It is worth watching one of his videos so you can appreciate the skill and detail he puts into his work. You will become addicted, just like me!
The best things in life are free.... so why am I doing this?


