Thanks peeps for your lovely comments I managed to scrounge some stainless steel sheet today so got stuck in and made a start on the turntable

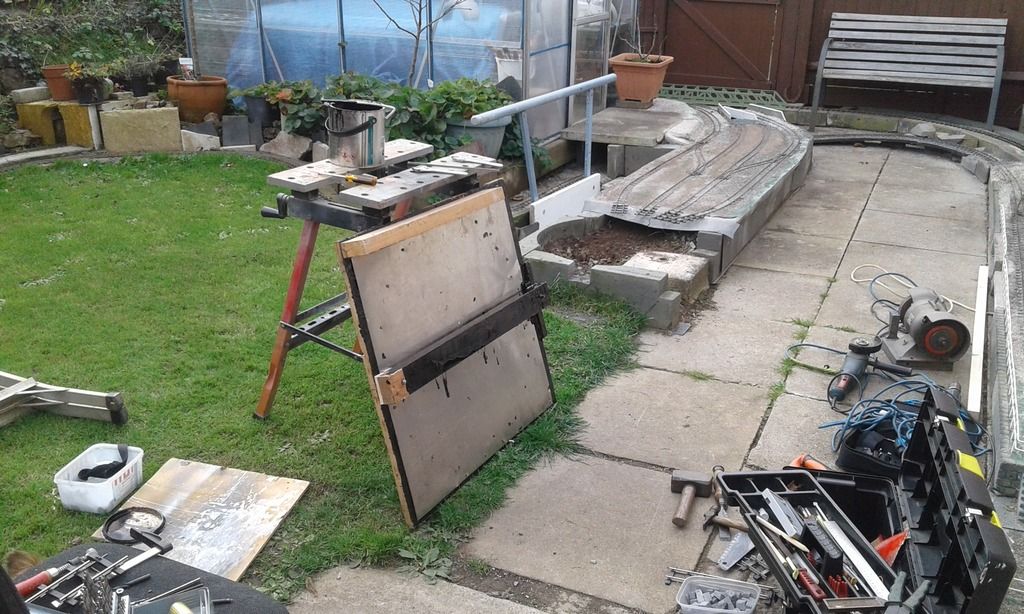
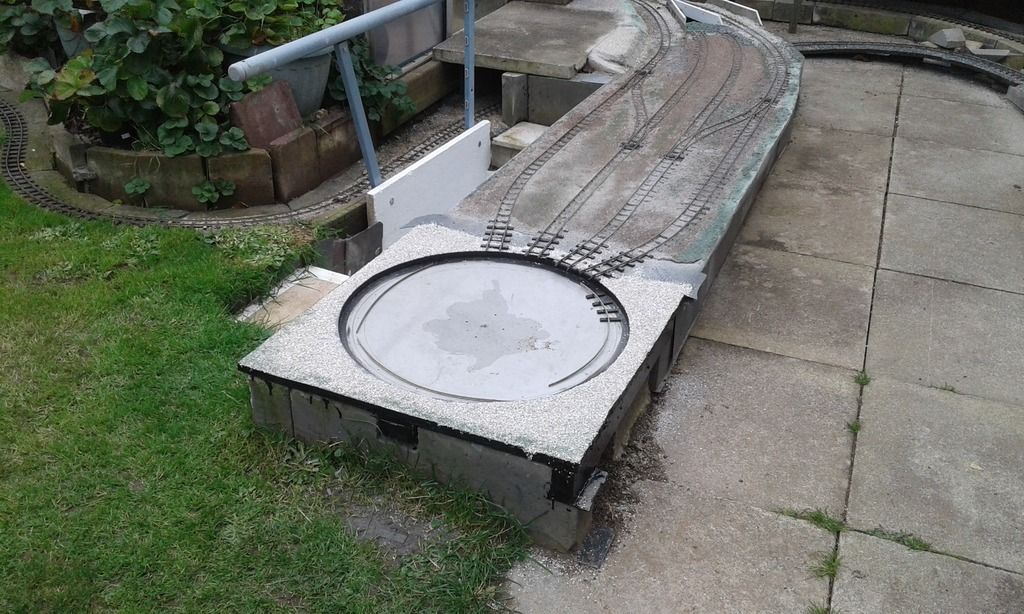
I decided to go with a shallow pit turntable and base it on A Ransomes and Rapier design so it stays in keeping with our 2ft gauge Railway .
I painted the exterior ply on the underside with roofing felt lap cement then screwed the stainless on the underside then found the centre with my pattern marked and drilled all the holes needed to fix the track and the middle fixing screws I attached a heavy piece of timber across the frame raised slightly so that when screwed down tight I would have a gentle dish for easy drainage . This was positioned and made level then again paintedwith lap cement then covered with bird grit whilst still wet. I am delighted with the result
Just the bridge to complete and track to fit now but rain stopped work as usual


Grit rolled on
I poured a glass of water on to check the levels


spot on too
Four weeks to the day we started the planning for the PSLR
Seems like years lol
Only the coach siding and the goods shed road left to do, then we can make a proper start on the buildings and detailing work
Steph and Gloria