Thanks all I really appreciate it.
theres a few updates to go although I'm tipping progress will stall after tomorrow, its meant to be 42 degrees C here in Melbourne and I cant imagine myself doing much work outside despite having a trailer load of ballast to spread!
heres a few photos my father took of some of the other trains
- 49898067_1113288912166638_7783399008654852096_o.jpg (278.07 KiB) Viewed 7058 times
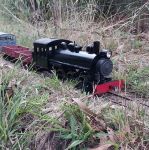
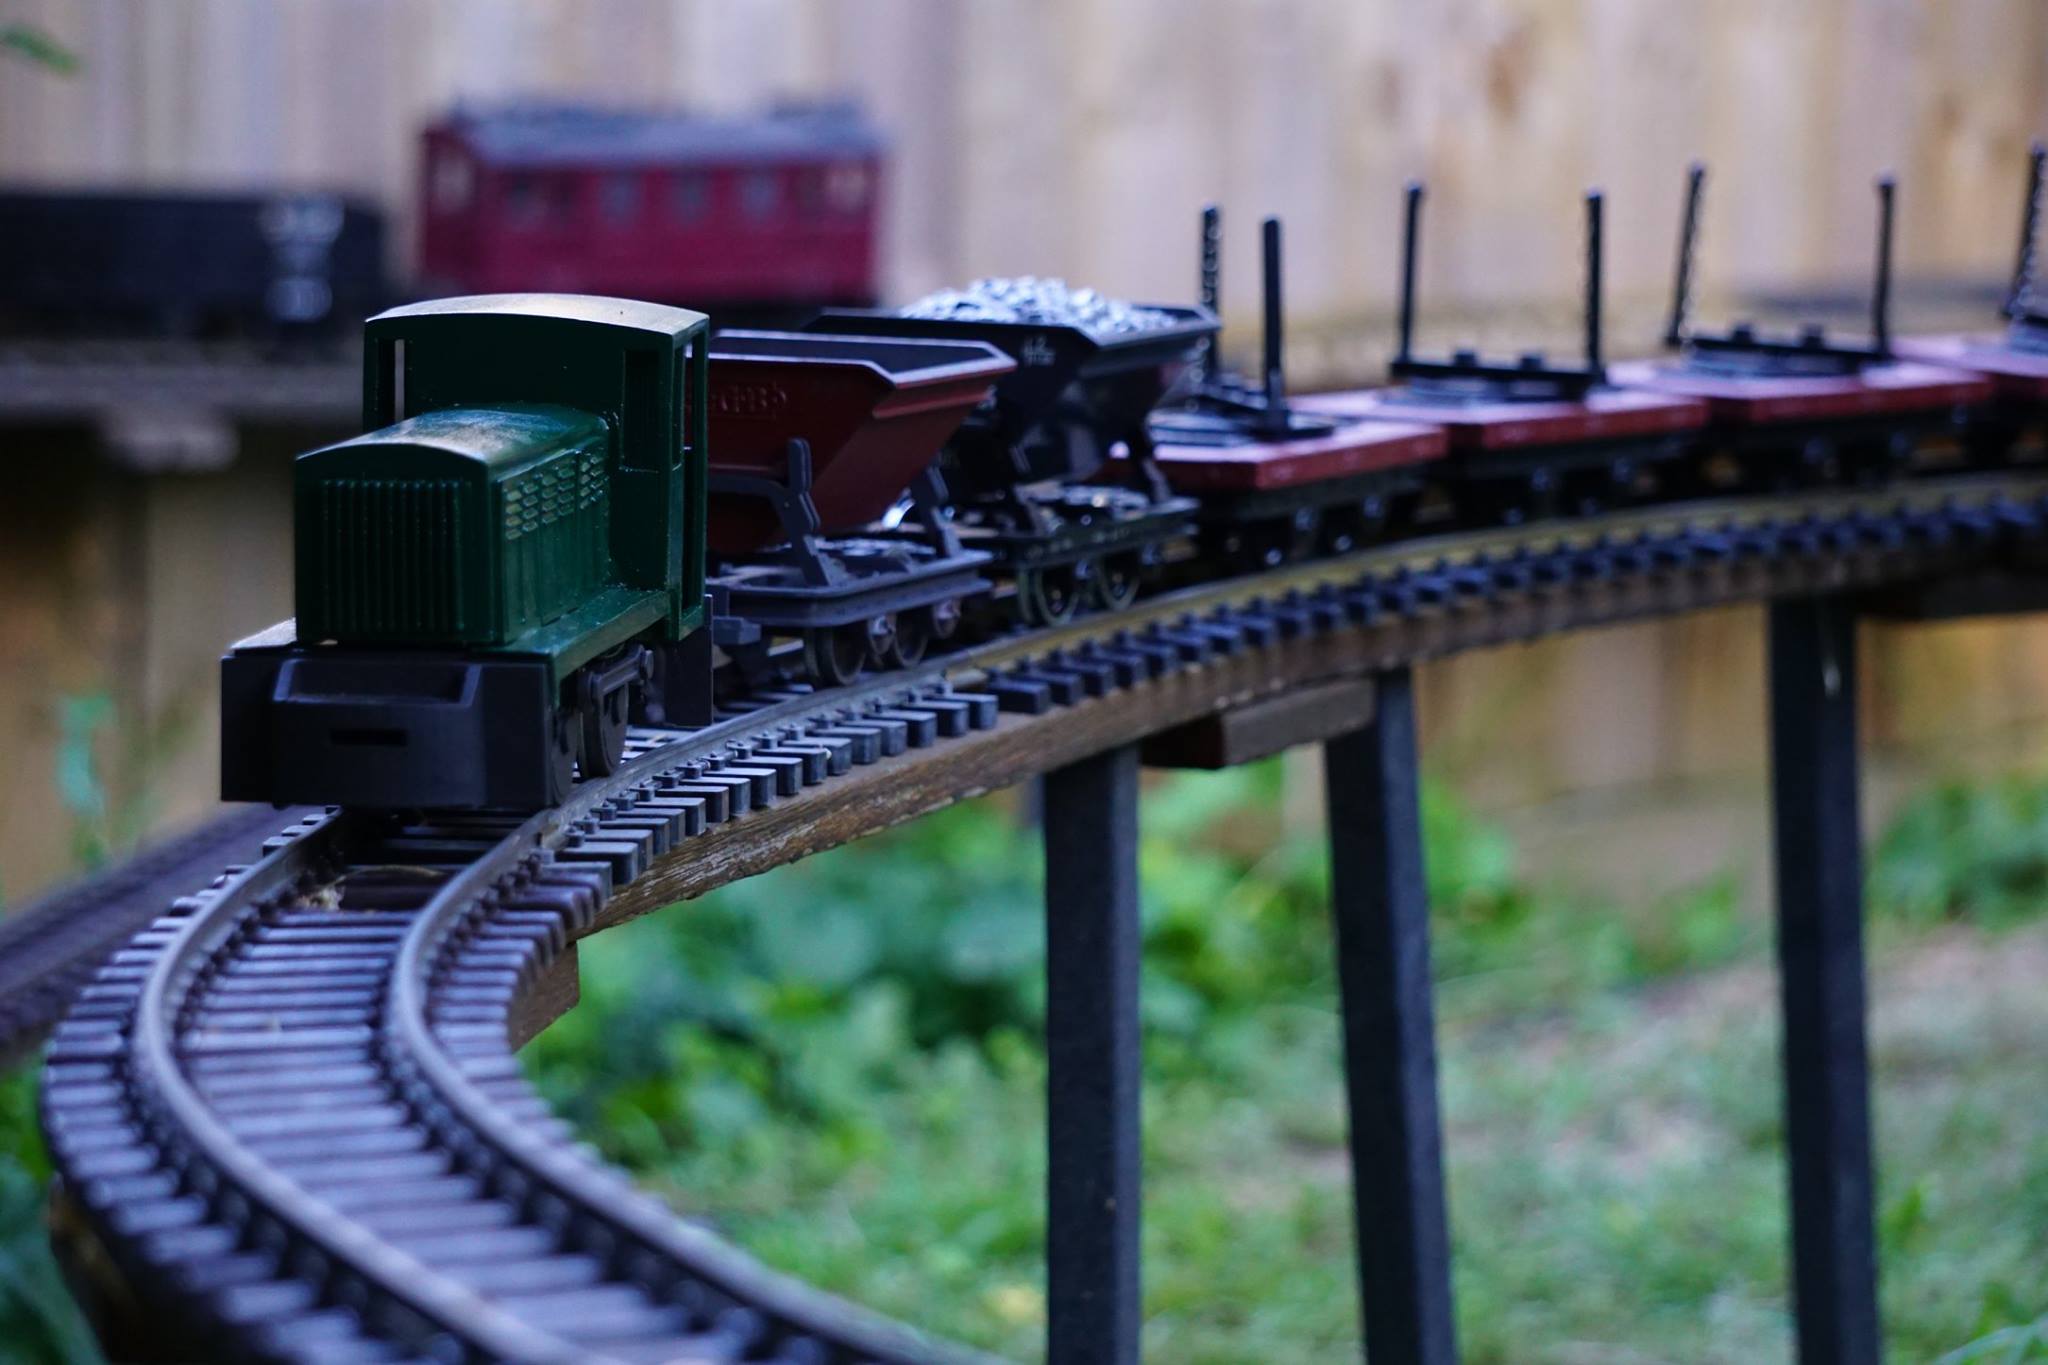
The driver of the battery electric is probably praying at this point. The twisting climb up the 1:30 is usually a fairly good test of an engines stamina.

- 49723848_1113287472166782_220772202461528064_o.jpg (405.3 KiB) Viewed 7058 times
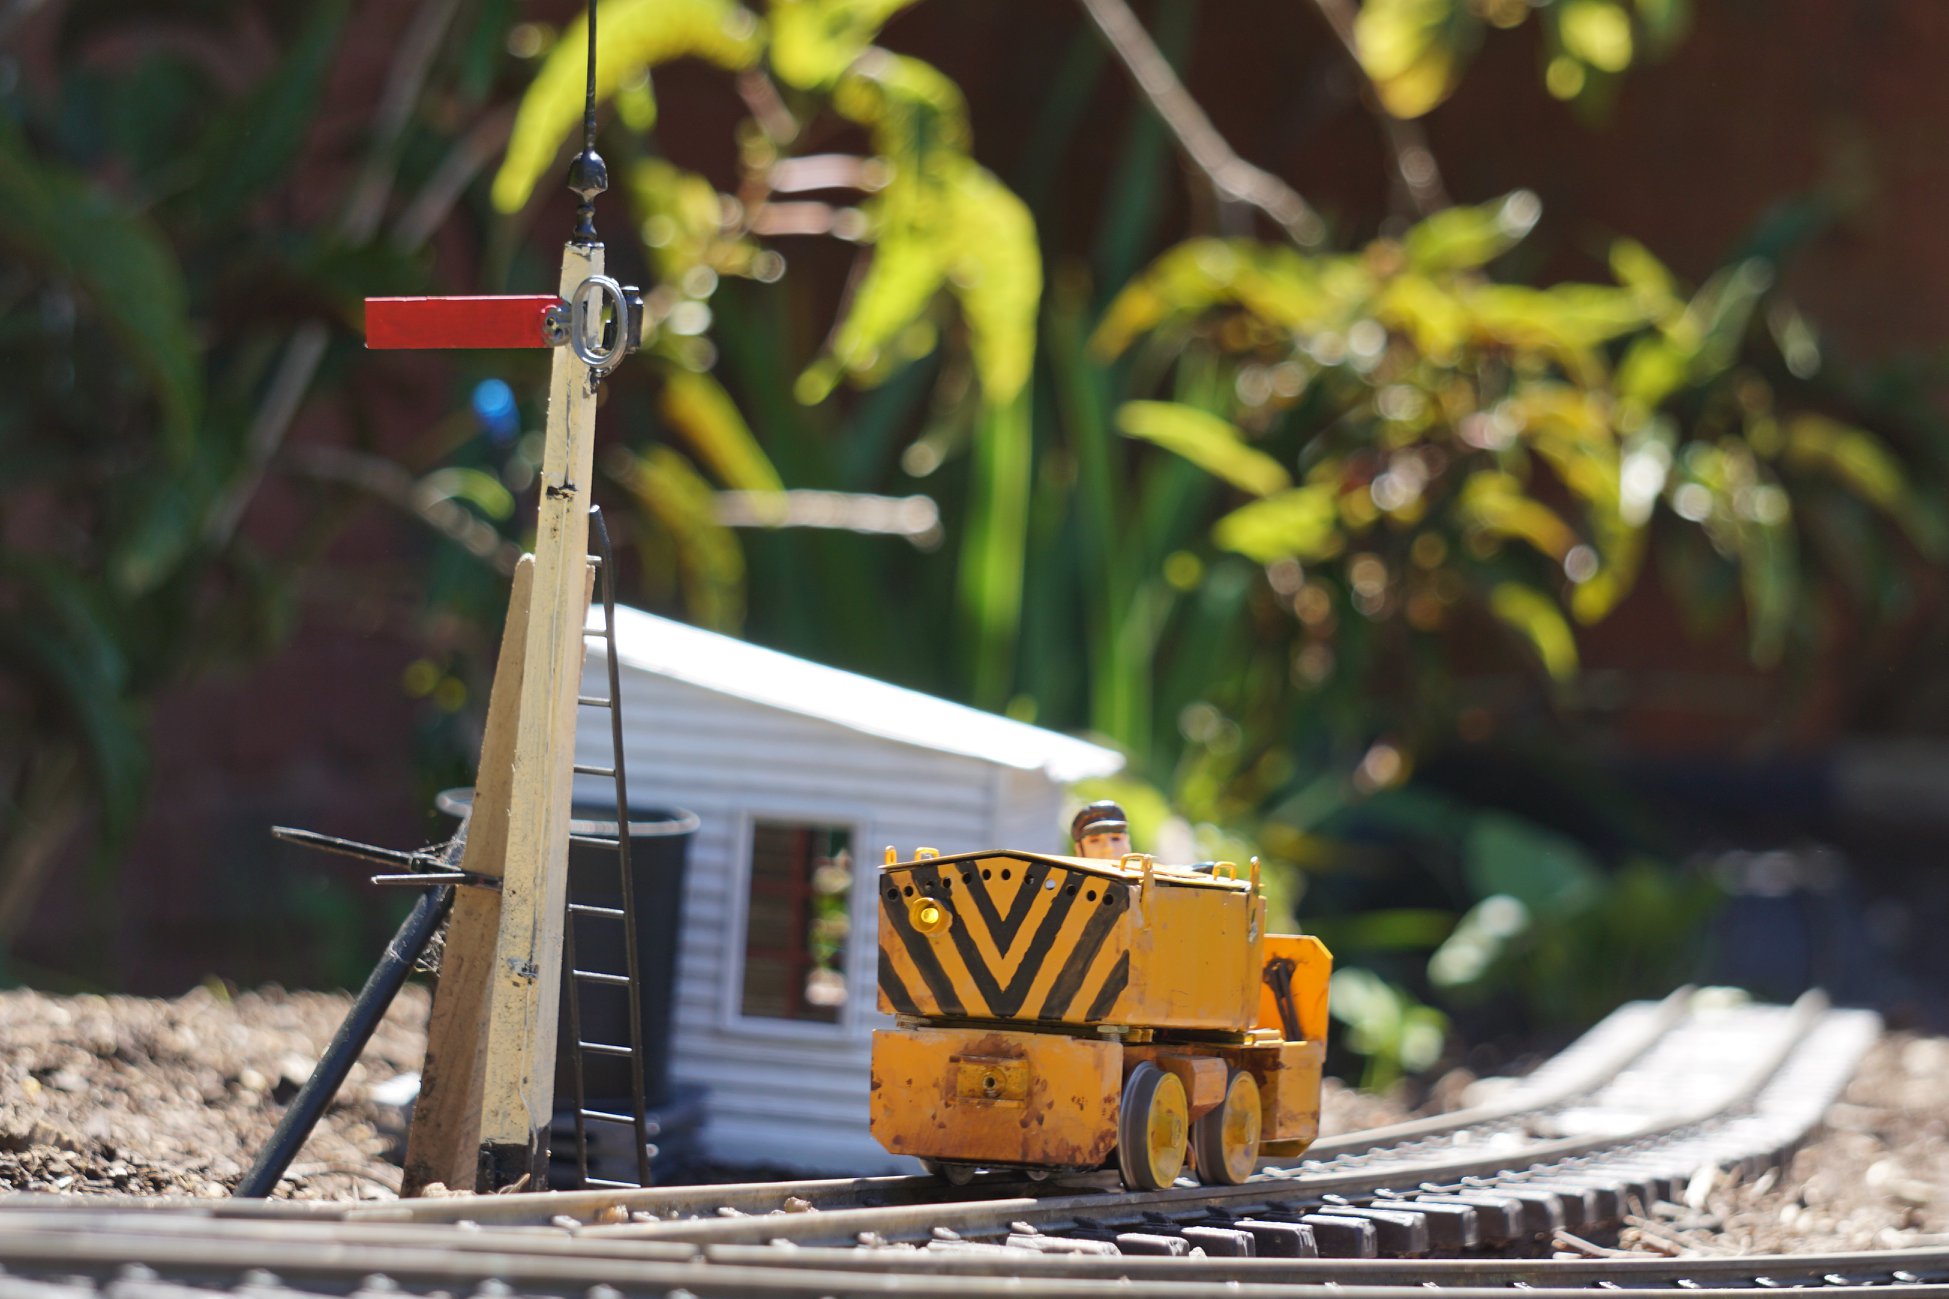
It made it to the top and somehow managed to acquire a train. Another fantastic model by Alexander this one always wins points for its portability.
- 49294865_1113288445500018_2264503991939366912_o.jpg (307.94 KiB) Viewed 7058 times
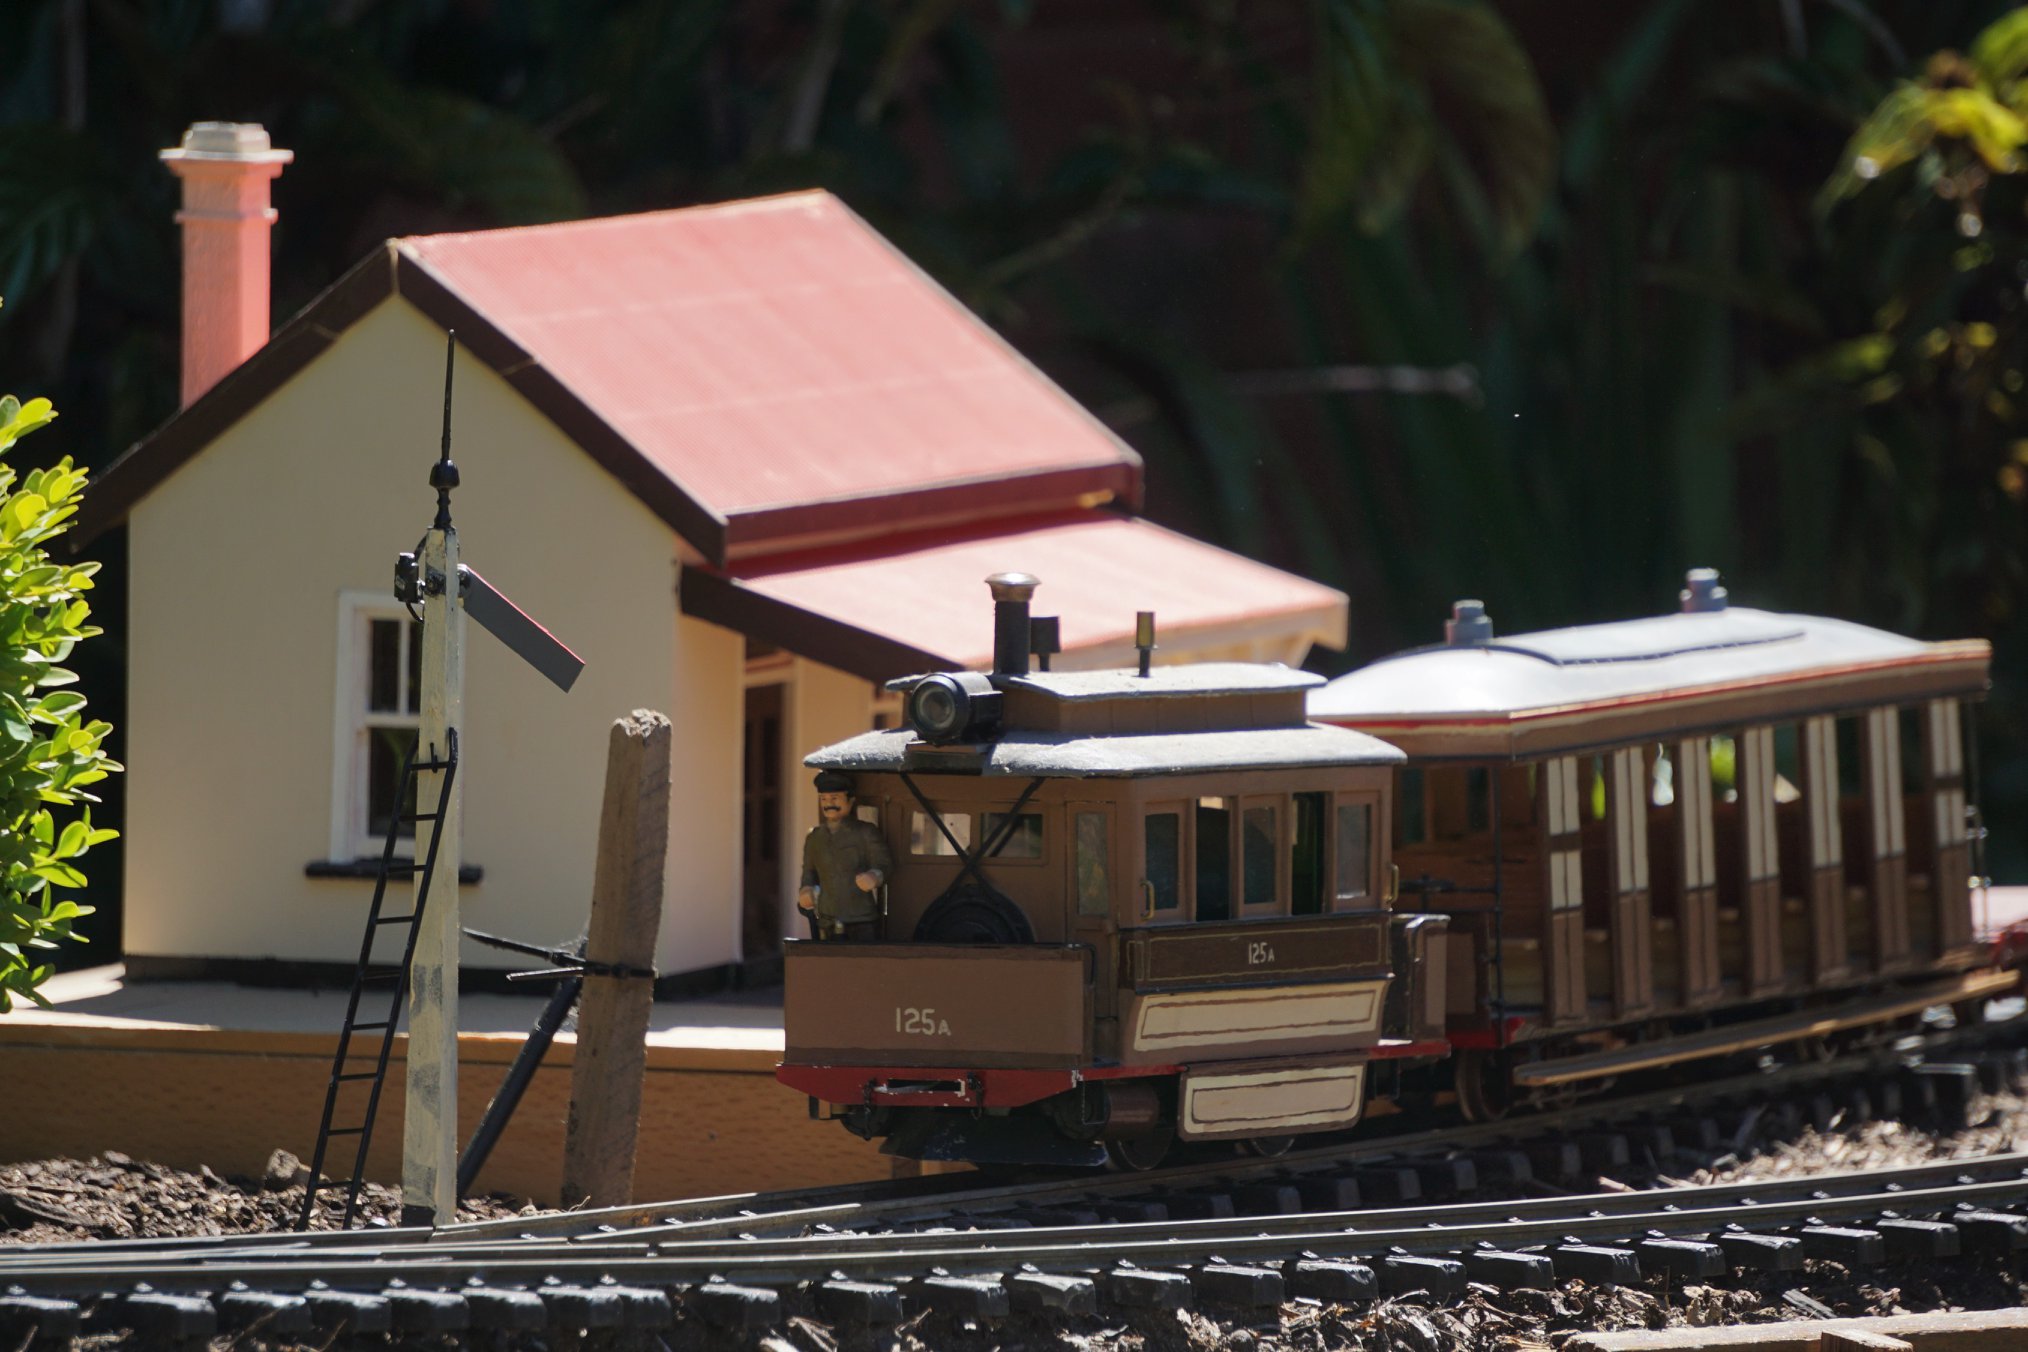
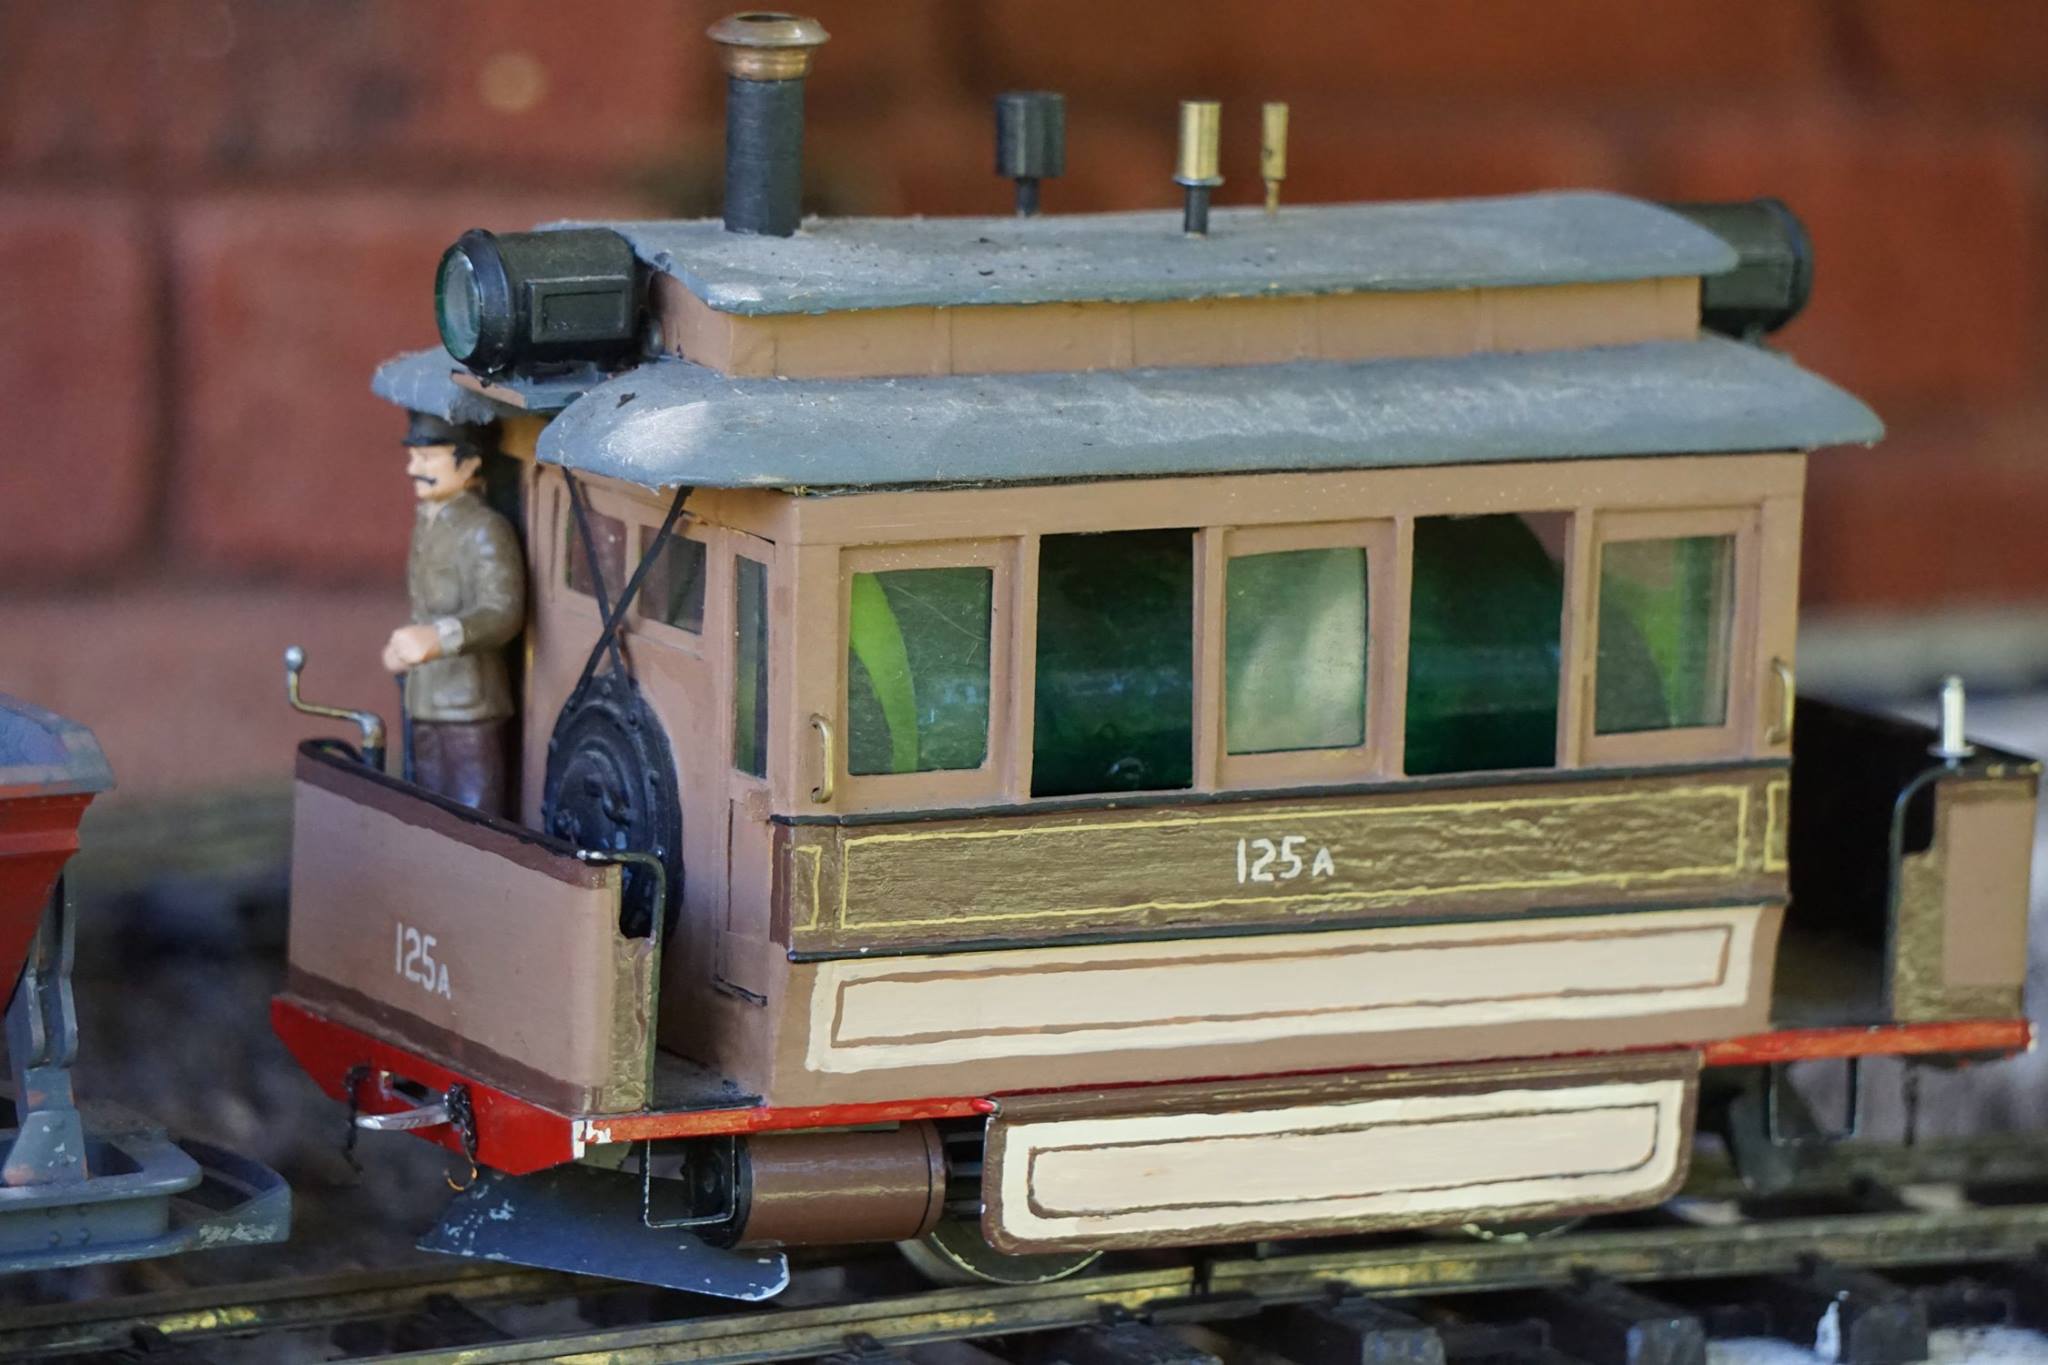
Steam Motor and trailer ready to depart Badger creek
- 49289574_1113287575500105_7217766109422813184_o.jpg (214.28 KiB) Viewed 7058 times
- 49202798_1113289952166534_8353439691088855040_o.jpg (271.17 KiB) Viewed 7058 times
- 49167918_1113290215499841_7033846933974155264_o.jpg (181.15 KiB) Viewed 7058 times
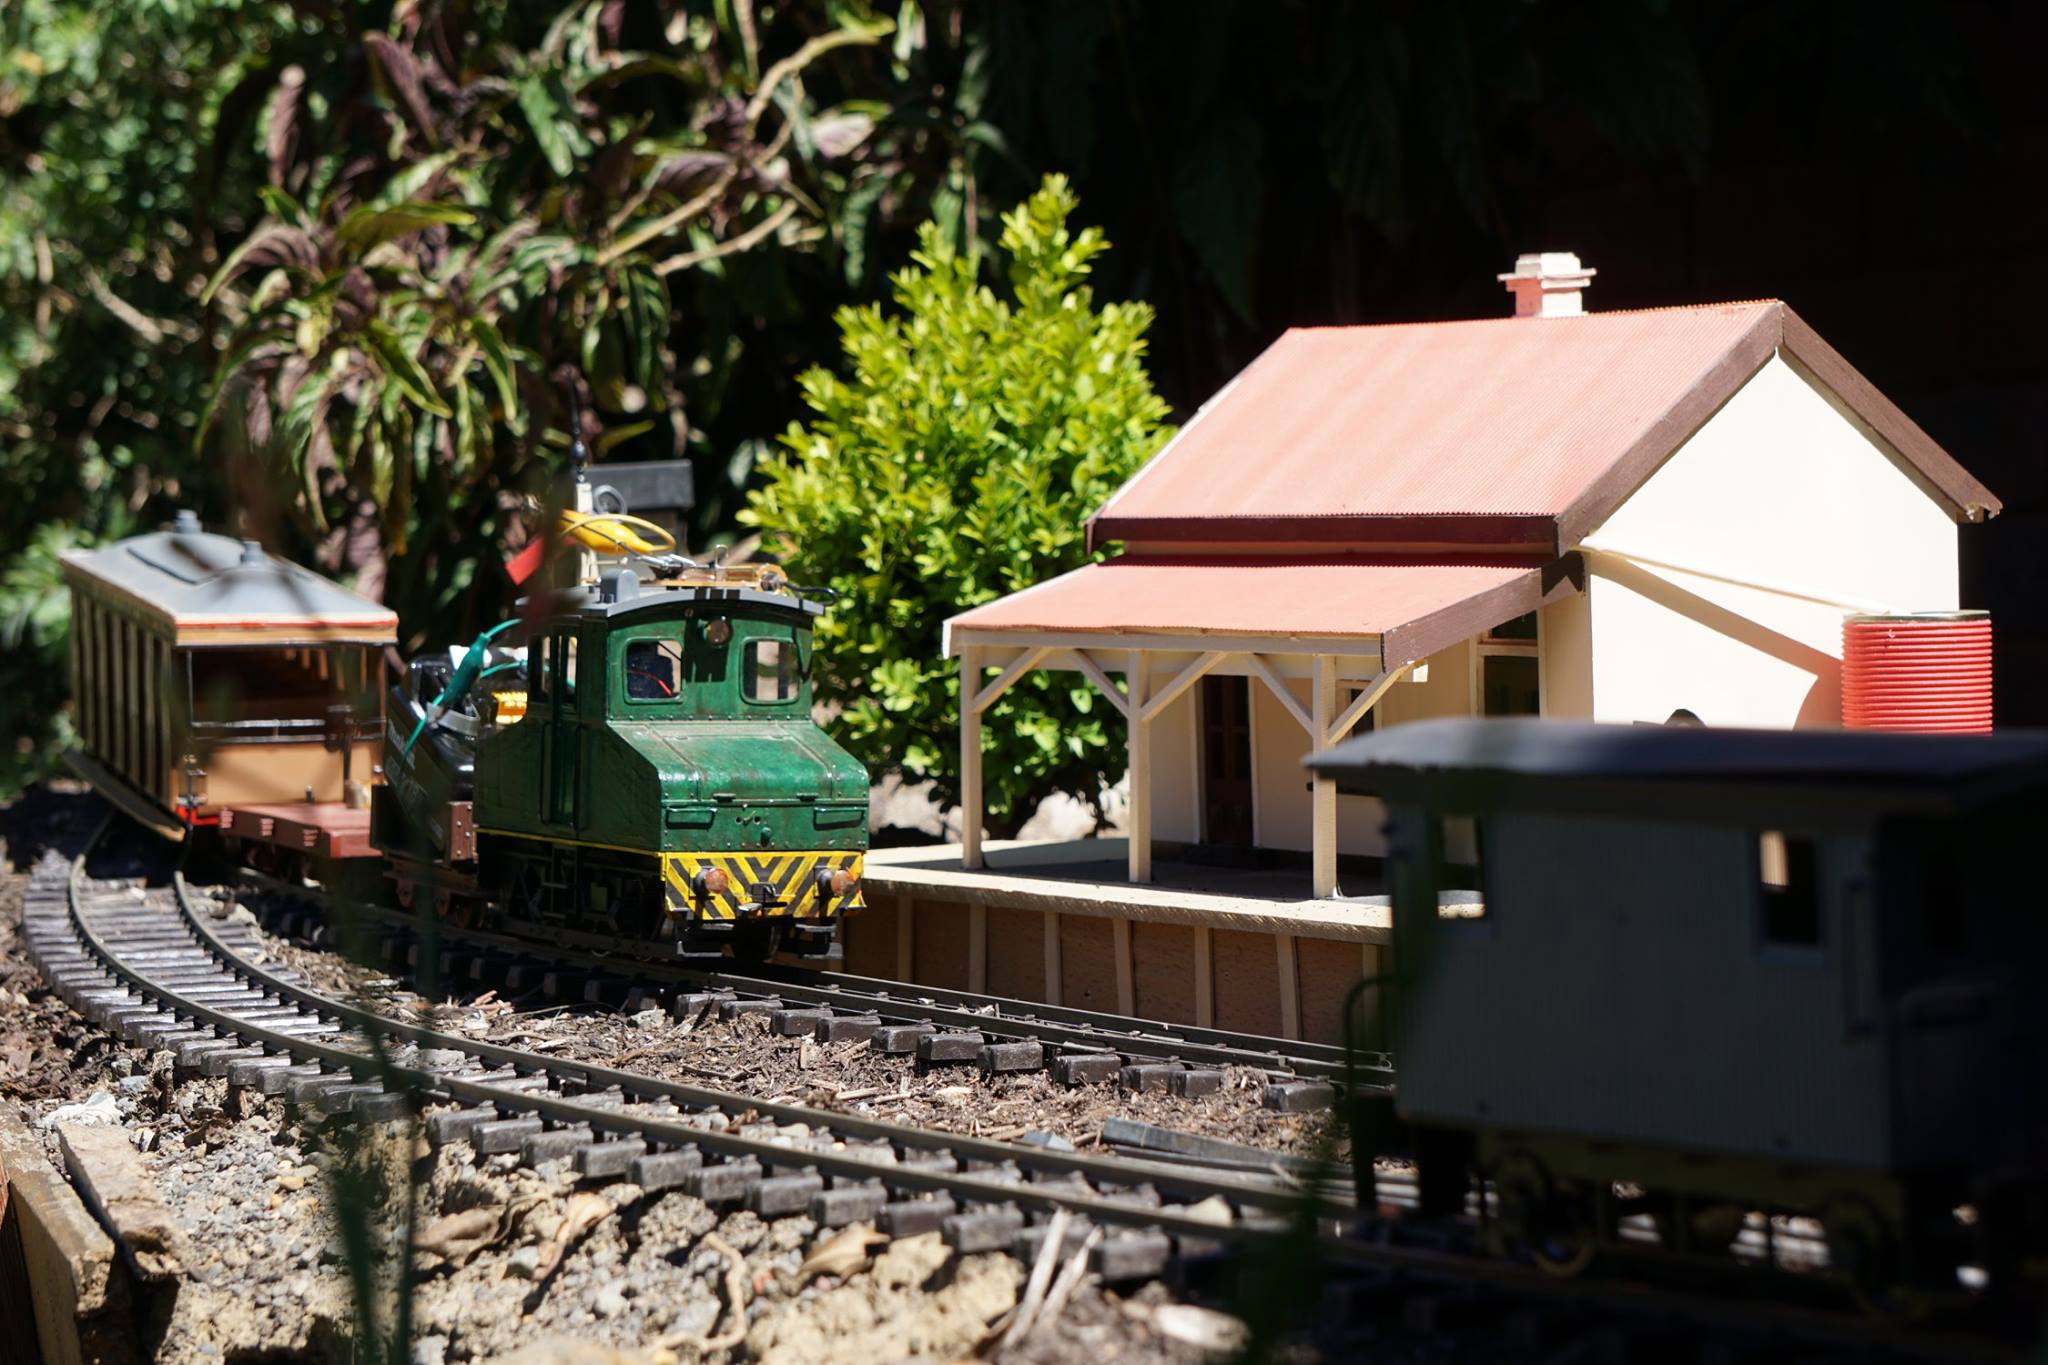
Under failing light the crew of the MM spur their W&W train on...
- 49132279_1113289688833227_4100005746748424192_o.jpg (206.85 KiB) Viewed 7058 times
Close up of the Baldwin
- 49206370_1113289268833269_3057469321170124800_o.jpg (297.53 KiB) Viewed 7058 times
An interesting solution to an unusual problem. the ESET's steeplecab goes for a run away from the wires.
Alexanders tramway runs 32V overhead then uses a rectifier to bring it back to a clean 12v which is then fed into Deltang RC thus with a 12V+ battery and some wire to the trolly pole...
After we finished at home we took Ryan around to see the tramway. Recently returned to service boxcab FO24 is seen here taking a freight down the hill towards grasslands.
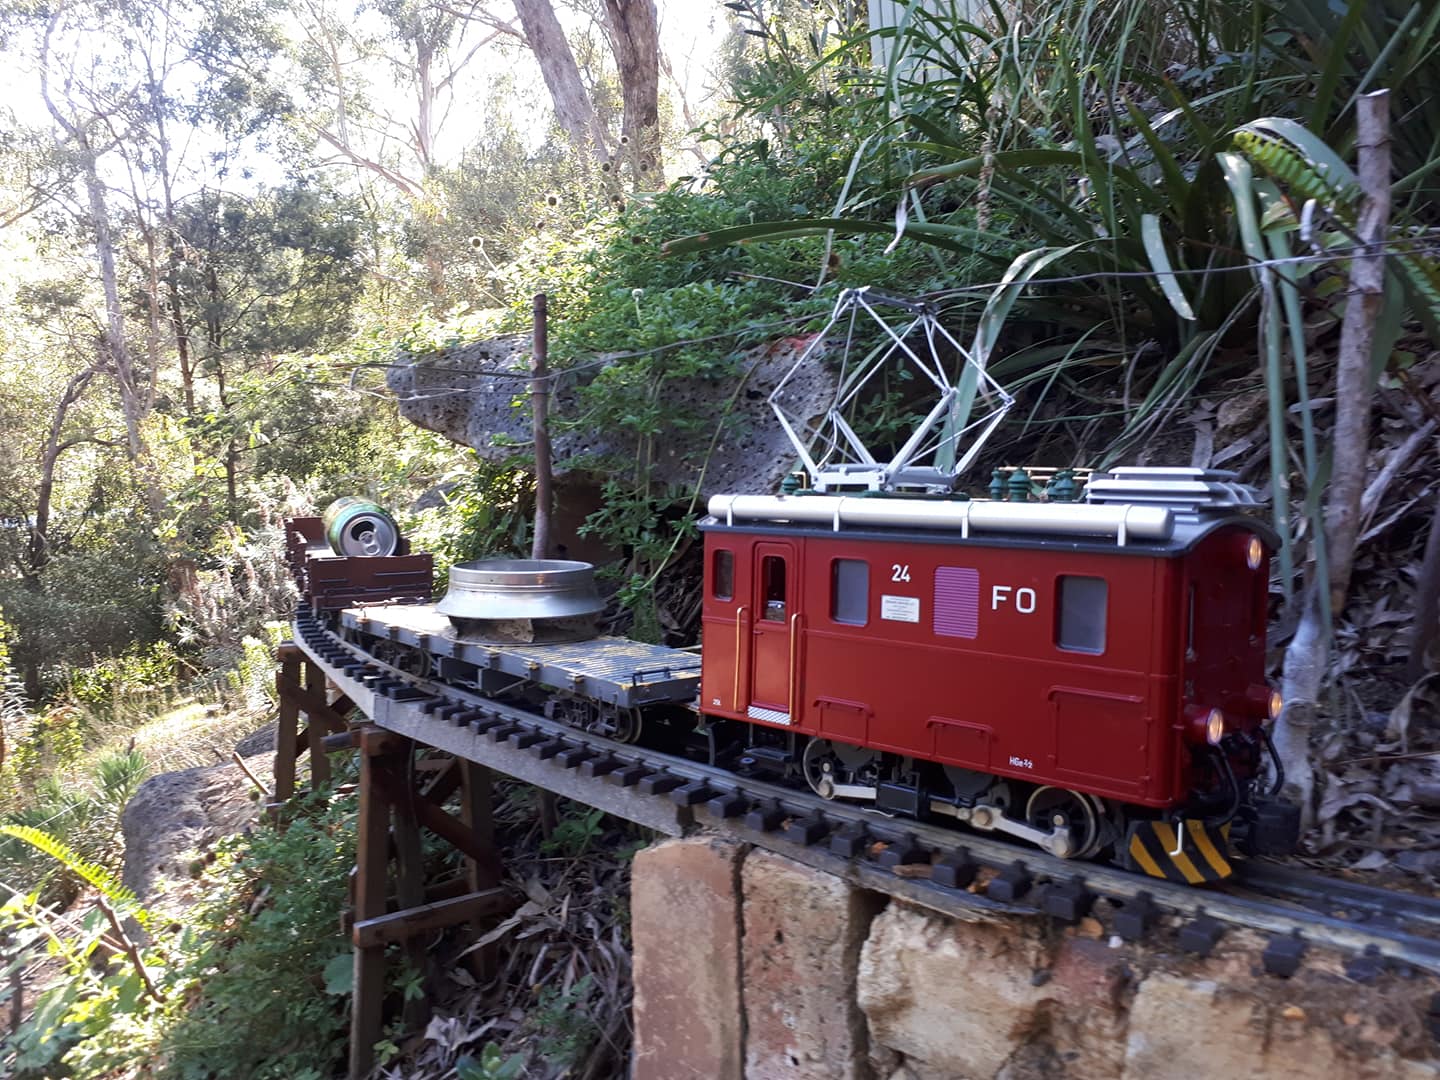
- 49089445_2067211433371143_1451962111579127808_o.jpg (272.72 KiB) Viewed 7058 times
- 48369236_2067211533371133_3477843170866233344_o.jpg (273.34 KiB) Viewed 7058 times
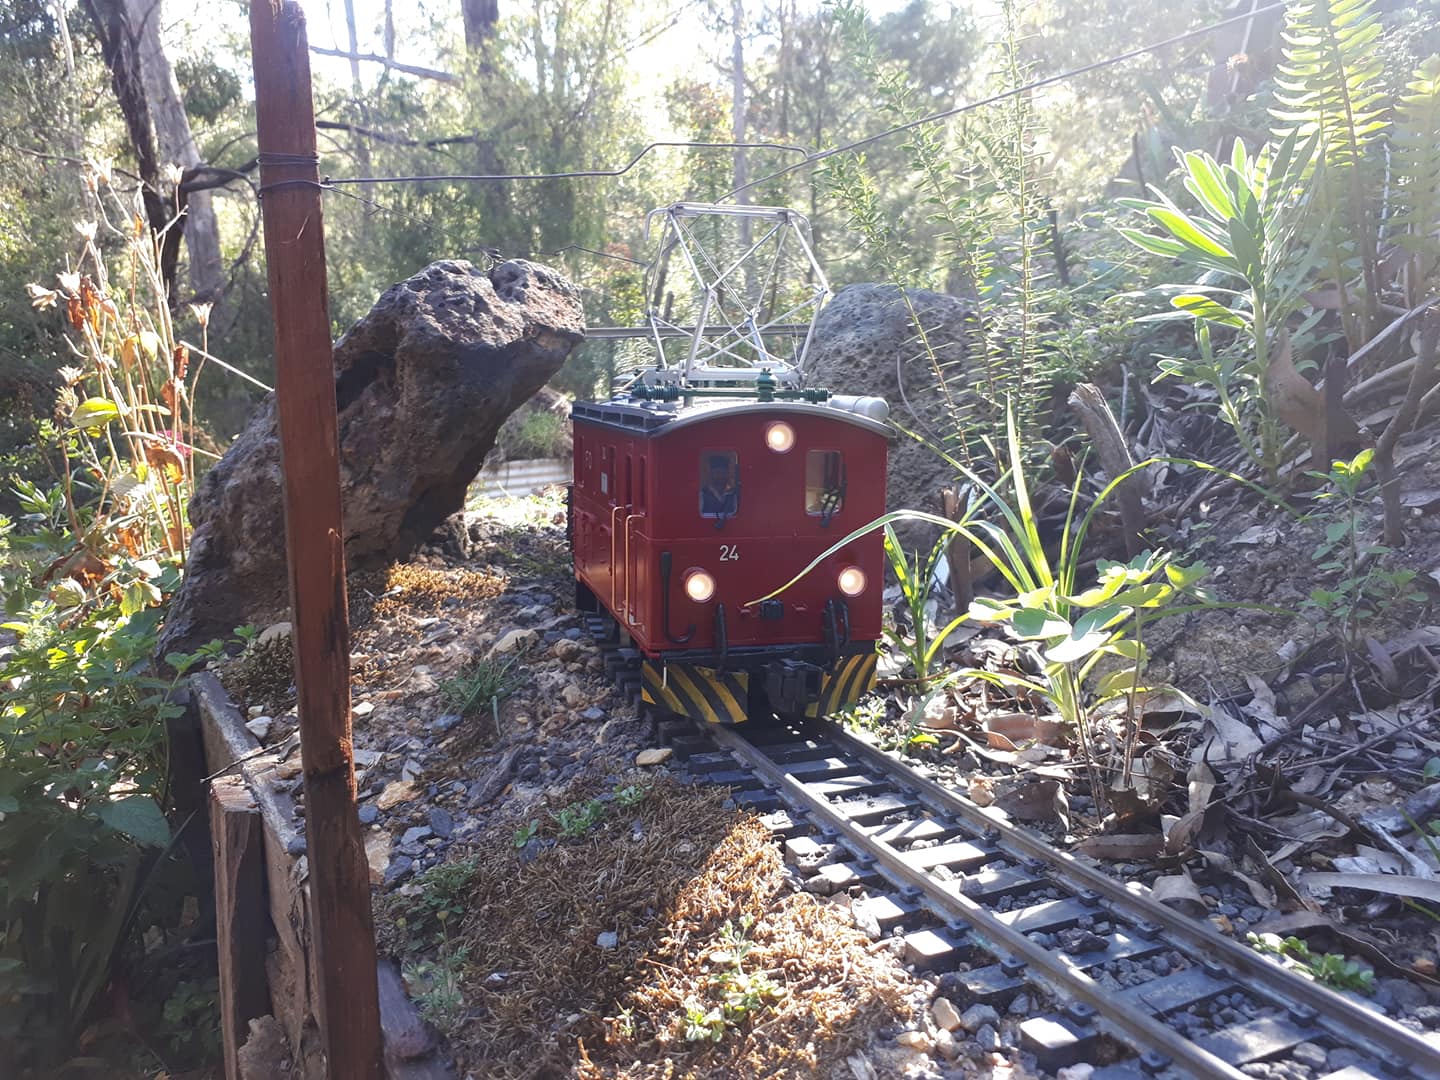
Departing from Currawong back up the hill.
- 49264320_2067211626704457_6035635829315993600_o.jpg (164.46 KiB) Viewed 7058 times
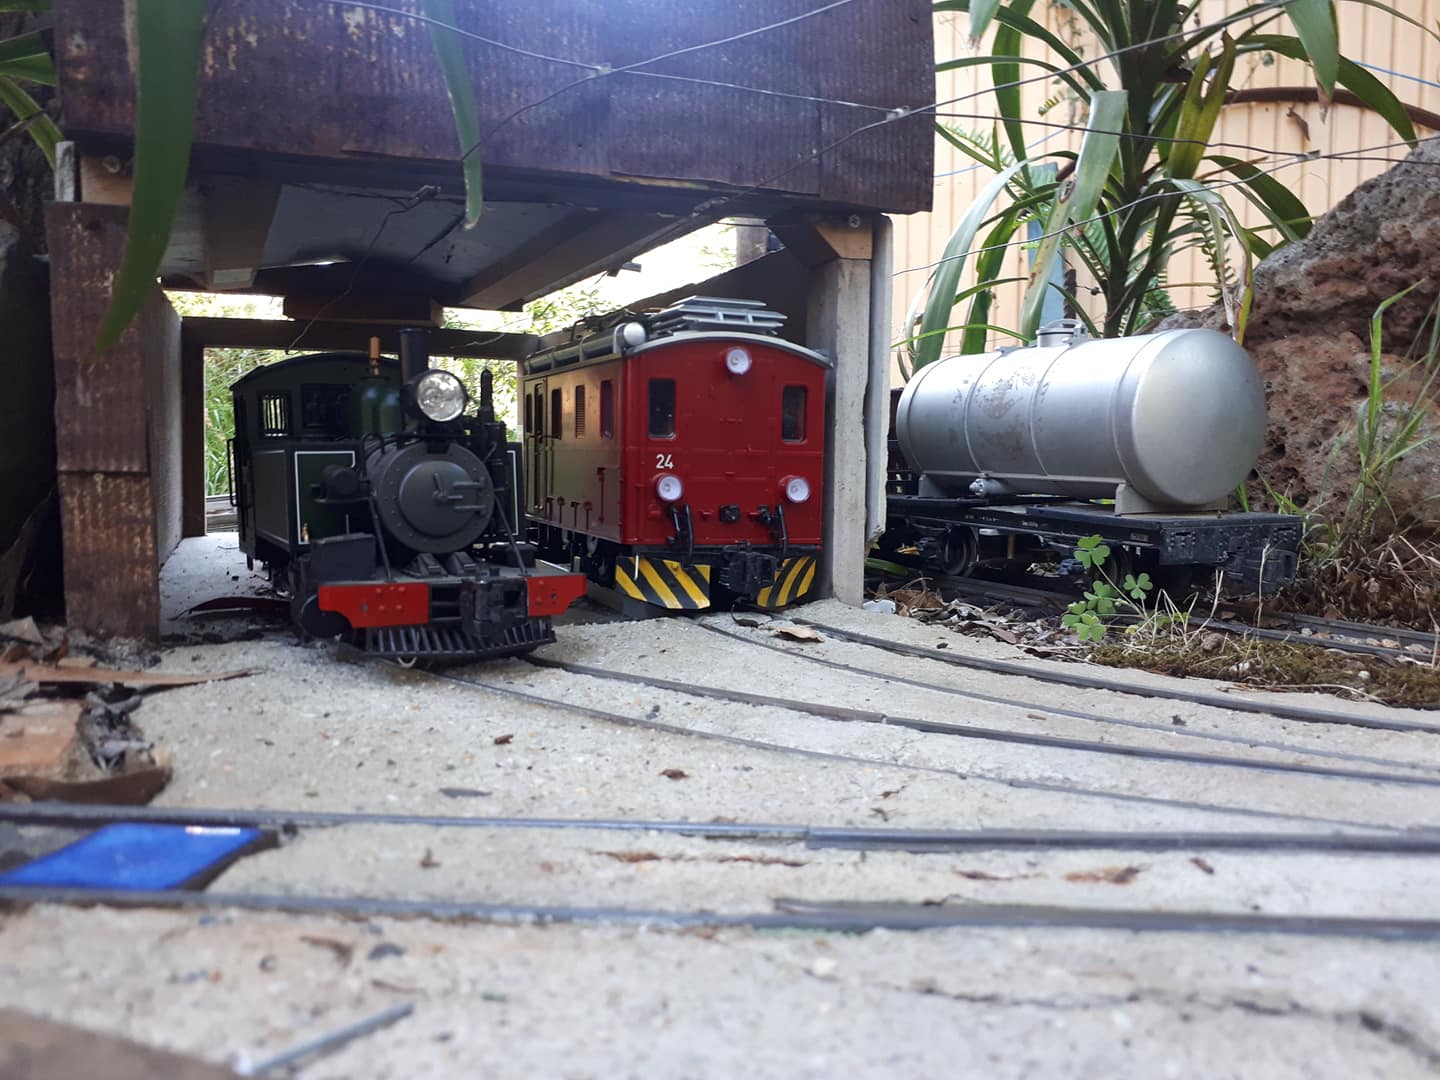
Back in the Depot with the tramways Lyn.