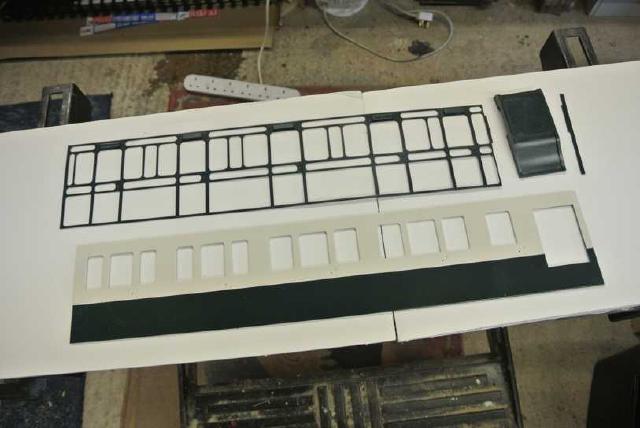

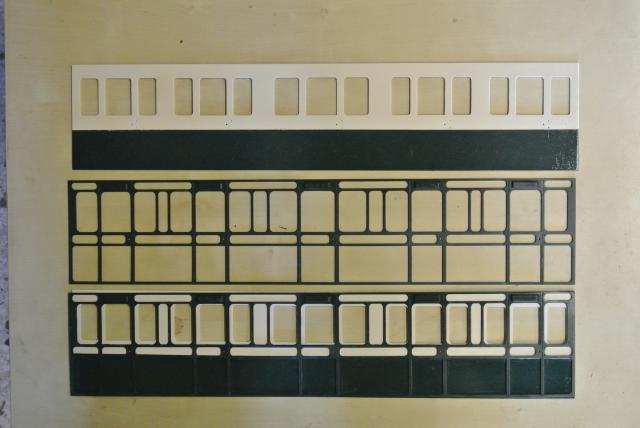
The stage I am now at is sticking the painted panel overlay to the painted side. See picture below.
Click to see full size image
The upper piece is the painted side - painted with Halfords car spray paint, rubbed down and now at a mirror-like finish.
The second piece is the panelling overlay and bottom is how it should look when one is stuck to the other.
I originally used resin W and was very pleased until i picked it up after 24 hrs and the panelling fell off.
So now, question is, what glue to use?
Resin W and craft spray adhesive have been useless, my remaining options are:
superglue (though not sure about using it on absorbent wood)
gorilla glue - an experiment proved workable
araldite applied carefully - poss using a syringe.
The glue cannot be too runny or it will squeeze out and be a swine to clean off, not can it be too gloopy or i wont be able to spread it.
My experiment involved painting a spare piece of timber and then sticking on an offcut of thin ply. Not quite the same as the actual job as the paint was only left 24hrs and only one coat of paint, but when i tried to wrench off the thin ply stuck with gorilla glue, it pulled the paint off. So looks like that stuck well to the paint. Its the glue that needs one surface to be damp to work. I hope that the paint on the coach side, having been left longer to harden and had more coats and rubbing down wil be tougher...
Any advice?