G&DR Rolling Stock
-
- Driver
- Posts: 4650
- Joined: Wed Dec 30, 2009 2:27 pm
- Location: Forgotten Realms
- Contact:
- Sylvian Tennant
- Fireman
- Posts: 327
- Joined: Wed Aug 10, 2011 4:48 pm
- Location: Teesside
So far the wagons are in a paint-able position.
Instead of using the scarily stuff plastic roof, I decided to go the full monty and create a roof using mahogany strips and some fabric linen I had lying around.
finally some messy first coat... you'll hopefully see an improvement as time goes on.
For more on what I've done check out the blog.
Instead of using the scarily stuff plastic roof, I decided to go the full monty and create a roof using mahogany strips and some fabric linen I had lying around.
finally some messy first coat... you'll hopefully see an improvement as time goes on.
For more on what I've done check out the blog.
Facebook - https://www.facebook.com/Area51Models/
Instagram - https://www.instagram.com/area51greumach/
- MDLR
- Driver
- Posts: 4027
- Joined: Thu Jan 15, 2009 10:38 pm
- Location: Near Ripley, Derbyshire, UK
- Contact:
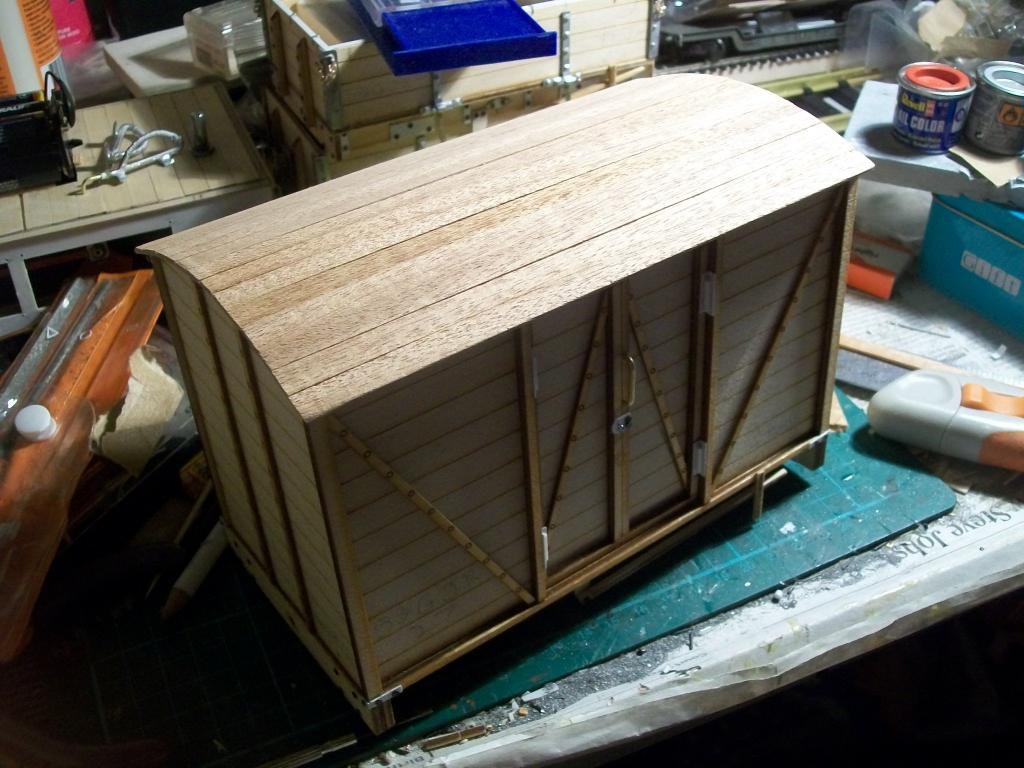
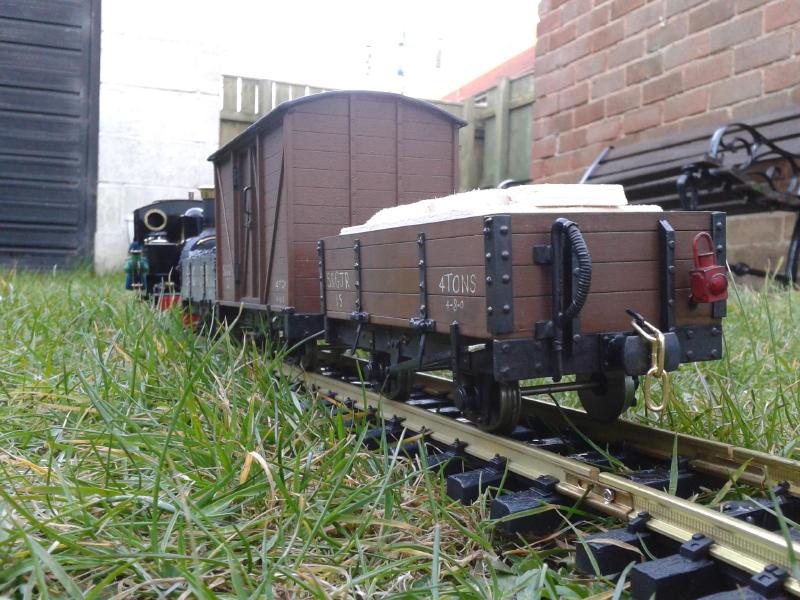
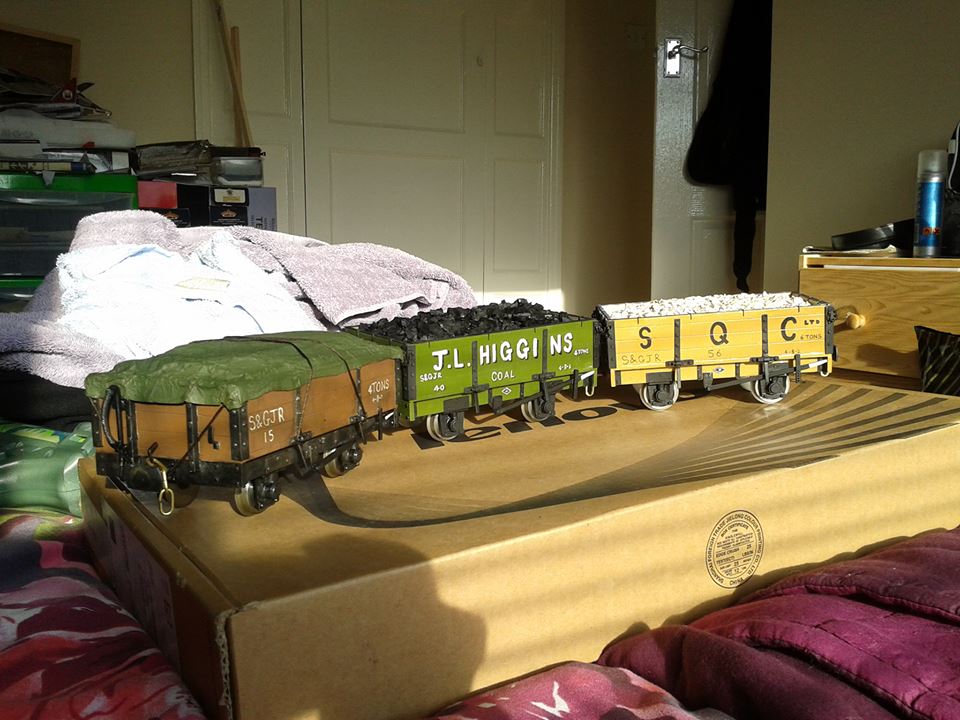
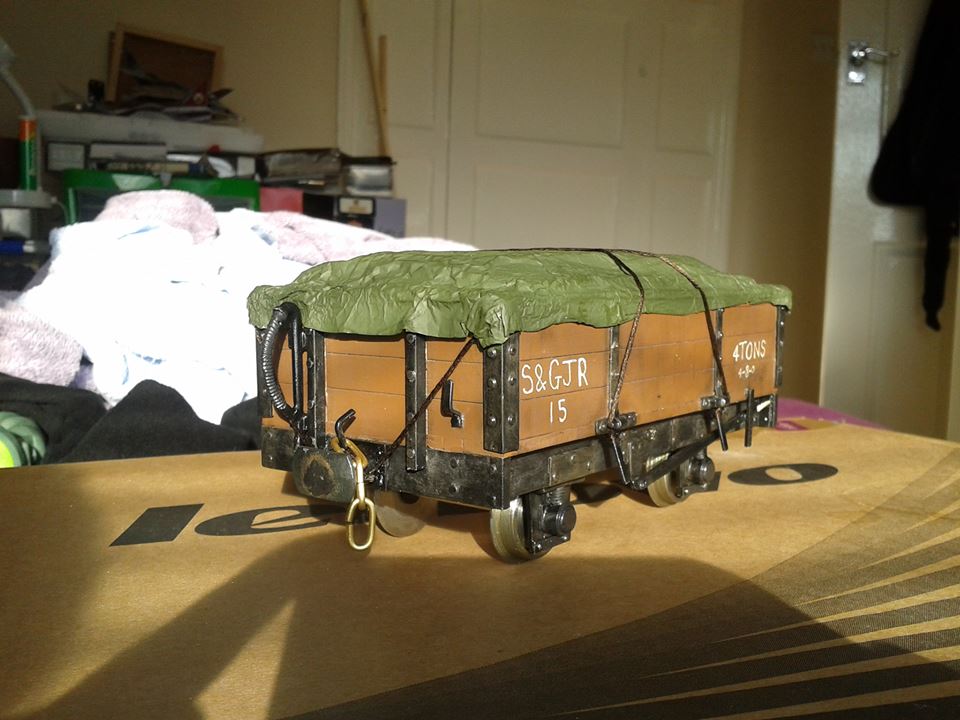
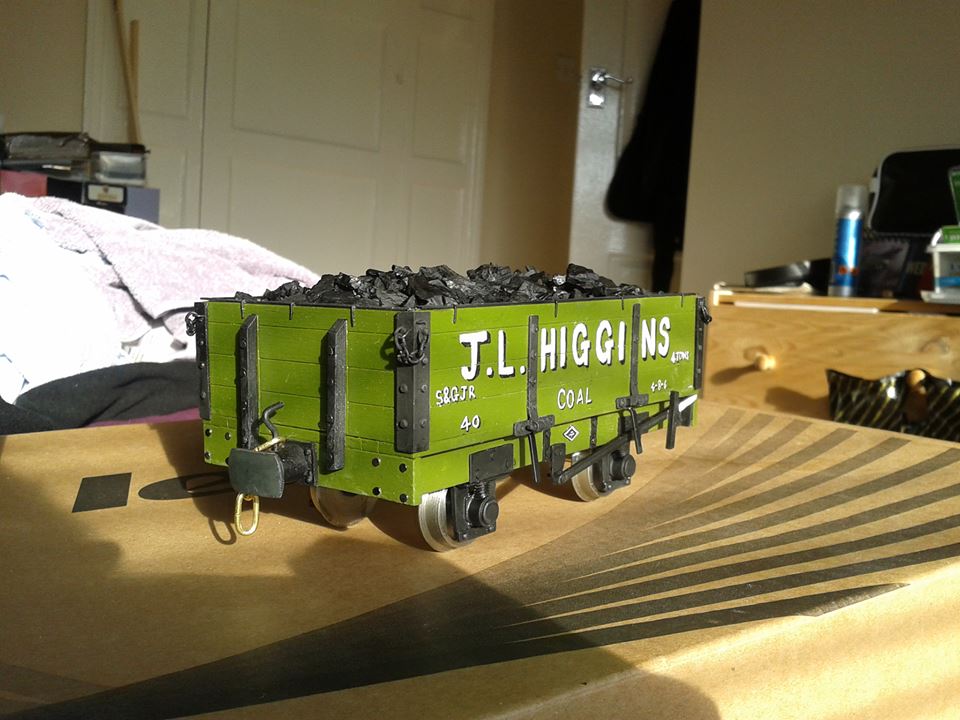
That's by FAR the best way - with coaches, you can stain alternate planks pine and Mahogany - they look great!Sylvian Tennant:81996 wrote:Instead of using the scarily stuff plastic roof, I decided to go the full Monty and create a roof using mahogany strips and some fabric linen I had lying around.
- Sylvian Tennant
- Fireman
- Posts: 327
- Joined: Wed Aug 10, 2011 4:48 pm
- Location: Teesside
Cheers for the tip MDLR, I'll keep that in mid for the future.
Anyway, unfortunately my camera wasn't working so I've taken some pics with my camera phone of the "almost" finished articles.
[url=./myff/1543155/548951_565051800 ... .jpg[/img]
I must be honest and say I feel the writing is a bit of a let down, that and I used Ronseal Satin varnish which I'm not used to. but the overall outcome is okay. But the hand painting is pretty evident especially on the loco coal wagon.[/url]
Facebook - https://www.facebook.com/Area51Models/
Instagram - https://www.instagram.com/area51greumach/
- Lner fan Sam
- Fireman
- Posts: 491
- Joined: Sun Nov 25, 2012 7:57 pm
- Location: Sunderland, north east of England
Yeah, I think they look great too. There's nothing wrong with the hand lettering. I mean if you are making scale models I guess you'd want neater looking writing, but I'm sure it's plausible that a little shoestring railway would have hand lettered wagons on their trains in real life. I think it looks fine.
- Sylvian Tennant
- Fireman
- Posts: 327
- Joined: Wed Aug 10, 2011 4:48 pm
- Location: Teesside
Thanks guys, I feel a little less forgiving on it than you chaps.
I've gotten them almost finished, just a dabble of weathering on the van and a tarpaulin hood for the open wagons!
Just out of curiosity. I primed these wagons with some terrible Wilkos stuff... but out of curiosity here. Who primes their wagons before painting? and what with? (if you do)
I've gotten them almost finished, just a dabble of weathering on the van and a tarpaulin hood for the open wagons!
Just out of curiosity. I primed these wagons with some terrible Wilkos stuff... but out of curiosity here. Who primes their wagons before painting? and what with? (if you do)
Facebook - https://www.facebook.com/Area51Models/
Instagram - https://www.instagram.com/area51greumach/
- Peter Butler
- Driver
- Posts: 5243
- Joined: Sun Sep 09, 2012 10:33 pm
- Location: West Wales
I prime with holts greybandnthen (foolishly) I've adopted to humbrol greys as stock colours for body and underframes. 67 tank grey for underframe and sea grey body. I like the lettering Mr T, got brace myself to try on my stock. I think we may become the Vale of Fairway Rly allowing me to make a V and F template from thin styrene and spraying as a first effort.
Bazzer42
- Sylvian Tennant
- Fireman
- Posts: 327
- Joined: Wed Aug 10, 2011 4:48 pm
- Location: Teesside
Cheers chaps! So I'll continue to prime my wagons. Just I've got a brake van to build next and unlike the other wagons the axles boxes are apart of the chassis plus I want to give it an interior (plus removable roof!)
Anyway, I've managed to get the wagons all painted up, and weathered using some tamiya acrylics and humbrol leather and metal coat... I'll go into a bit more depth later on but please do enjoy the pics.
anyway... I've managed to finally run my wagons being Jemima tonight after work. After a slight issue lighting her up all seemed well. Unfortunately, as my back garden is about as level as the North Sea in a blizzard I has a couple of buffer snags and derailments of the coal wagon but apart from that there was not problems at all.
I wish I had used a template but I couldn't find any around plus I wasn't tempted to try and make curved one... but please keep us updated on the rolling stock Bazza
Facebook - https://www.facebook.com/Area51Models/
Instagram - https://www.instagram.com/area51greumach/
The wagons look great, the lettering looks good. If it is an ip brakevan I found that some of the push out off cuts make great half length running boards. Just need some plastcard supports.
I also agree with the comment that sometimes wagons can look too clinical, I may be guilty as charged.
Bazzer42
- Sylvian Tennant
- Fireman
- Posts: 327
- Joined: Wed Aug 10, 2011 4:48 pm
- Location: Teesside
S&DJR Rolling stock
I've been very quiet on the internet lately, so much so that I'm not even updated the weekly blog I promised to do. I'm going to review that situation and make a decision on it s future as a weekly effort was getting a little on top of me. Maybe monthly instead?
Anyway....
I've managed to finish off the rest of my wagons with only the brake van now left to do.
The first wagon to show is the already finished open wagons which I wanted to fit with a tarpaulin. The tarpaulin itself was some tin foil, primed with halfords and painted with revell dark green. The strapping was some cross stitch thread bought from boyes with the knots dabbed with super glue.
The second wagon was painted a lovely shade of humbrol cockpit interior green and given a private owner livery (the name of a very dear but bemused artist friend). and given a load of coal, smaller pieces that the loco coal wagon though...
and the final one painted a Revell yellow colour, and given some crushed party balloon ballast to represent road or railway ballast to be taken from the quarry to a distribution centre.
and this is the lonely Jemima pulling them.
Last edited by Sylvian Tennant on Thu Nov 24, 2016 10:39 pm, edited 1 time in total.
Facebook - https://www.facebook.com/Area51Models/
Instagram - https://www.instagram.com/area51greumach/
- Peter Butler
- Driver
- Posts: 5243
- Joined: Sun Sep 09, 2012 10:33 pm
- Location: West Wales
I like the wagons, Good idea to use foil on the wagon for a tarpaulin I was wondering how to do it.
Last edited by Big Al on Sat Jun 01, 2013 4:53 pm, edited 1 time in total.
Allen Hopper - early retirement can't beat it !
Who is online
Users browsing this forum: No registered users and 4 guests