Thanks gents, can't let my standards slip.


15/12/21
Not far to go now. Couldn't find any suitable stencils for numbering the headstocks, and I wasn't going to make a paper stencil, or hand-paint them like the old trucks had. Didn't want to spend the money on custom decals either. Not every mill numbered their trucks anyway.
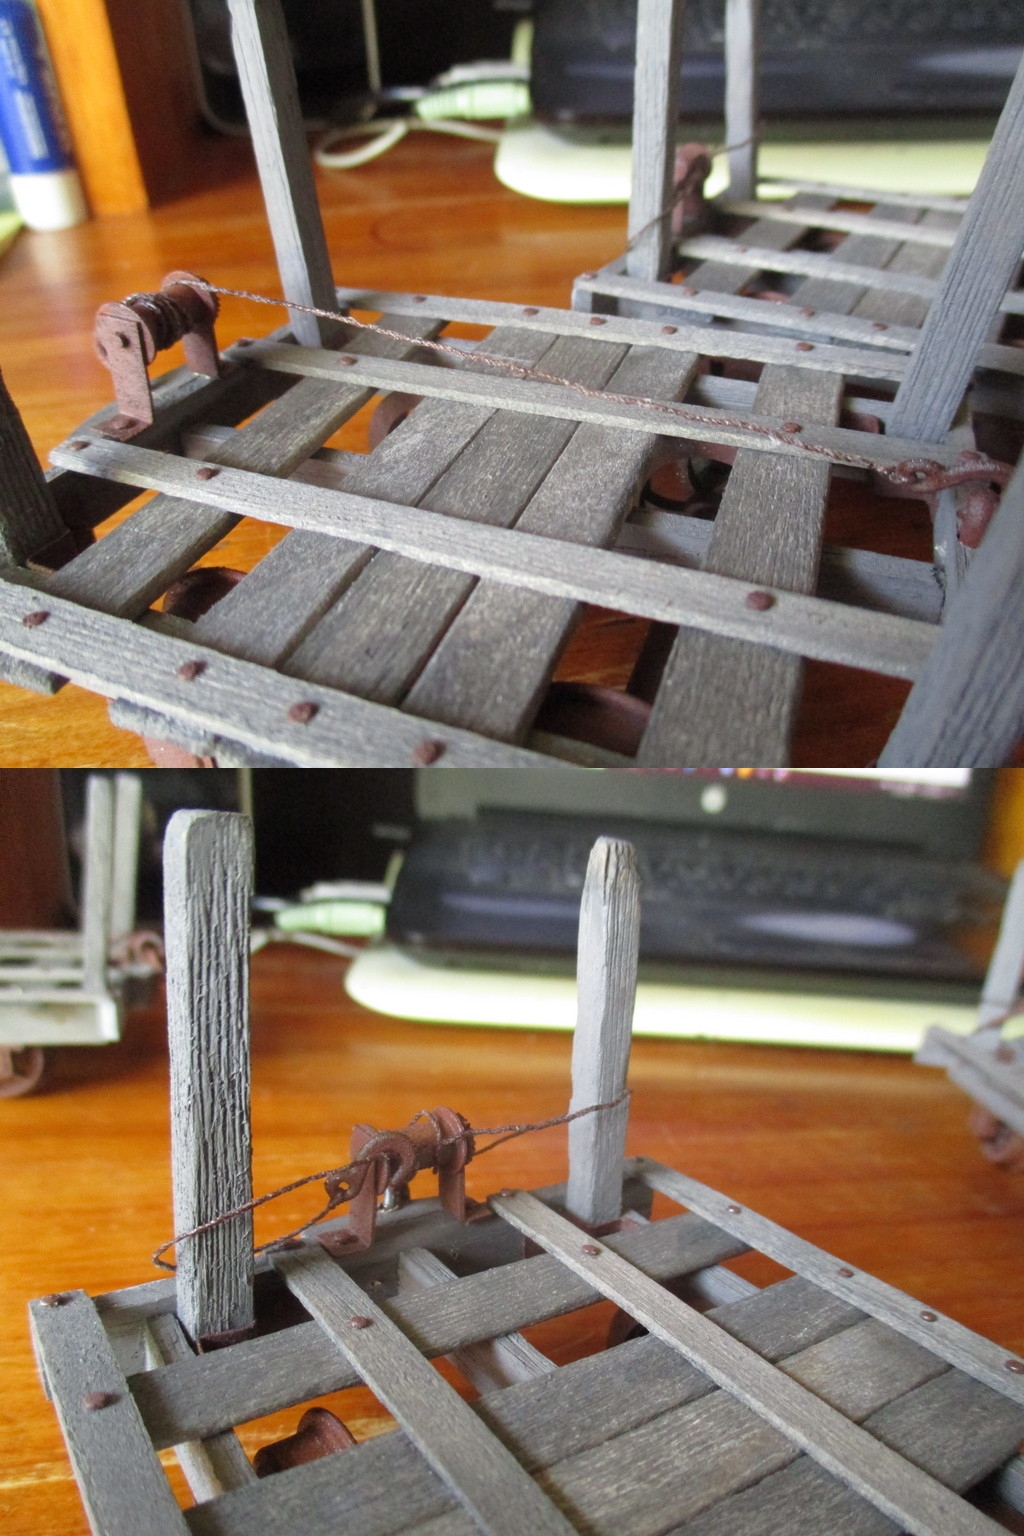
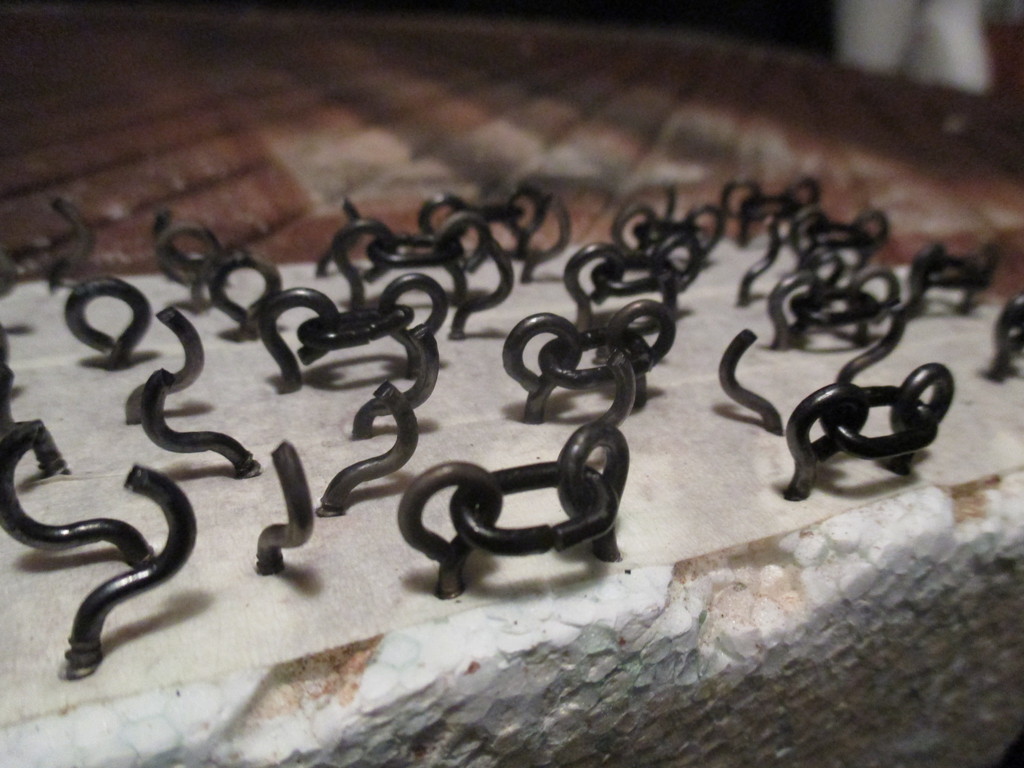
Mills lashed the cane onto the trucks with either cable or chain. Kinda stumbled bottom-backwards into getting a great result, here. Experimentation paid off..
Coarse thread was cut to 7½" lengths (next batch will have 8½") and tied onto Binnie hooks - which were prepped and painted to match the rest of the metalwork. They're a little big for this job, but they work well with the split pins I'm using for anchor points.
Superglue was soaked into the thread to stiffen it up, but the fuzziness remained. This was burned off with a heat gun. (candle was too intense and focused, just burns the thread) The heat gun had an interesting effect in that it melted the superglue, allowing the thread to droop under it's own weight.
This drooping and re-solidifying effect made for a very convincing beat-up old cable, which is still flexible enough to wrap around things.

- IMG_9281-83.jpg (850.48 KiB) Viewed 5372 times
16/12/21
An 0.8mm hole was drilled in each winch barrel, and the "cable" superglued into place with a fine-tipped applicator. A couple of cables were made to look neatly reset after unloading, but most were just more-or-less secured by wrapping around a stanchion or two, as there's no time for tidy when unloading.
Trucks must be unloaded quickly to keep the mill fed, any patch-ups made in the truck shop, then returned to the empty yard ASAP for re-deployment to the fields.
- IMG_9286-90.jpg (725.28 KiB) Viewed 5372 times
17/12/21
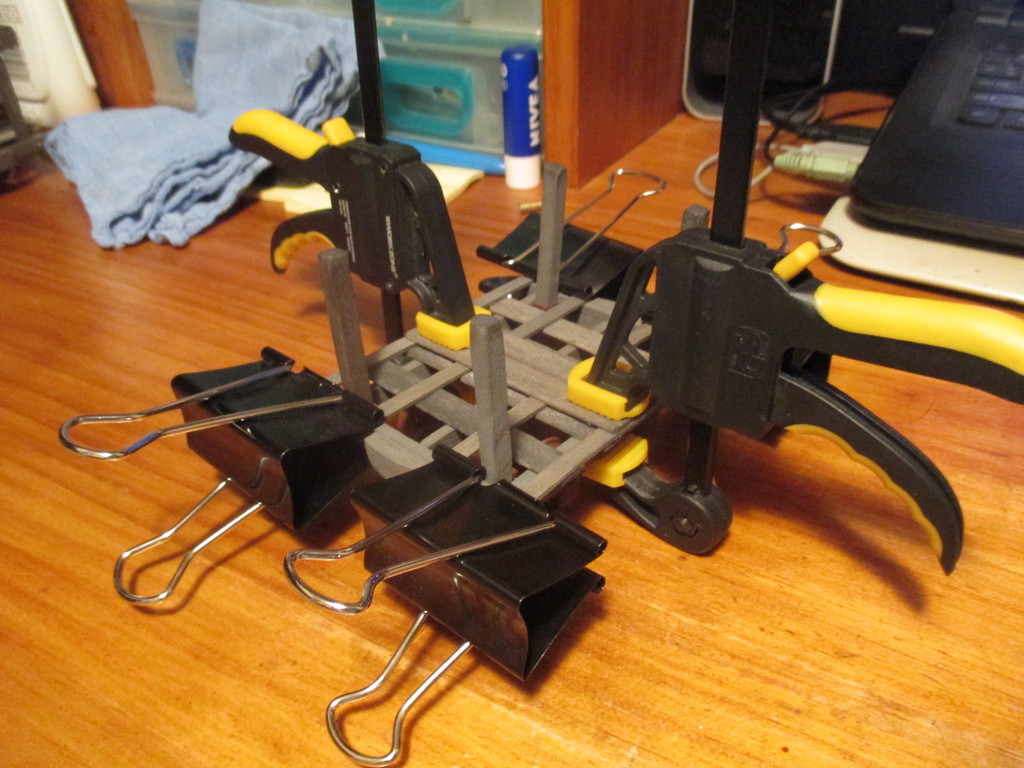
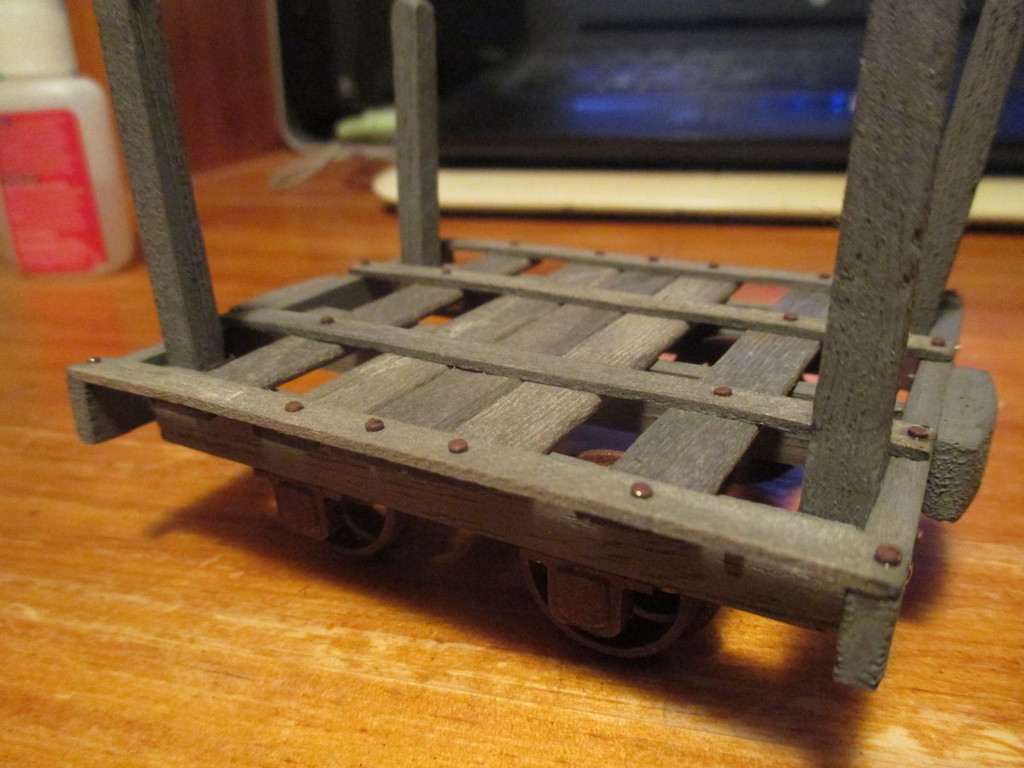
The trucks at this stage weigh 40g, which although I've not tested them, I feel is a bit too light. Full-size wholestick trucks are very light and prone to derailment at the best of times, particularly when being pushed around curves. As I'd like to pull long rakes, I don't want these too heavy, so only 15g of lead flashing was added.
Pre-painted the pieces where they might be seen through any gaps in the planks - another lesson learned from mistakes in my early trucks, many years back.
Conversely, those old trucks were weighted to 270g each,

to allow them to negotiate a terrible S-bend imposed by a tree on my first garden line.

- IMG_9291-92.jpg (800.71 KiB) Viewed 5372 times
18/12/21
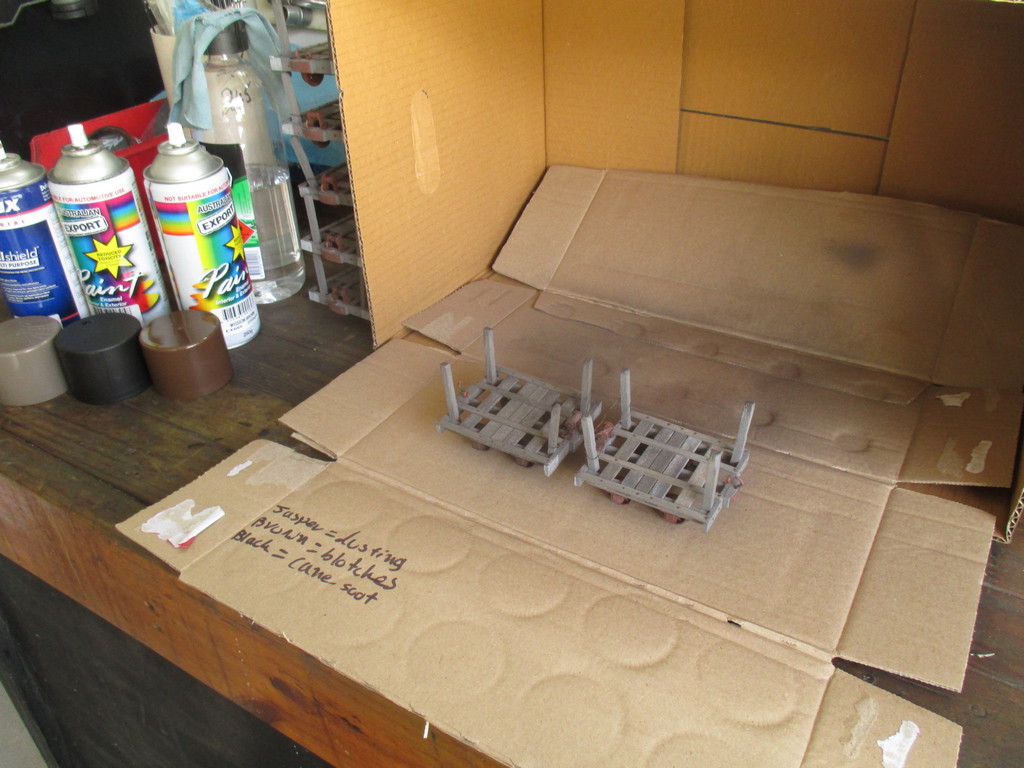
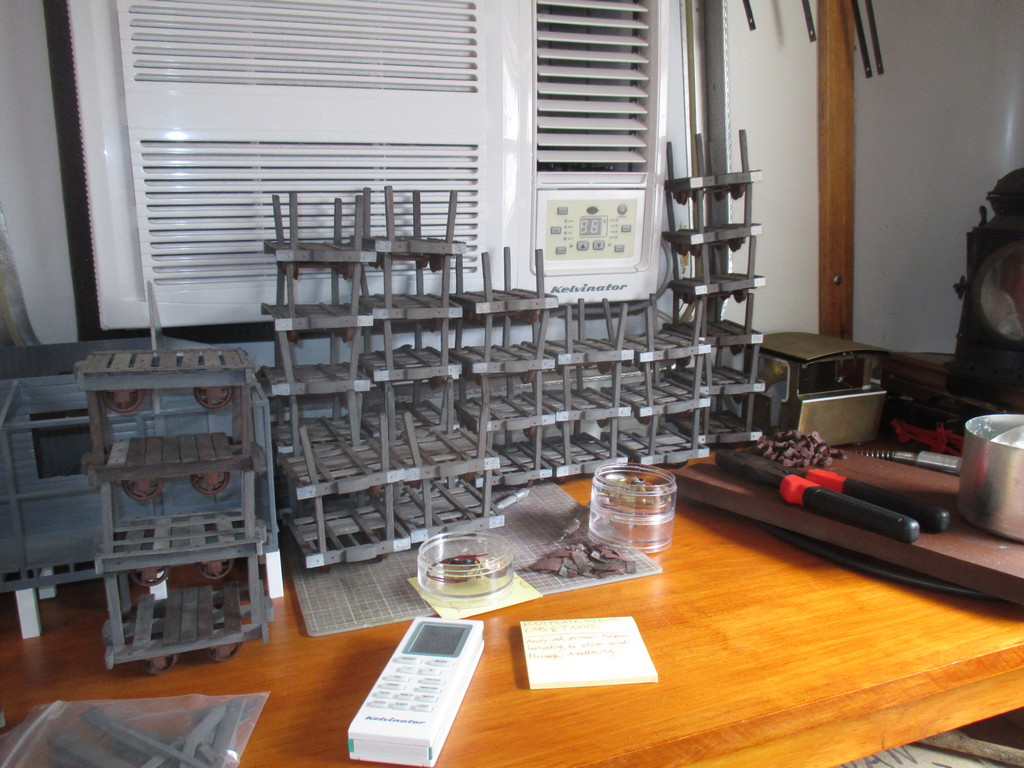
I was going to airbrush-weather the running gear, but realised I'd have to make note of how I'd mixed the paint, so that subsequent truck batches will match this lot - but that method wouldn't play nice with my usual "make it up as I go" approach to airbrushing.
So I settled on three aerosol cans: A light, general dusting of "Jasper" (sort of a dusty/dirt colour), focusing slightly more heavily on the running gear.
Random "blotches" of dark brown for variation, followed by a light blotching of flat black under the chassis, and an even lighter overspray of black above - which was all to easy to overdo.
Forgot to get a before/after shot of the sprayed trucks, but you can see the first one I did, on the left of that pair, now re-coupled to another truck to have the treatment. A fan was set-up nearby.
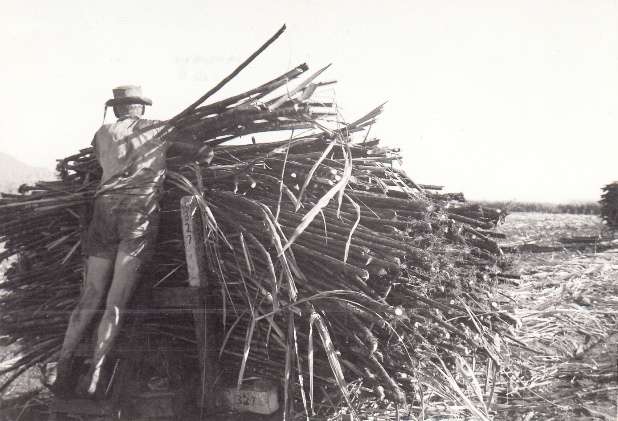
Trucks became somewhat blackened in use, because the standing cane crops were burned a day or two before harvesting. This deals with any disease, the snakes, and leaves of the cane plant, leaving behind only the stalks, allowing the hand cutters to move in for harvesting.
After an hour or so, each truck was clearcoated with
Dulux Duramax Flat Clear. That night, around the axleboxes and outer faces of the wheels were drybrushed with a dark, grimy acrylic mix, to simulate filthy, overfilled axleboxes.
19/12/20
Apologies for the very poor lighting in this ex-works shot - who'd have thought that pulling up most of your garden line and replacing it with a carport would make ex-works shots difficult to do?

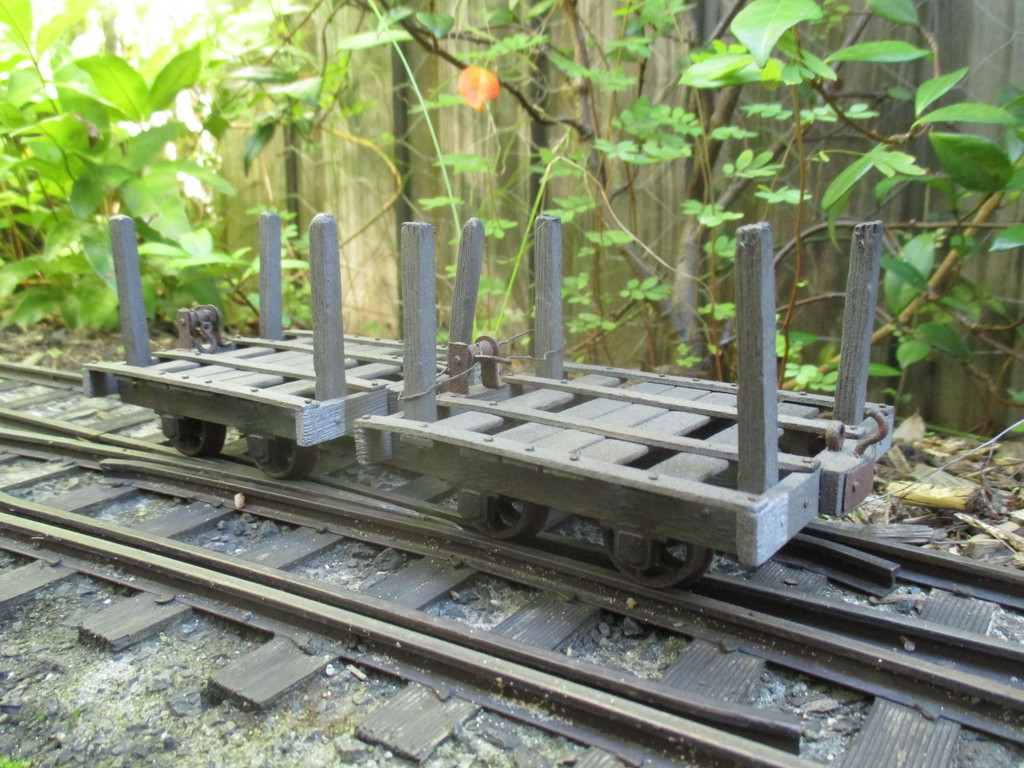
Had to plonk 4m of track on the front lawn for these shots.
I'm extremely happy with how the rake has turned out, and am looking forward to hanging them behind one of my Fowlers. Even more-so to having four times as many trucks - but that's a job for future Aaron,

and there's plenty enough to do in the meantime..

- IMG_9299-9303.jpg (1005.74 KiB) Viewed 5372 times
Thanks for reading,


