Latest update from yesterday.
I felt it time to attempt the tumblehome. In a previous post i mentioned that when i glued the middle layer to the outside layer i left the lower 15mm unglued. Now it was time to open these two layers a little with the end of a metal rule and push glue between with a fine artists paintbrush. This side was then cramped down on to the surface of my workbench with a piece of 3mm ply under the lower edge to form a curved edge hoping that this laminated curve would stay permanent once the glue had dried.

- IMG_20170622_192230.jpg (83.14 KiB) Viewed 4334 times
Moving on to this morning i glued the stained inside panel to last nights work to form the third layer of the lamination using edible weights and bulldog clips to hold the panel to the tumblehome curve while the glue set.

- IMG_20170624_202701.jpg (83.69 KiB) Viewed 4334 times
Now dry i am very pleased with the result, bearing in mind i had not attempted a tumblehome before. Due to a slight spring in the plywood i have a bottom edge that is about 2.5 mill curved inwards from the vertical which looks a good representation of the real thing shown in photos and the plan.
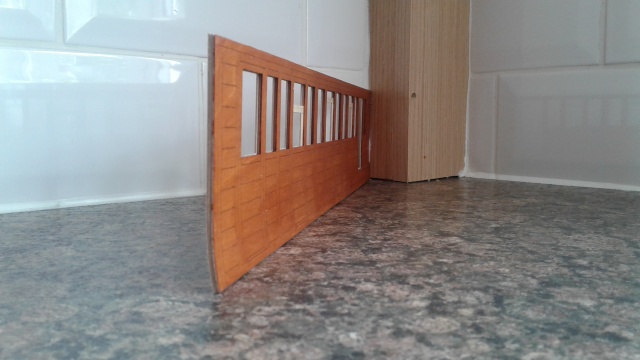
- IMG_20170624_201953.jpg (64.96 KiB) Viewed 4334 times
I also slipped in one of the droplights from the top and it held itself in position well with just a little friction, though they are still untreated wood.

- IMG_20170624_202039.jpg (78.69 KiB) Viewed 4334 times
I think my next job is to work on the coach ends including copying the tumblehome curve onto them and finishing their beading.
David.
David T.


