An international forum for garden railway modellers in all scales and gauges. It is free to join and is funded through voluntary contributions by its members. Many thanks to all those who keep it going.
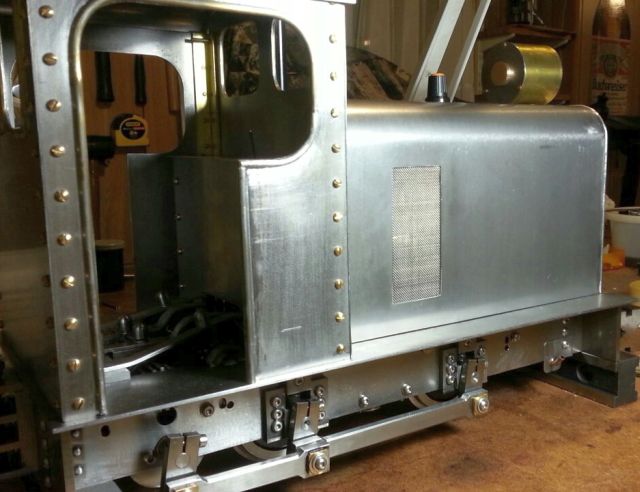
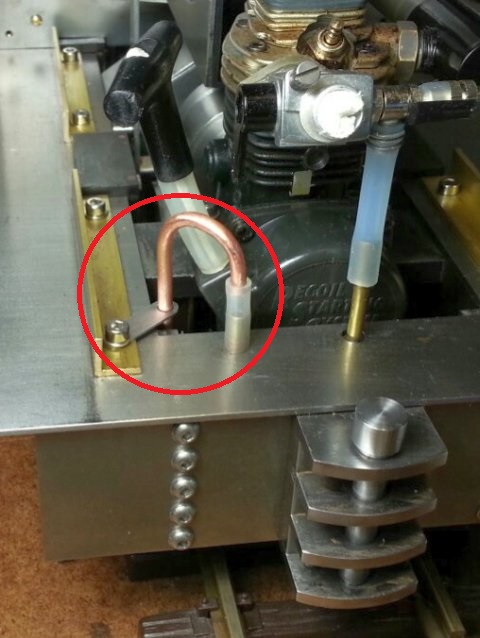
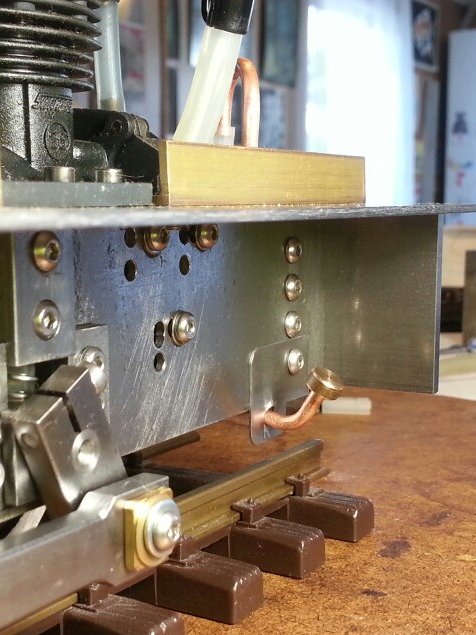
I don't want to have to remove the cooling hood when topping up the fuel so I've mounted an extension filler pipe on the right-hand side behind the buffer beam.
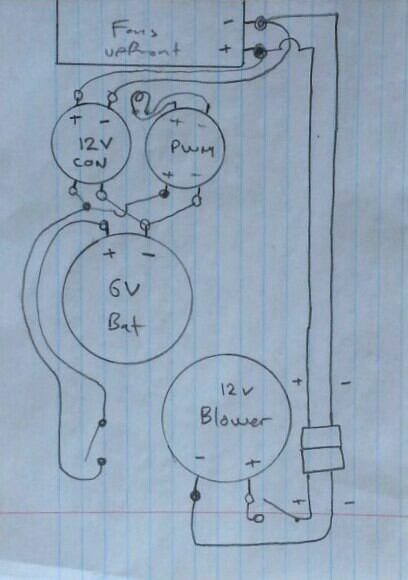
Some people ask if I have any drawings, well here's a circuit diagram I drew to work out the electrics. I didn't use the switch in the blower wiring in the end.
Last edited by dewintondave on Sun Feb 09, 2020 6:10 am, edited 1 time in total.
At last we had a break from the rain and I was able to test the cooling fans for the first time in use. The fans appear to be effective. After the run, (the tankful was consumed after 17 minutes) fans were left running for a while, and the cylinder head was just warm. The bonnet / hood rattled at times. From analysis after the run, I found that the motor was running 30% too fast, and the loco was doing about 6.5 scale MPH.
Last edited by dewintondave on Sun Feb 09, 2020 6:15 am, edited 1 time in total.
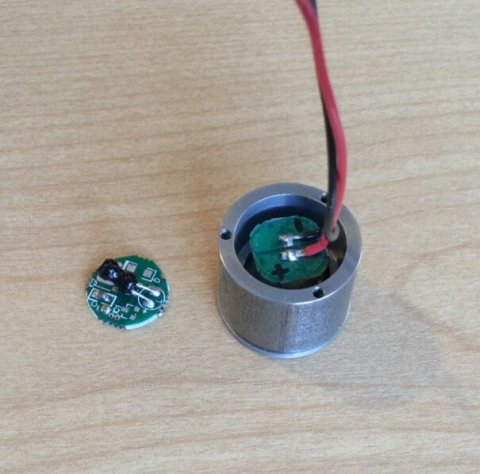
A while ago I bought a small LED torch/Flashlight on eBay. I thought I'd use it for the headlight, but it was rather small. I've just finished converting it to use as the rear light for shunting and reverse running.
Here's what I bought:
I'm just using the LED, reflector, and bezel. This was a single AA cell torch. Interestingly there is a small PCBA that steps up the voltage to 3.7 V. I'm not going to use it as I'll be using the blowers 12 V supply with a step-down module.
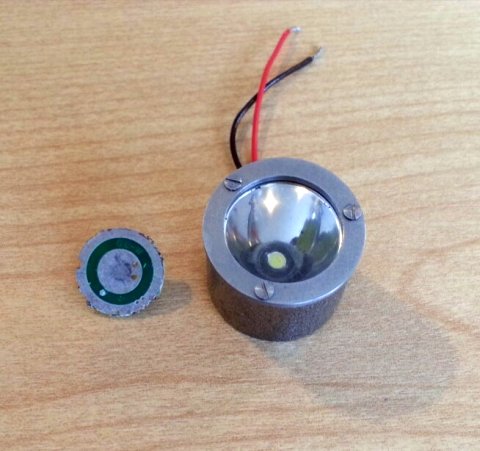
This light is very bright, and a cold white. But it responds well to the PWM dimmer. The wiring still needs arranging.
Last edited by dewintondave on Sun Feb 09, 2020 6:20 am, edited 1 time in total.
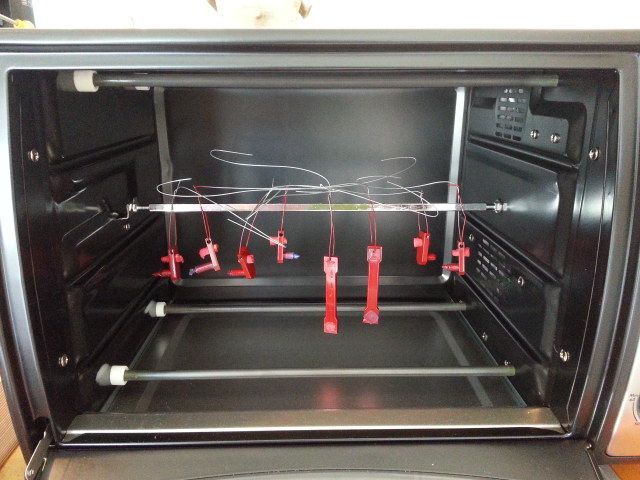
Finally, I have started painting. I bought a benchtop convection oven, on special offer, to bake the paint after initial drying. The setting I'm using is 90 deg C for one hour. The paint is coming out nice and hard.
Because I'm not using an undercoat, the red is coming out quite a nice dark shade
Last edited by dewintondave on Sun Feb 09, 2020 6:22 am, edited 1 time in total.
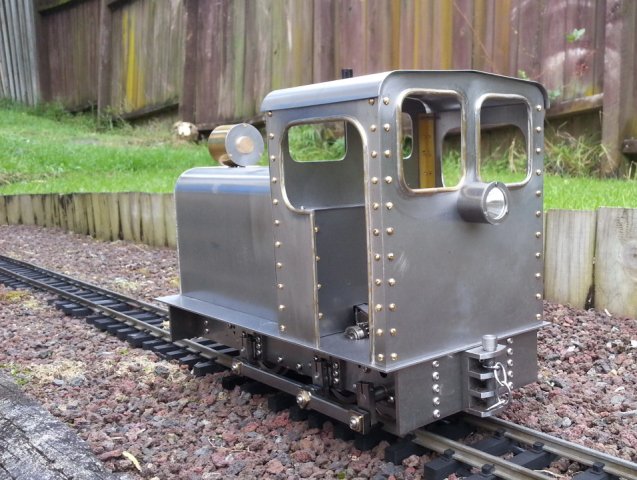
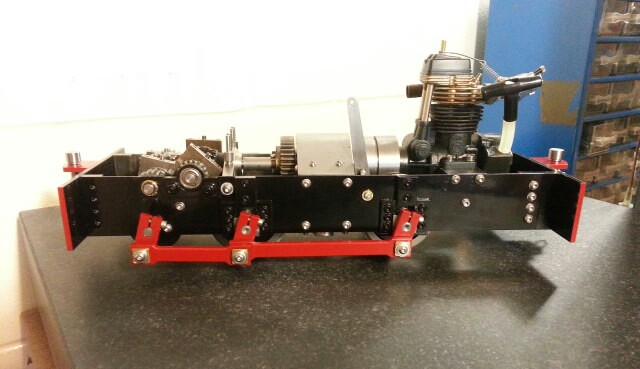
I just finished reading through your whole build. I am really impressed by your work in experimenting to find the right set up for the drive train. The gear cutting work looks very nice.
The end results look satisfying indeed, a good looking loco all round.
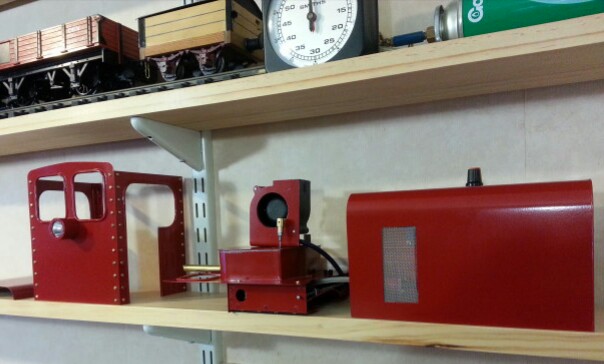
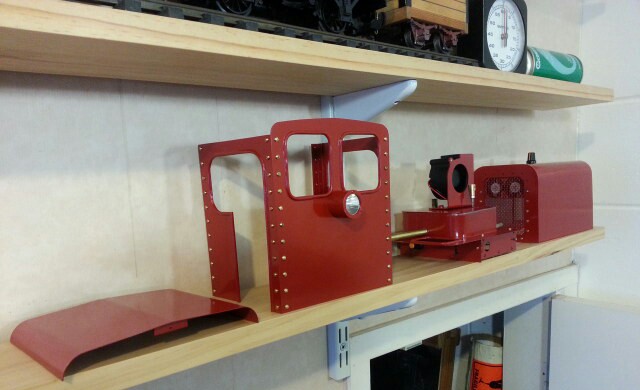
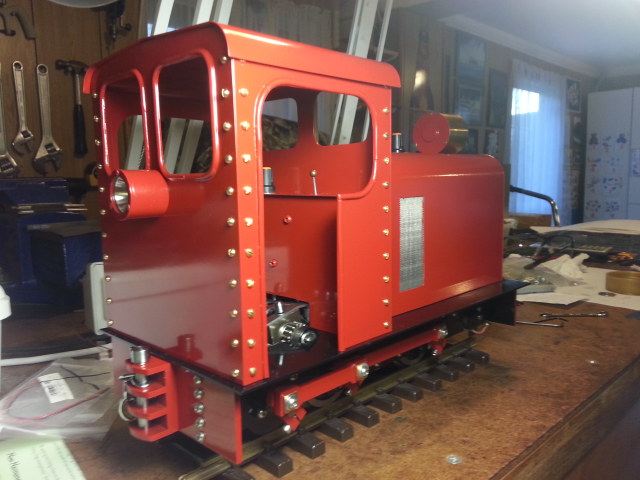
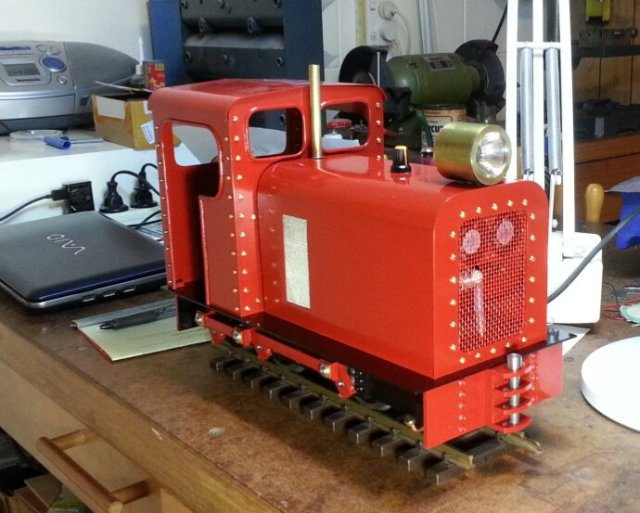
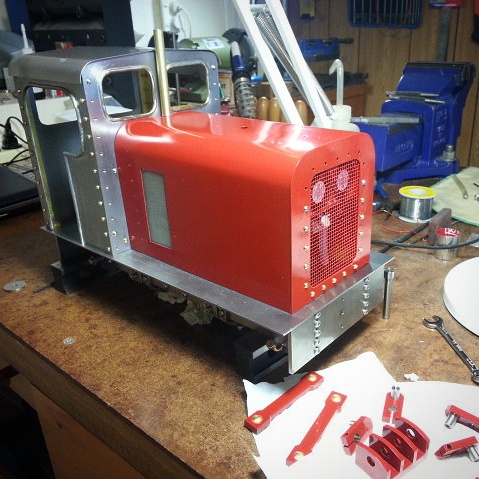
I've finished the bonnet and cab. The electrics are all reassembled. I'm putting all the various bits and pieces all over the place, I've got some shelves.
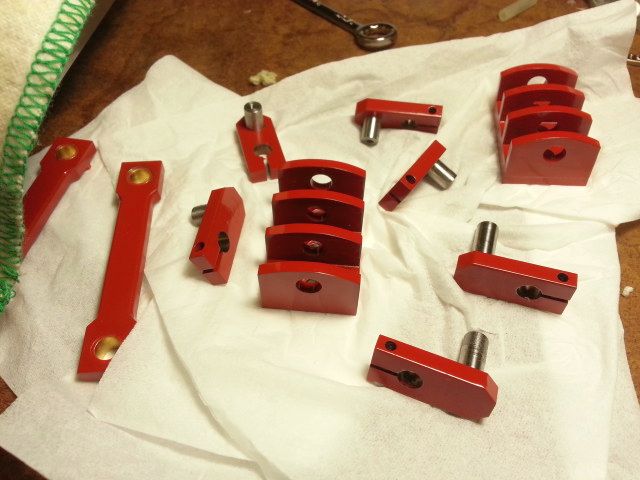
I like the brass / red contrast
I've just removed the footplate for painting, it's going to be black
Last edited by dewintondave on Sun Feb 09, 2020 6:32 am, edited 1 time in total.
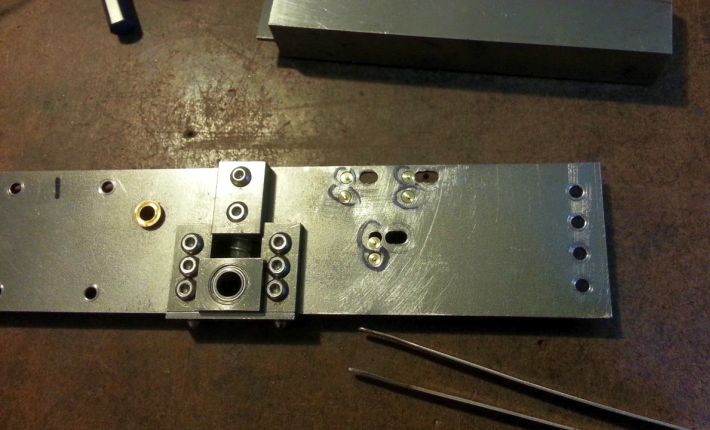
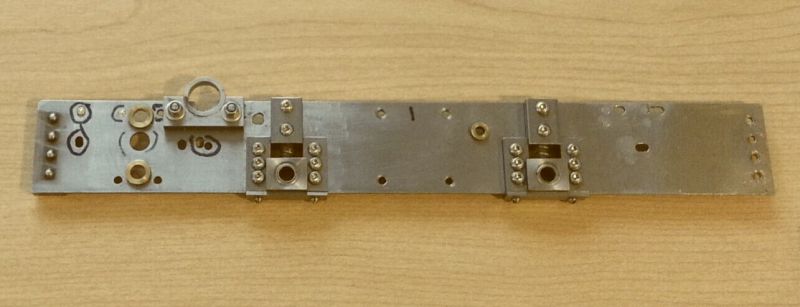
I've started to dismantle the chassis one side frame at a time so as not to disturb everything too much. I'm only going to paint the outside of the frames. First thing is to fill all those excess holes that were used in the earlier set-ups. I've used small slices of 1/8" K&S brass bar to fill the holes and slots, soft soldering over them and smoothing it off.
Last edited by dewintondave on Sun Feb 09, 2020 6:35 am, edited 1 time in total.
Keith S:112246 wrote:How long after spraying do you bake the parts? Do you wait until they are dry to the touch at room temperature?
That's it, when it's touch dry. It's a smelly process, especially the black paint - toluene, the black paint was very fast to be touch dry. I used engine block spray paint
Last edited by dewintondave on Sun Feb 09, 2020 10:49 pm, edited 1 time in total.