Page 4 of 10
Posted: Sun Mar 30, 2014 8:29 pm
by laalratty
Excellent work, good to see it out on the track.
Posted: Mon Mar 31, 2014 12:25 am
by MDLR
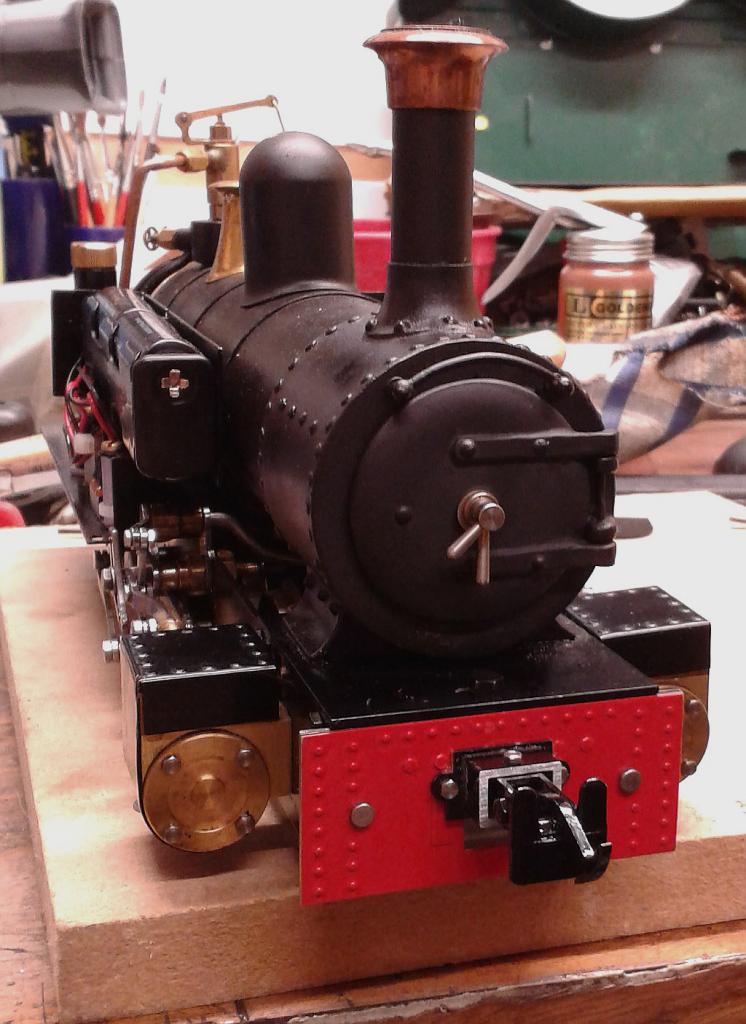
Looking at the safety valve bonnet and chimney cap, do I detect a GWR influence?
Posted: Mon Mar 31, 2014 12:14 pm
by TonyW
tom_tom_go:98534 wrote:Forgot to say thanks TonyW, chassis ran perfectly


Posted: Mon Mar 31, 2014 8:42 pm
by Lner fan Sam
great progress tom!
Posted: Mon Mar 31, 2014 10:00 pm
by Gremlin
looks marvelous, brilliant job
Posted: Tue Apr 01, 2014 3:10 pm
by tom_tom_go
The copper chimney cap is just to match my SL, however, I do have a OO scale GWR Pannier tank with the same set up
If you have always wanted a pop safety valve for your RH loco Polly Engineering can supply these with the correct thread 5/16" x 32ME although you have to calibrate it yourself.
How or where can I get these calibrated properly?
Posted: Wed Apr 02, 2014 8:48 am
by GTB
tom_tom_go:98714 wrote:
How or where can I get these calibrated properly?
You normally set them up on the loco, using the pressure gauge as a reference. The safety valve should start to open a couple of psi below the nominal blowoff pressure and be fully open when working pressure is reached.
On a coal fired loco. the pressure shouldn't go any higher than 10% above nominal with a good fire and the blower on full. Known as an accumulation test, it's basically to make sure the valve opening is big enough to get rid of the excess steam.
These little pressure gauges are usually accurate around the middle of their range (needle vertical), but if you aren't sure, fit the new pressure gauge to your Silver Lady and see if the gauge shows 40psi when the safety lifts. Then use it to set the safety on the new loco.
I tested my pressure gauges using my boiler testing rig, which is why I'm confident they work. Kozo Hiraoka has a gauge testing rig in one of his books that uses weights to check the gauge reading and I've been thinking of making one up (when I find my 'Round Tuit').
Anyone that can test garden scale boilers can check the pressure gauge for you and I imagine would help set up the safety valve if needed.
Graeme
Posted: Sat Aug 30, 2014 6:08 pm
by tom_tom_go
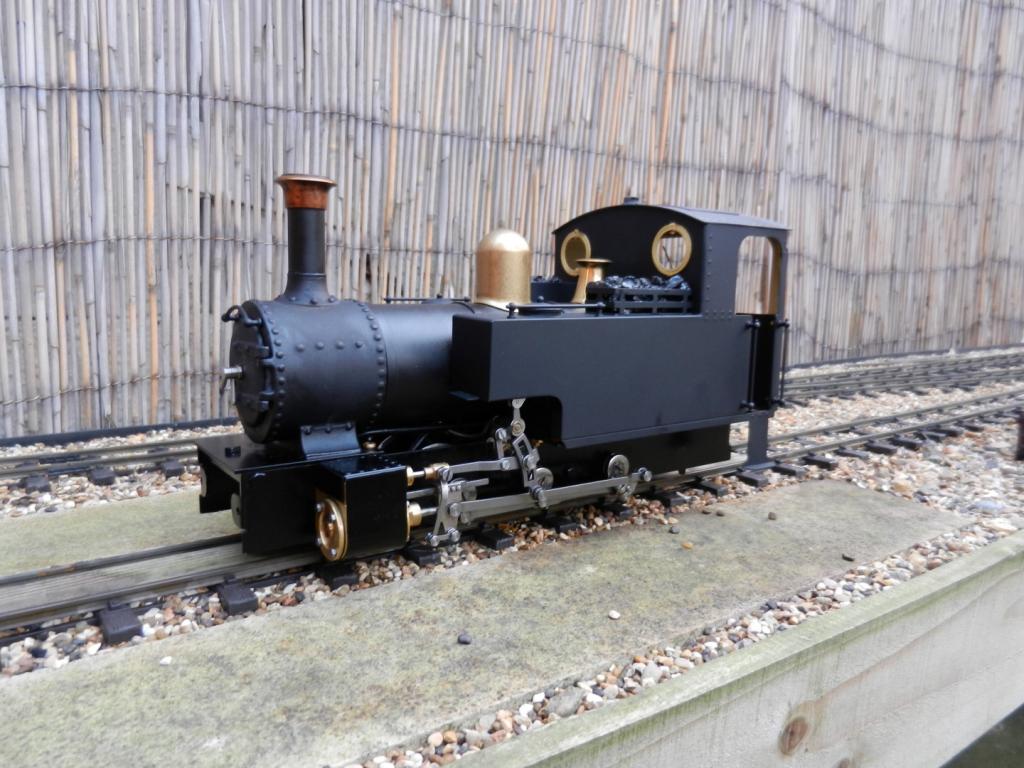
I know it's been a while, so here is the latest.
I didn't get on the with the pop safety valve, it just kept letting off steam constantly. I have gone back to the RH one and adjusted it. With experience of firing the loco, you just need to watch the pressure gauge and as soon as it starts getting a bit high you open the coal door to cool the fire. I have found I am getting much longer runs now as not wasting water (steam) through the safety valve.
Riverdale boilers really are easy to fire. I even managed last weekend to run it with my gas SL at the same time with my step daughter in charge. Even after two hours the lubricator on the Riverdale had plently of oil left.
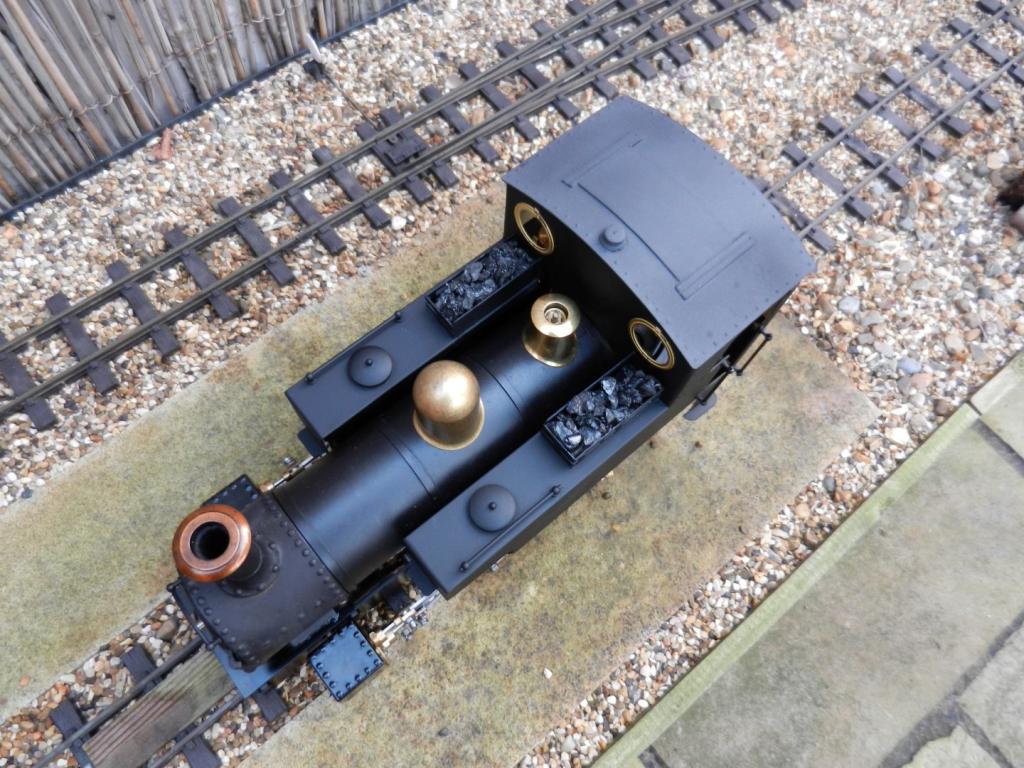
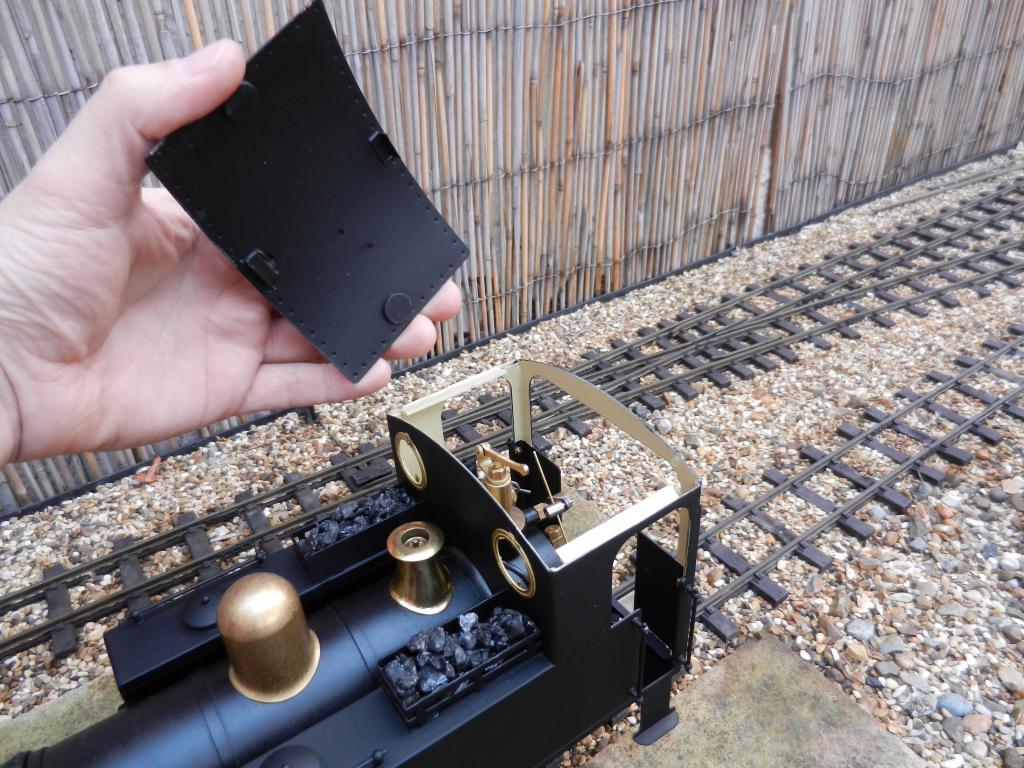
The body is on it's way from Rhos Helgy works where Tony has done a fantastic job building, painting and doing something clever with the roof although I will need to have it in the metal to show you all properly.
Here are some quick shots of it from his workshop though (quality is poor as it was raining outside:

Posted: Sat Sep 06, 2014 7:10 pm
by tom_tom_go
Posted: Wed Oct 01, 2014 6:55 pm
by btiratsoo
Cracking loco Tom. Inspiration as ever.
Posted: Sun Nov 23, 2014 7:07 pm
by tom_tom_go
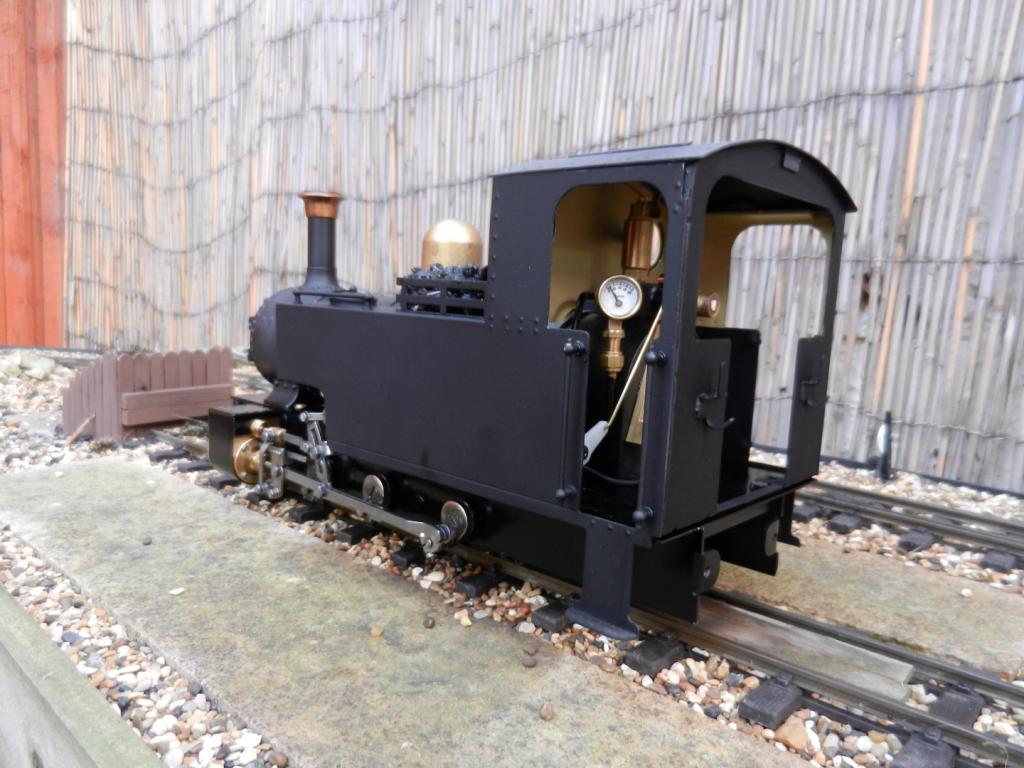
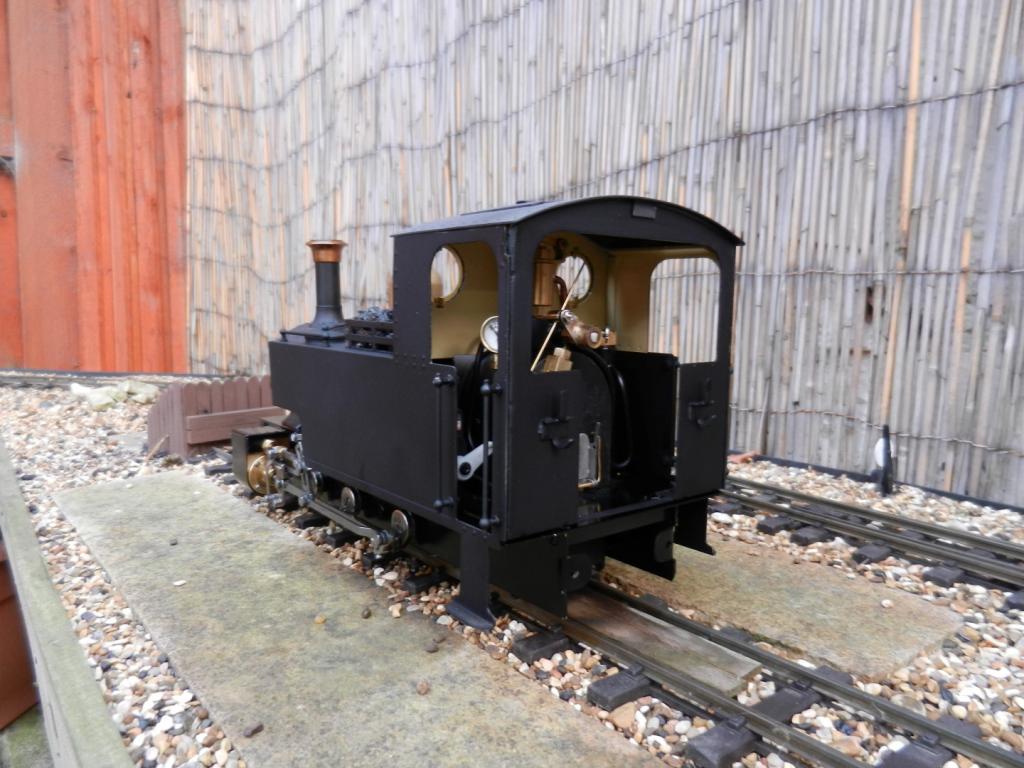
I believe I have now got all the R/C workings sorted:
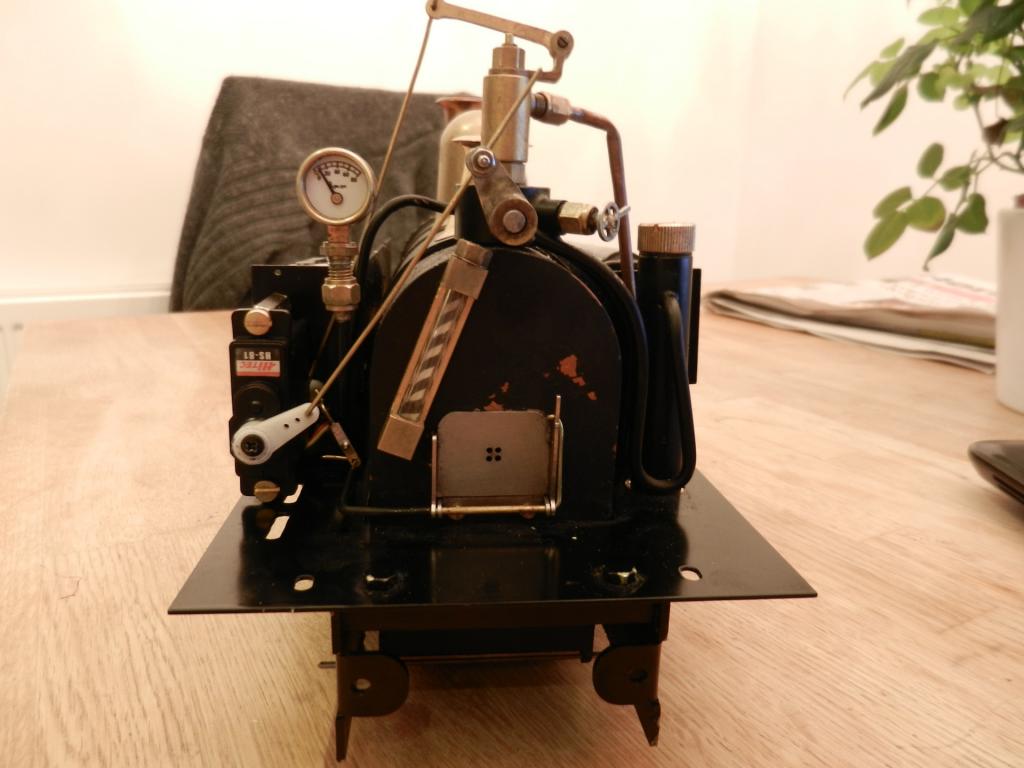
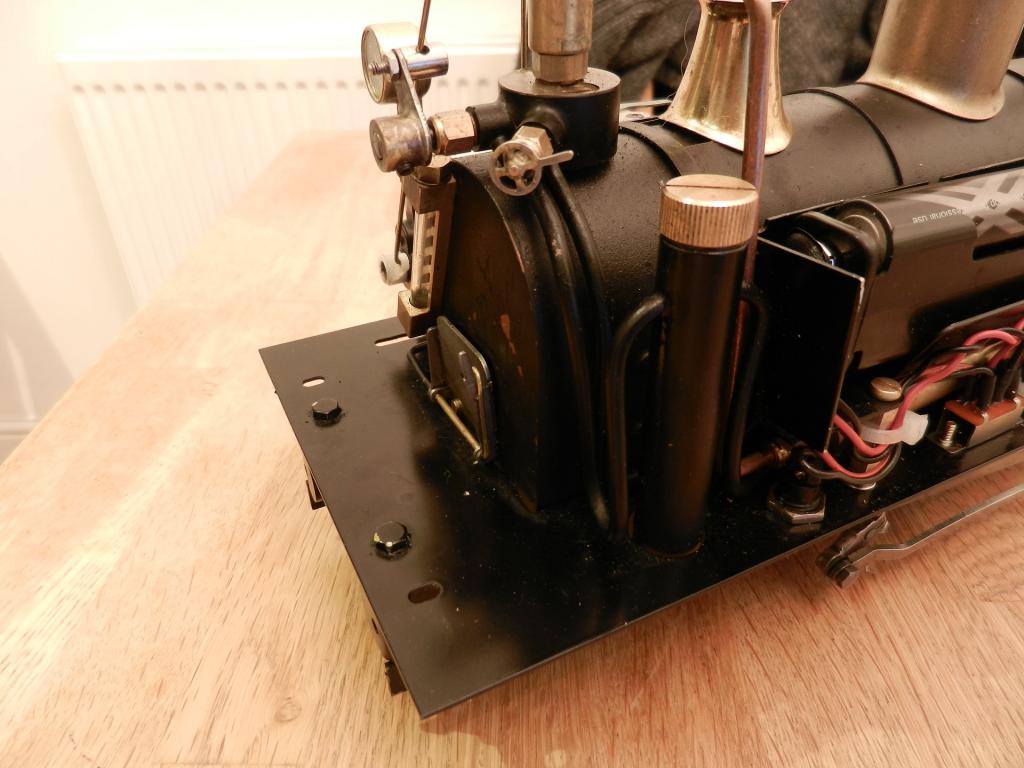
The dome needs painting I think to the same colour as the body and the RH safety valve is not up to the job required of the Riverdale boiler pressure of 58 Psi, it wastes steam.
I tried a pop safety valve before but could not get it to work properly (could of just been the quality of the product) so Tony has recommended John Shawe which Santa might bring me for Christmas
These also fit the RH safety valve bonnet which is a bonus.
Tony has given me great free advice regarding the set up of this loco so I cannot thank him enough. If you need any work done on your locos/stock he really is the guy to contact, proper job

Posted: Sun Nov 23, 2014 11:31 pm
by DLRdan
Looking very neat. Is the pressure gauge reading 10psi or is it a camera trick ?
Posted: Sun Nov 30, 2014 5:10 pm
by tom_tom_go
DLRdan:105960 wrote:Is the pressure gauge reading 10psi or is it a camera trick ?
No, it had no pressure in it after the air tests for the whistle (although I did check after your comment)
Dome is painted now and drying so onward with the buffer beams and bolting it altogether, about time!
Posted: Mon Mar 09, 2015 9:01 pm
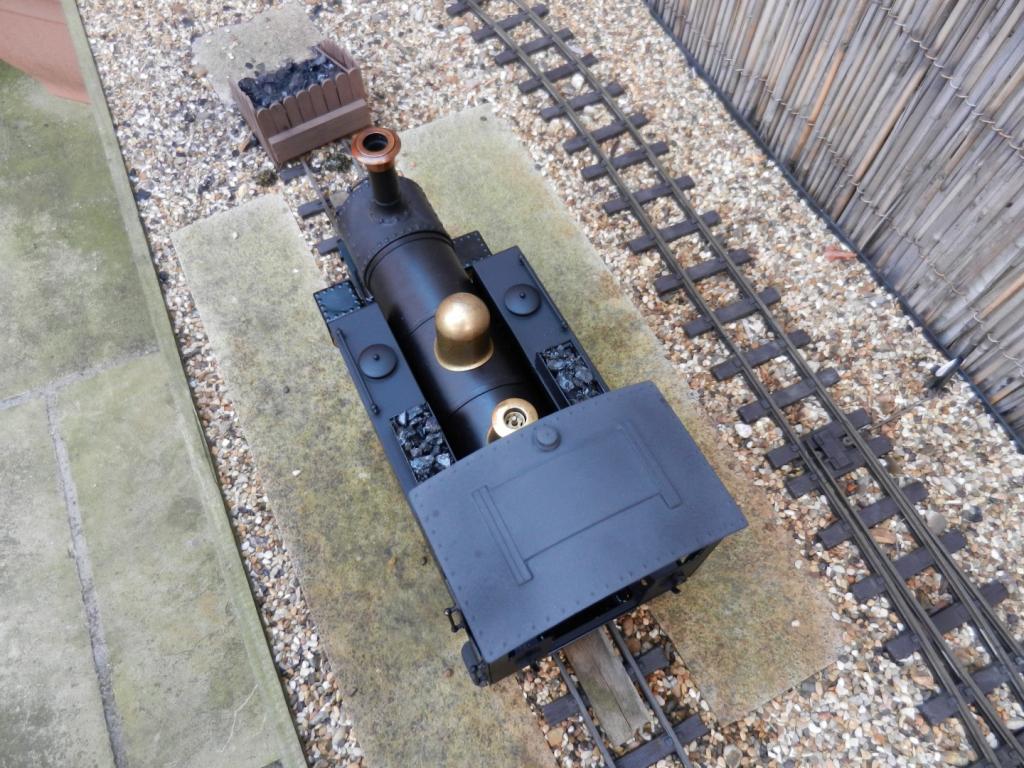
by tom_tom_go
Front buffer beam shortened (as on my SL) with modified Accucraft chopper:
The painted dome looks much better.
I think the smoke box dart needs painting, looks far too clean
Posted: Wed Mar 11, 2015 3:48 pm
by Chris Cairns
Looking great Tom.
We have a double bonus for aspiring coal fired owners like myself at Peterborough next month. A demonstration by Joep Janssen of Riverdale followed by Tag Gorton's demonstration.
Eagerly looking forward to these demonstrations. My Riverdale Elke boiler kit is pencilled in for delivery in January 2016.
Chris Cairns
Posted: Sun Mar 15, 2015 10:41 am
by tom_tom_go
I can remember waiting for my boiler
The new manual damper lever Riverdale has released is a much better design (click on the 'NEW' tab on their site) although I have set mine up for R/C as with the rest of the loco.
I would like an Irene

Posted: Mon Mar 16, 2015 1:33 pm
by Chris Cairns
tom_tom_go wrote:I can remember waiting for my boiler
My waiting time has just got a lot shorter. Due to a cancellation my Elke order was next on the list so picking it up at the Peterborough show now. There goes my Garden Railway budget for this year!
Chris Cairns
Posted: Mon Mar 16, 2015 3:34 pm
by tom_tom_go
Exciting stuff

Looking forward to seeing your build and If I can help let me know.
Posted: Tue Mar 24, 2015 1:46 pm
by DKLR
tom_tom_go:84172 wrote:So back on topic after my thread was hijacked

I always thought I would only ever have just one live steamer, how wrong was I
Molly (the cat) looks annoyed because I sold the diesel chassis that was meant to have her name on it to help fund this coal fired project.
Looking forward to following this project, something I've thought about, but, like you, I only needed one steamer and bought nearly every enhancement for my Bertie. ha! I'm now awaiting delivery from Locoworks of my new Lady Anne. I see you have an Acucraft coupling on the front of yours, is that the Swiftsixteen one?
Posted: Sun Mar 29, 2015 5:57 pm
by tom_tom_go
DKLR:109437 wrote:
I see you have an Acucraft coupling on the front of yours, is that the Swiftsixteen one?
I'll take that as a compliment as my attempt to modify the Accucraft version looks like the SwiftSixteen one