Further Improvements to a Roundhouse Fowler
Posted: Fri Oct 23, 2020 4:16 am
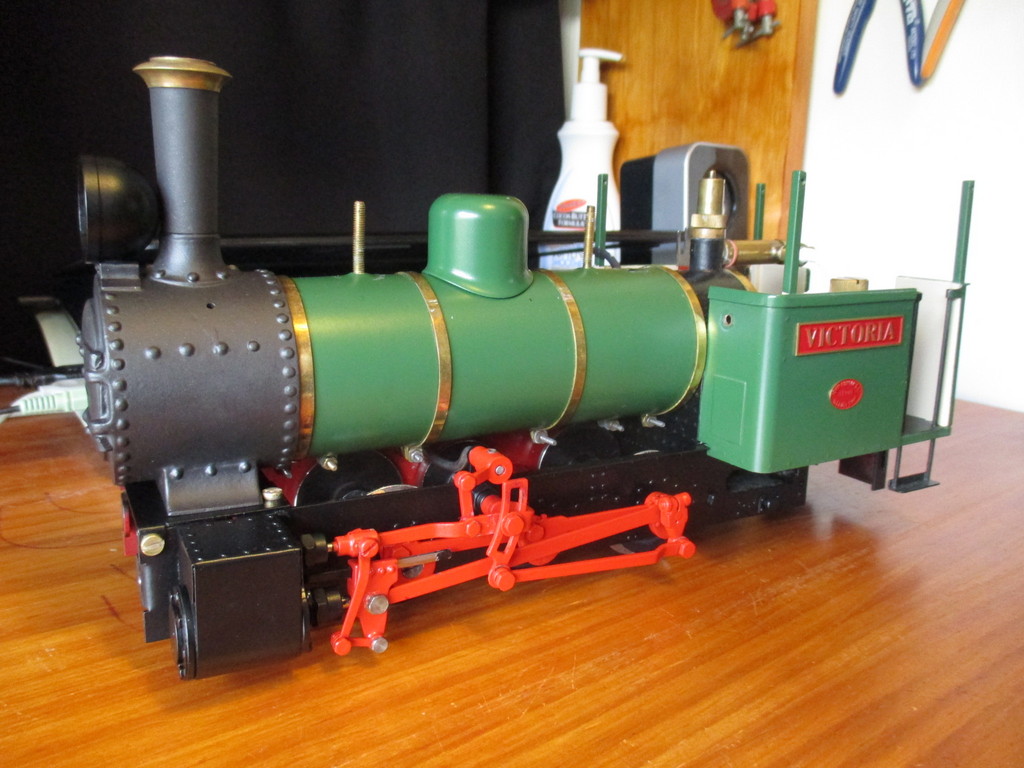
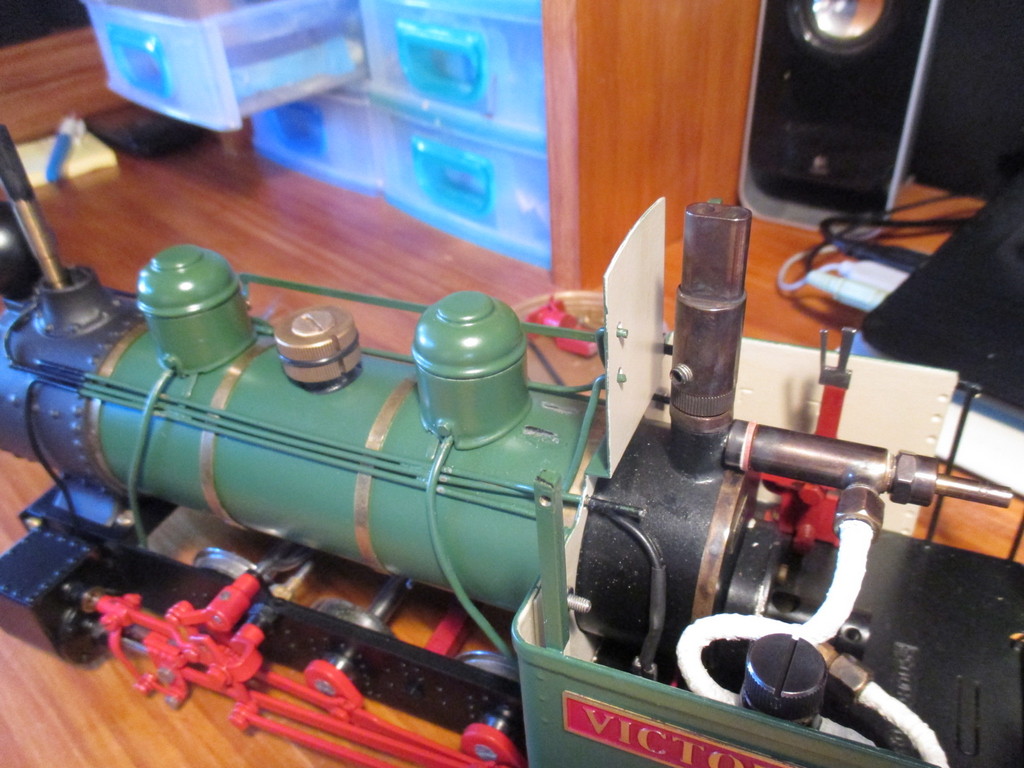
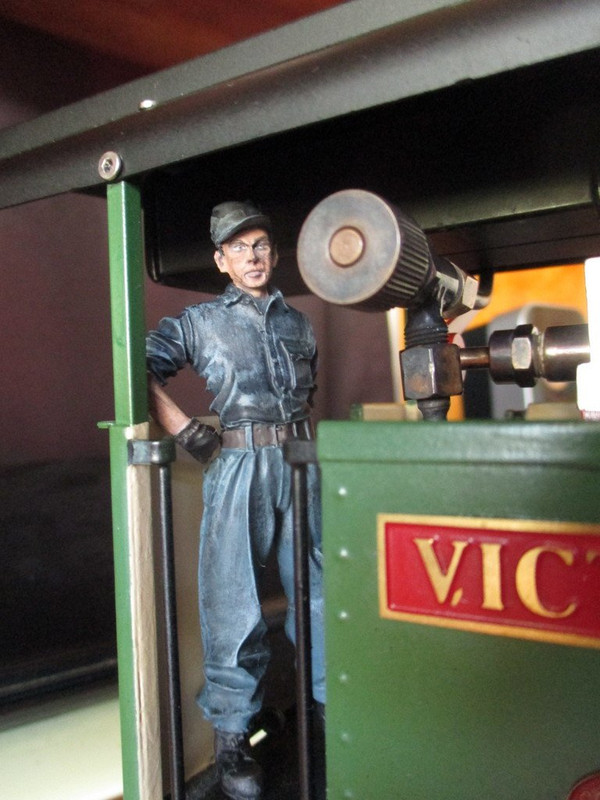
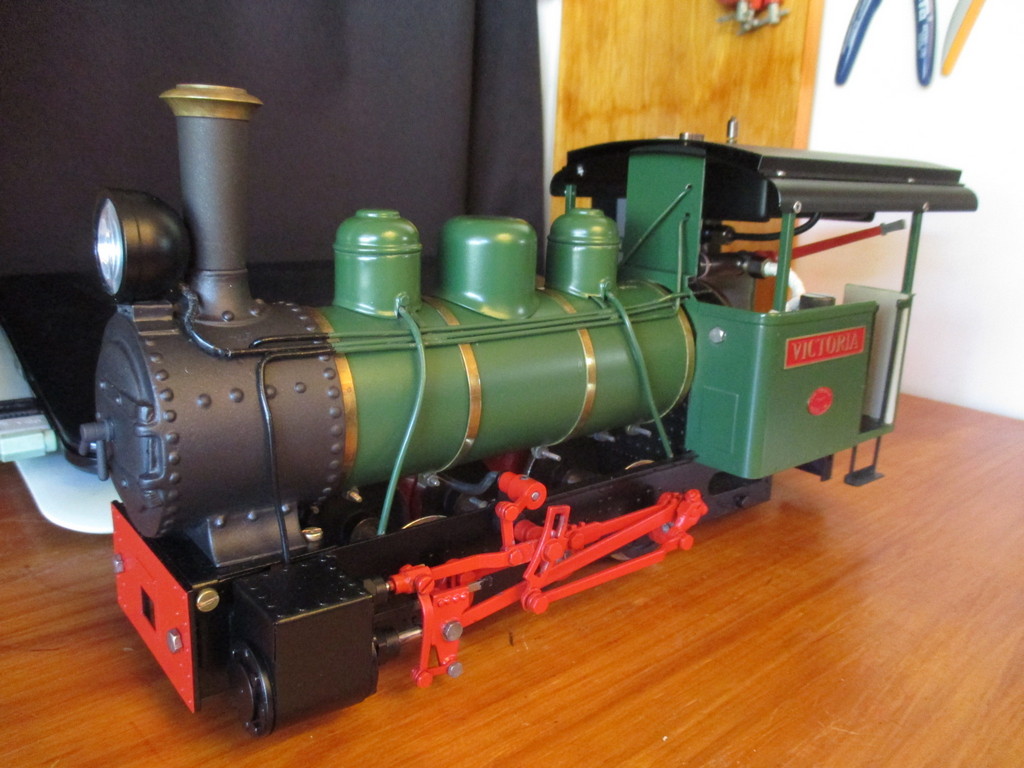
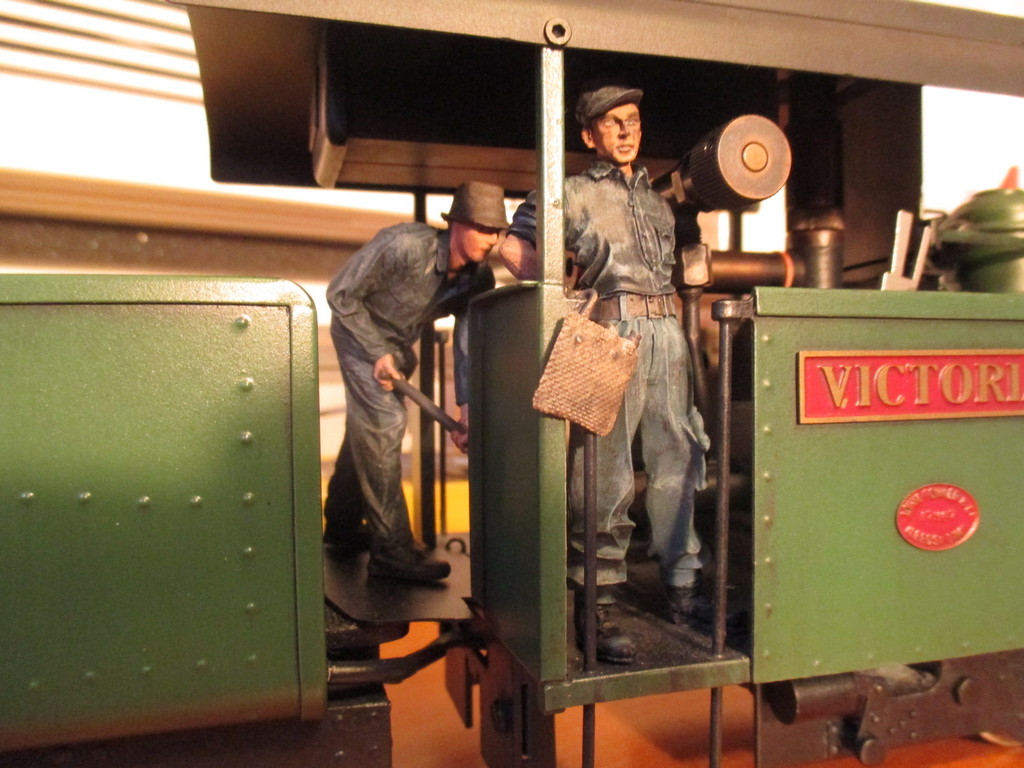
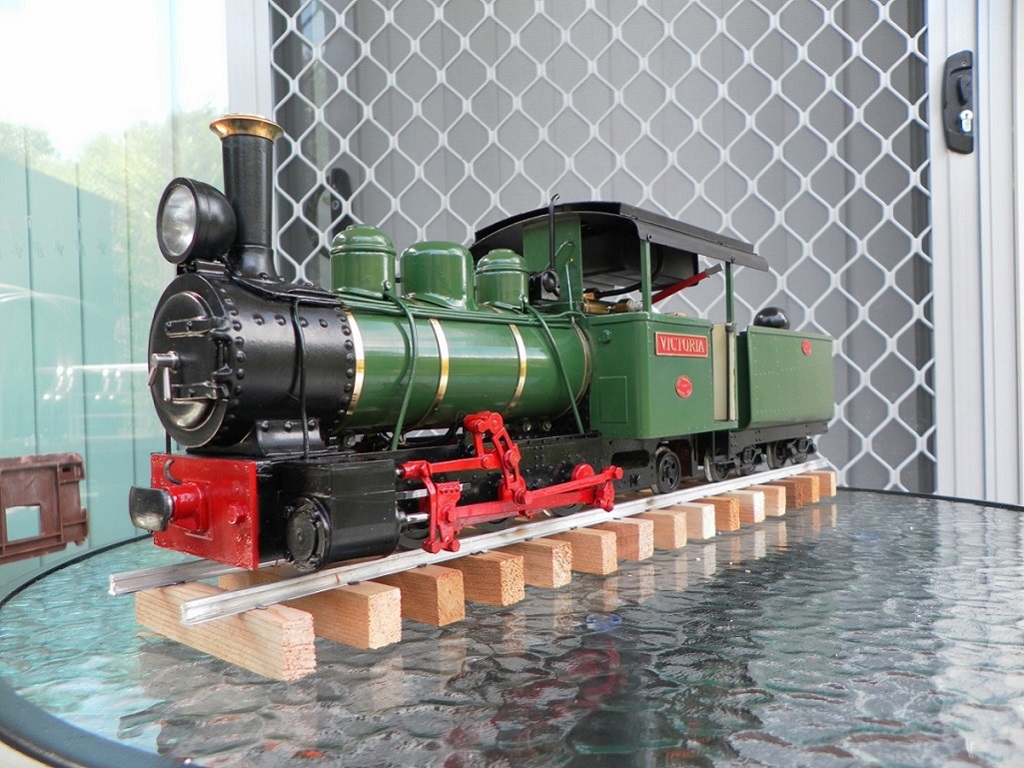
When I finished my Fowler "Victoria" in late 2018, the intention was to weather it and add a crew. But as I'd never weathered a live steam loco, and had a lot of other things going at the time, I simply didn't have the time or energy to finish this loco quite the way I wanted. The intention was to get the loco running, work through the other projects, (learning to weather in that process) then come back later and properly complete "Victoria". According to the date on this ex-works shot, that was two years and four days ago.
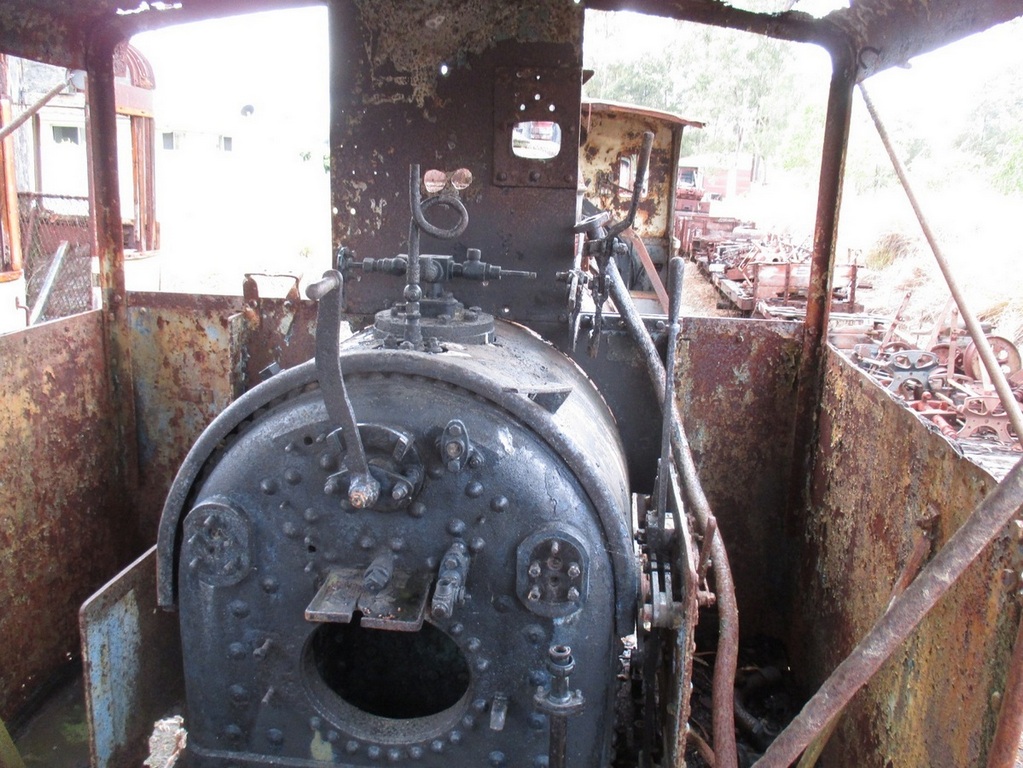
The keen-eyed may notice this loco's had many small changes, and details added. Working at the heritage line with the last surviving Innisfail B9½ has it's benefits. Should anyone want to detail their own Fowler, I've uploaded my reference photos here: https://anzaccreekworkshops.blogspot.co ... owler.html

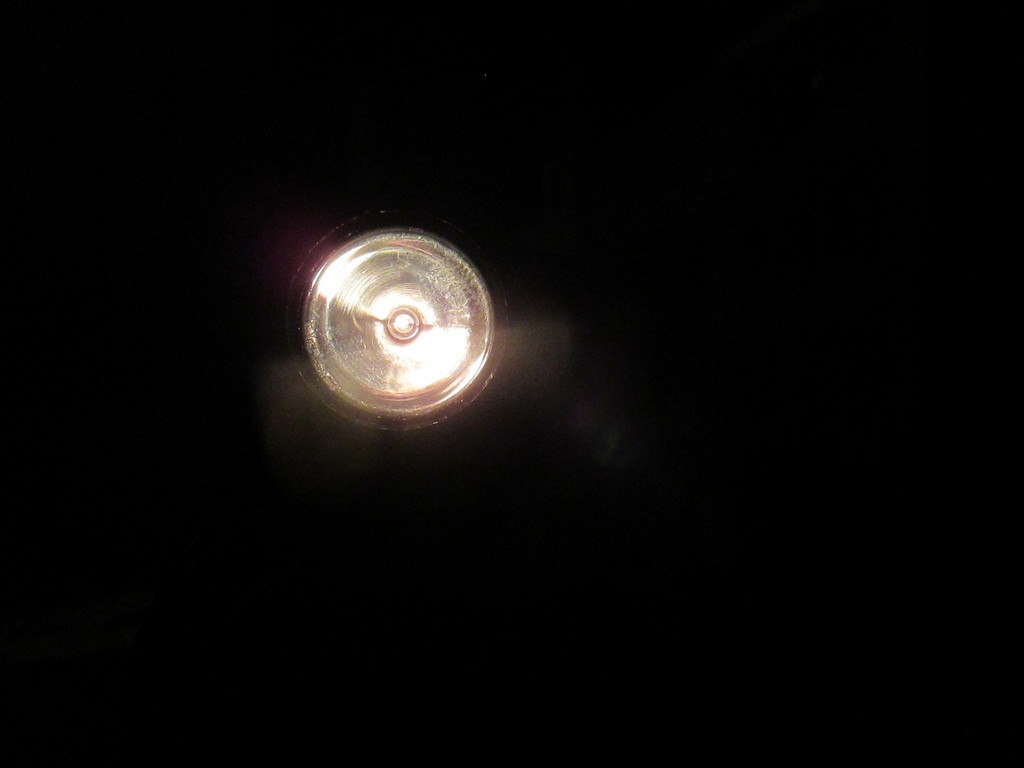
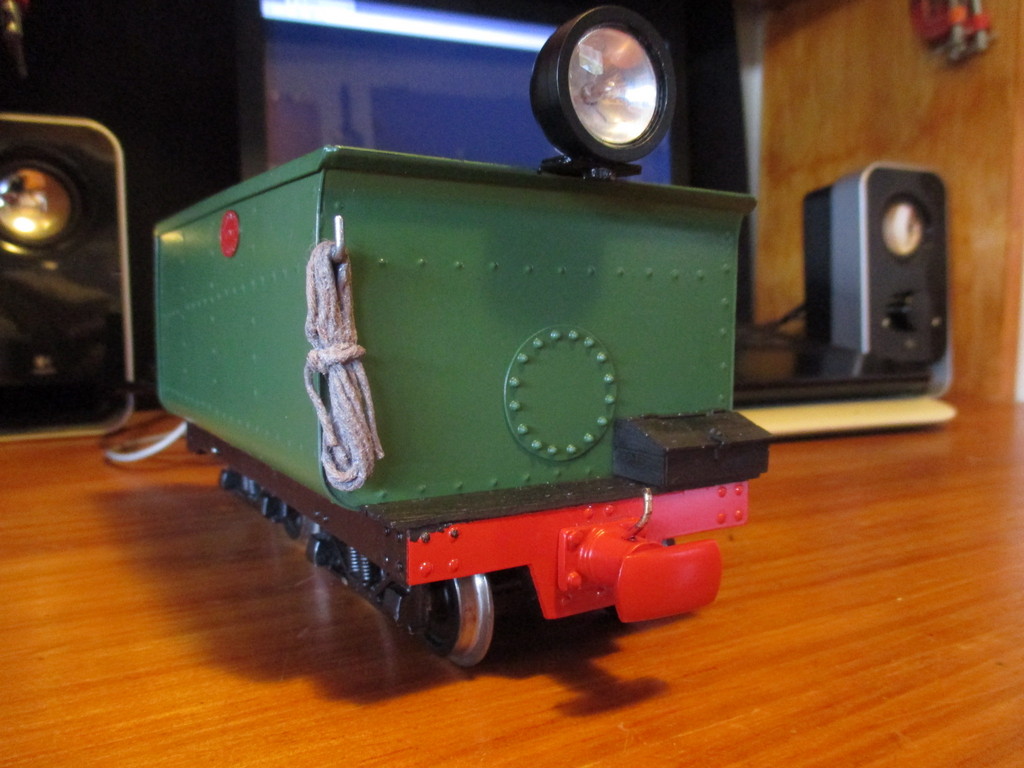
I wasn't happy with how the RH Darj. headlights looked. The bulbs, arranged vertically, looked more like the glass chimneys of early kerosene headlights, and being mounted that way, certainly weren't bright enough to represent Stones electric lamps in operation. The internal surfaces were sprayed with Alclad II's "chrome", which I must admit looks excellent, but in the end was no less trouble than simply machining proper reflectors, as I should've done. The domed glass wrist-watch lenses, once fitted in place of the plastic lenses supplied by Roundhouse, helped obfuscate this shortcoming, but they really needed gutting and re-doing properly.

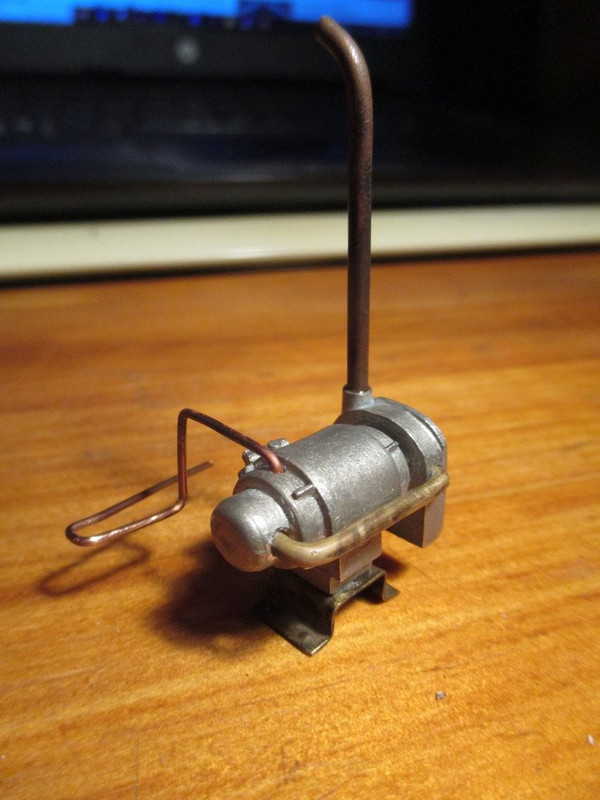
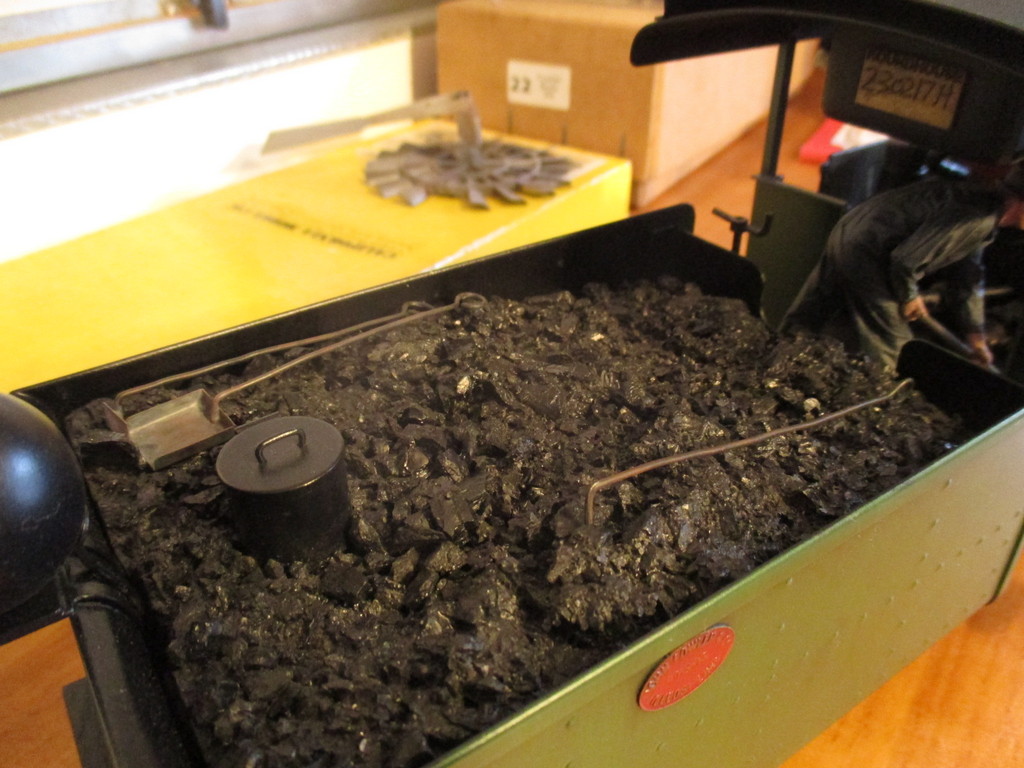
Back in June, I was able to make a small start on the Fowler between other work. The rear headlight was removed from the tender, and it's glued-in bulb broken and scraped out. I could then accurately-measure the innards of it, and with a bit of trial-and-error, was able to machine a pair of aluminium drop-in reflectors.

03/10/2020
By early October, I was able to make a start on this loco. I was going to do a blow-by-blow write-up on the pre-cleaning and weathering, so that others might have a go at weathering their own kettles. But this loco differs from the last (first) live steamer I weathered, (An Accucraft Ruby) in so far as that loco was a complete strip-down to bare metal and full repaint. Which is of course easier, because virtually all of the oil comes away with the paint, when stripped in lacquer thinners. Any residue is dealt with in the usual surface prep routines.
This loco is very different. I need to fully, properly de-grease it without damaging the paint-work. There's also the matter of the motion being more complex, and not only is it an unusual case in that it's painted, but I also want to avoid the inevitable paint-wear and hassle of having to re-time it when I'm done. So this loco is very much a learning experience of it's own. Once it's finished, I'll have another Roundhouse-based loco to receive the same treatment, a Bundaberg Fowler. By then, I'll have worked out my technique, and can properly document the preparation and weathering - along with the other detailing and improvements that loco will receive.
In any case, "Victoria" had a handful of parts with rushed, lumpy touch-ups of areas chipped during final assembly. Weathering was as likely to highlight these, as much as hide them. It was quicker and easier to strip these bits in a jar of thinners and repaint them. Not shown is the cab roof which was also stripped.
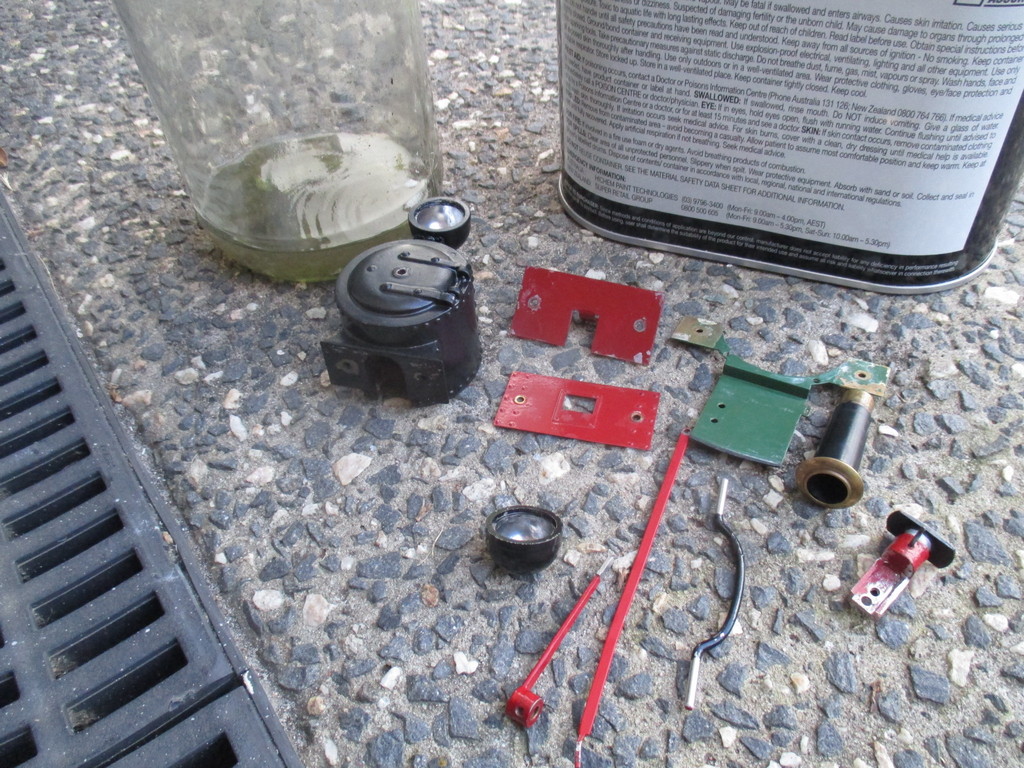
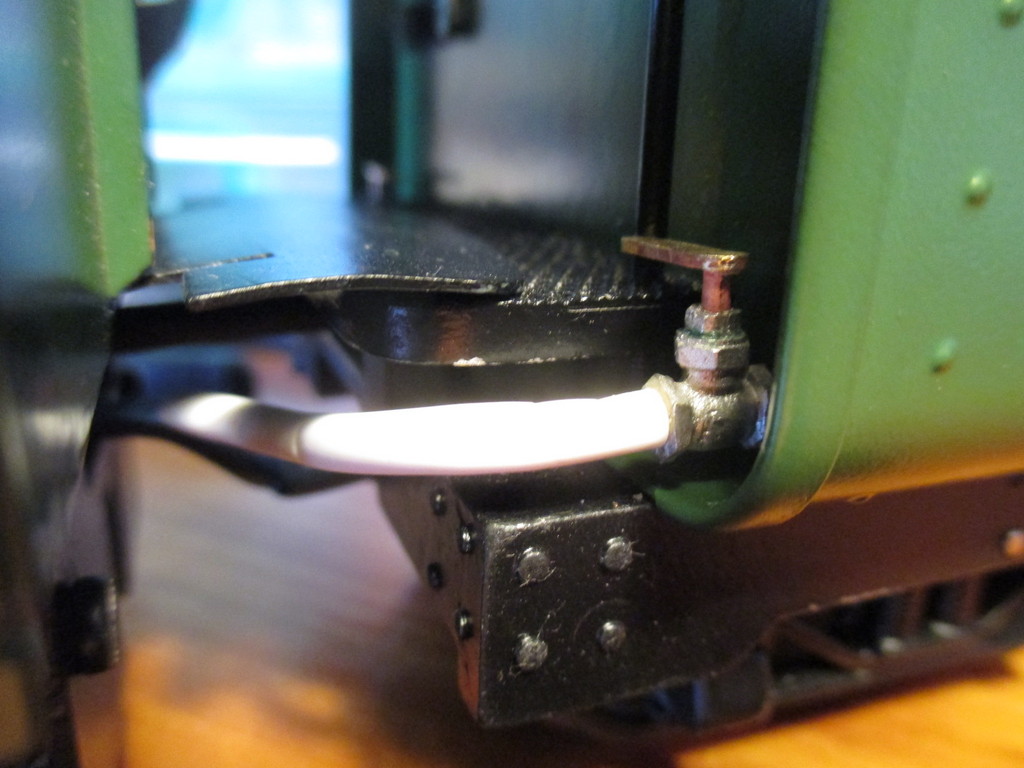
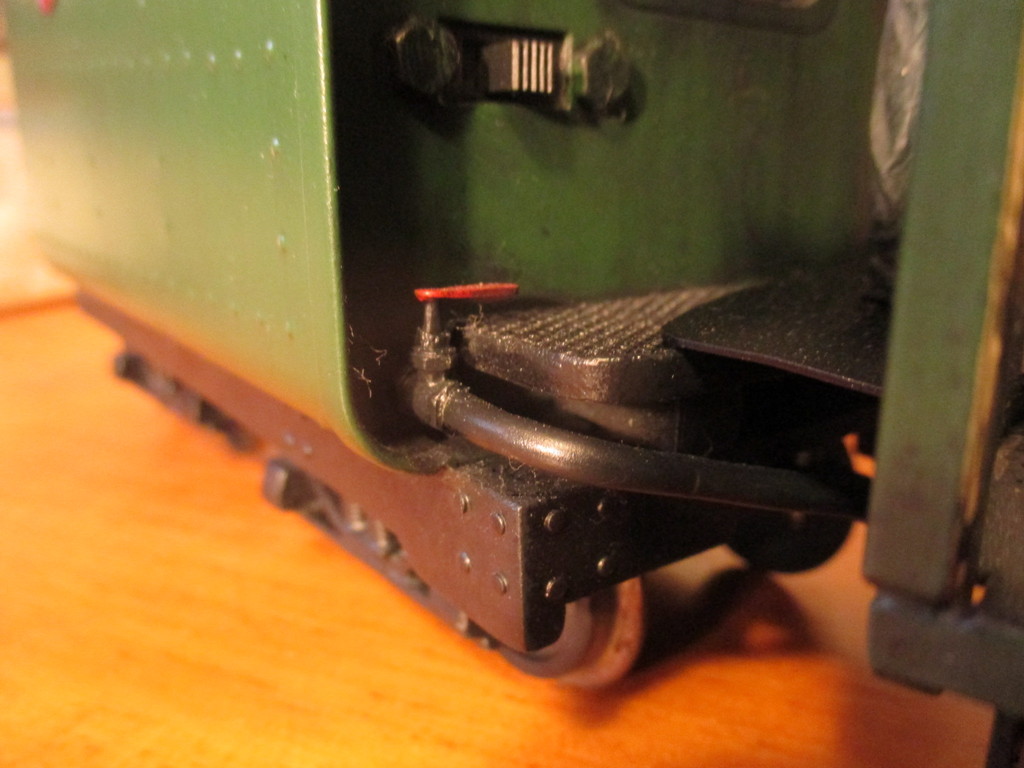
Before dismantling, the loco was hit with automotive degreaser and washed down, taking care to avoid the lights fitted in the dummy ashpan under the footplate. This dealt with the "heavy" soiling of oil - Not that there was much, being a Roundhouse, having done little running.
Once dry, the loco was pulled to bits and individual parts degreased again, to remove any heavy soiling trapped by assembly. Note the motion has been removed from the axles, but is otherwise assembled. I think with some care, I can clean the motion ultrasonically, then give it a light-coat repaint (because I'm now using a different shade of red) without dismantling it and losing the timing. If I'm successful, I'll do it again on the Bundy and record it properly.
Speaking of oily messes, I noticed oil from the bearings quickly tends to run down the frames and "pool" along the bottom edge. In my book, shiny oil running over a matt, weathered surface defeats the purpose of weathering itself, so I'm going to minimise that by replacing the plain bronze bearings with ball bearings. Sealed bearings of the right dimensions are hard to find at any remotely reasonable price and quantity.
I ended up ordering some from Yankeeland on Evilbay. That was in May, to allow plenty of time for them to arrive; orders from there usually take 2-8 weeks to reach me in Southeast QLD. If you've not already figured, I've yet to see them. I presume The PlagueTM to be mainly responsible, and don't expect to see the bearings any time soon, if it all.
Searching for another supplier yielded only shielded bearings, which aren't preferable, but may work. It does mean that I can no longer periodically spray-degrease this loco and wash it down. But as a Roundhouse, it doesn't really make a mess of itself, and when needed, I can clean the motion with rags and careful use of a squeezy bottle filled with white spirit.
The new bearings being much thinner than the originals, and may have me turning some spacers to fit behind the cranks. Or, I could hand-strength loctite the axles into the bearings to prevent sideplay
Going past the point of no return. After removing the plain bearings, the holes in the frames were drilled out to 9.5mm for the new bearings, which were fitted with a little retaining fluid. Worst case, and ball bearings don't work out, I'd just have to buy a ¼" reamer and machine six new bronze bearings to fit the enlarged frame holes. All things considered, that wouldn't be too bad.
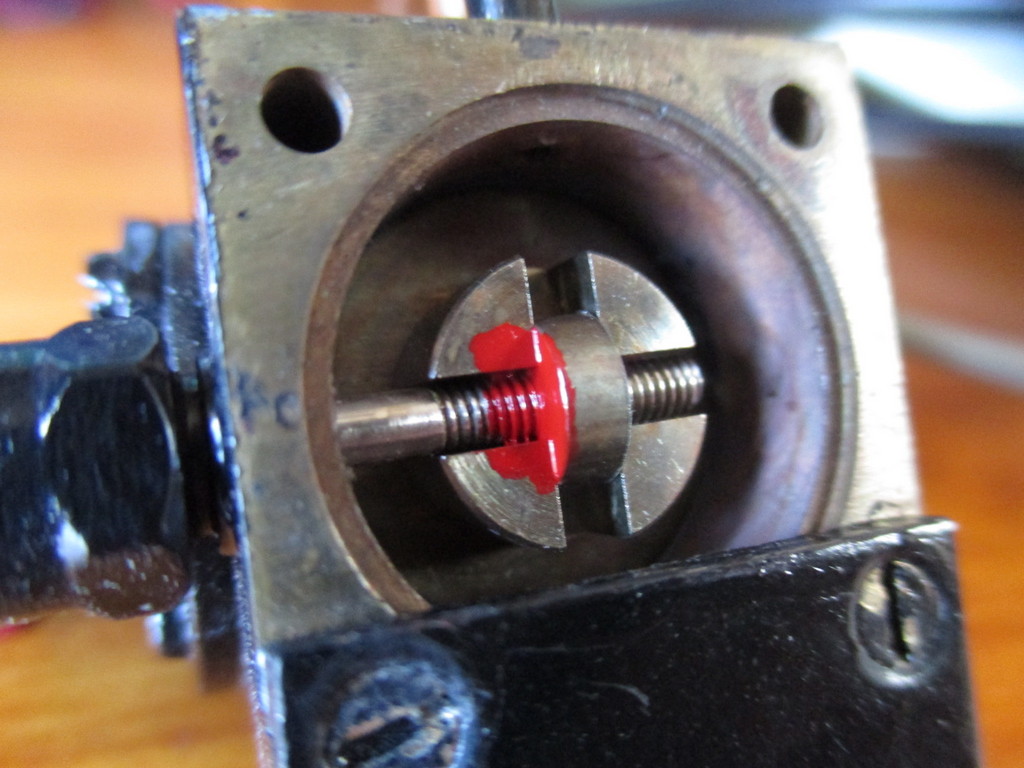
In order to properly clean them, the valve chests (and therefore the valves) had to be removed. This would upset the valve timing. So in order to put the valves back correctly when I'm done, the covers were removed, the internals of the valve chests degreased and scrubbed with meths, then once dry, a dab of acrylic paint was applied where the spindle screws into the valve. After that dried, the valve could be unscrewed from the spindle, and the spindle withdrawn from the chest. Before removal, the top of the left and right valves were marked "L" and "R" with a scribe, just in case of any tiny difference between the two. That also shows me which way to orient the valves during re-assembly.
It goes without saying that I should probably photograph that process for anyone new to that sort of work, when I properly document the process on the next loco.
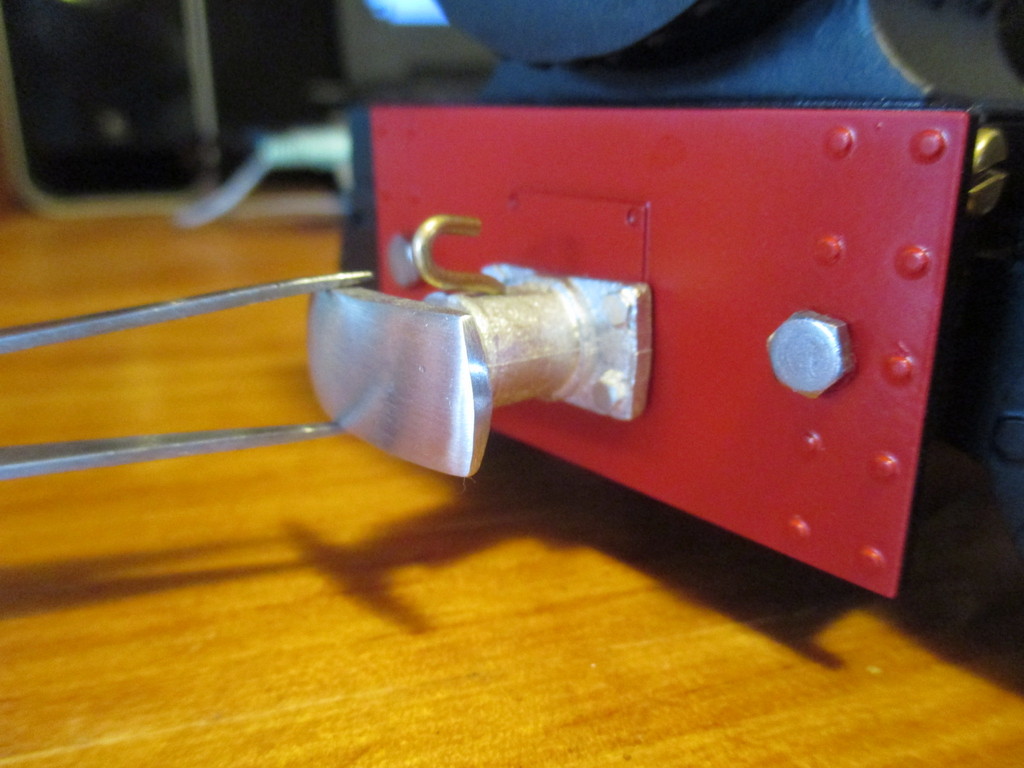
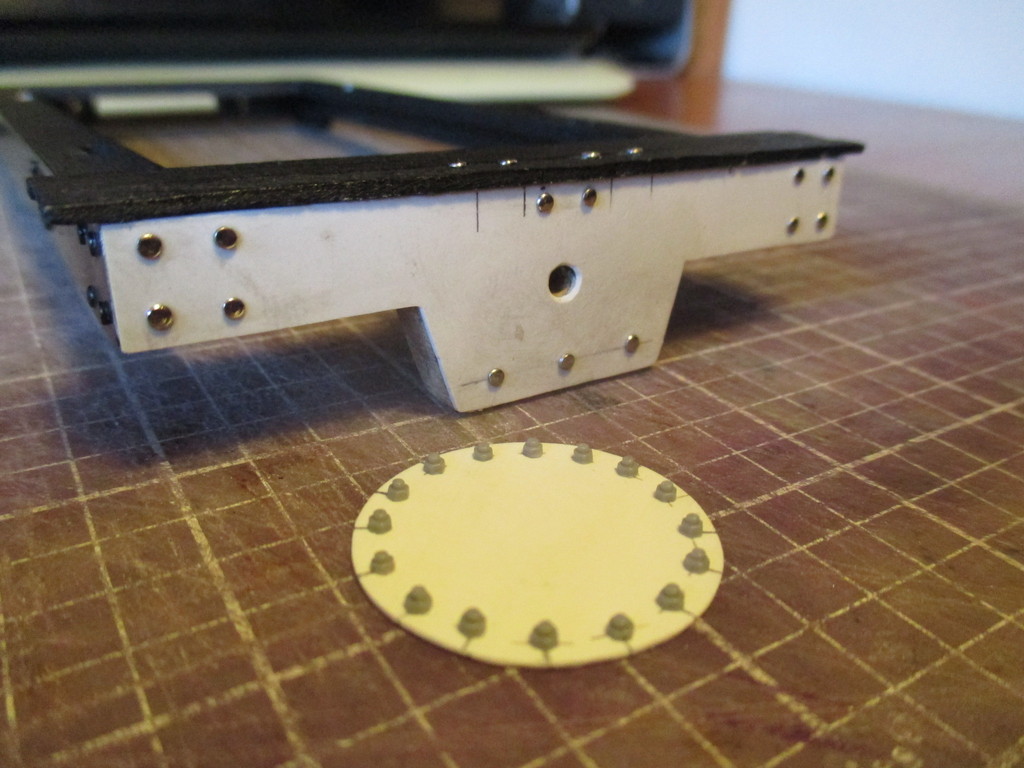
I neglected to photograph the process of thoroughly cleaning components, because I'm learning as I go. Long story short, the cylinders, after a few trips through the ultrasonic cleaner, are receiving some extra detailing because they're so prominent on a Fowler. Roundhouse kindly sold me Silver Lady cylinder overlays for three locos, along with an unpainted pair of their clip-on covers. With a bit of hammer-fettling of the clip-ons, their fit was slightly improved.
When fitting the front covers and SL overlays, I substituted the supplied M2 cheeseheads with hex-heads. Whilst the heads are twice as thick and of slighly larger width than the etched dummy bolts of the SL overlays, it really improves the appearance. It's even the right number of bolts for Fowler cylinders. The aluminium disks originally fitted during construction were made to mimic the small decorative covers fitted to most Fowlers.

The keen-eyed may notice this loco's had many small changes, and details added. Working at the heritage line with the last surviving Innisfail B9½ has it's benefits. Should anyone want to detail their own Fowler, I've uploaded my reference photos here: https://anzaccreekworkshops.blogspot.co ... owler.html
I wasn't happy with how the RH Darj. headlights looked. The bulbs, arranged vertically, looked more like the glass chimneys of early kerosene headlights, and being mounted that way, certainly weren't bright enough to represent Stones electric lamps in operation. The internal surfaces were sprayed with Alclad II's "chrome", which I must admit looks excellent, but in the end was no less trouble than simply machining proper reflectors, as I should've done. The domed glass wrist-watch lenses, once fitted in place of the plastic lenses supplied by Roundhouse, helped obfuscate this shortcoming, but they really needed gutting and re-doing properly.
Back in June, I was able to make a small start on the Fowler between other work. The rear headlight was removed from the tender, and it's glued-in bulb broken and scraped out. I could then accurately-measure the innards of it, and with a bit of trial-and-error, was able to machine a pair of aluminium drop-in reflectors.
03/10/2020
By early October, I was able to make a start on this loco. I was going to do a blow-by-blow write-up on the pre-cleaning and weathering, so that others might have a go at weathering their own kettles. But this loco differs from the last (first) live steamer I weathered, (An Accucraft Ruby) in so far as that loco was a complete strip-down to bare metal and full repaint. Which is of course easier, because virtually all of the oil comes away with the paint, when stripped in lacquer thinners. Any residue is dealt with in the usual surface prep routines.
This loco is very different. I need to fully, properly de-grease it without damaging the paint-work. There's also the matter of the motion being more complex, and not only is it an unusual case in that it's painted, but I also want to avoid the inevitable paint-wear and hassle of having to re-time it when I'm done. So this loco is very much a learning experience of it's own. Once it's finished, I'll have another Roundhouse-based loco to receive the same treatment, a Bundaberg Fowler. By then, I'll have worked out my technique, and can properly document the preparation and weathering - along with the other detailing and improvements that loco will receive.
In any case, "Victoria" had a handful of parts with rushed, lumpy touch-ups of areas chipped during final assembly. Weathering was as likely to highlight these, as much as hide them. It was quicker and easier to strip these bits in a jar of thinners and repaint them. Not shown is the cab roof which was also stripped.
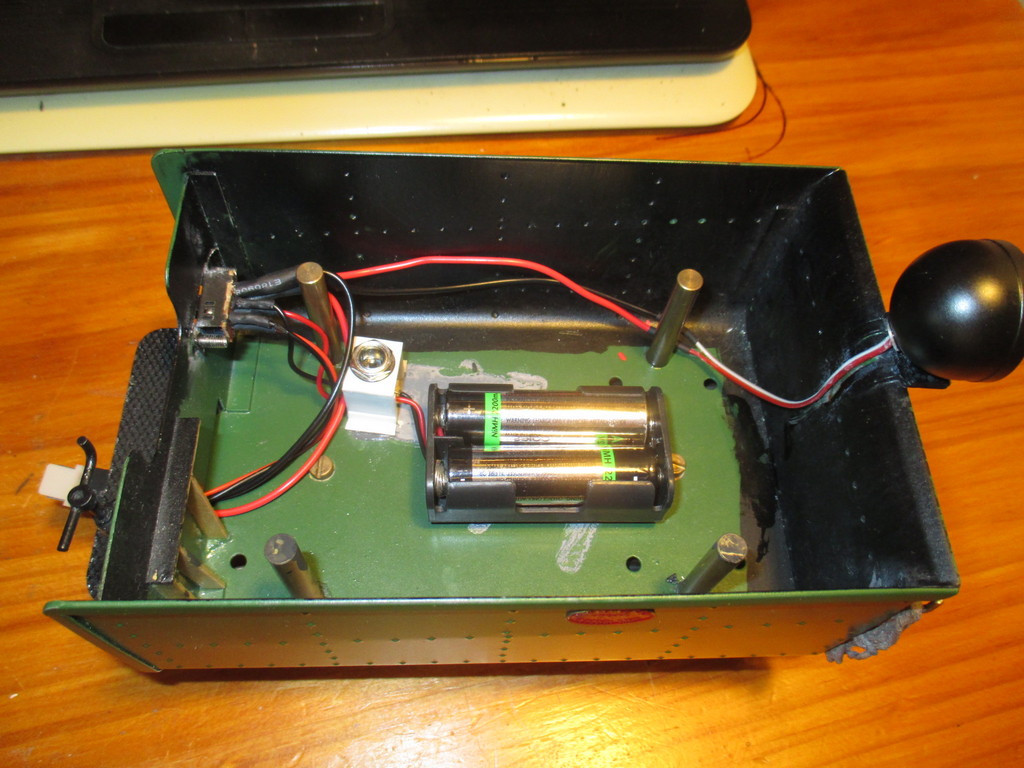
Before dismantling, the loco was hit with automotive degreaser and washed down, taking care to avoid the lights fitted in the dummy ashpan under the footplate. This dealt with the "heavy" soiling of oil - Not that there was much, being a Roundhouse, having done little running.
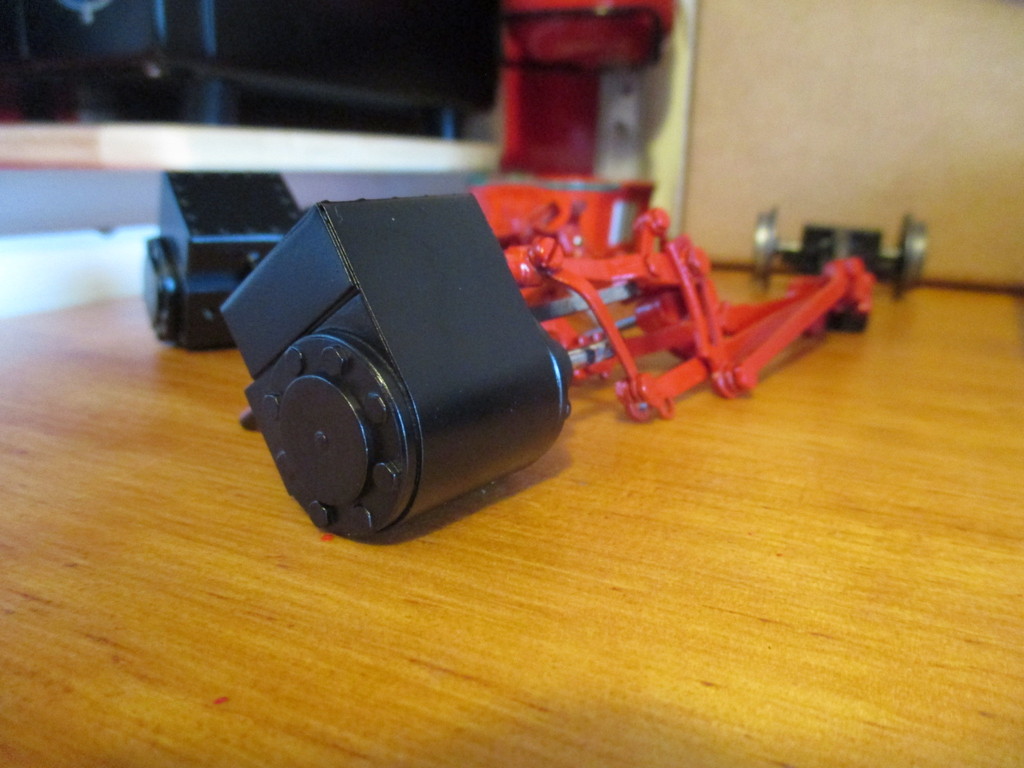
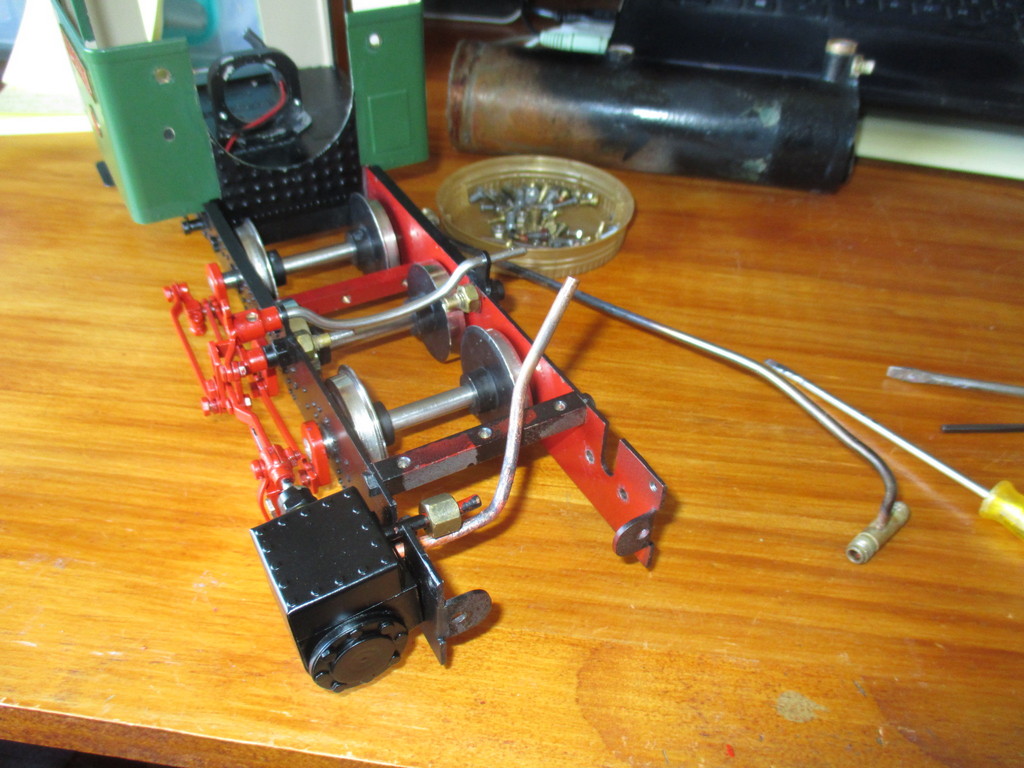
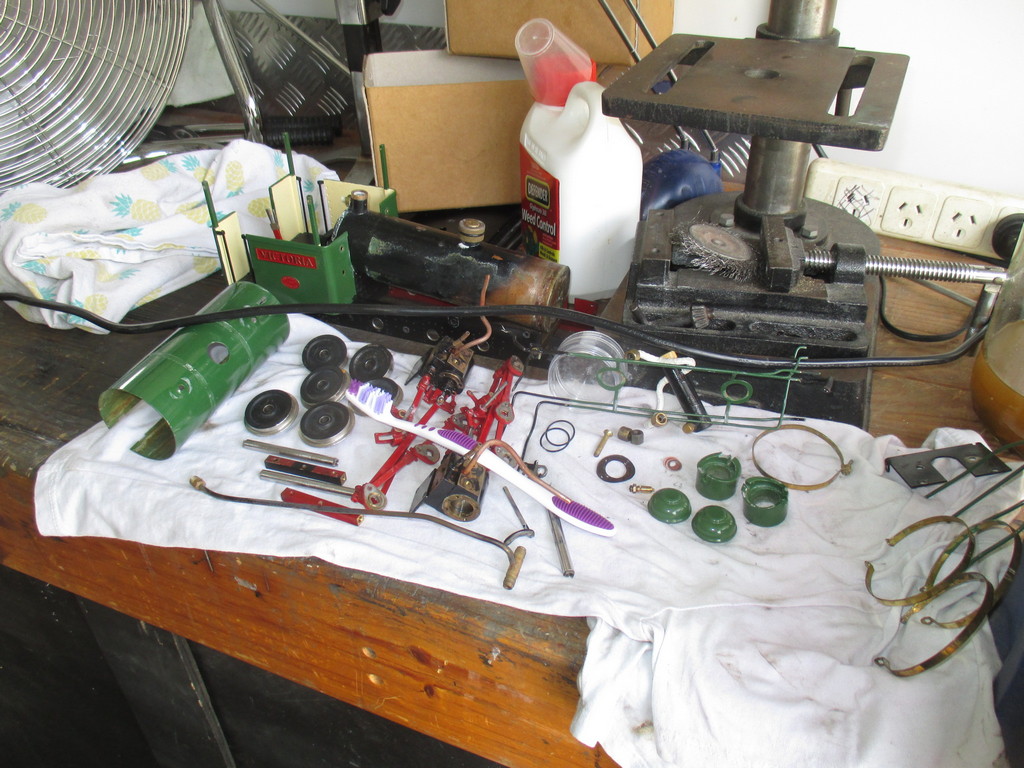
Once dry, the loco was pulled to bits and individual parts degreased again, to remove any heavy soiling trapped by assembly. Note the motion has been removed from the axles, but is otherwise assembled. I think with some care, I can clean the motion ultrasonically, then give it a light-coat repaint (because I'm now using a different shade of red) without dismantling it and losing the timing. If I'm successful, I'll do it again on the Bundy and record it properly.
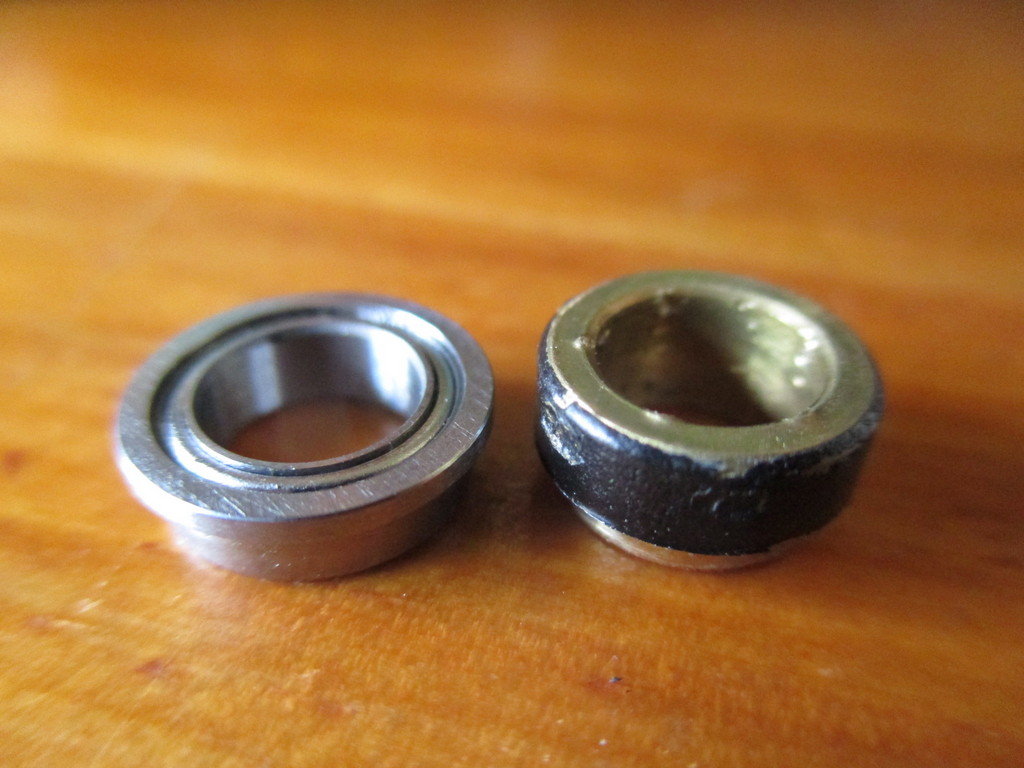
Speaking of oily messes, I noticed oil from the bearings quickly tends to run down the frames and "pool" along the bottom edge. In my book, shiny oil running over a matt, weathered surface defeats the purpose of weathering itself, so I'm going to minimise that by replacing the plain bronze bearings with ball bearings. Sealed bearings of the right dimensions are hard to find at any remotely reasonable price and quantity.
I ended up ordering some from Yankeeland on Evilbay. That was in May, to allow plenty of time for them to arrive; orders from there usually take 2-8 weeks to reach me in Southeast QLD. If you've not already figured, I've yet to see them. I presume The PlagueTM to be mainly responsible, and don't expect to see the bearings any time soon, if it all.
Searching for another supplier yielded only shielded bearings, which aren't preferable, but may work. It does mean that I can no longer periodically spray-degrease this loco and wash it down. But as a Roundhouse, it doesn't really make a mess of itself, and when needed, I can clean the motion with rags and careful use of a squeezy bottle filled with white spirit.
The new bearings being much thinner than the originals, and may have me turning some spacers to fit behind the cranks. Or, I could hand-strength loctite the axles into the bearings to prevent sideplay
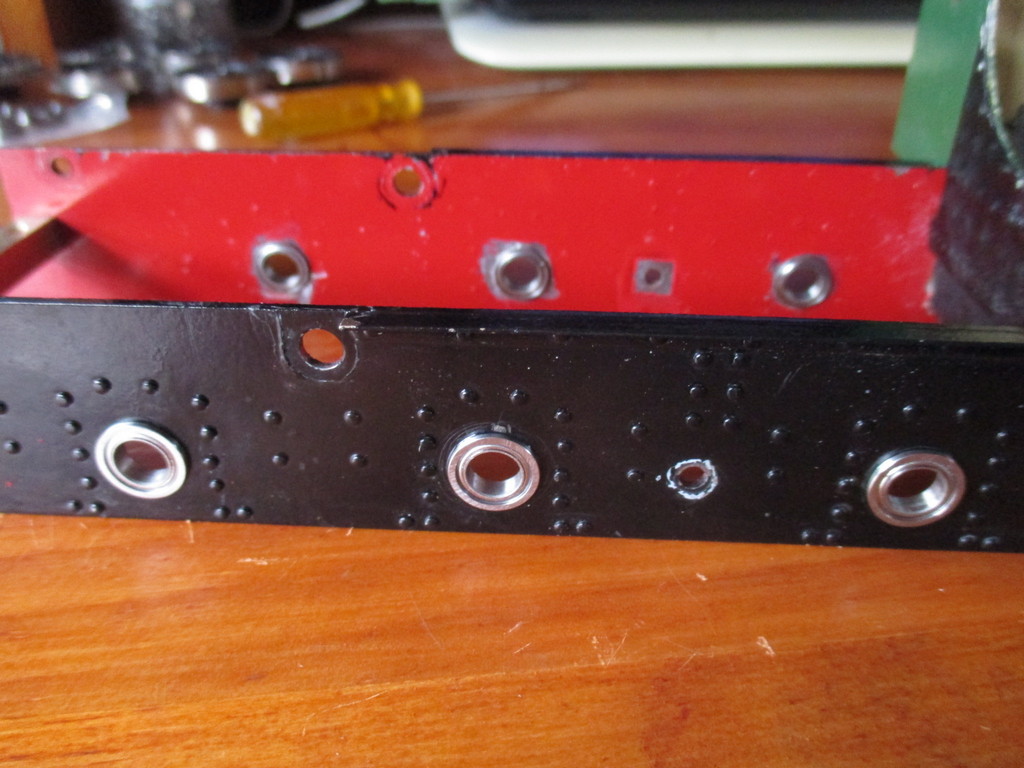
Going past the point of no return. After removing the plain bearings, the holes in the frames were drilled out to 9.5mm for the new bearings, which were fitted with a little retaining fluid. Worst case, and ball bearings don't work out, I'd just have to buy a ¼" reamer and machine six new bronze bearings to fit the enlarged frame holes. All things considered, that wouldn't be too bad.
In order to properly clean them, the valve chests (and therefore the valves) had to be removed. This would upset the valve timing. So in order to put the valves back correctly when I'm done, the covers were removed, the internals of the valve chests degreased and scrubbed with meths, then once dry, a dab of acrylic paint was applied where the spindle screws into the valve. After that dried, the valve could be unscrewed from the spindle, and the spindle withdrawn from the chest. Before removal, the top of the left and right valves were marked "L" and "R" with a scribe, just in case of any tiny difference between the two. That also shows me which way to orient the valves during re-assembly.
It goes without saying that I should probably photograph that process for anyone new to that sort of work, when I properly document the process on the next loco.
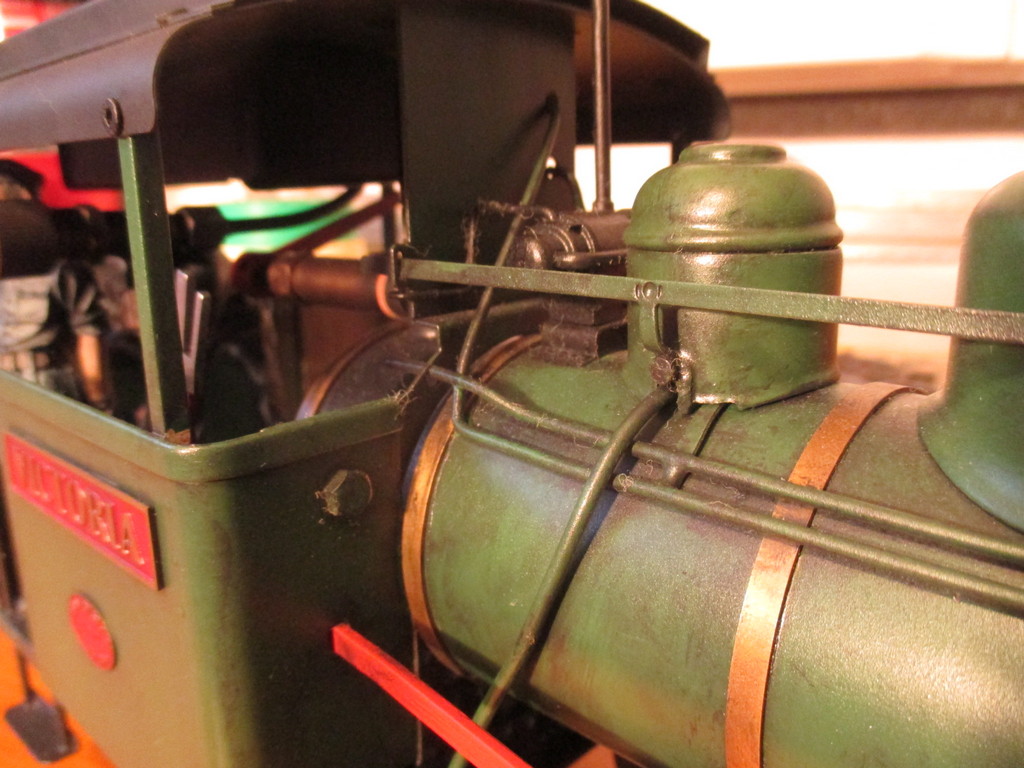
I neglected to photograph the process of thoroughly cleaning components, because I'm learning as I go. Long story short, the cylinders, after a few trips through the ultrasonic cleaner, are receiving some extra detailing because they're so prominent on a Fowler. Roundhouse kindly sold me Silver Lady cylinder overlays for three locos, along with an unpainted pair of their clip-on covers. With a bit of hammer-fettling of the clip-ons, their fit was slightly improved.
When fitting the front covers and SL overlays, I substituted the supplied M2 cheeseheads with hex-heads. Whilst the heads are twice as thick and of slighly larger width than the etched dummy bolts of the SL overlays, it really improves the appearance. It's even the right number of bolts for Fowler cylinders. The aluminium disks originally fitted during construction were made to mimic the small decorative covers fitted to most Fowlers.