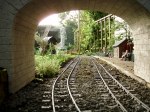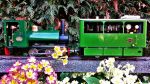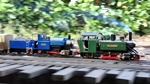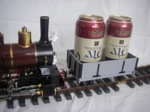

The model is based on a loco. named 'Little Yarra' built by Baldwin in 1913 for the Powelltown Tramway, which was a timber tramway in the hills near Melbourne Aust. The loco. is well known locally and has been on my favourite list for a long time, but there are few models around.
This picture is the Baldwin builders photo. taken before she left Philadelphia. Baldwin built only two locos to this design and the other one went to Brazil only a week or so before Little Yarra was completed.

The deciding factor on whether it could be built was the availability of suitable wheels. At the time Walsall hadn't introduced their SM32 range and the nearest available in size and no. of spokes was a bit undersize. Eventually I managed to fit steel tyres to the castings and modify the spokes/counterweights to something reasonable and the project started.This shows the completed wheels, eccentrics and bearings ready to go.

Next job was the frames which as usual in US practice were bar frames. These were drawn out and printed on a paper template so they could be sawn out of 3mm mild steel. Laser cutting was not an option as the only one in the area wants the cost of a major organ just to turn on the laser. Delivery time wasn't anything to write home about either.
The photo shows the assembled frames with the cylinders, which were fabricated based on the Argyll drawings for their Philadelphia kit.

The Argyll drawings included a design for full Stephenson valve gear and so this was used as a basis. Barframes leave a lot of open air under a loco and the valve gear is quite visible. These little Baldwin 2-4-0s are unusual in having the valve gear driven off the leading axle and running back to the rockers. On the real locos. the firebox is over the rear axle and the ashpan occupies the space where the valve gear would usually be fitted.
This photo shows the frames assembled with wheels and valve gear, ready for setting up the valves and testing on air. That was a saga in itself, but eventually it was persuaded to run and with a bit of running in, it will turn over on 5psi in both forward and reverse.

Things stopped there for a while as I started building rolling stock and then kit bashed a couple of locos. Now and again, I'd turn out a few detail parts, which I enjoy making, to keep things moving along slowly. This photo shows the air compressor, headlight and jacks fabricated for the loco., based on VR equipment.

I started again late last year, beginning with the tender. This photo. shows a bar frame bogie, fabricated out of brass strip and bolted together in the same way as the real ones, more or less.

The tender body was built out of 0.5mm brass sheet and soft soldered together. The rivets were impressed with a rivet punch I made, basically a scaled up version of the old NWSL Rivetter+. Very useful device, as I'd still be there fitting individual rivets without it, or locked up in the rubber room...... The photo shows the finished tender.

By this time it was getting too hot and progress ceased until Easter, when the weather cooled off and I could get back in the workshop.
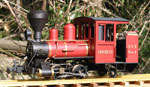
By late June the boiler had been fitted and the cab fitted out. Final detailing took until the end of July, when the model was finally ready for the paint shop. This photo. shows the completed model, taken on a rare sunny afternoon in the middle of of a SE Aust. winter.

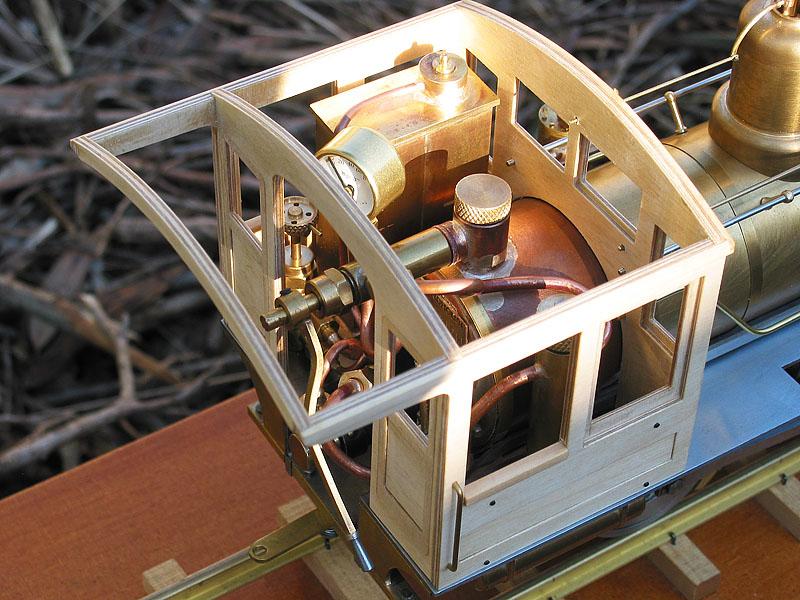
US locos. appear to have large cabs, but it is mostly filled with boiler. The same applies to the model and it wasn't easy fitting all the necessary bits inside. This photo shows the final arrangement. The parts have to be added in a specific order, or they don't fit. The cab was fretted out of thin ply, with separate layers to simulate the window frames and panelling of a wooden Baldwin cab.
This time around I decided to paint the model before it was steamed, as getting all the oil off a model is a real pain and it builds up in crevices that can't be disassembled for cleaning. It took about a month to dismantle, prime, topcoat, letter and clear coat the model, leaving it for a week between coats, so each coat was fully cured before the next was applied.
Final assembly took a couple of days, as the valve setting had to be checked and coal added to the tender. The photo shows her sitting in spring sunshine, with a coat of TVT passenger red, ready for steam testing and running in on the workshop rollers.

TVT Story
The TVT is about 70 miles in length, so it was obvious to even the accountants that the little Baldwin tank locos used to build the line would not be up to the job when it opened.
The engineer was impressed with Baldwin products and their quick delivery, so he ordered three locos for the line based on the Powelltown and Brazilian locos. The TVT locos. had features of both their older sisters, especially the tender, as the wheelbarrow tender fitted to Little Yarra was too small for the TVT run. Consequently the TVT triplets were fitted with larger bogie tenders, like the Brazilian loco.
Tambo was the name used for the class leader and is named for the Tambo River which runs through East Gippsland. The TVT route follows it most of the way up the valley. The other two locos. were named after other rivers in the area.
The Baldwin 6-14-C locos. were about half the power of the larger VR NA class, but somewhat faster and like most US designs weren't fastidious about track condition.
When opened the TVT timetable was just a daily mixed train in each direction and Tambo and her sisters were able to handle the traffic offering until after the Great War. Loads then increased and the timetable had a weekly roadside goods added to the service, in addition to the light daily mixed trains. Bogong entered service for this task, but when not available two of the 2-4-0s are needed to replace it.
The third sister? Well Little Yarra and the Brazilian engine were sisters, so Tambo is the third sister.....
Regards,
Graeme