I'll try to reply to the various comments all in one go, rather than individually, hope thats OK.
Bazzer - I think the stuff you are talking about is known as Foamex in the sign making business, at least our normal sign company at work use Foamex for smaller signs, 'wobble boards' and the like. I've actually got a couple of lengths of thin stuff out in the garage. As you say it is much more rigid.
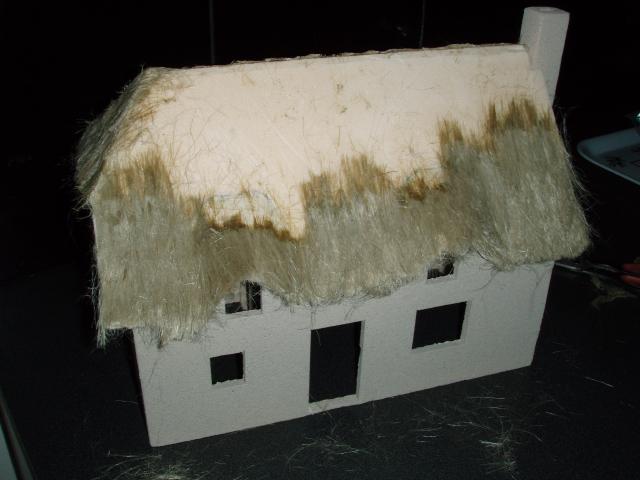
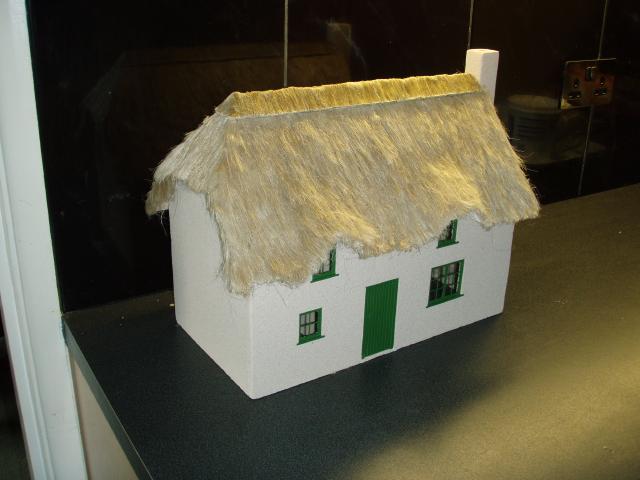
Peter - yes, I know about the flowers etc that you've illustrated, thery do look good and would be ideal in many ways, but I'm not sure they would stand up to the great British weather, would they? The cottage will, like my other buildings, be outside permanently. I'm a bit worried about the thatch from that point of view, plus I can see our resident one footed female blackbird taking a great liking to it when she nests again! I might try giving the thatch a liberal coat of matt varnish when its finished.
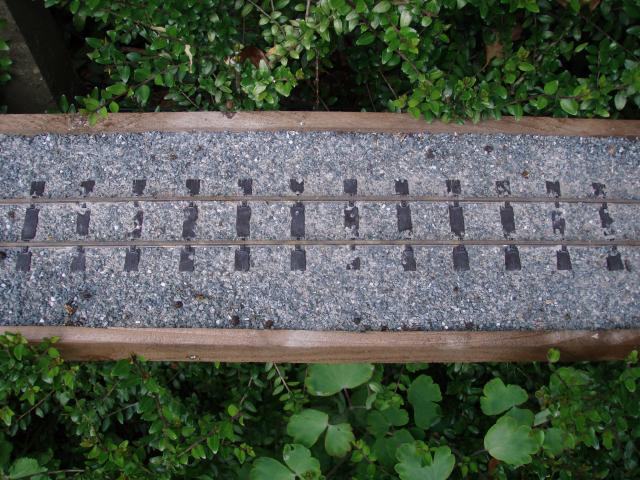
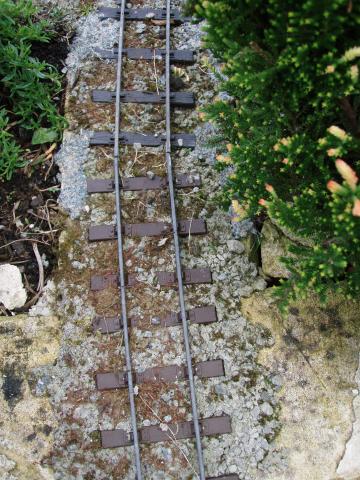
Peter - I promised a couple of pictures of the ballast. One is fresh from a couple of days ago. The other is part of a trial length I did about 18months ago showing the moss growth + a couple of patches where it crumbled in the frost.