I am really enjoying using the pasticard and am able to get some good results although I have ended up doing a lot of sanding with fine wet & dry to remove accidental file or knife marks!
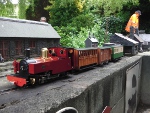
Here are some picture of the build so far:
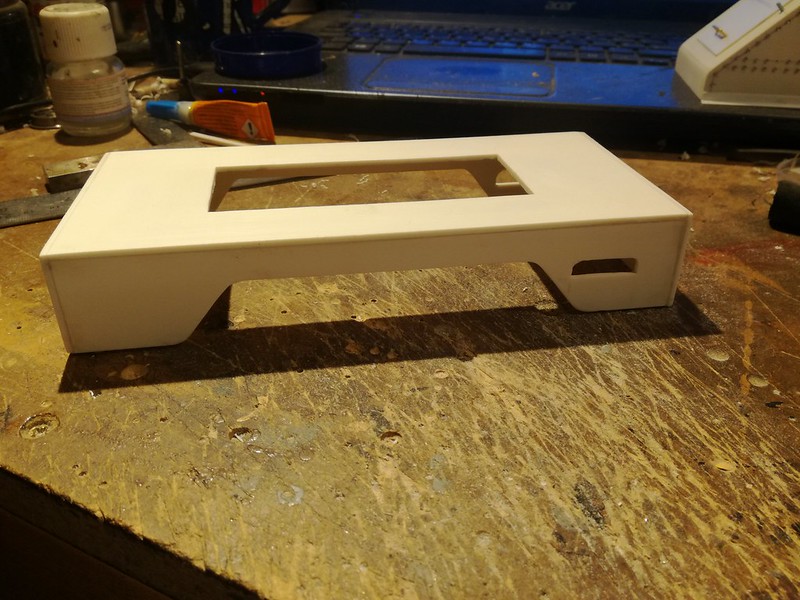
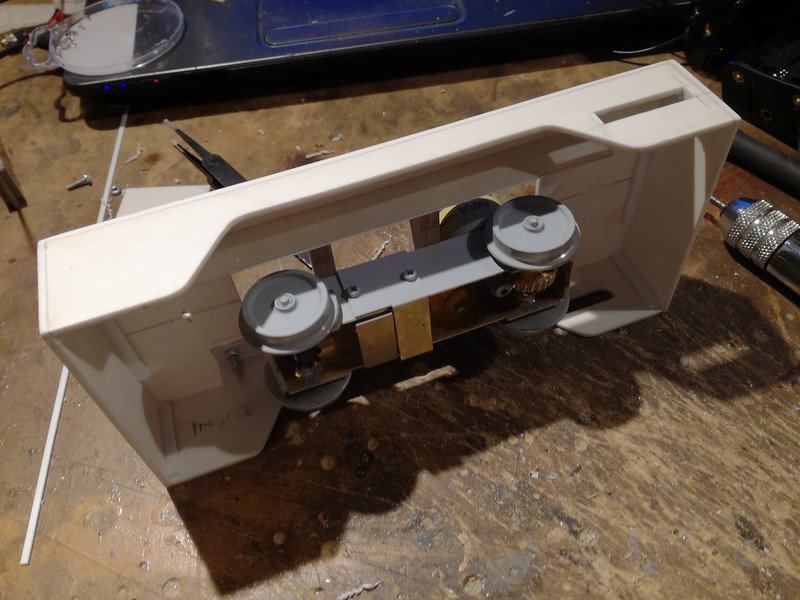
Chassis awaiting sanding of the joints:
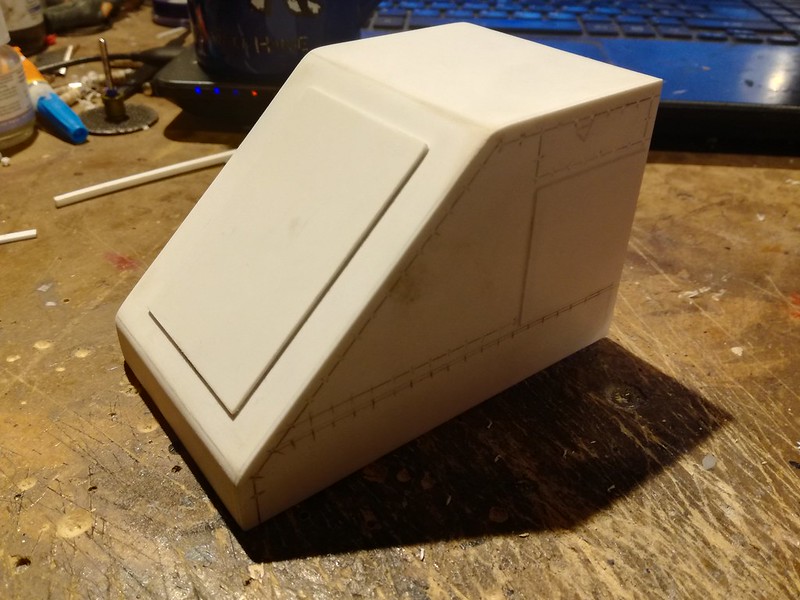
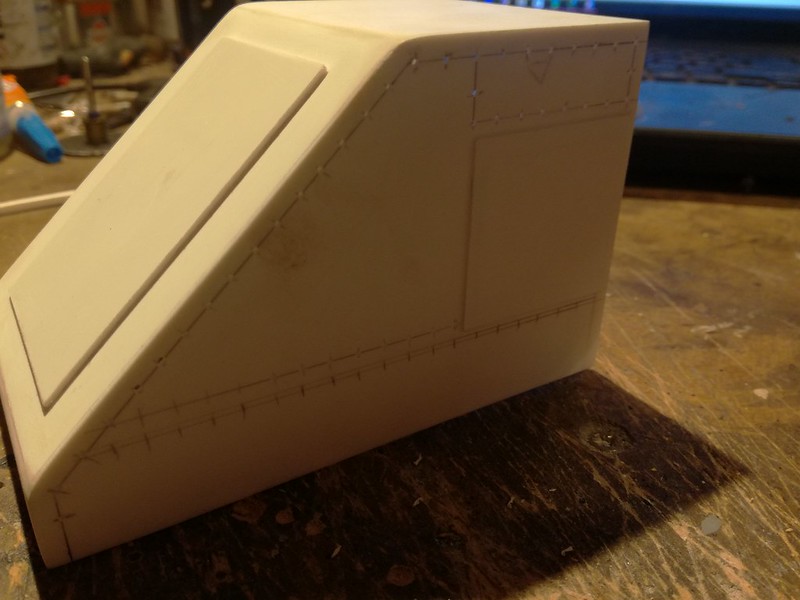
Bonnet:
Starting to add door panels and drill holes for rivets:
Front of cab and rivets starting to go in. The spectacle plates are 3/4" fibre tap washers!
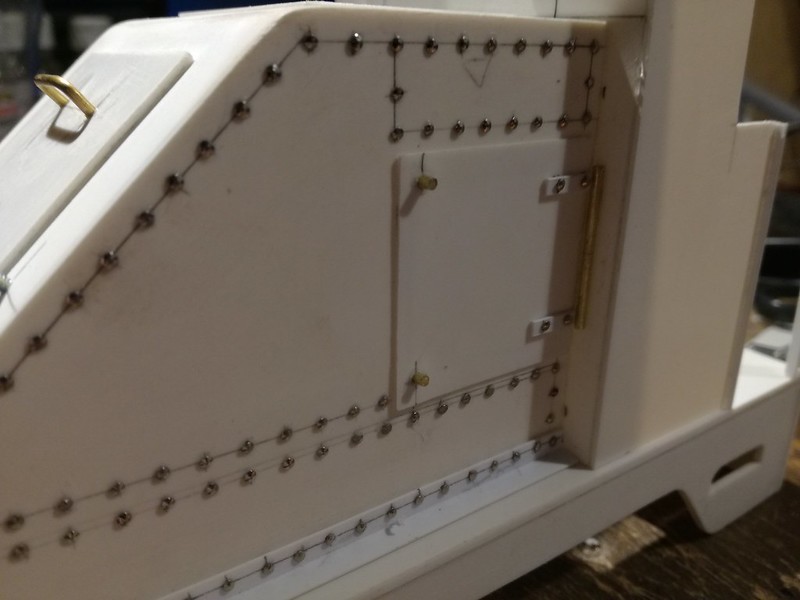
Access door and rivets finished on one side of the bonnet. I use cut off dressmakers pins for my rivets. They take ages but look good:
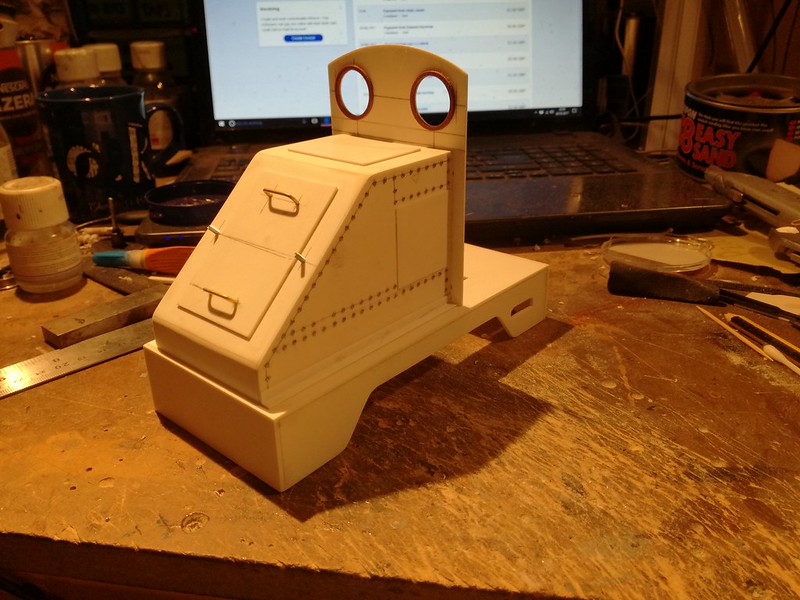
Cab coming together:
Trial fitting of the chassis:
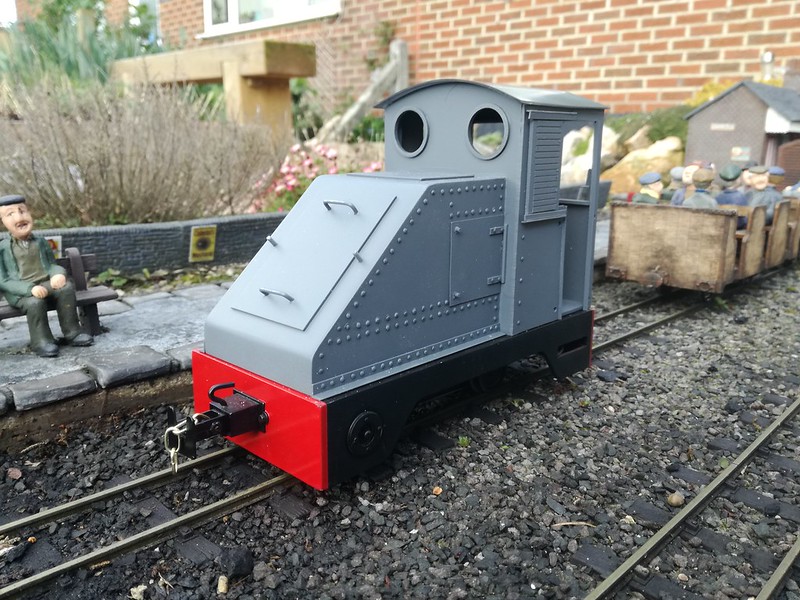
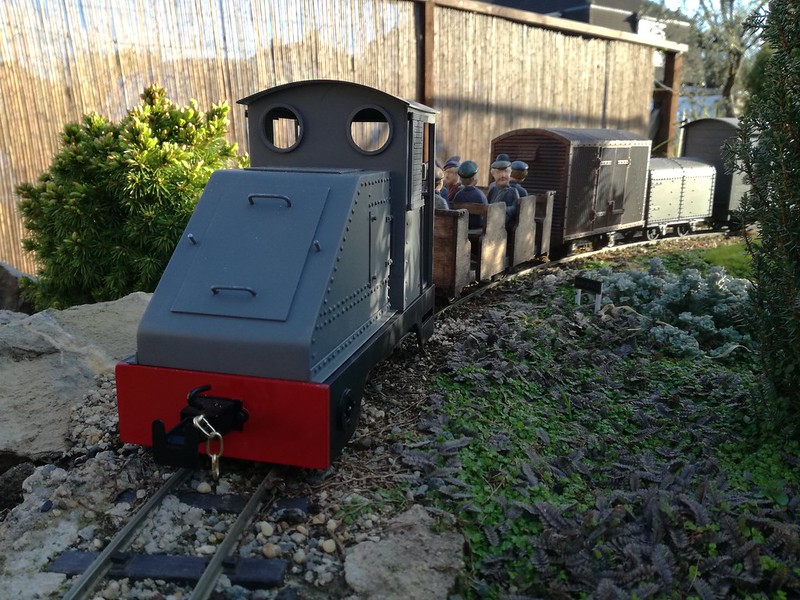
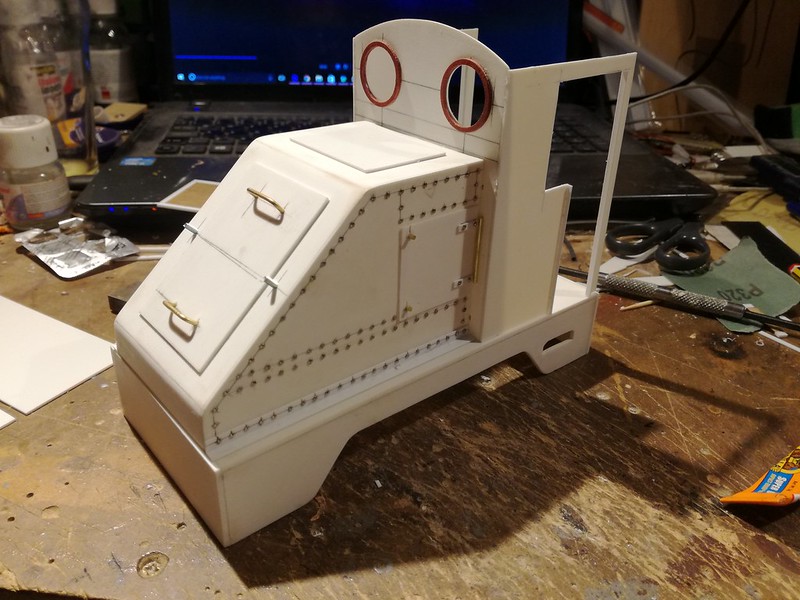
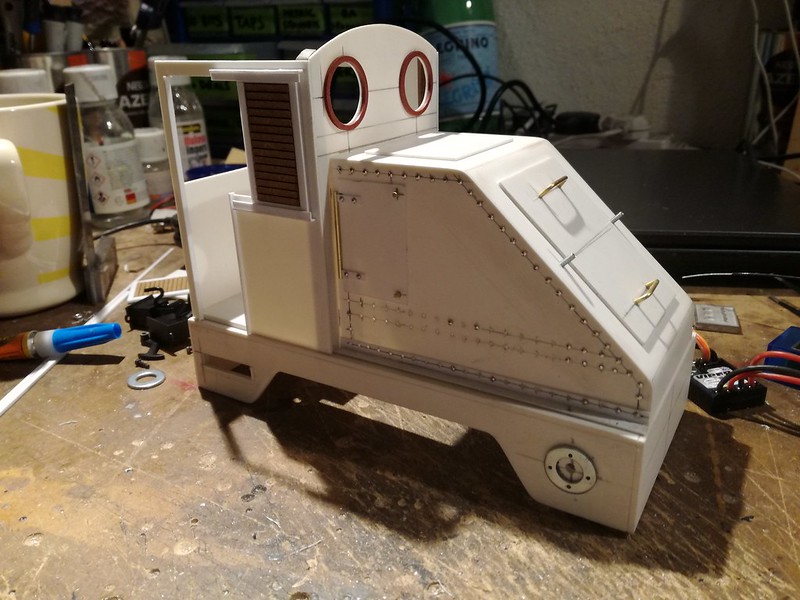
Loco coming on, shutters added and other side of bonnet finished:
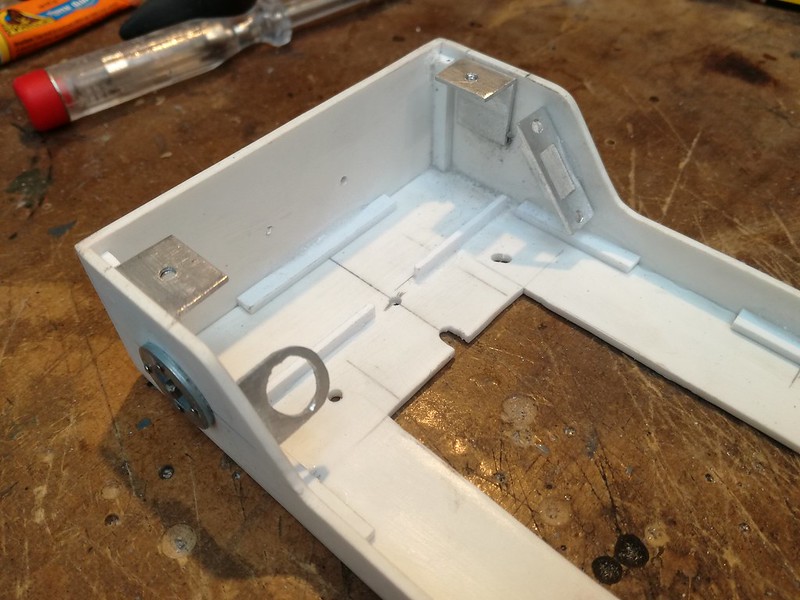
Underside of chassis with the compartment for the RC gear and brackets for the on / off switch and charger socket:
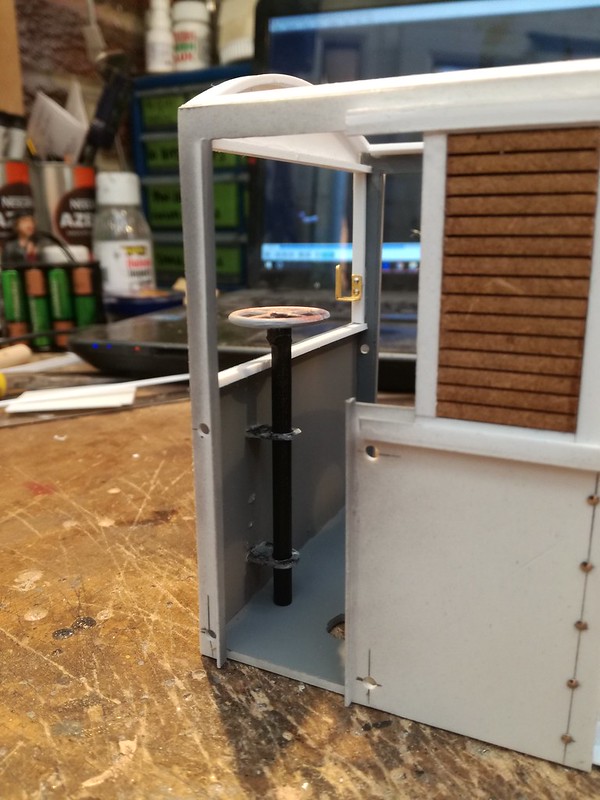
Brake standard and lamp bracket on the back of the cab:
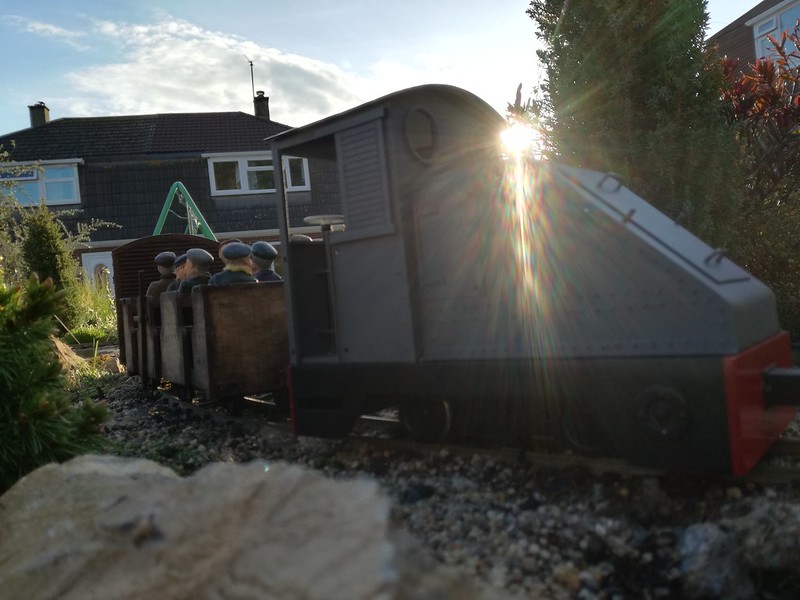
I have begun painting today so there will be some more pictures and a track test very soon!
Thanks for reading my post.