Page 1 of 2
Accucraft 7/8ths Ragleth 'Baldrig'
Posted: Sat Aug 30, 2014 6:18 pm
by tom_tom_go
Posted: Sat Aug 30, 2014 7:20 pm
by MANICK
It has become a very beautifull locomotive. Nice detailing!
Posted: Sat Aug 30, 2014 8:31 pm
by tom_tom_go
Hi Chris,
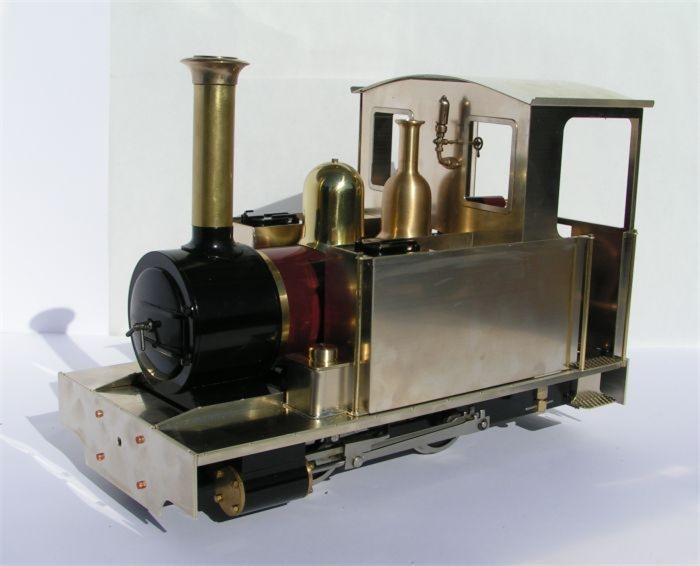
The body kit picture isn't my loco, it's just an example of what I want to fit

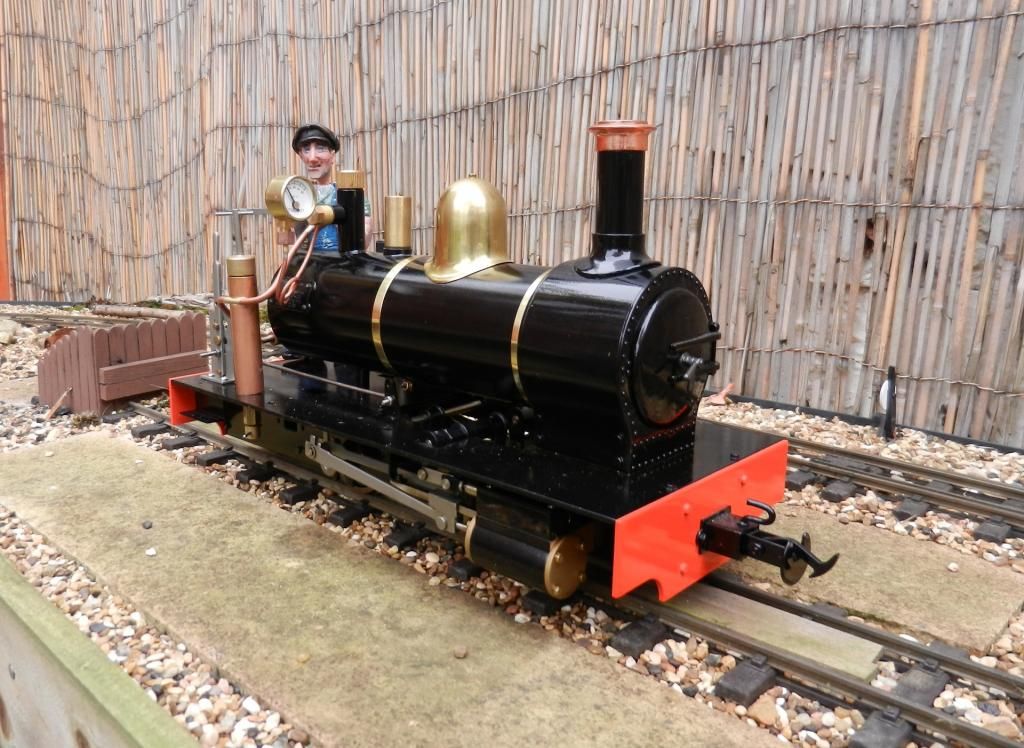
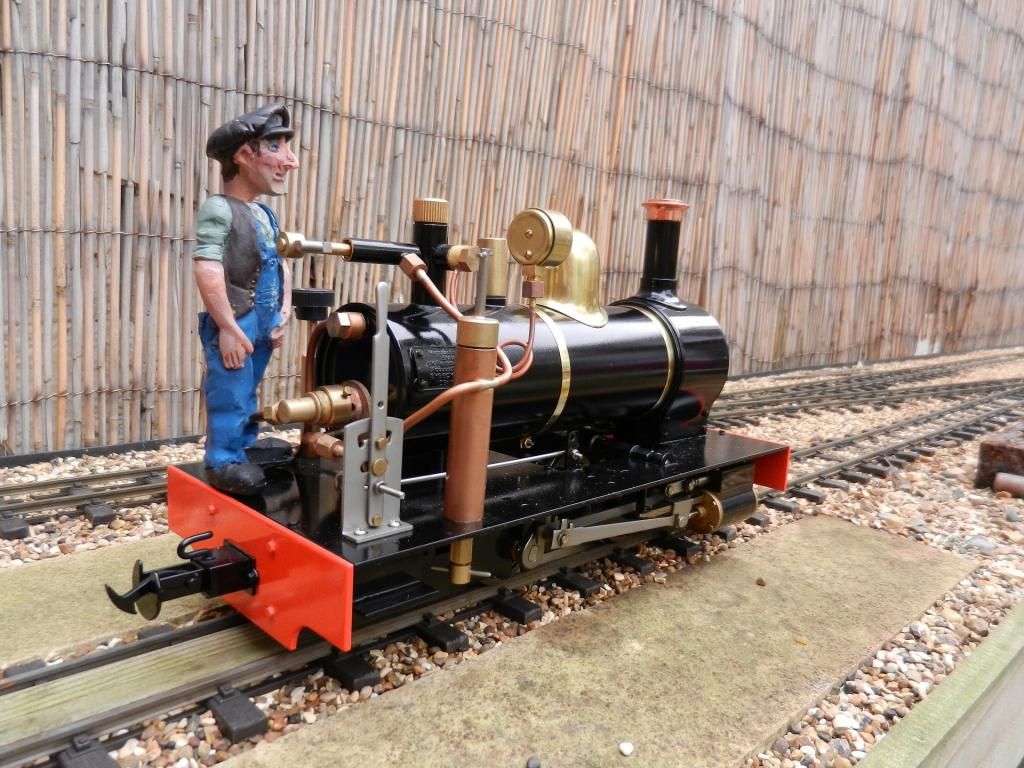
I did a quick video of her first run. Given these locos are not tested like Roundhouse offerings it ran very well. I love the amount of smoke it created as well compared to my RH fleet:
<object width="560" height="315"><param name="movie" value="//
www.youtube.com/v/MF2RgMSvnWw?hl=en_US& ... ram><param name="allowFullScreen" value="true"></param><param name="allowscriptaccess" value="always"></param><embed src="//
www.youtube.com/v/MF2RgMSvnWw?hl=en_US&version=3" type="application/x-shockwave-flash" width="560" height="315" allowscriptaccess="always" allowfullscreen="true"></embed></object>
Posted: Sun Aug 31, 2014 11:40 am
by MANICK
tom_tom_go:103718 wrote:Hi Chris,
The body kit picture isn't my loco, it's just an example of what I want to fit
Oops ! My mistake. Anyway it's a nice idea.
Thanks for the video.
Posted: Sun Aug 31, 2014 12:26 pm
by MDLR
I DO like the safety valve bonnet - is is available as a separate item?
Posted: Tue Sep 02, 2014 8:25 pm
by Chris Cairns
That is running well Tom.
I was running my Ragleth at the Llanfair Garden Railway Show alongside another Ragleth & several Caradoc's. Mine was the only one with R/C and it was interesting to see how little the others had to move their regulator with the reverser in full gear. One Caradoc had a modified regulator valve and run incredibly slowly.
So I'm sold on fitting one of the upgrade valves from The Train Department -
http://www.thetraindepartment.com/ttd-upgrade-valves/
Chris Cairns
Posted: Wed Sep 03, 2014 1:00 pm
by tom_tom_go
Not sure if they are available on their own Brian, worth calling them as they don't respond to emails.
Chris, I was thinking of doing the same upgrade as well. I don't think the gas one them sell is necessary as I have got on with the factory one fine but the regulator could help with smoother running.
Posted: Wed Sep 03, 2014 2:37 pm
by Chris Cairns
Tom,
I was talking with Ian Pearse of Accucraft at the Llanfair Garden Railway Show last weekend and he confirmed that they send out proper UK sourced No.5 jets to China for fitting, and the burners now come with a factory fitted air control ring as well.
However the gas tanks still suffer from a design fault (no free air space to allow for expansion) which the former Technical Director of Cheddar Models pointed out to Ian Pearse, although I did not hear if there was any response given back. I suffered problems lighting up twice over the long weekend despite releasing the liquid gas first. Once lit I find the gas control valve is very good and I need to turn it down a bit later in the run. I just need to fit some coffee filter paper behind the gas jet to reduce any blockage problems - a Tag Gorton tip (a Caradoc had a partially blocked jet on the layout I was exhibiting on).
Chris Cairns
Posted: Wed Sep 03, 2014 7:32 pm
by tom_tom_go
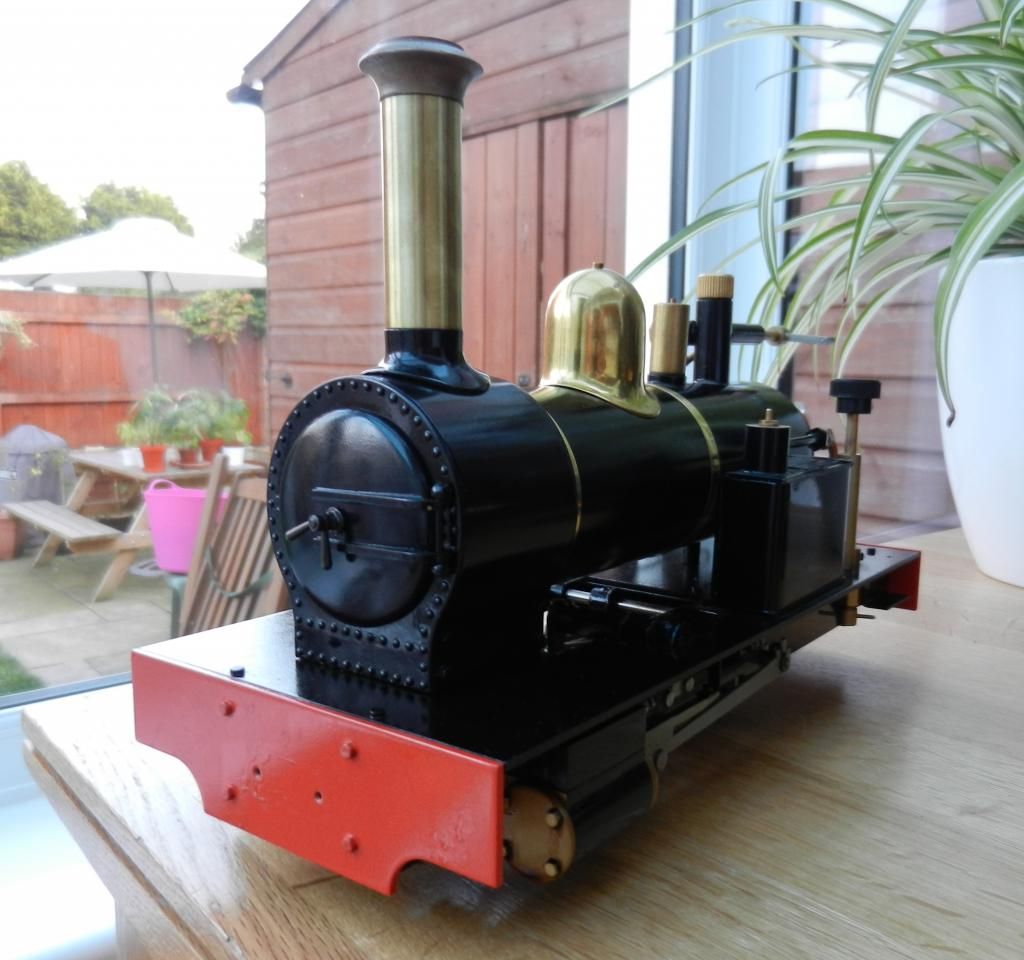
Got the kit in the post today, she's a big girl!
Chimney fitted, simply slides on with the help of a lump of wood
Posted: Wed Sep 03, 2014 10:12 pm
by Gremlin
that should look nice when it's done
Posted: Sat Sep 06, 2014 4:59 pm
by tom_tom_go
It should look good David with your Hunslet when finished

Smoke box complete:
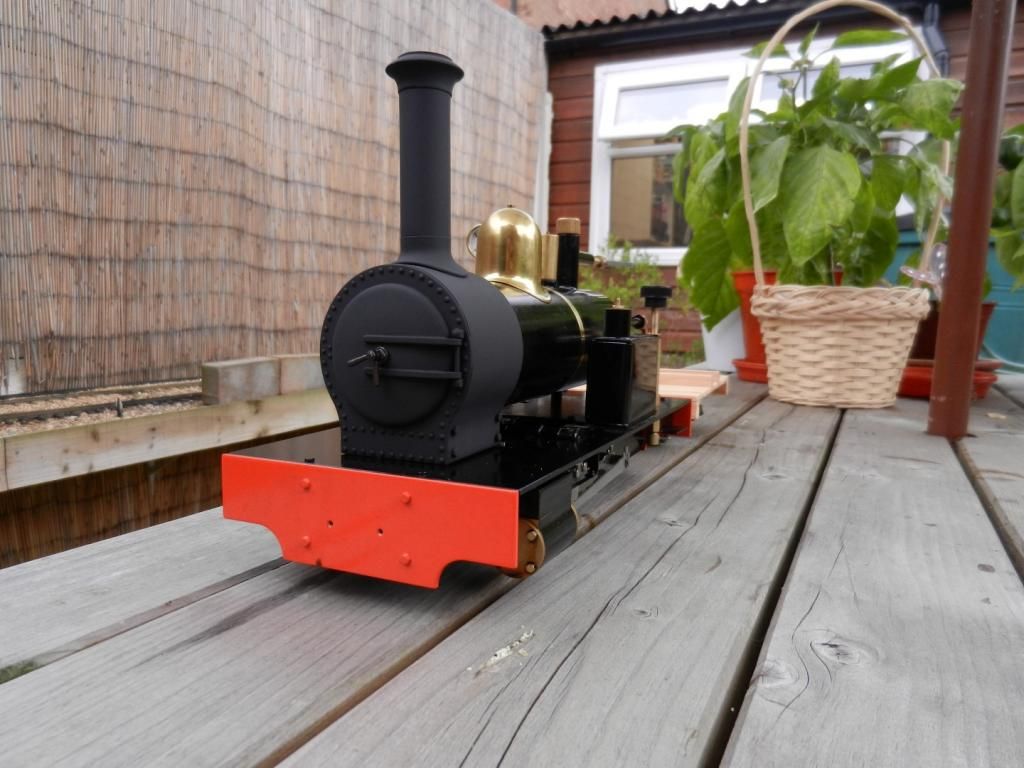
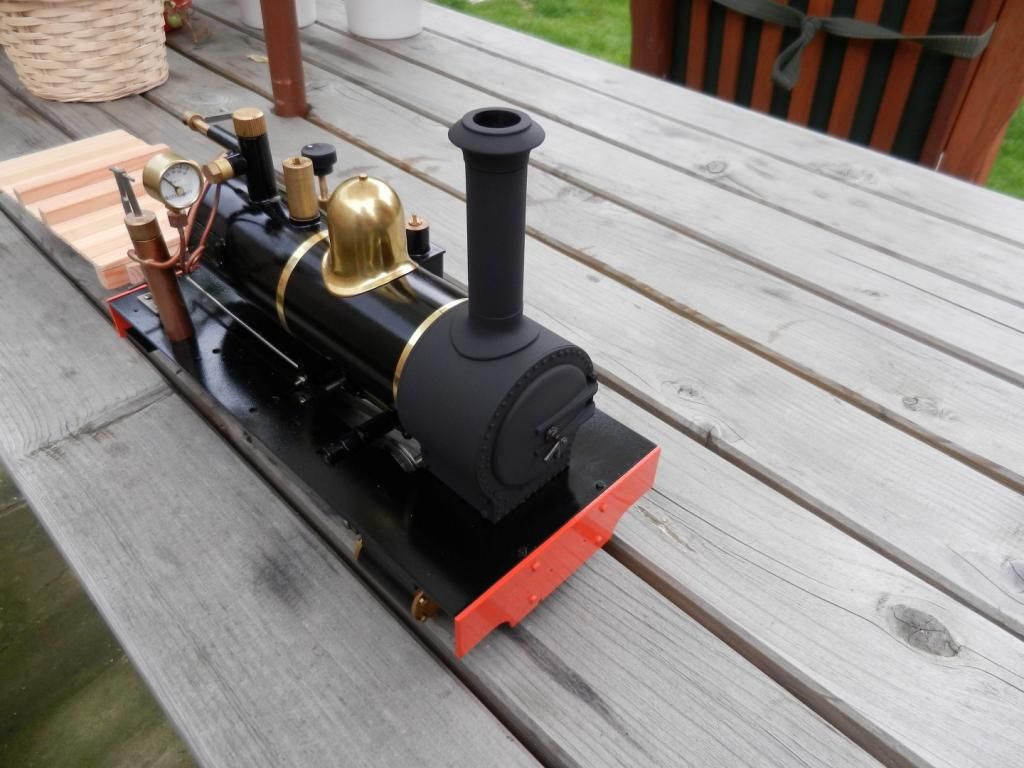
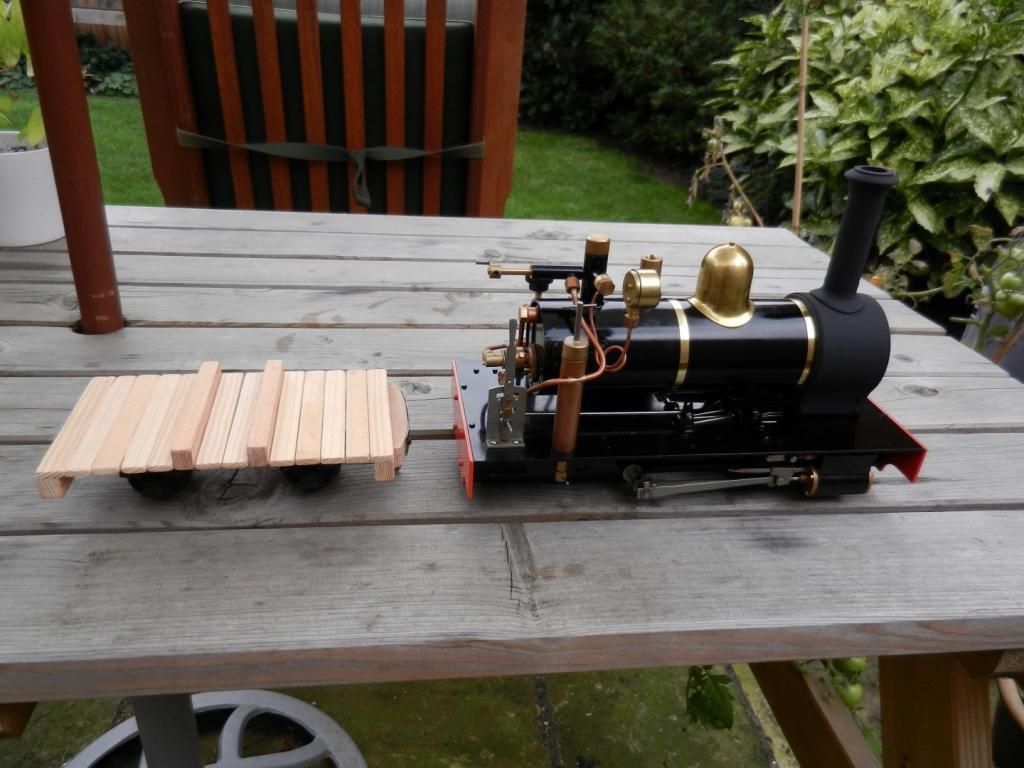
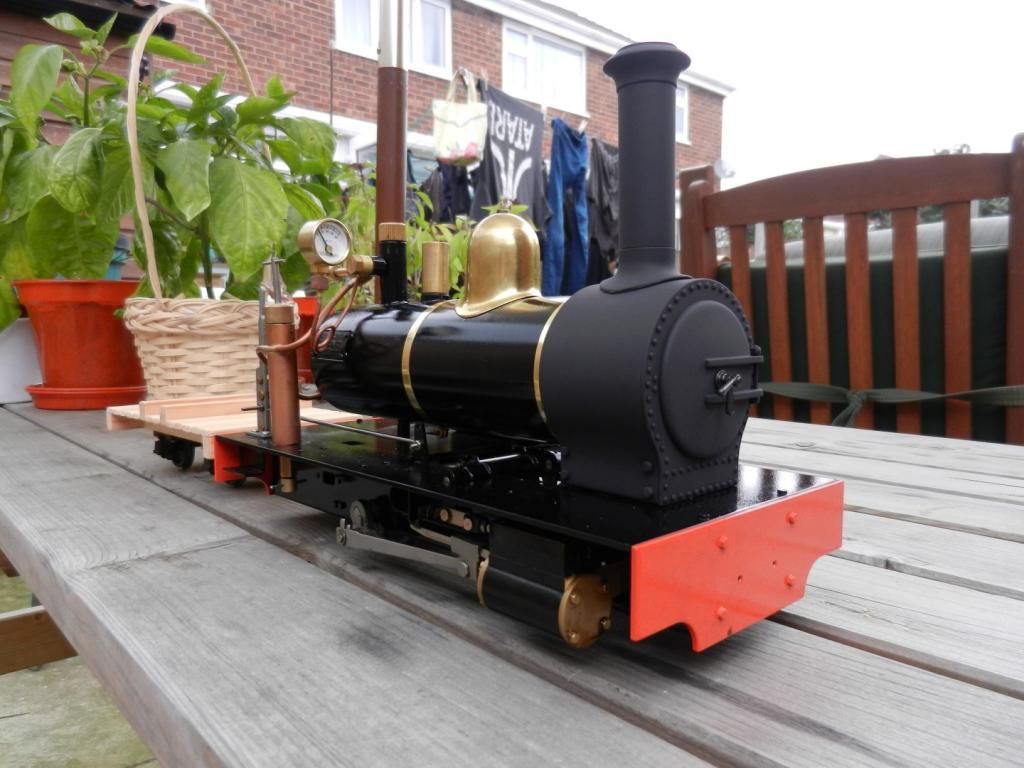
Mr Bird is sorting out a chuffer for her as it needs to be bigger than the normal one you fit to a Ragleth due to the increase in the chimney. Maybe it will be louder?

The awful gas valve knob will be replaced soon with some piano wire to look like a brake handle.
Posted: Sat Sep 06, 2014 6:27 pm
by StephH
Hiya there,
My first post on here! I just had to say you will not be disappointed with the Baldrig, I build one a couple of years ago and they go together like a dream. Plus as you say there is a never ending scope for mods... mines an 0-6-0!
Just a quick reply to Brian about the dome, check out Talisman Brass, as I'm fairly sure it is on their castings list. Edit:- it is! Its item 78-082 in the list I have.
Looking forward to watching this build continue!
ATB
Steph'
Posted: Sat Sep 06, 2014 7:02 pm
by tom_tom_go
Welcome Steph
This will be your handy work then?
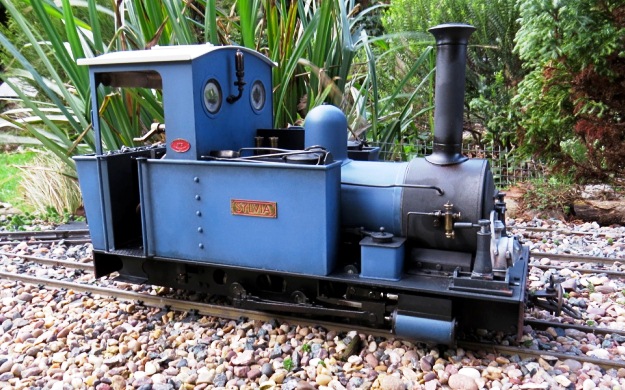
It's a great looking loco and one of the reasons I got into 7/8ths.
I forgot to say Brian you do not get a safety valve bonnet with the kit.
Posted: Wed Sep 10, 2014 9:24 pm
by tom_tom_go
Gas valve appearance much improved!
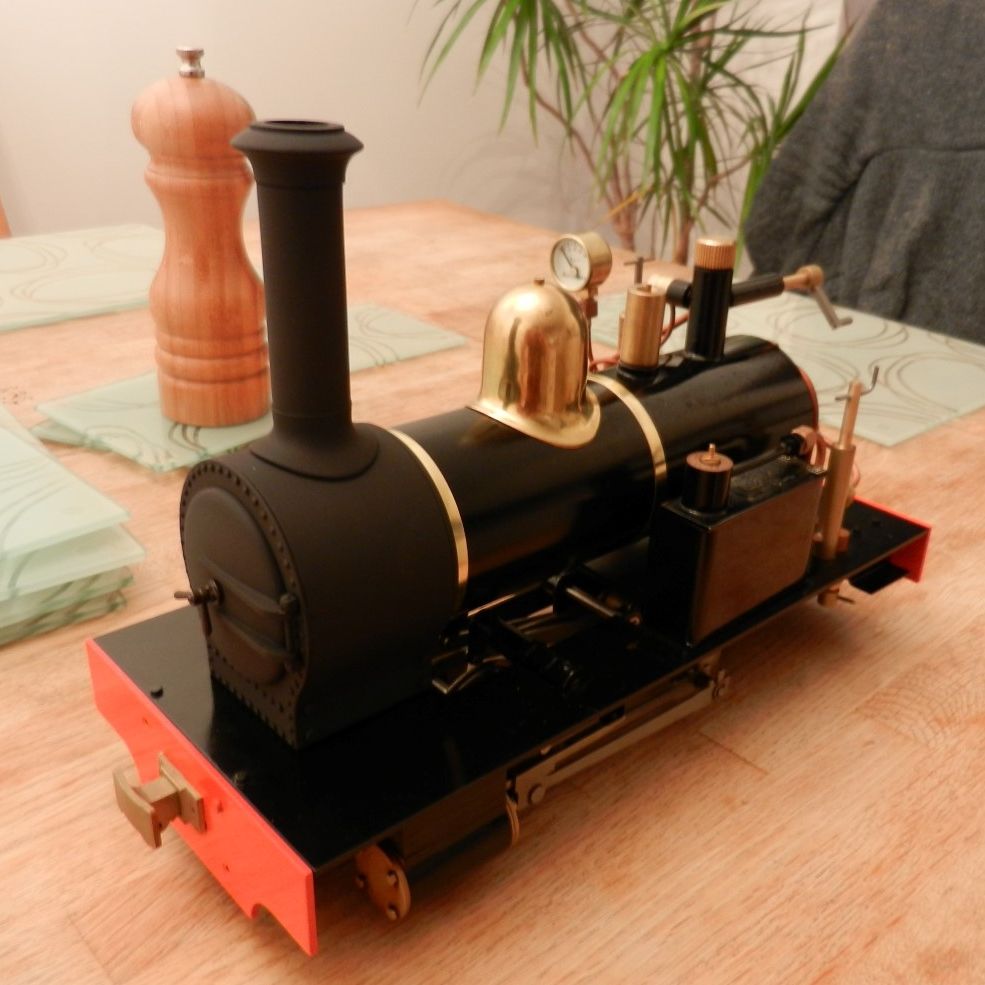
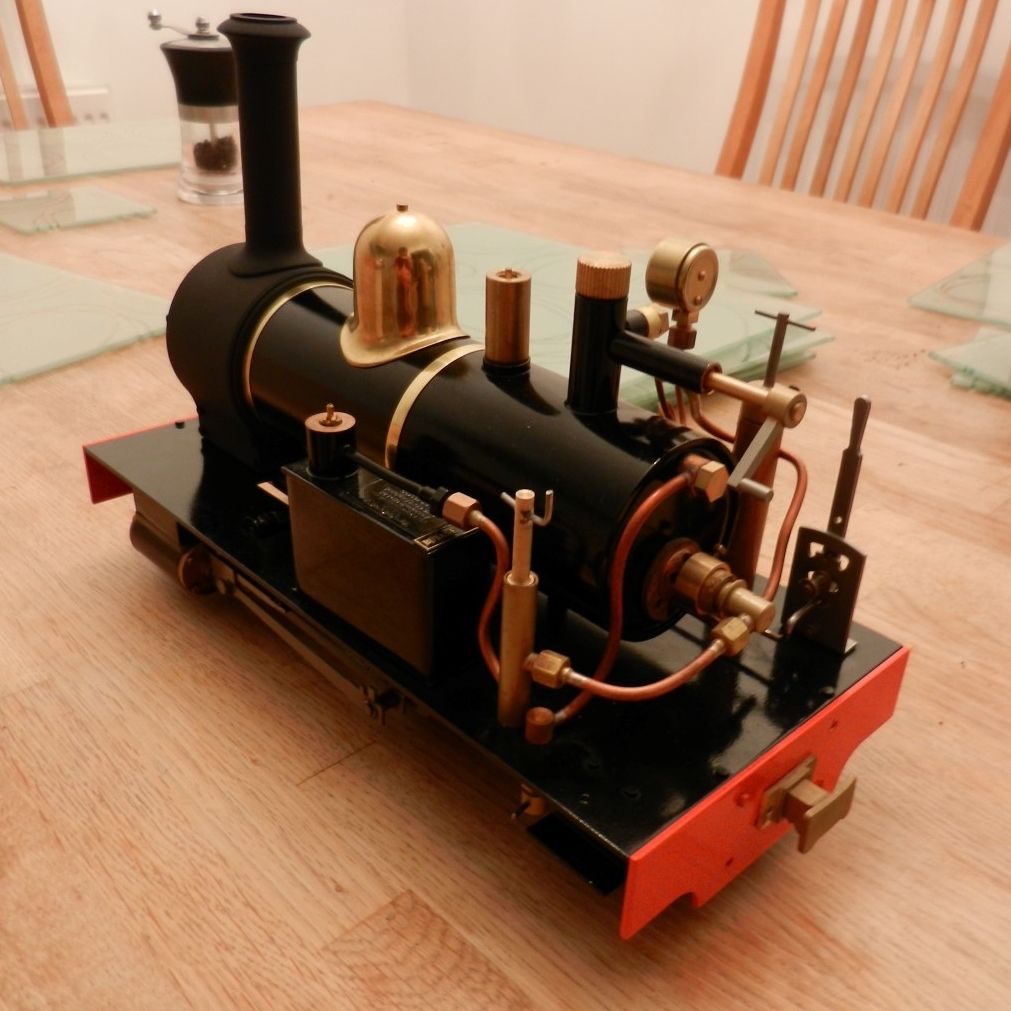
Just getting the couplers in position now and then will chemically blacken them. Had to drill holes in the front/rear of the frame as well as the buffer beam plates to allow the nut and thread of the couplers through. I don't know why (guess it's the size and price of the Ragleth) but I am very at ease with drilling and modding it compared to my RH fleet. I even managed to get all the screw holes true without a pillar drill...
Chuffer is on the way so while I am waiting I will sort the buffer beams out with extra rivets. Not going to go with the usual red as I fancy them being a bit rusty and beaten.
The pressure gauge needs replacing as well with a 1/2" version so if anyone wants the Accucraft one please PM me as it's only been used twice.
Posted: Wed Sep 10, 2014 11:00 pm
by btiratsoo
That looks great Tom.
Posted: Sat Sep 13, 2014 8:31 pm
by tom_tom_go
Glad you like it Ben. I am enjoying the larger size of 7/8ths!
Summerlands chuffer now fitted and test run today, sounds brilliant:
http://youtu.be/4KC3yuK1KcQ
With every run the performance improves...
Posted: Sun Sep 14, 2014 11:25 am
by btiratsoo
Once again Tom, inspiring stuff. As I said the other day, unfortunately I just haven't been home enough this leave to make any sort of dent in construction. Set up an oval on the patio the other day to run our Mildred. Splendid afternoon with dad just playing steam.
Posted: Mon Sep 22, 2014 12:28 pm
by Gremlin
Runs very nicely and the new chuffer sounds brilliant. I see it has no problem with the tight curve by the conservatory, you must be well chuffed with the power unit, looking forward to seeing the body, it's going to be quite a chunky engine.
Posted: Sun Dec 07, 2014 8:46 pm
by tom_tom_go
Bit of soldering and folding tonight had me up to this stage so you can get an idea of the size of the thing:
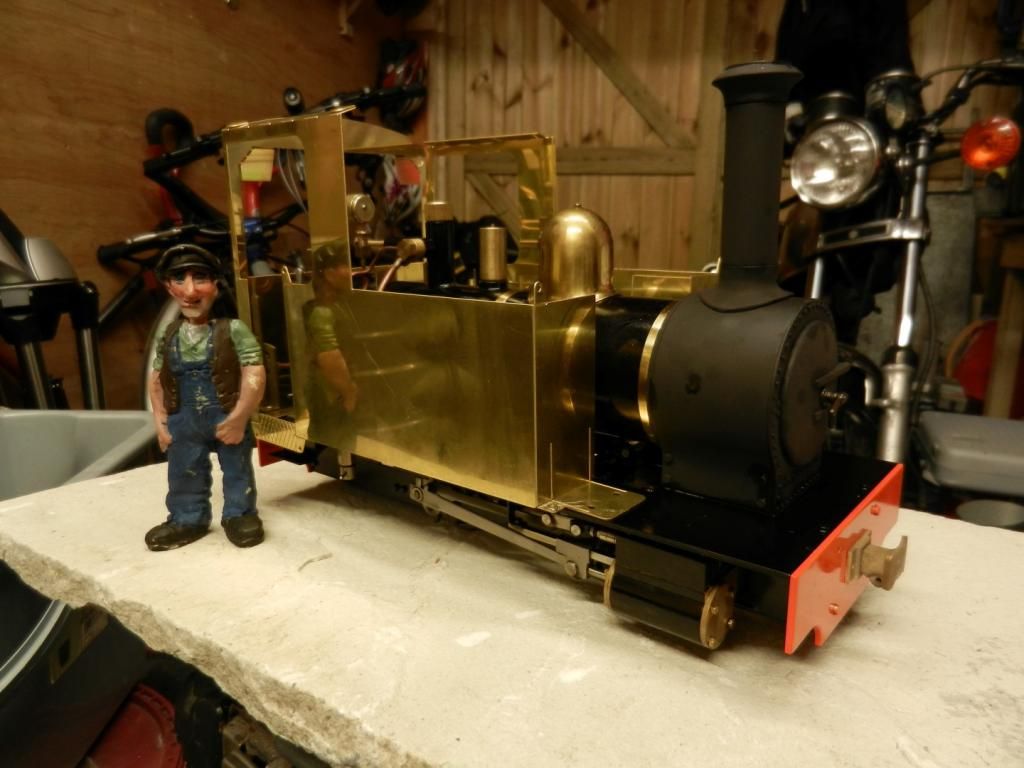
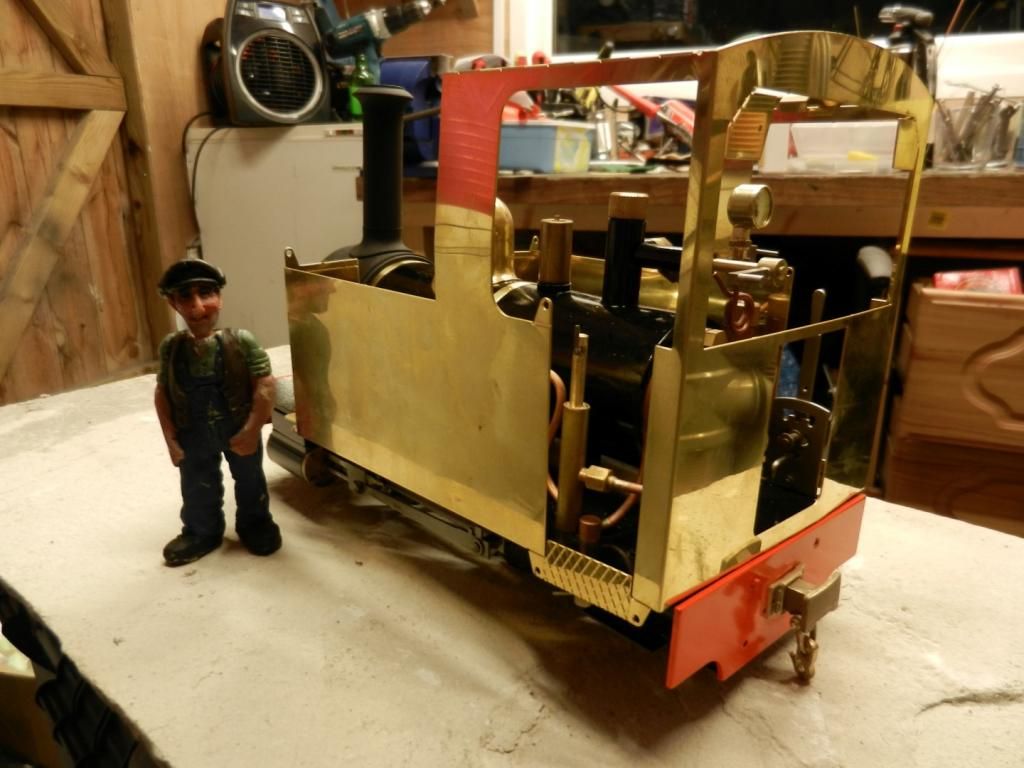
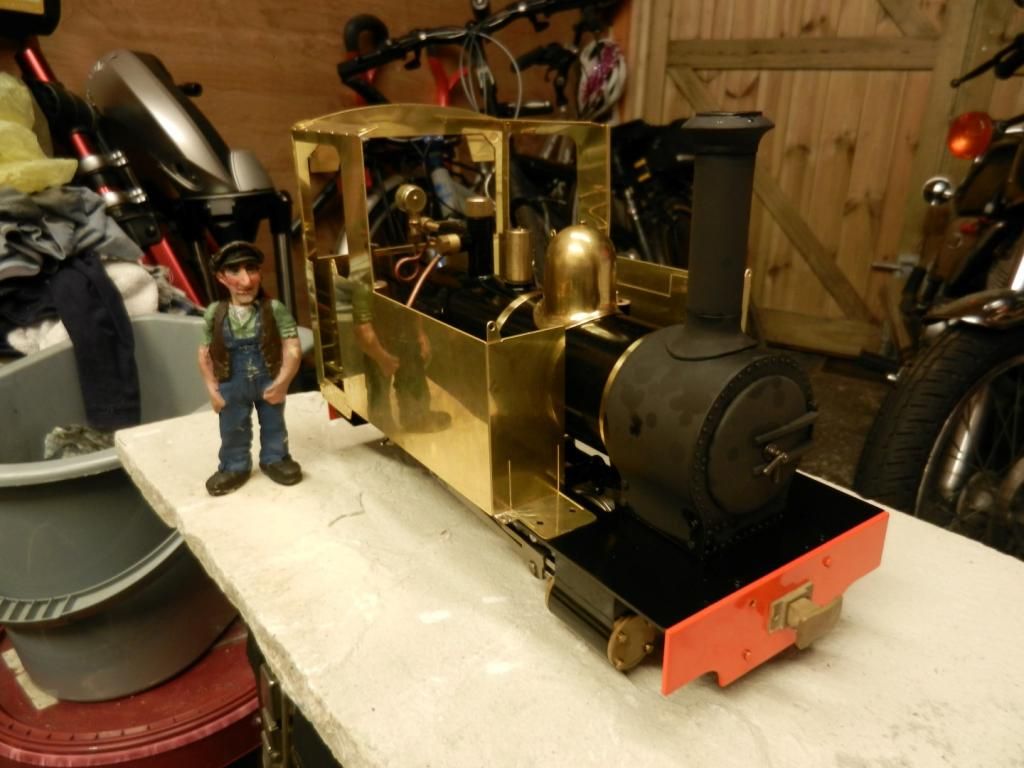
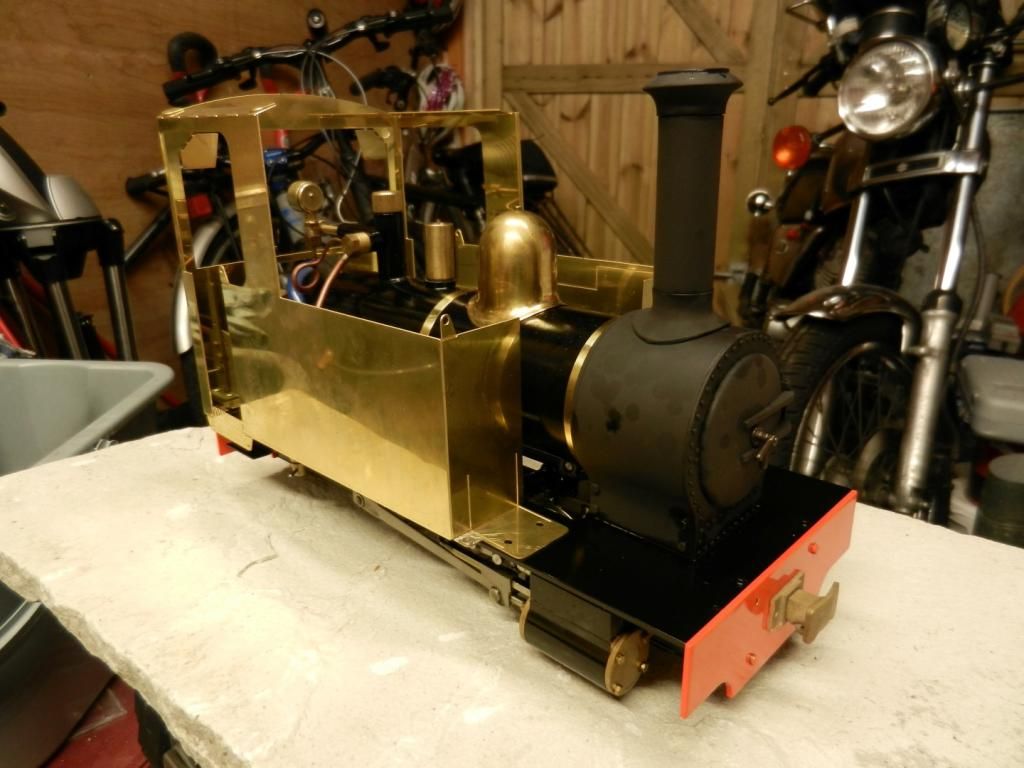
The figure is 7/8ths scale so it is going to be quite large!
I am using this guide for soft soldering:
http://www.steves-workshop.co.uk/tips/s ... gindex.htm
If you look at my pics you will see I had to solder really small brass washers for the hand rails (where the sand boxes are going to be, you can see the two screws hold on the front of each tank) and this was very difficult, loads of excess I had to file away.
How do others solder really fine parts so it looks like as if it was simply glued into place?
Posted: Sun Dec 07, 2014 10:19 pm
by Big Jim
How do others solder really fine parts so it looks like as if it was simply glued into place?
Practice, a good hot iron, clean metal, decent flux and solder and a fair amount of luck!
Seriously though, I have built up brass kits in the past when there were little bits of detail that I just could not get right (cylinder wrappers on 7mm ng stuff mainly). It sometimes helped to use a solder with a slightly lower melting point than normal, I think it is called detailing solder, (try Carr's).
The loco is looking good, don't worry.